Plans to make capes are here!
First let me apologize that this post is late. But when you have no electricity, you have no choice. Second, I want to apologize for the quality of the photos in this tutorial. They are deplorable….the deplorable tutorial. Nah, the tut is really easy but you might have to squint at the pictures. Third, this is the down and dirty, quick and easy method. There is ZERO fine finishing involved in this. These capes are intended to be loved, played with and destroyed. I have neither a bunch of time or money in them, so if they are trashed then nothing is lost.
You will need 1 1/2-2 yards of a sheer glittery fabric and the same amount of raspberry knit. My granddaughters are 10 and 12, so this worked out to be the perfect length for them. Adjust for your particular customer. You will need 10 feet of ribbon that is 3/4-1″ wide. I chose gray in 5/8″ width. Coordinating thread is good and a button or embellishment for the “clasp” on Anna’s cape makes a nice addition.
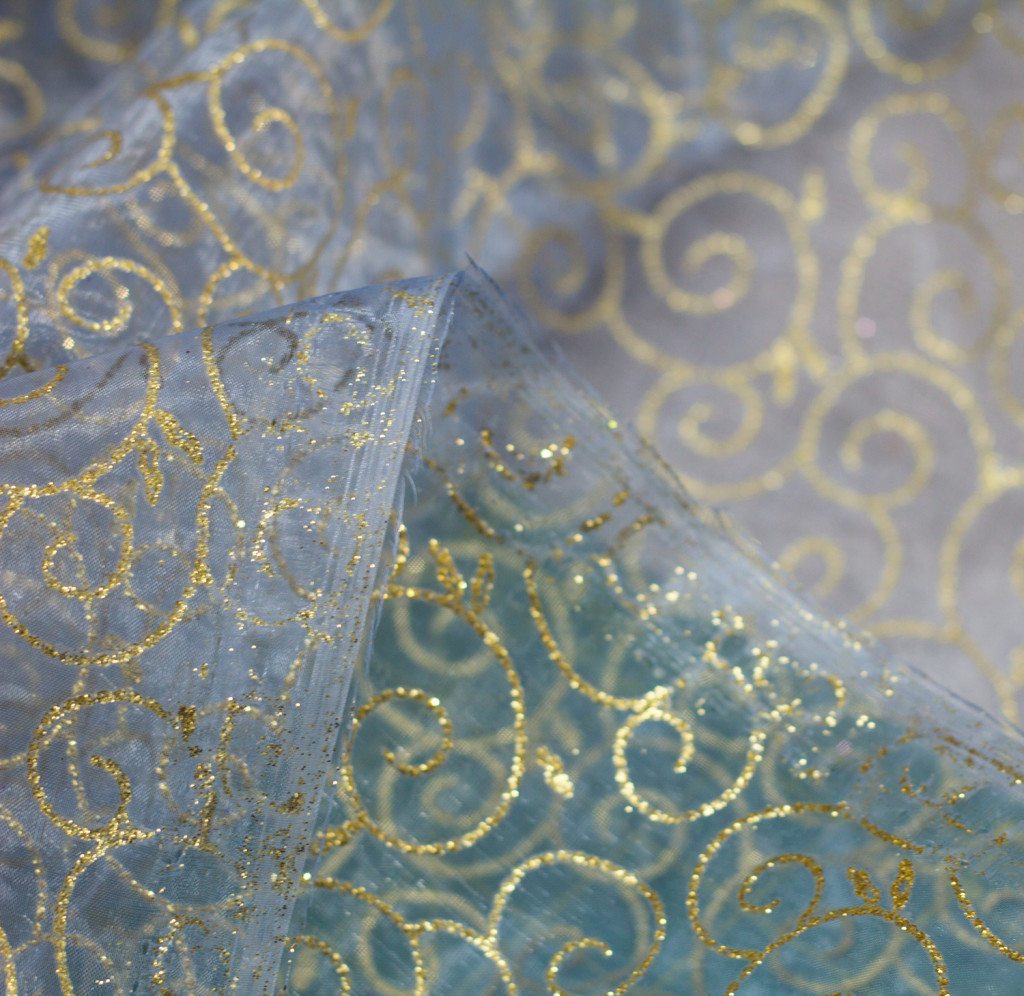
Starting with Elsa’s cape (the glittery one). Sheer fabric isn’t easy to work with so here are a few suggestions: Use a brand new needle and pick one that is made for topstitching. I took advantage of the fact that the selvedge edges were finished and I opted to do nothing further to them. If you wish, you could create a hem down the length of each side.
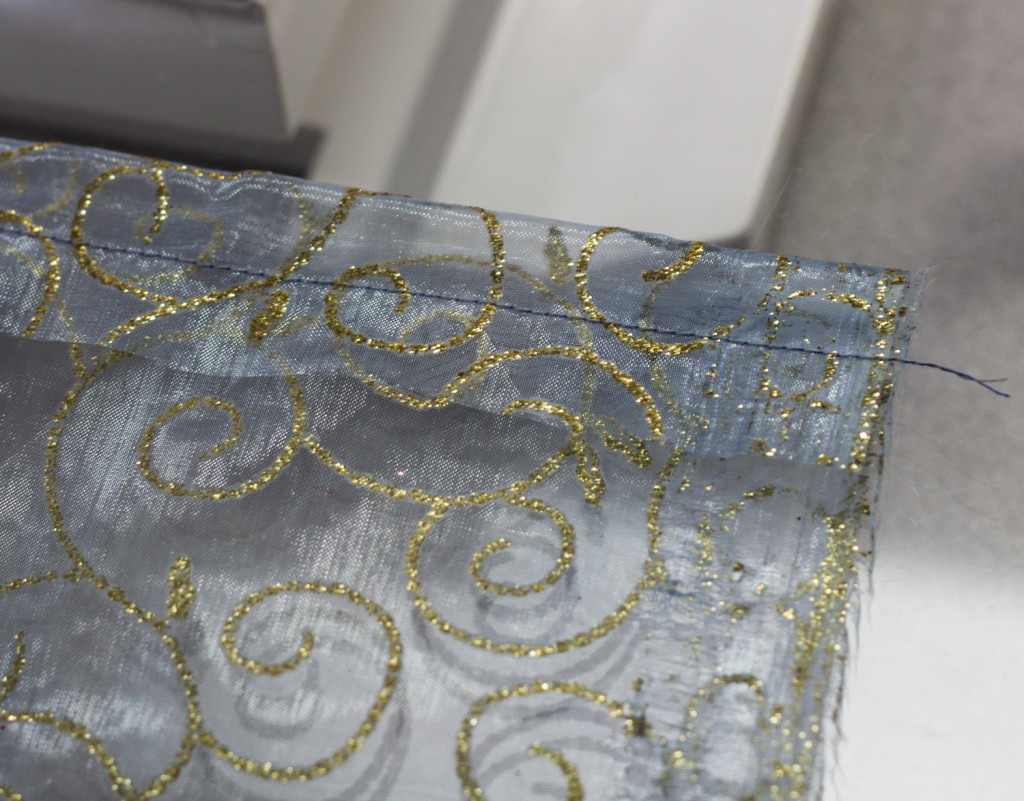
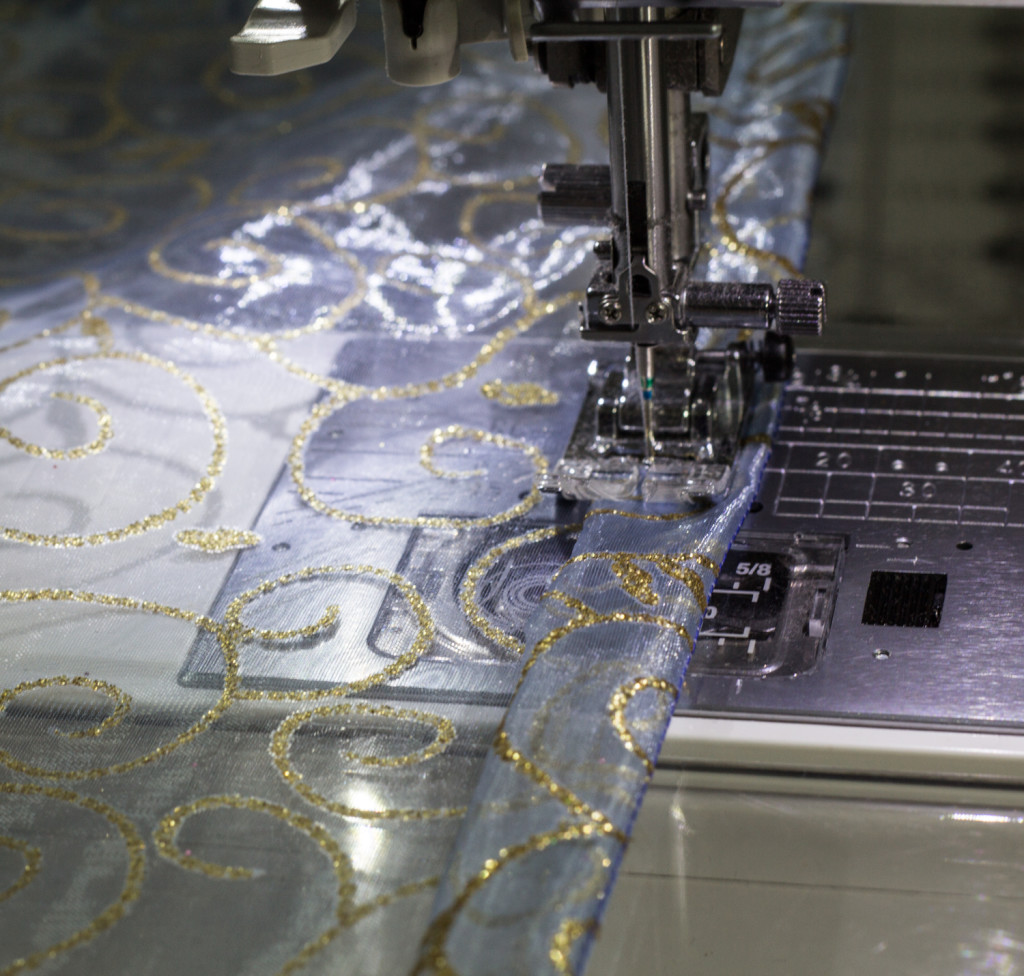
Here is a closeup of those finished edges. Good enough for me! Now let’s hem the raw edge along the top edge (the short side). It is a risky affair to try to iron this kind of material, so I didn’t even chance it. I folded over the edge about 1.5″ and made my first stitch line about 3/4″ from the top.
Again I folded down the edge and encased that raw edge with a line of stitching
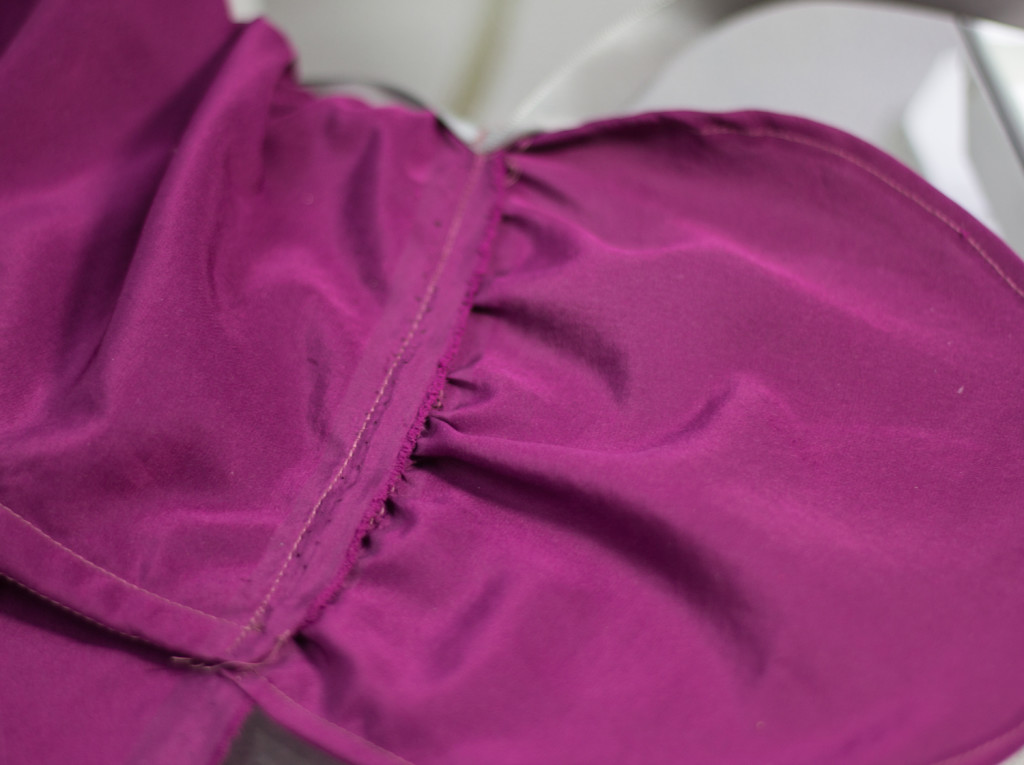
Once you have finished off the top edge, measure down 6″ from the top and mark a line with your favorite marking tool. Your line should extend from one selvedge edge to the other. Consult your sewing machine manual and change your settings to sew a gathering stitch.
Sew one line of gathering stitches the width of the fabric (from selvedge edge to selvedge edge). Be sure to leave an ample tail of thread to pull the gathers.

Now make a second line of stitches a presser foot width away from the first line. 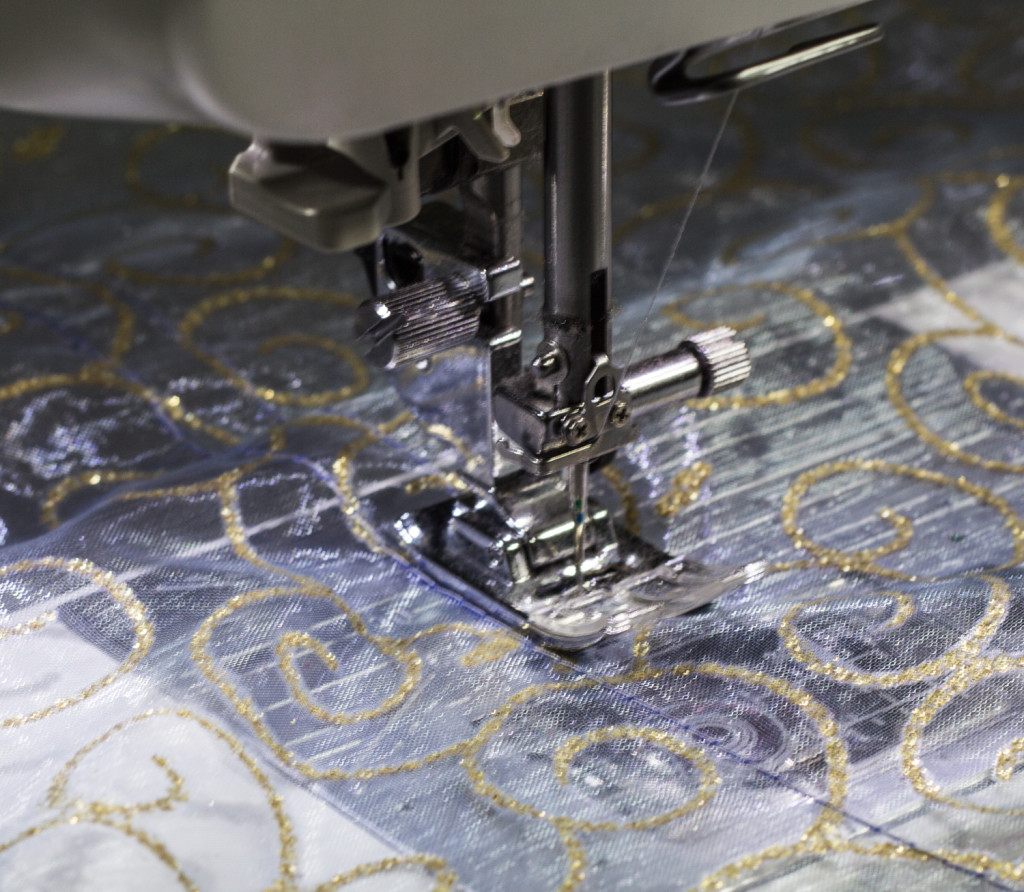
Again, be sure to leave a tail of threads. Also, if you use a slightly lighter or darker thread color in the bobbin, it will make it easier when you have to gather the fabric.
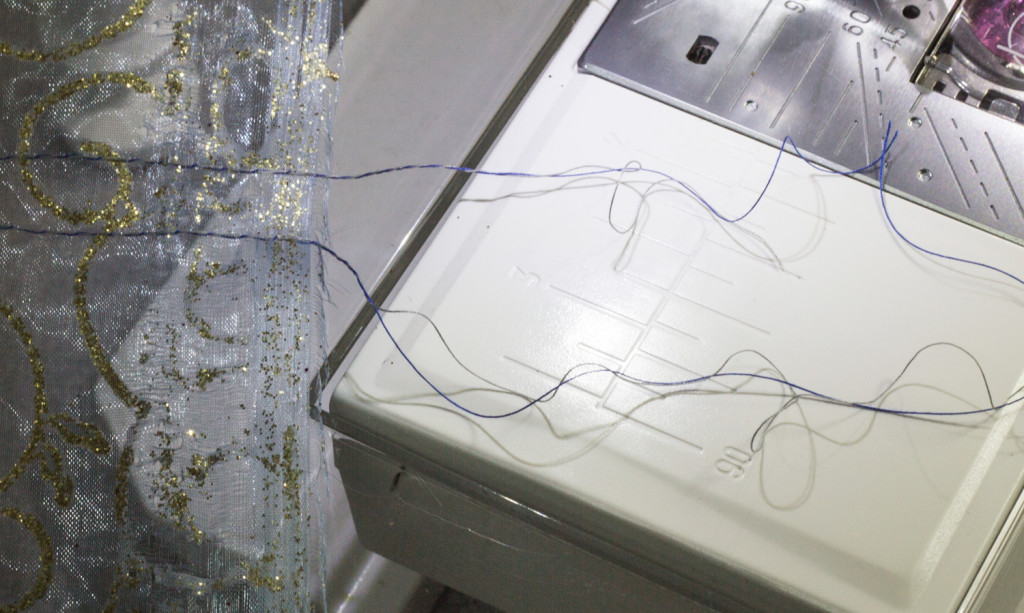
Here you can see my bobbin threads are dark blue and the top thread is gray. Makes it MUCH easier to know that I need to pull the dark blue threads to form the gathers.
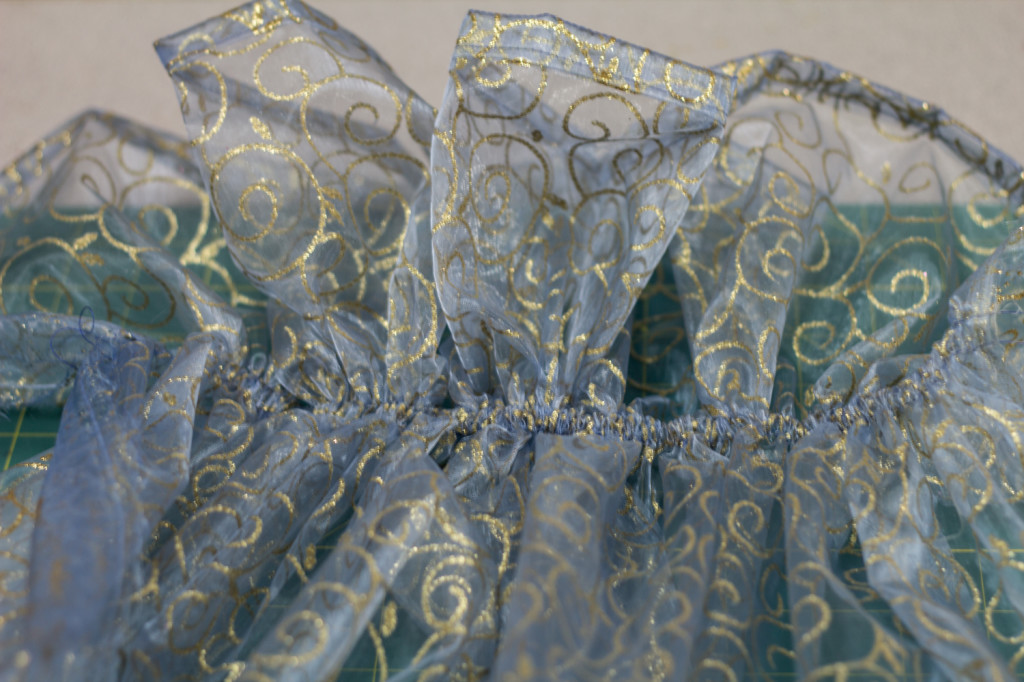
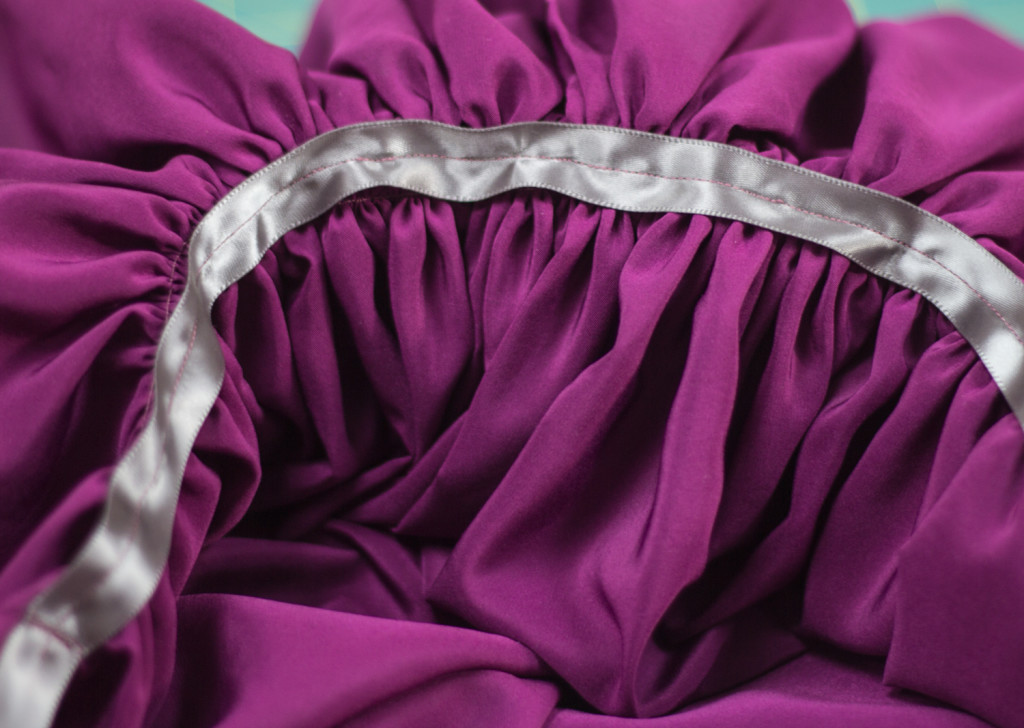
As you can see, I have pulled the gathers quite tight and now there is a fancy, ruffly neckline.
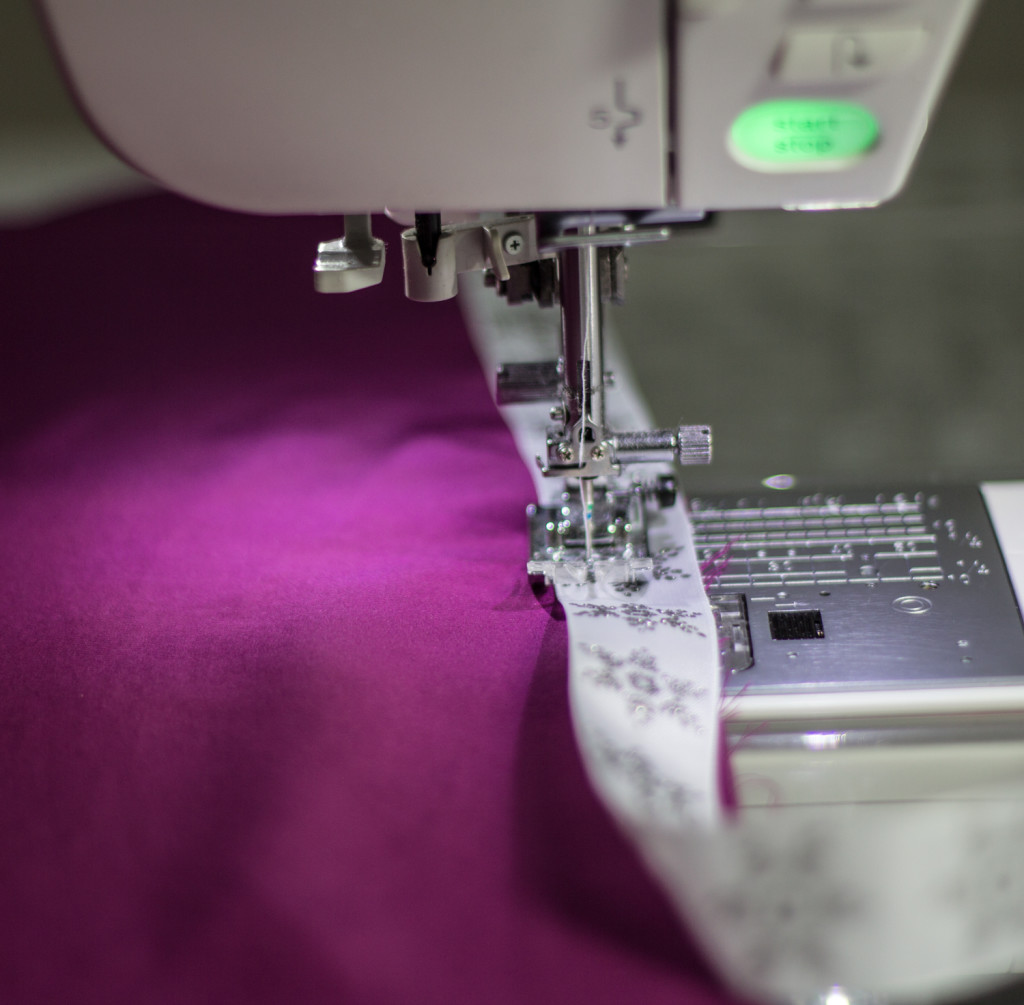
Cut a piece of ribbon about 5 feet long. fold in half to find the center point and then begin pinning to the cape along the gathers.
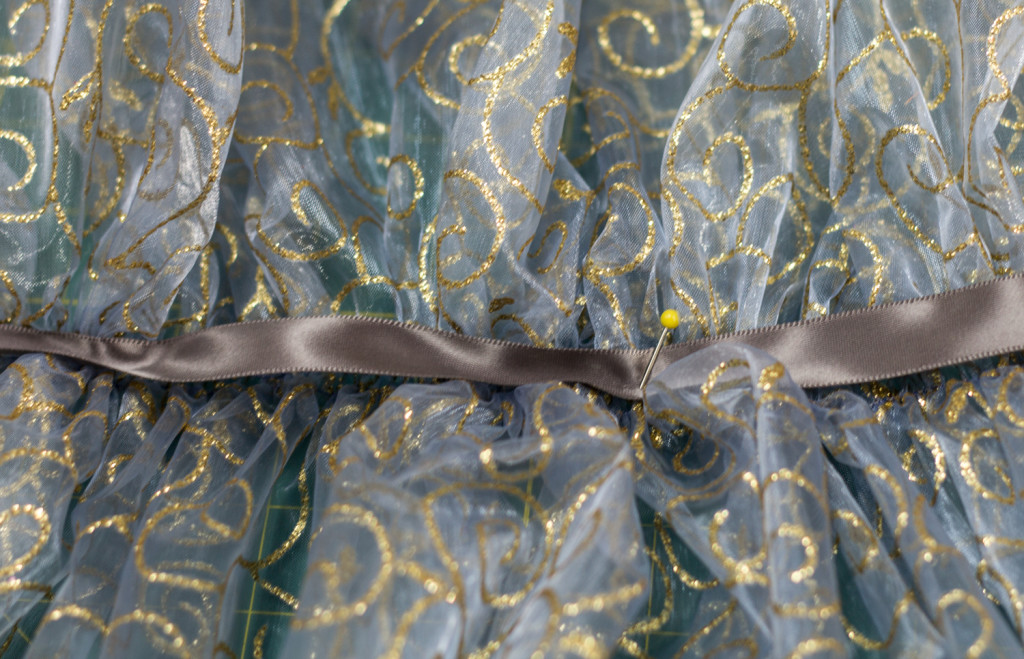
I personally found it easier to remove my free-arm portion of my machine for the next part. Stitch a line in the center of the ribbon, from one side of the neckline to the other.
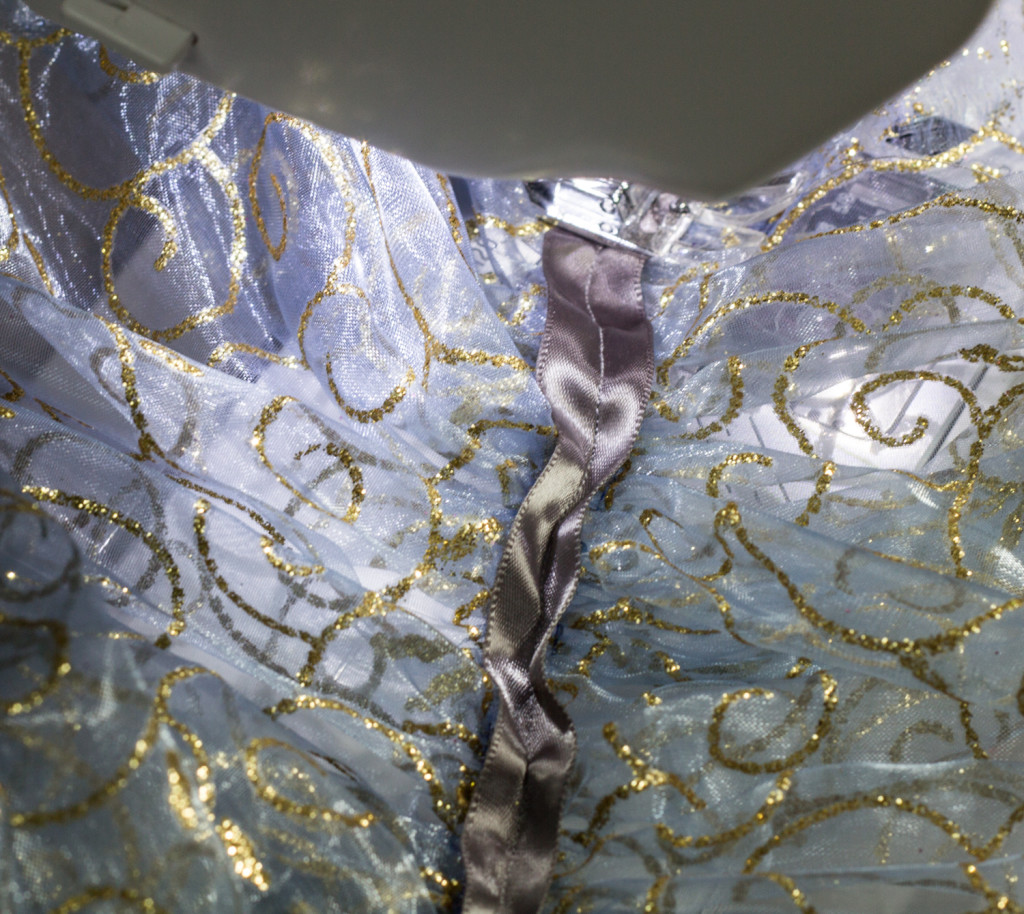
Once that is done, tack down the vertical ends of the ribbon on both sides. Kids like to “tug” and this is where the ribbon would most likely pull free.
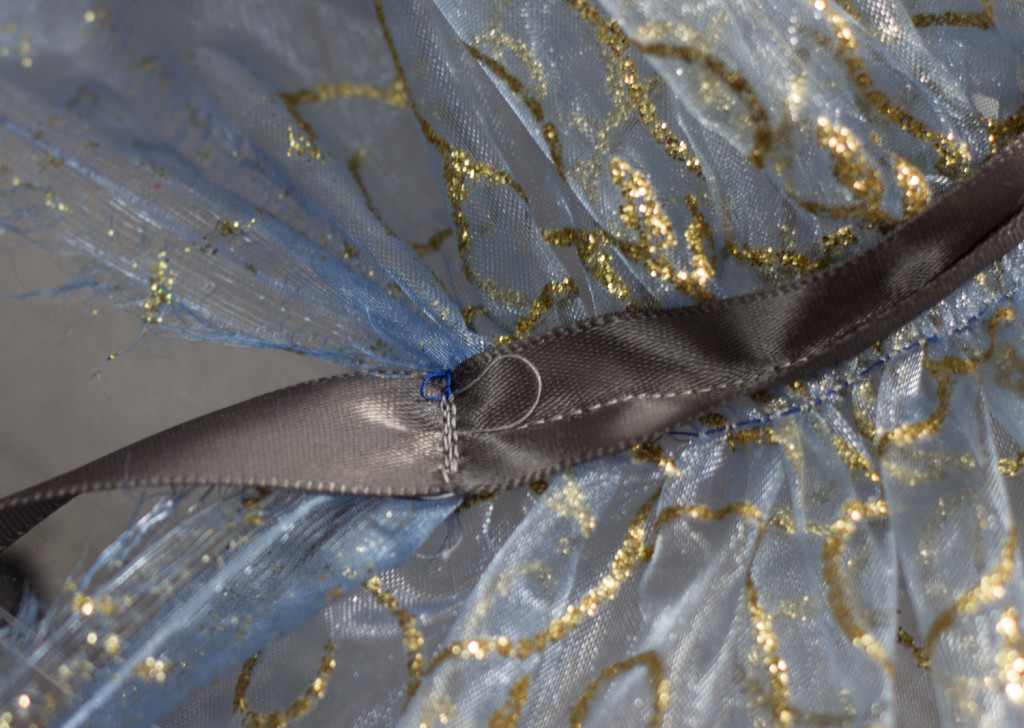
Yeah, and clip your stitches better than me. Cut the cape to length and hem the end if you wish. Don’t if you don’t. You are now done with cape number one. Really. That is it!
![]()
Pretty cute and just too damn easy.

BREAK TIME! Charlie chewed a hole in his toy, so I had to send it off to hospital for surgery.
Now for Anna’s cape.
First cut a piece 12″ x the width of the fabric (WOF). Set this aside.
Using the same idea above: Take advantage of the already finished selvedge edges. Next, turn down the top (short edge) of the fabric and stitch. Turn down again and encase the raw edge.
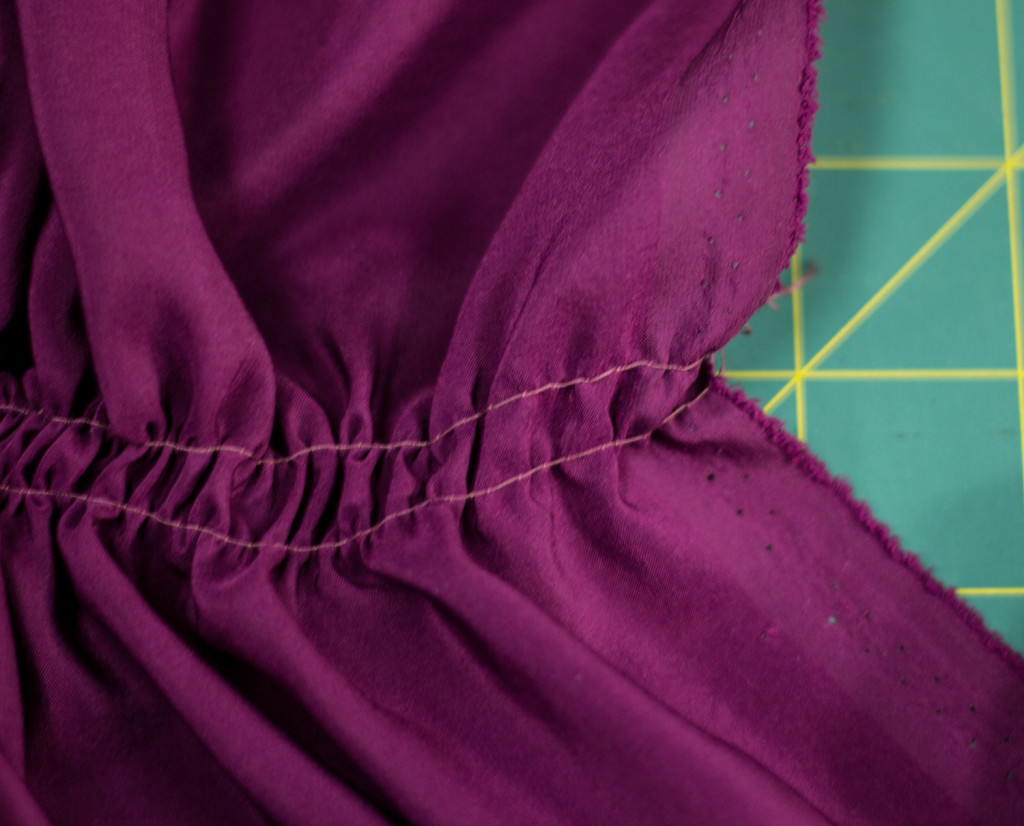
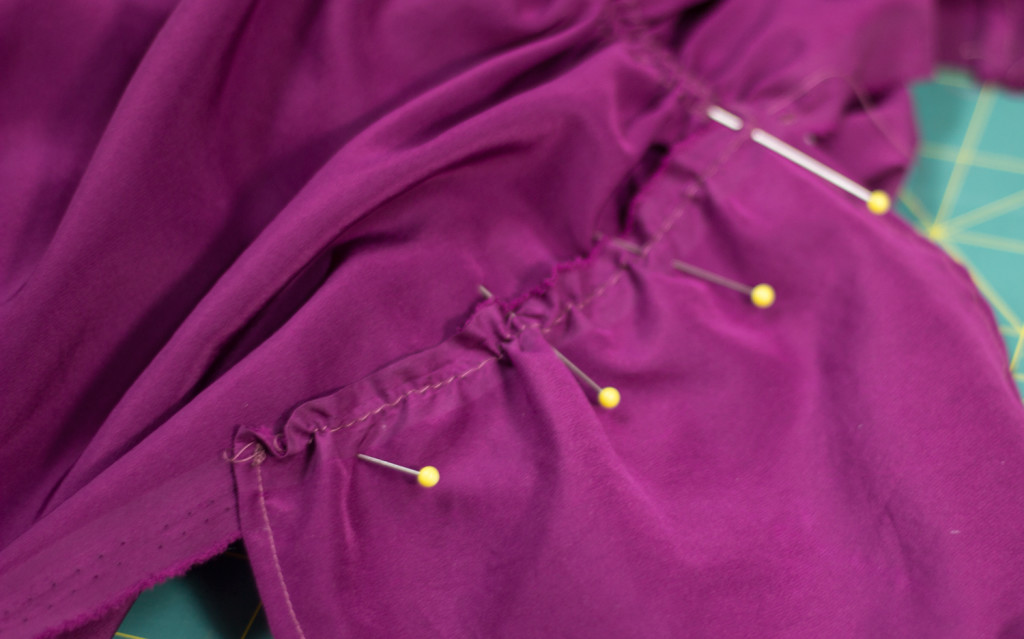
Sew two lines of gathering stitches 6″ down from your finished short edge.
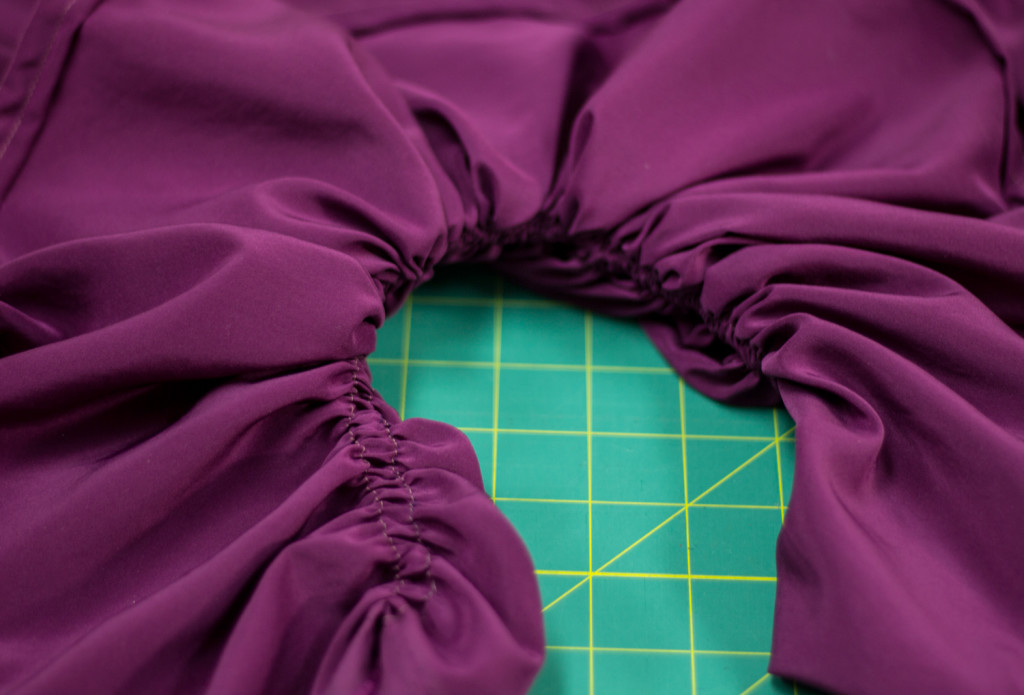
Pull the bobbin threads to gather the fabric. Now let’s make a few adjustments for Anna’s cape.
At either end of the “neckline”, adjust the gathers so that this area is fairly flat and ungathered. We will need to sew this later and this minor adjustment will make your life easier. I promise.
Yes, something like this.
Just as on Elsa’s cape cut 5 ft of ribbon, fold to determine the center and then position on the cape between the gathering stitches. Pin lightly, sew in place and be sure to tack down the ends.
If you wish, you could hem the cape to length at this point and call it done. Or you could follow a couple more quick steps and take it to the next level.
Set the cape aside and locate the strip that you cut off earlier. I used a dessert plate for a template to create the wrap around look of Anna’s cape.
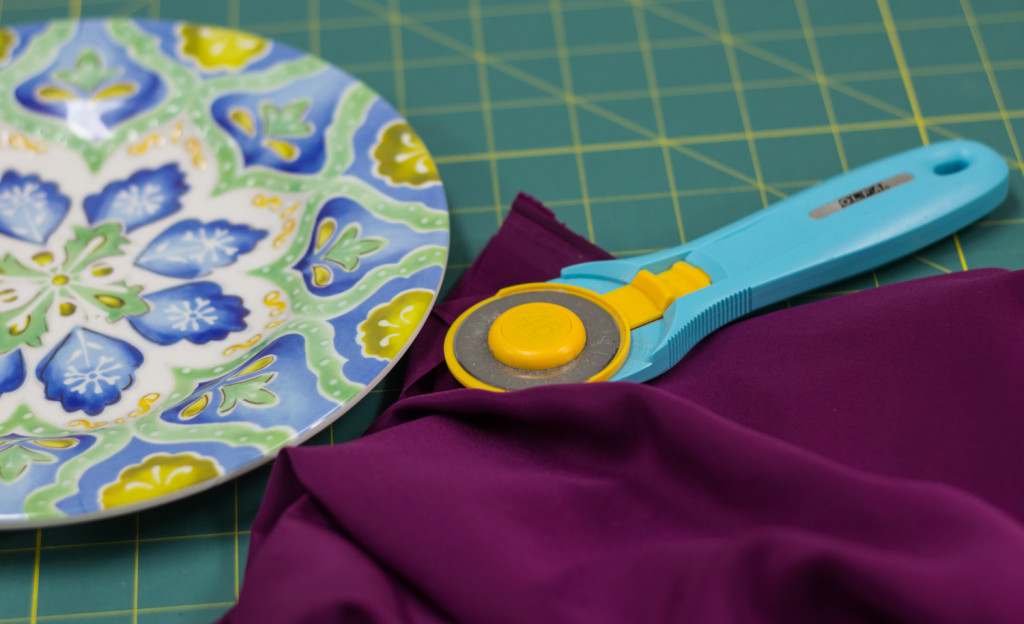
I can’t give you exact measurements here, but a basic dessert or salad plate should work. Turn it upside down and rotary cut or mark a line and use scissors to cut around the shape.
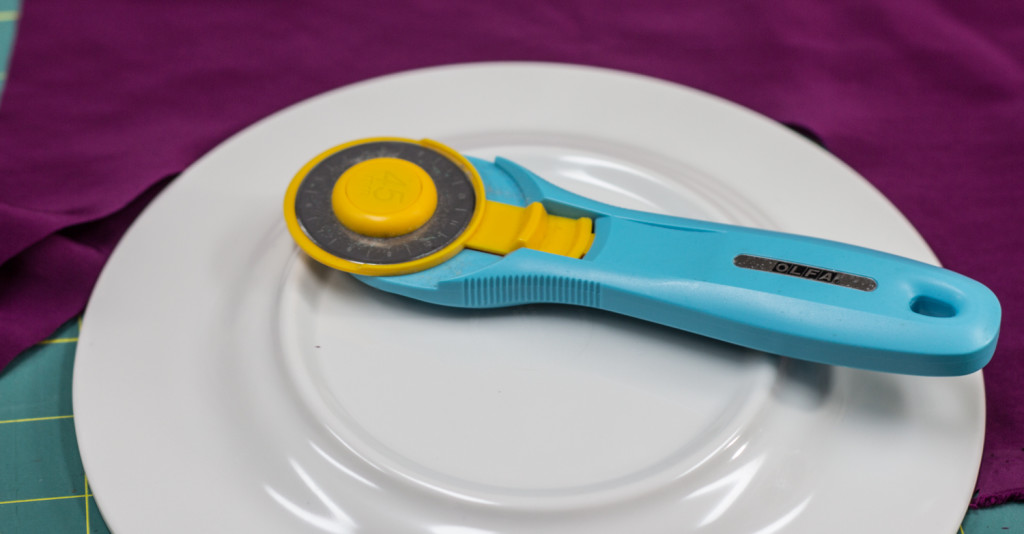
I used about 3/4 of the plate to create my shape. Be sure to cut two.
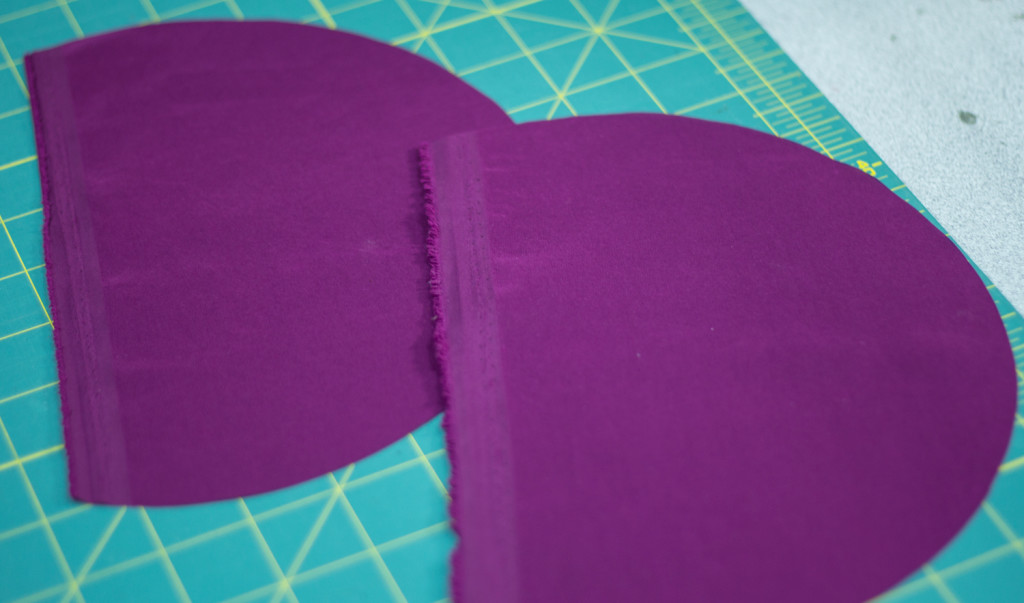
They should have a sorta “D” shape
Now bring that cape back to your work area. We are going to stitch this “D” shape between the main body of the cape and the neckline ruffle. But wait! Those pieces are oversized. First you should hem the rounded edge of the piece to conceal the raw edges.
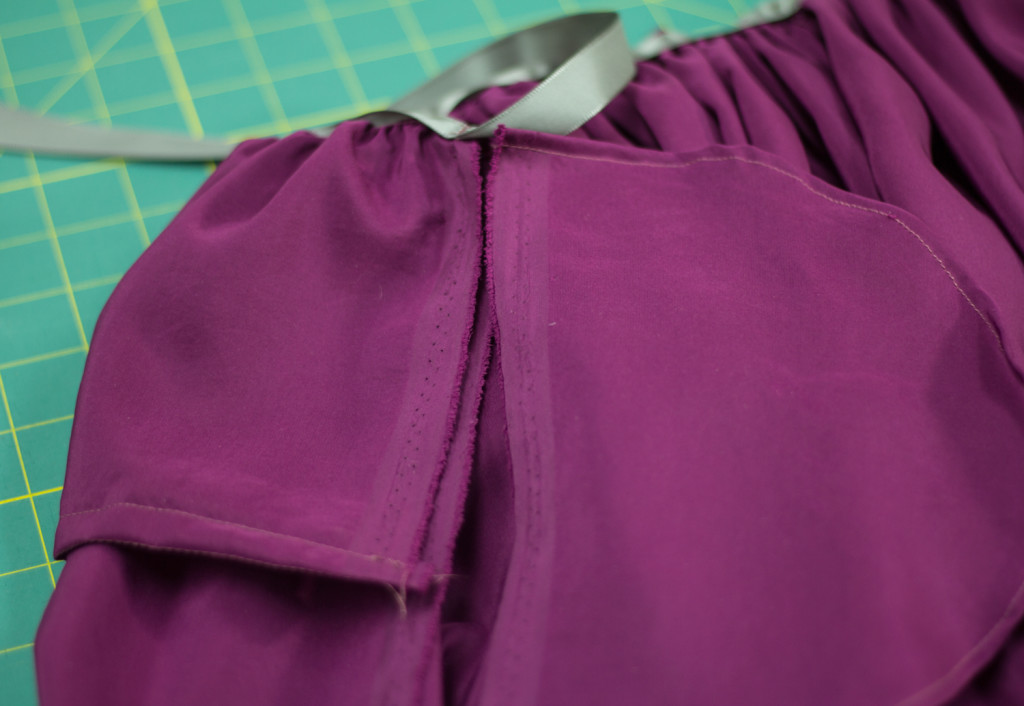
Run a single gathering stitch along that selvedge edge of the “D” piece and softly gather it until the length just fits the drop of the ruffle.
Pin into place with the right side up (facing you).
Lay the ruffled neck over the top and stitch into place. Repeat for the opposite side. Be sure that you don’t catch the ends of your ribbon ties into any of that finish work!
To finish the bottom of the cape I chose some glittery snowflake ribbon and sewed it along the bottom. I didn’t even properly hem the dang thing! Be sure to cut your cape to length for your little Anna and finish as you wish.
To complete this cape I sewed on two pieces of hook and loop tape for a closure and then a blingy embellishment. The embellishment was a mistake. Too big, too heavy and not smart. Use the hook and loop for a closure on the “D” shaped pieces but choose a sparkly sew on button that is relatively lightweight as an embellishing “clasp”. I do not suggest a “pin-on” or removable item as the child could unpin it and injure themselves or others.
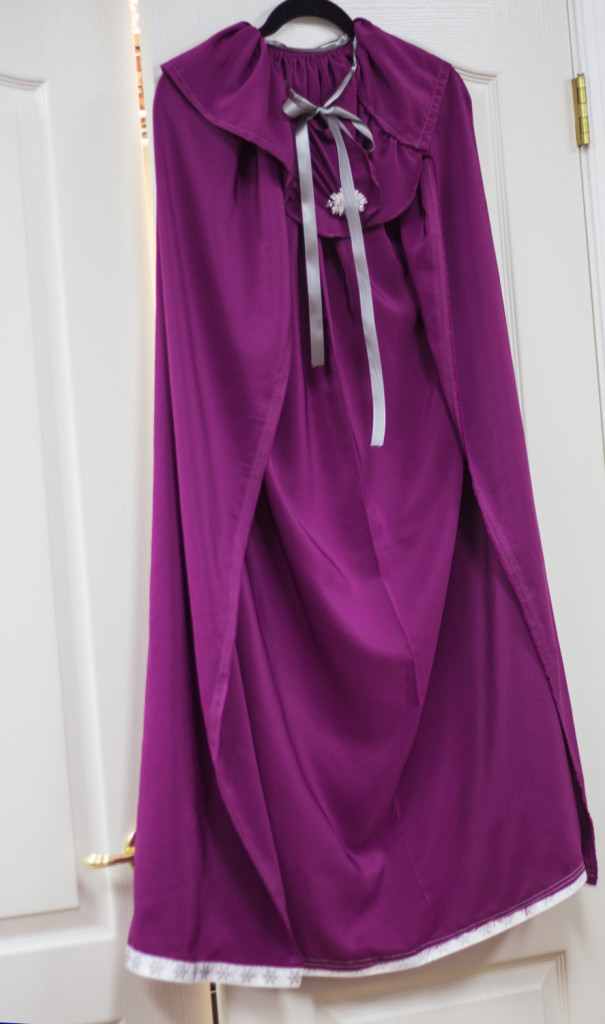
See how that beaded festoon pulls on the fabric? Ugh!
But you are through…really done with this project and those silly girls dancing around your machine saying “Is it done yet? Is it done yet?” will delight in you saying “Yes, it is done!”
I spent less than 15.00 TOTAL on this project and less than 3 hours, with me taking these dreadful photos. Yes, really. I found all of the fabric on clearance and the ribbon on sale. There is no fine finishing here (though there could be), so why spend a fortune on something that will probably be hanging, unused and unloved, 6 months from now in the dress up closet?
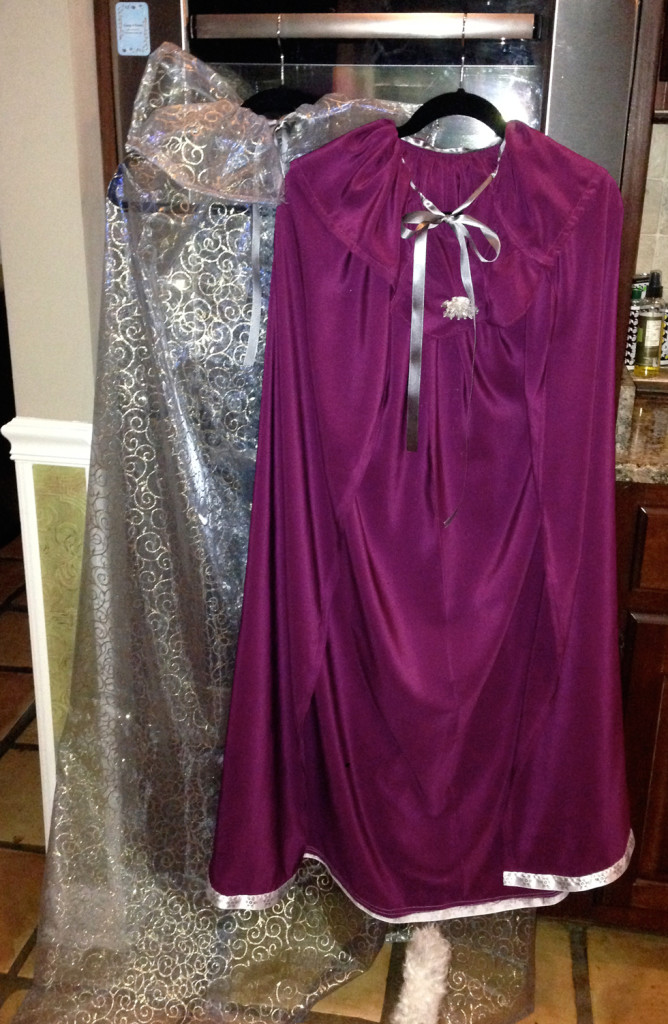
Here is Elsa and Anna (and a photo bombing Charlie tail!) hanging together just before they head to Hawai’i.
The bottom line is that these were kiddo approved
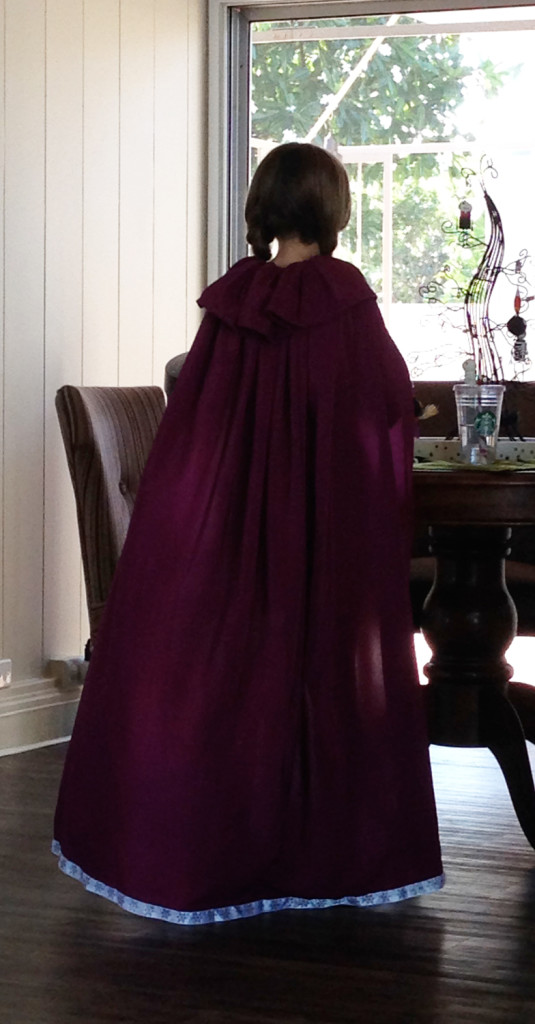
And that makes my heart sing!
Oh my goodness!
Becky these are DARLING and so freakin CUTE.
You were right on the mark with the length I might add.
The girls will LOVE these……and can be used for years before they out grow them.
Lovely work girlie!!
Ronnie