I have to admit I am a conflicted creator…..I love starting a project, feel meh about the process and can’t wait to get to the end. I get a rush from the sense of accomplishment after the item is completed and successful. That part is super kewl. However, by the time I have finished an art or sewing project I am so sick of looking at it that I simply want to give it away! Years ago I cross stitched and the harder the project, the more involved I was because I loved the challenge. But after I had spent hundreds of hours staring and sewing at said design, I hoped that I would never have to lay eyes on it again.
Charlie says he wants you to feel my pain and take part in my agony:

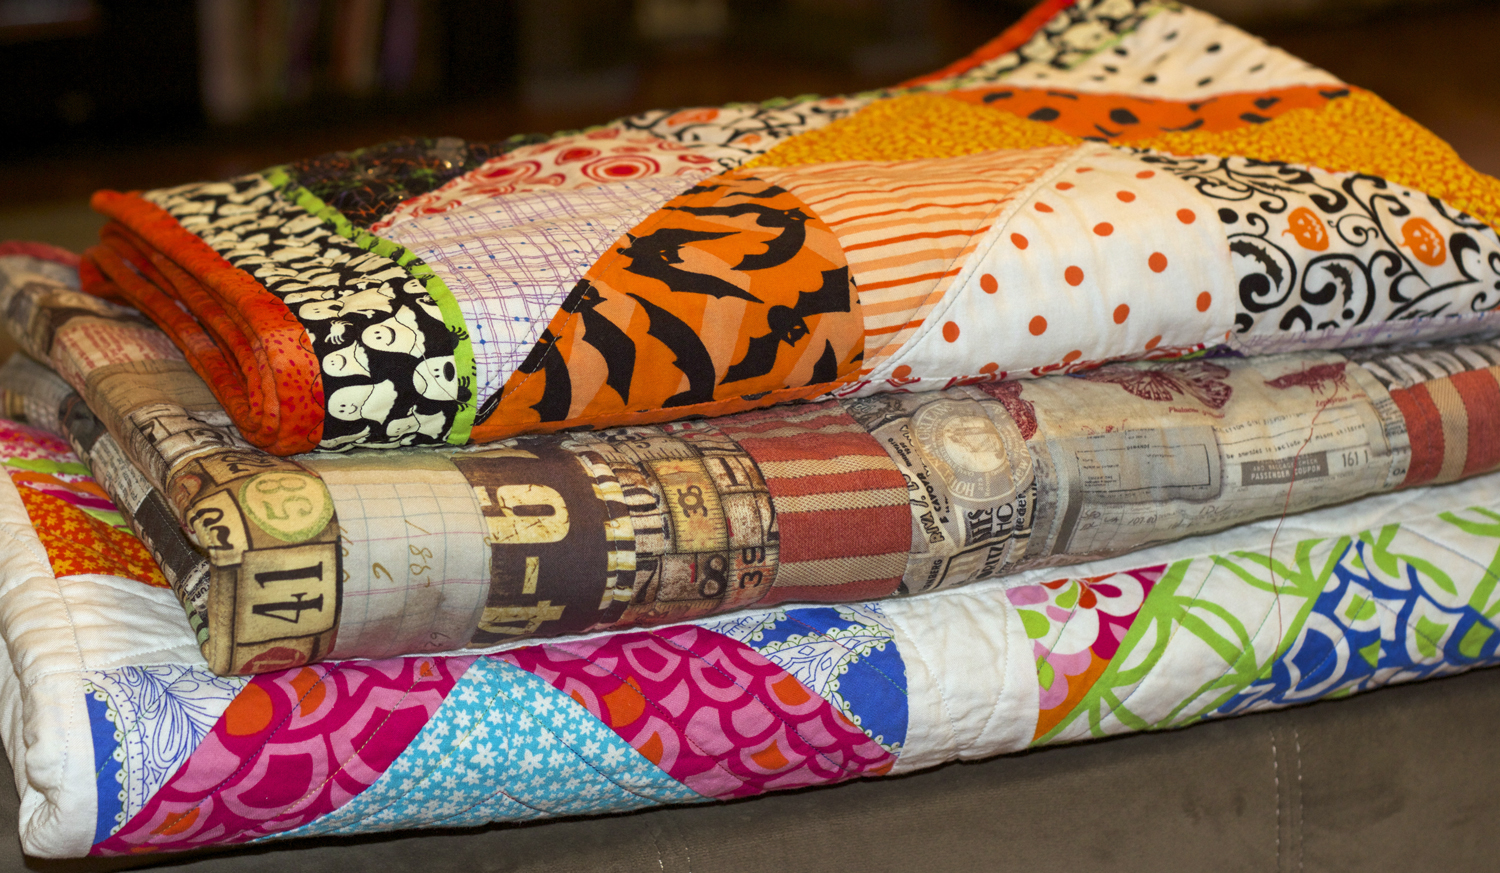
I have been very busy and have created a stack of quilts. I charge extra for that loose red thread below….ugh!
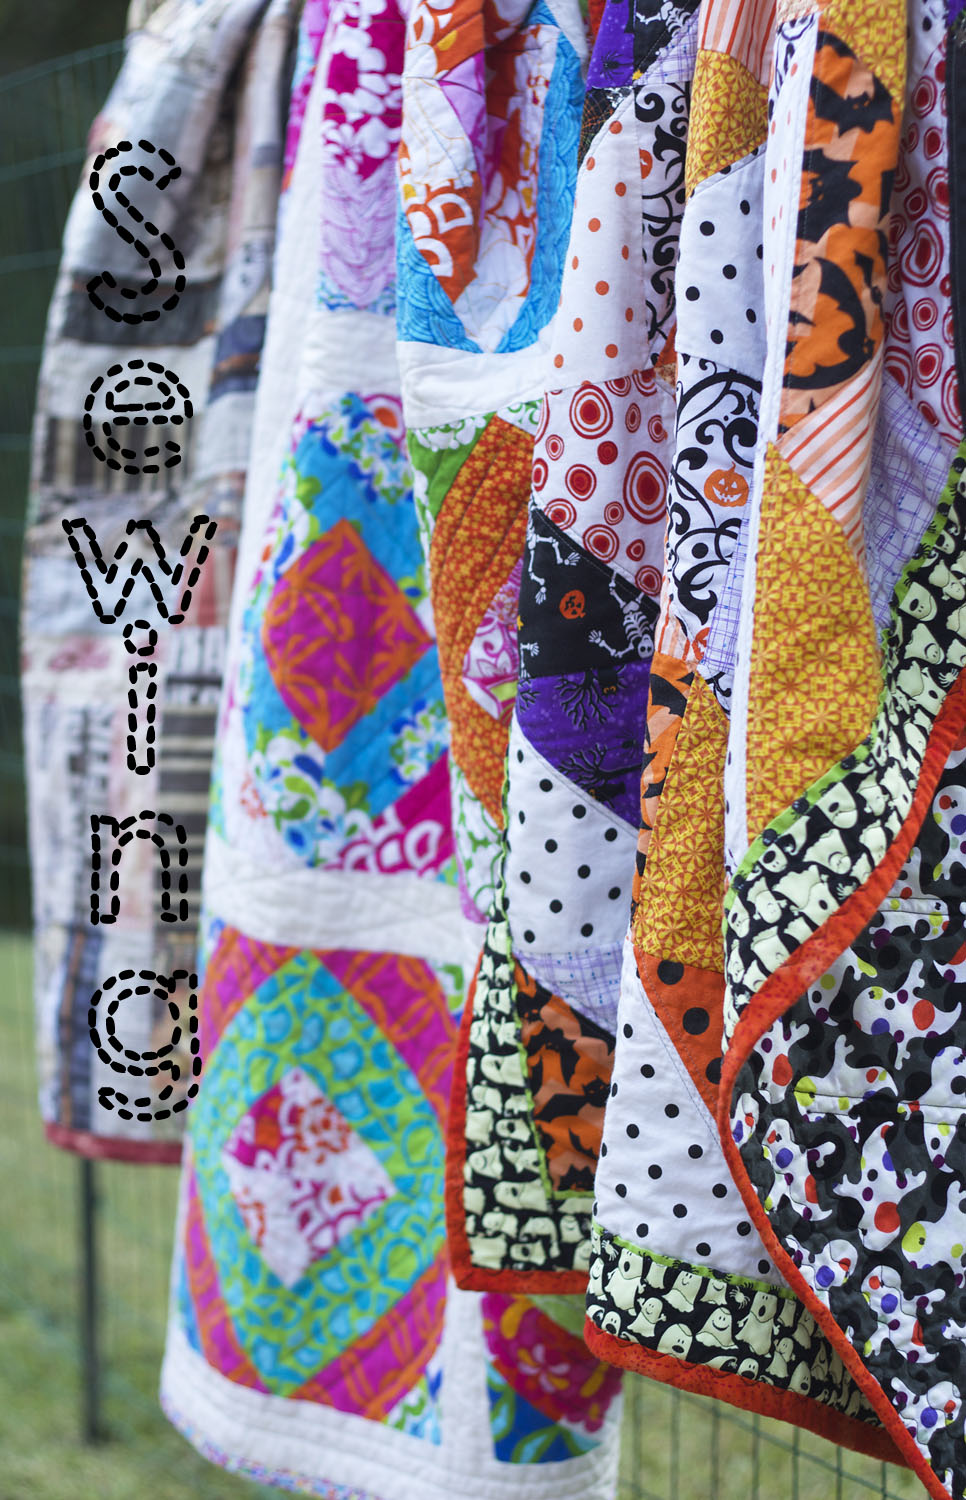
I received a “come on” letter from a national quilting magazine giving me a million reasons why I should subscribe to the best publication ever. In the packet was a pattern for a baby boy quilt. Loved the design and decided to make it into a Halloween themed blanket. It strained my gray matter to match the fabrics for the half square triangles (14 of them to be exact) but I think it was totally worth it. I love this modern, off-center design. Sorta like me! I found some fantastic glow-in-the-dark fabric for the borders and the backing. What kid or kid at heart wouldn’t love it?
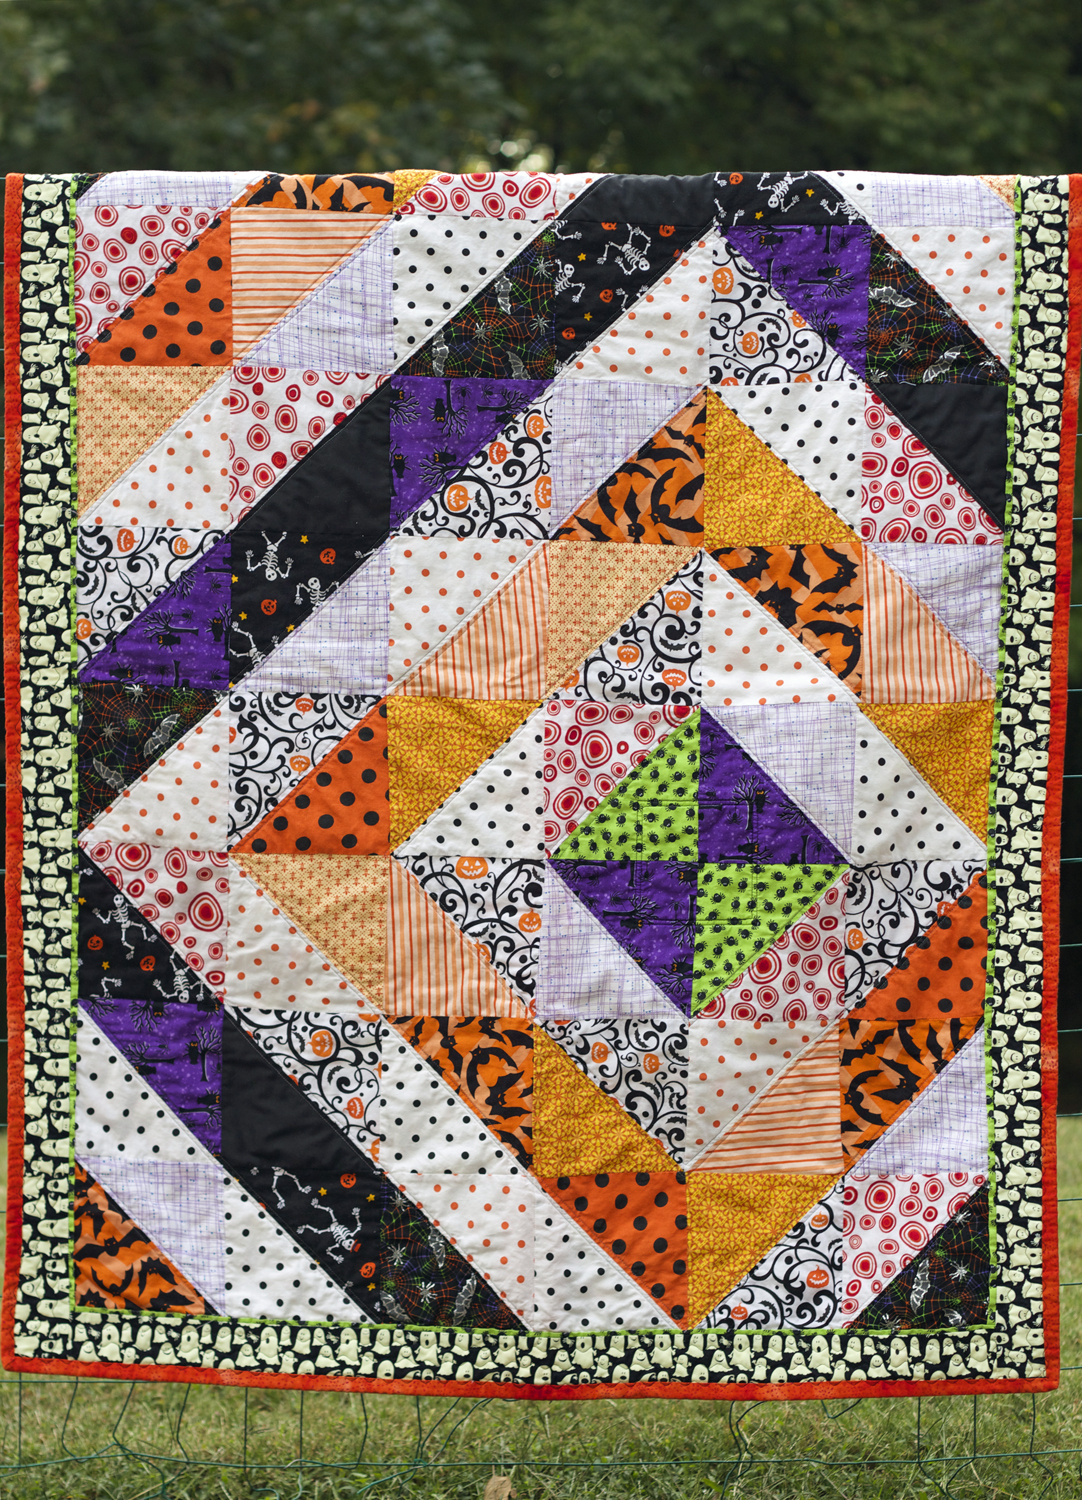
I made sure to orient those glowy ghosts so that they wouldn’t be standing on their heads! I quilted a 1/4″ on either side of the seams to accentuate the diamond shapes and then a double square in the center diamond. A squiggly stitch in the border and along the binding finishes of the front.
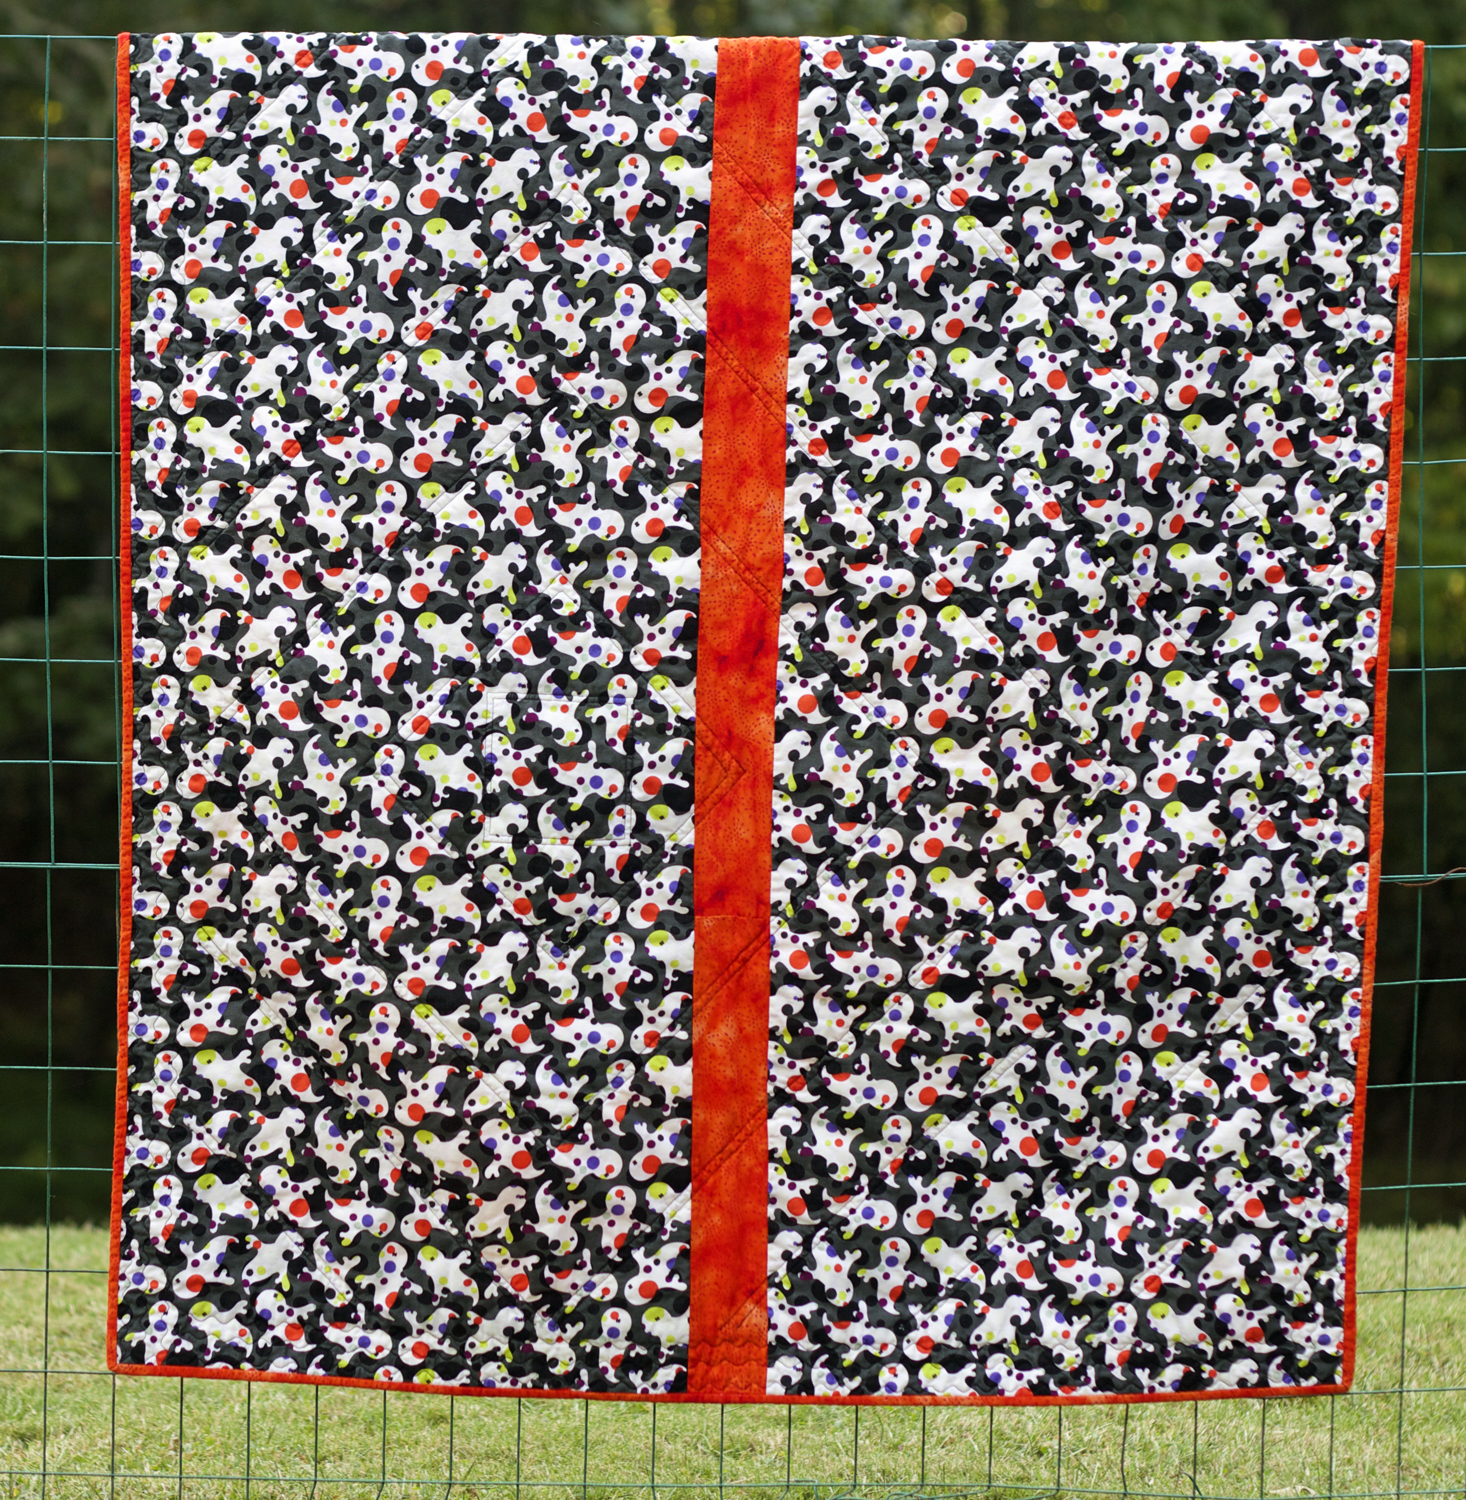
I used the same orange fabric in the binding to create a pieced backing for this quilt. These dashing, colorful glow-in-the-dark ghosts needed something to give your poor eye a bit of a rest and that orange stripe does just that.
Next up is a quilt that haphazardly decided to construct. Some months ago I purchased a Tim Holtz Eclectic Elements Jelly Roll and I could not decided what to do with it. I happened upon Kim Jolly’s Fat Quarter Shop Jelly Roll Jam tutorial on YouTube and decided that this would be just the thing for this fabric design and cut. I did add in a few extra strips to make the final size a bit larger.
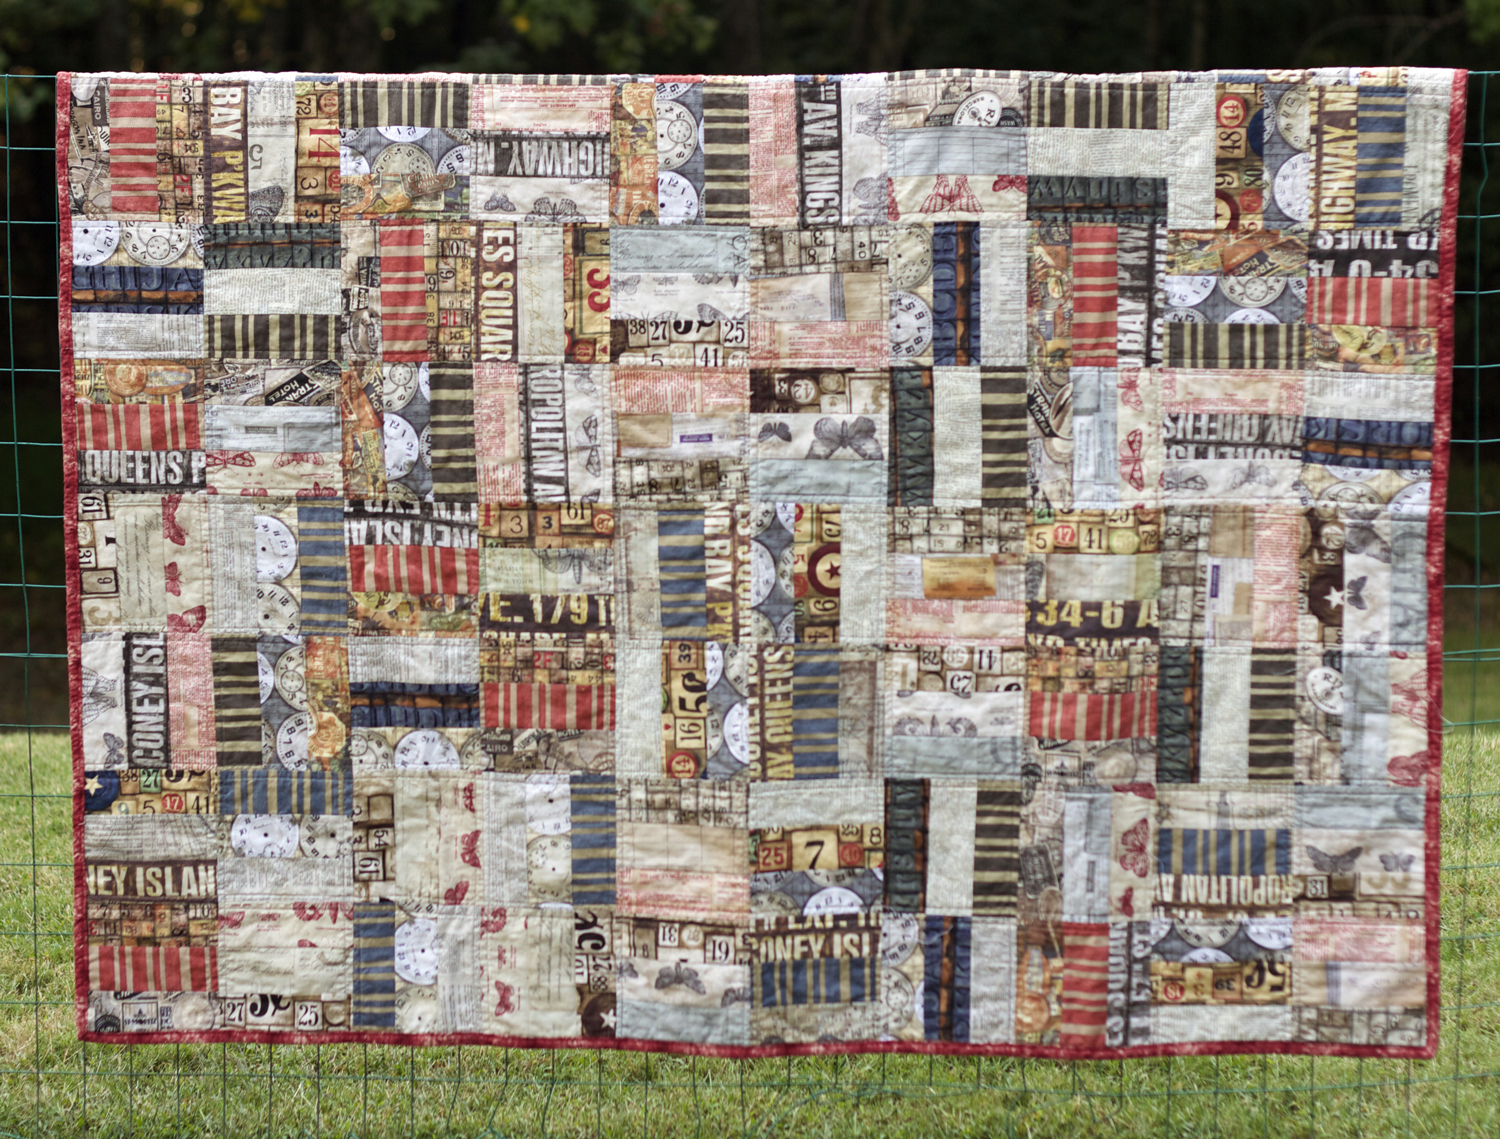
That is one big, busy, manly quilt! Despite all of the the grungy, steam-punky patterns it does still have a sense of order. I really rather like it.
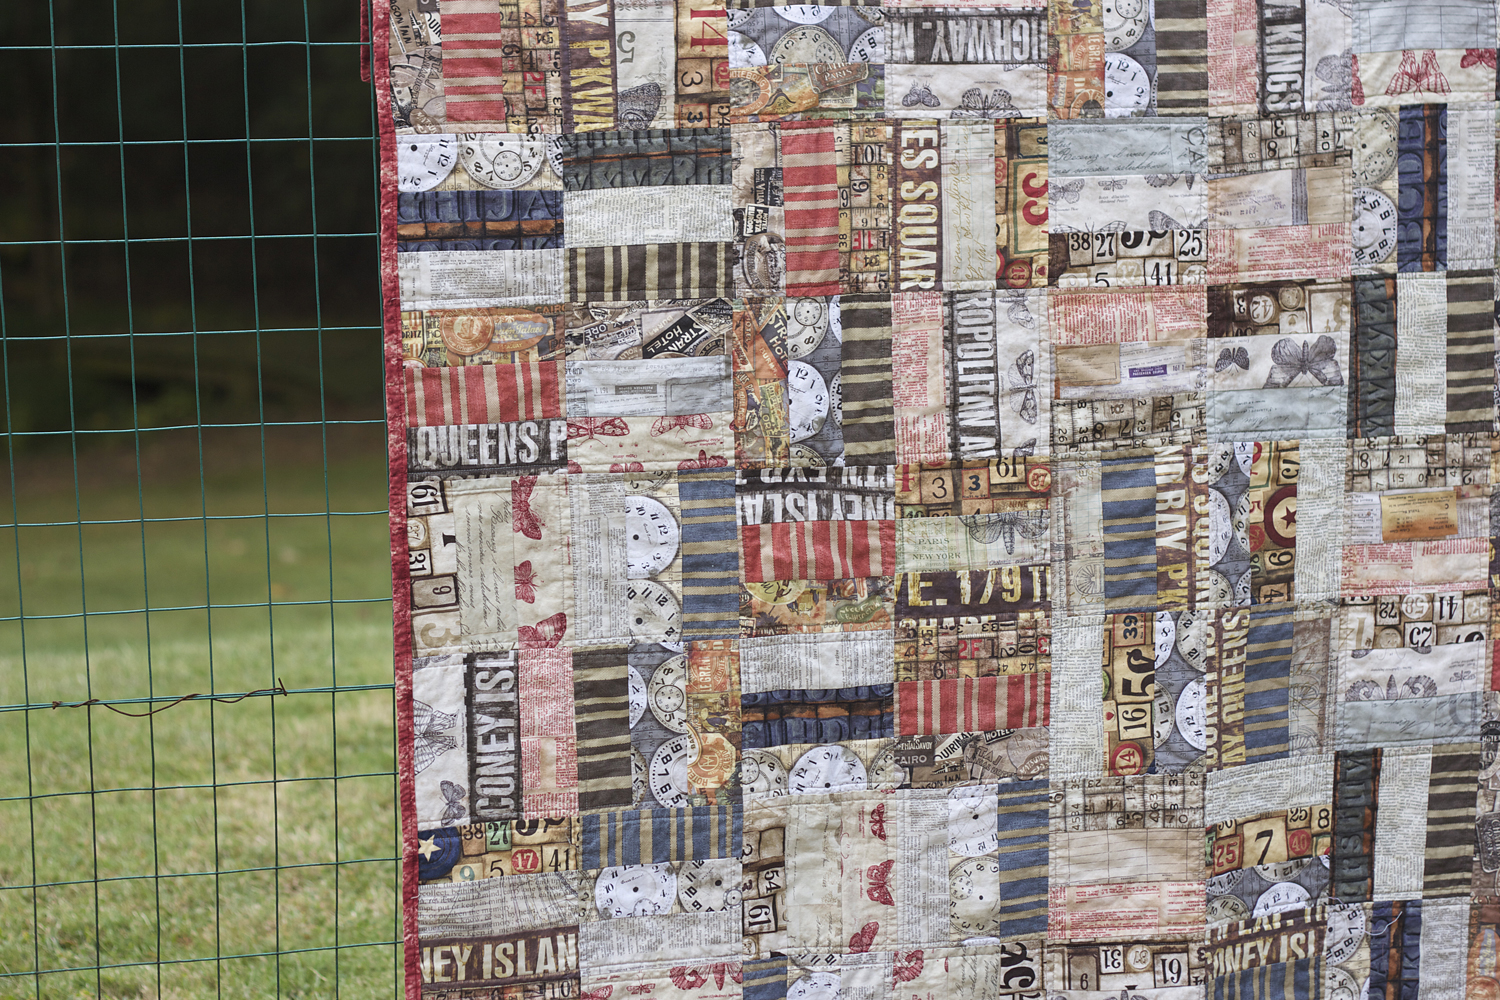
The fabric is complex and interesting. I ended up with two extra finished blocks and wasn’t quite sure what to do with them. Nor was I sure what to back and bind this baby with….but a trip to my LQS proved to be very helpful and I was able to pick out just the right thing.
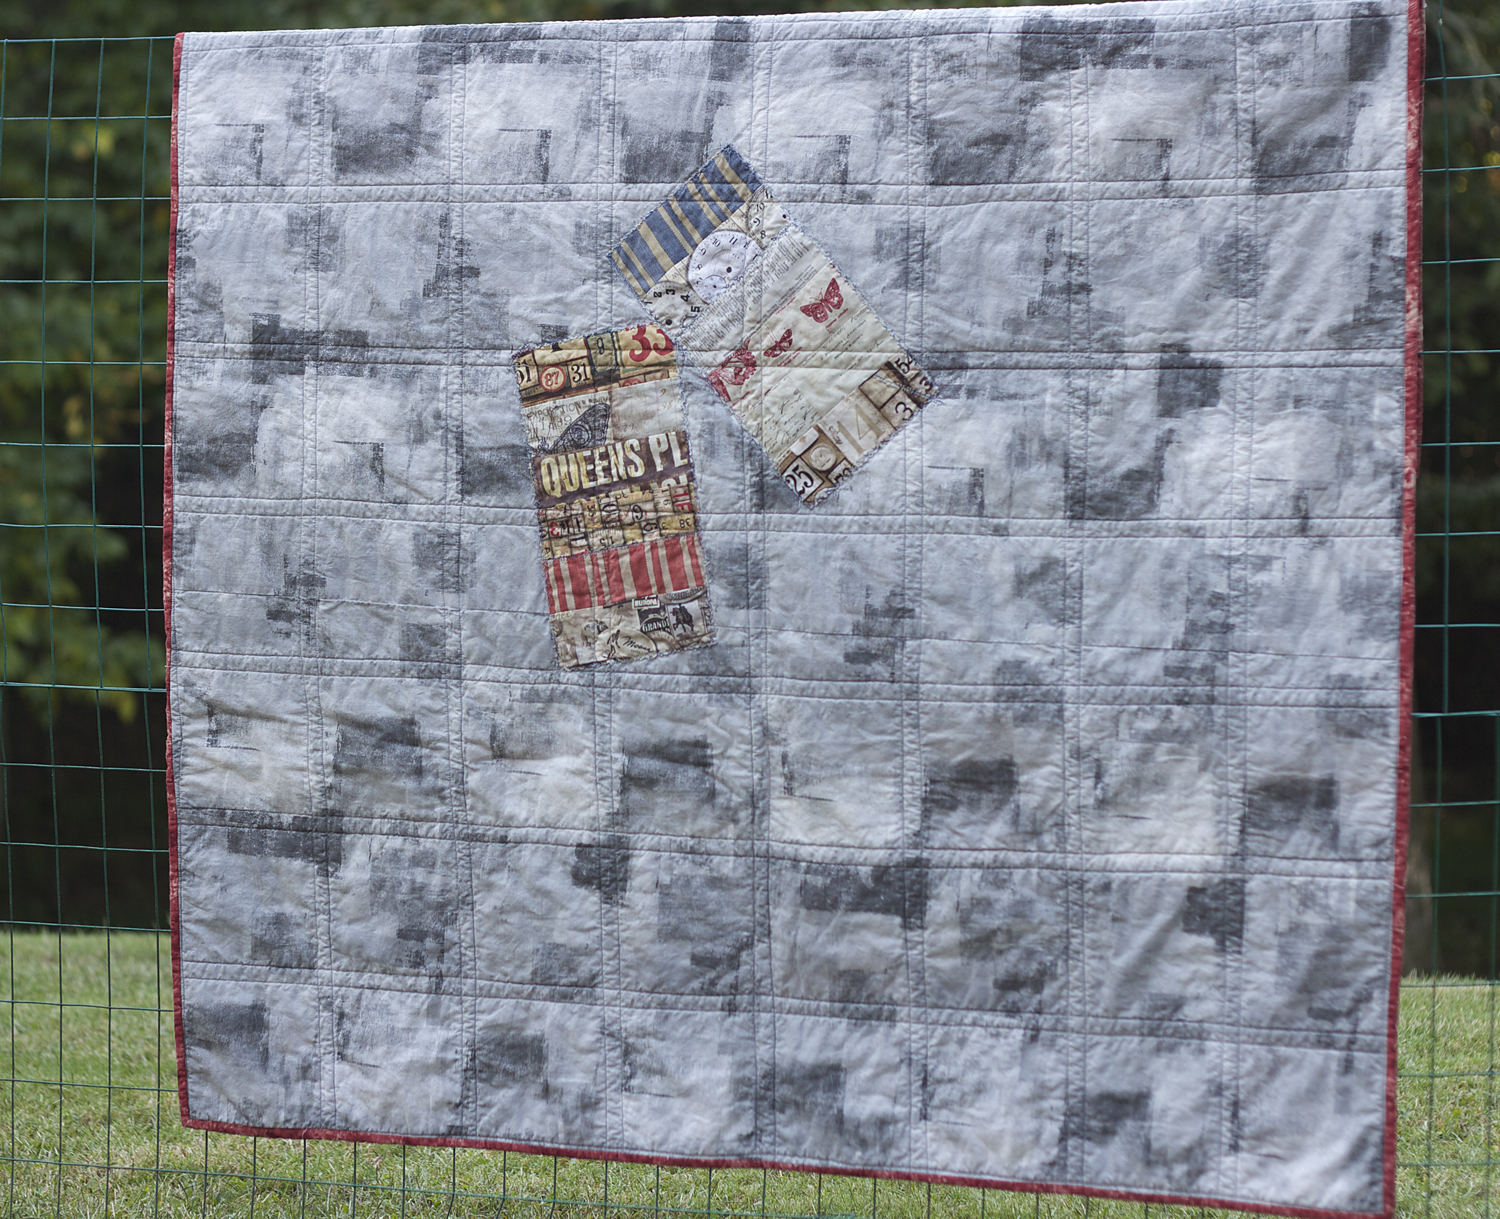
The grey “cement” grunge backing ended up looking like cinder blocks by the time I finished quilting this. I also decided to use some specialty stitches and variegated blue thread to make the two extra blocks appear as though they were patched onto the back….more grunge. The pinkish red binding finished everything off and brought it all together. Ultimately I am very pleased with the outcome of this quilt and I can’t thank the ladies at my LQS enough for their guidance.
Next up is a quilt I have been working on for awhile. This is a tube quilt pattern featured by Missouri Star Quilt Company. I made mine slightly different by adding more strips instead of a solid on one side.
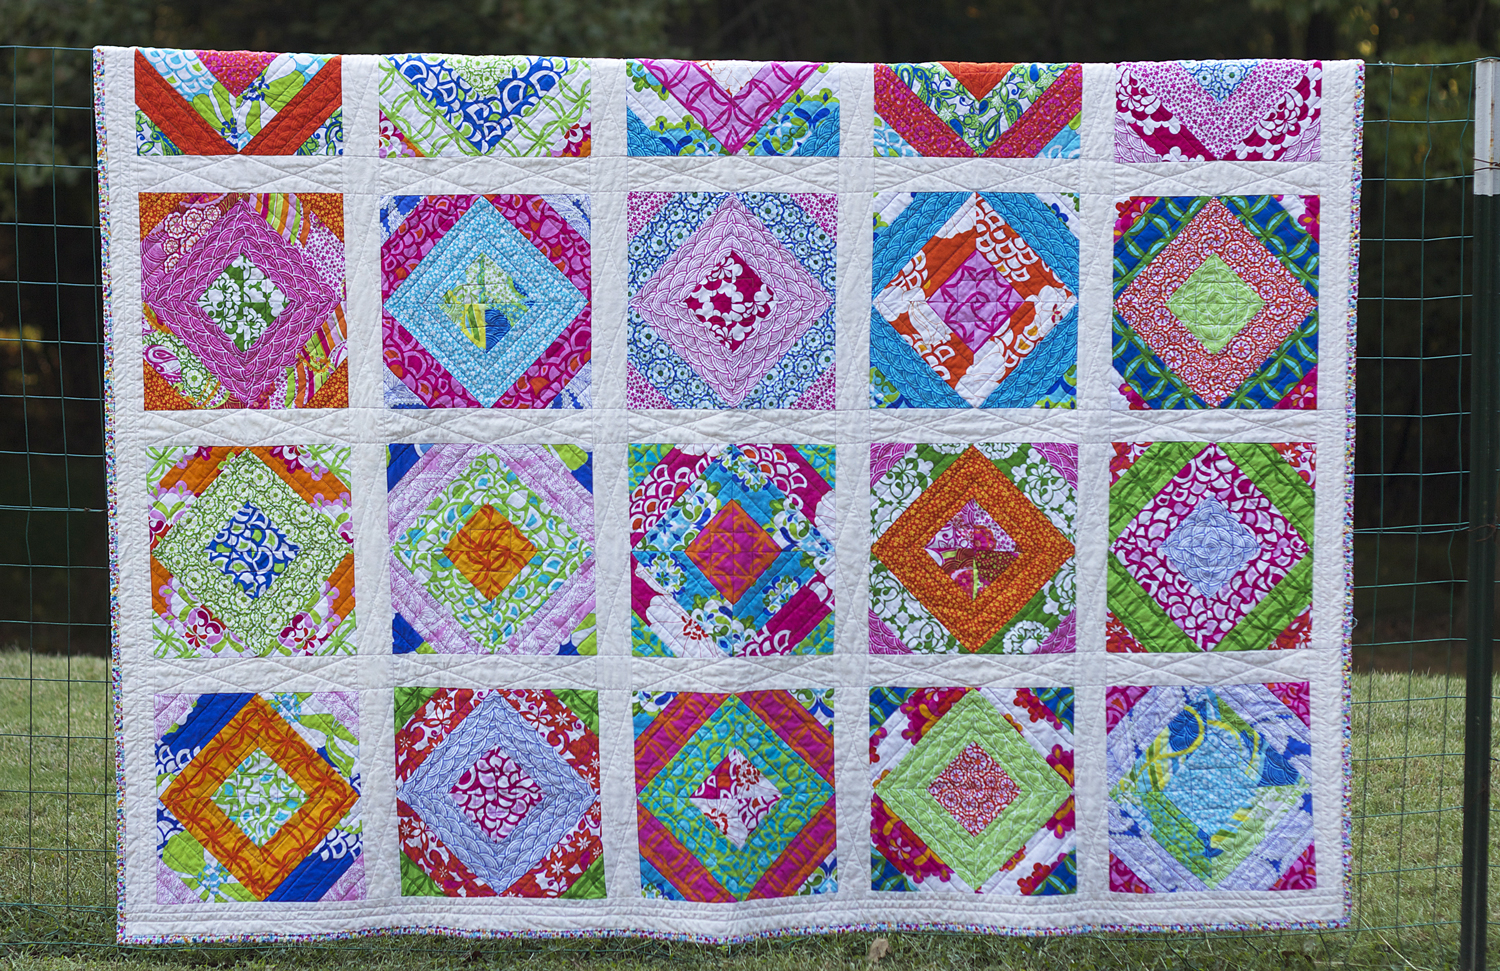
This is made with Lili-fied by Kanvas and it is very bright and cheerful. I sashed it with plain white and then the top sat on my quilt rack for a month or so because I just couldn’t find a backing that I thought went with it. I finally found a fun primary color dot that complimented the top. I also used it for the binding.
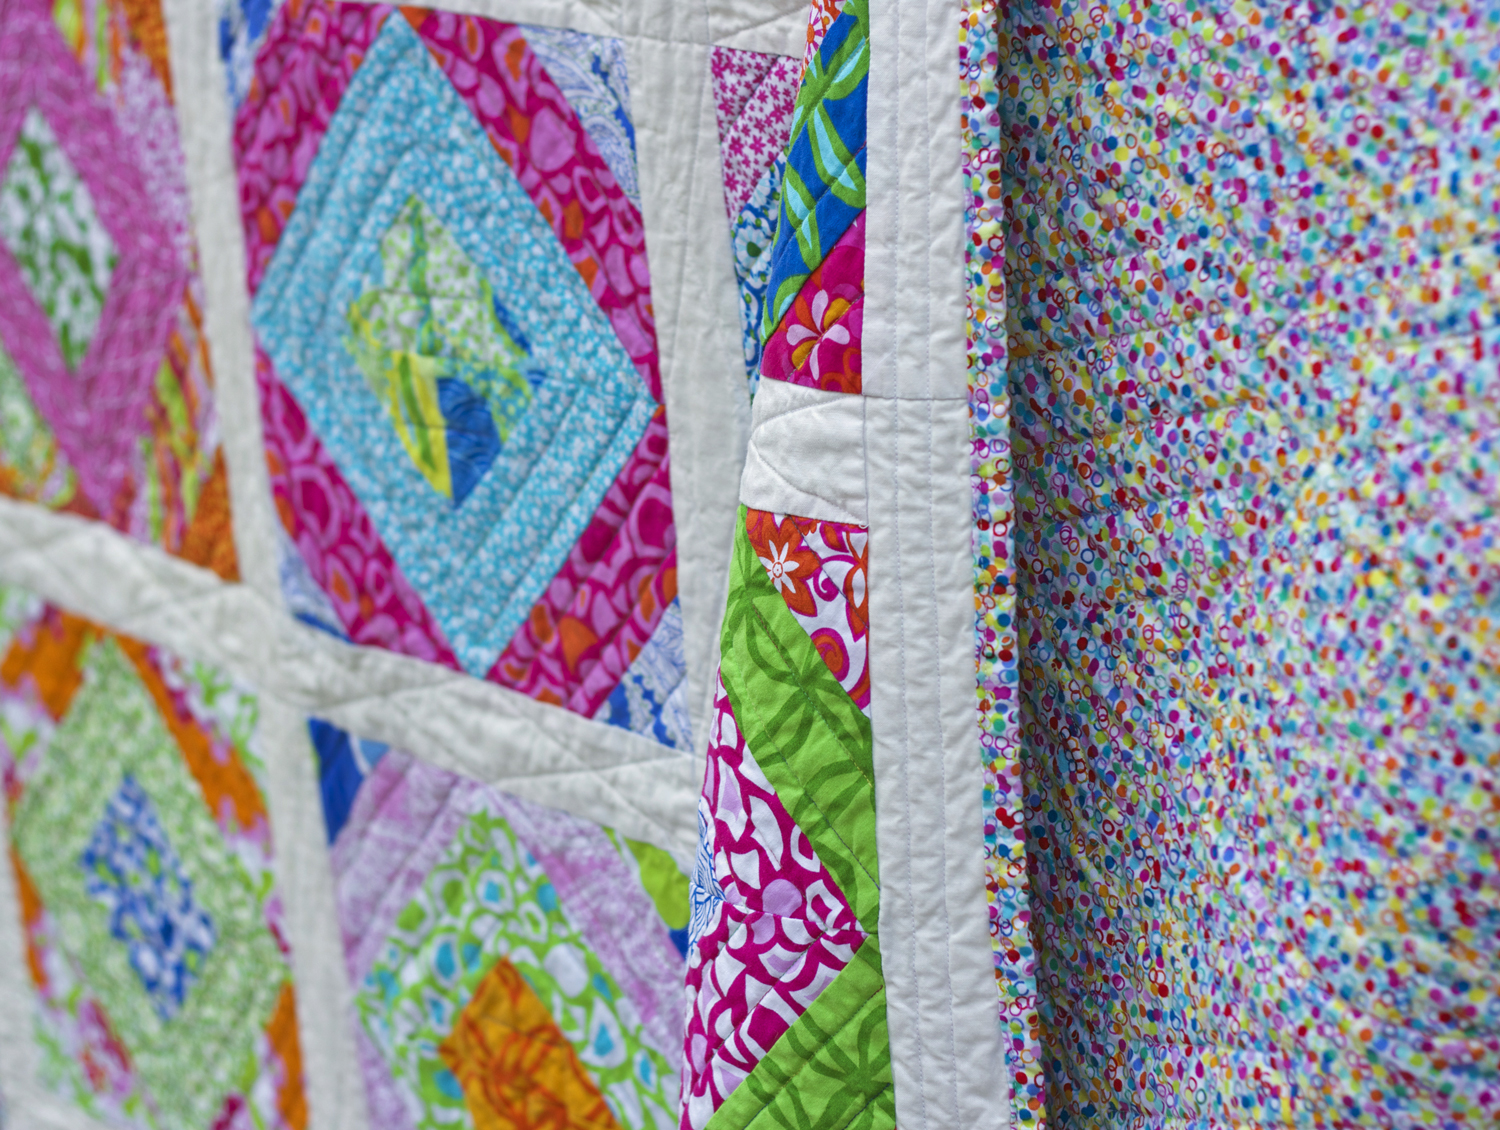
Love those dots! I stitched the blocks with variegated thread and the sashing with white.
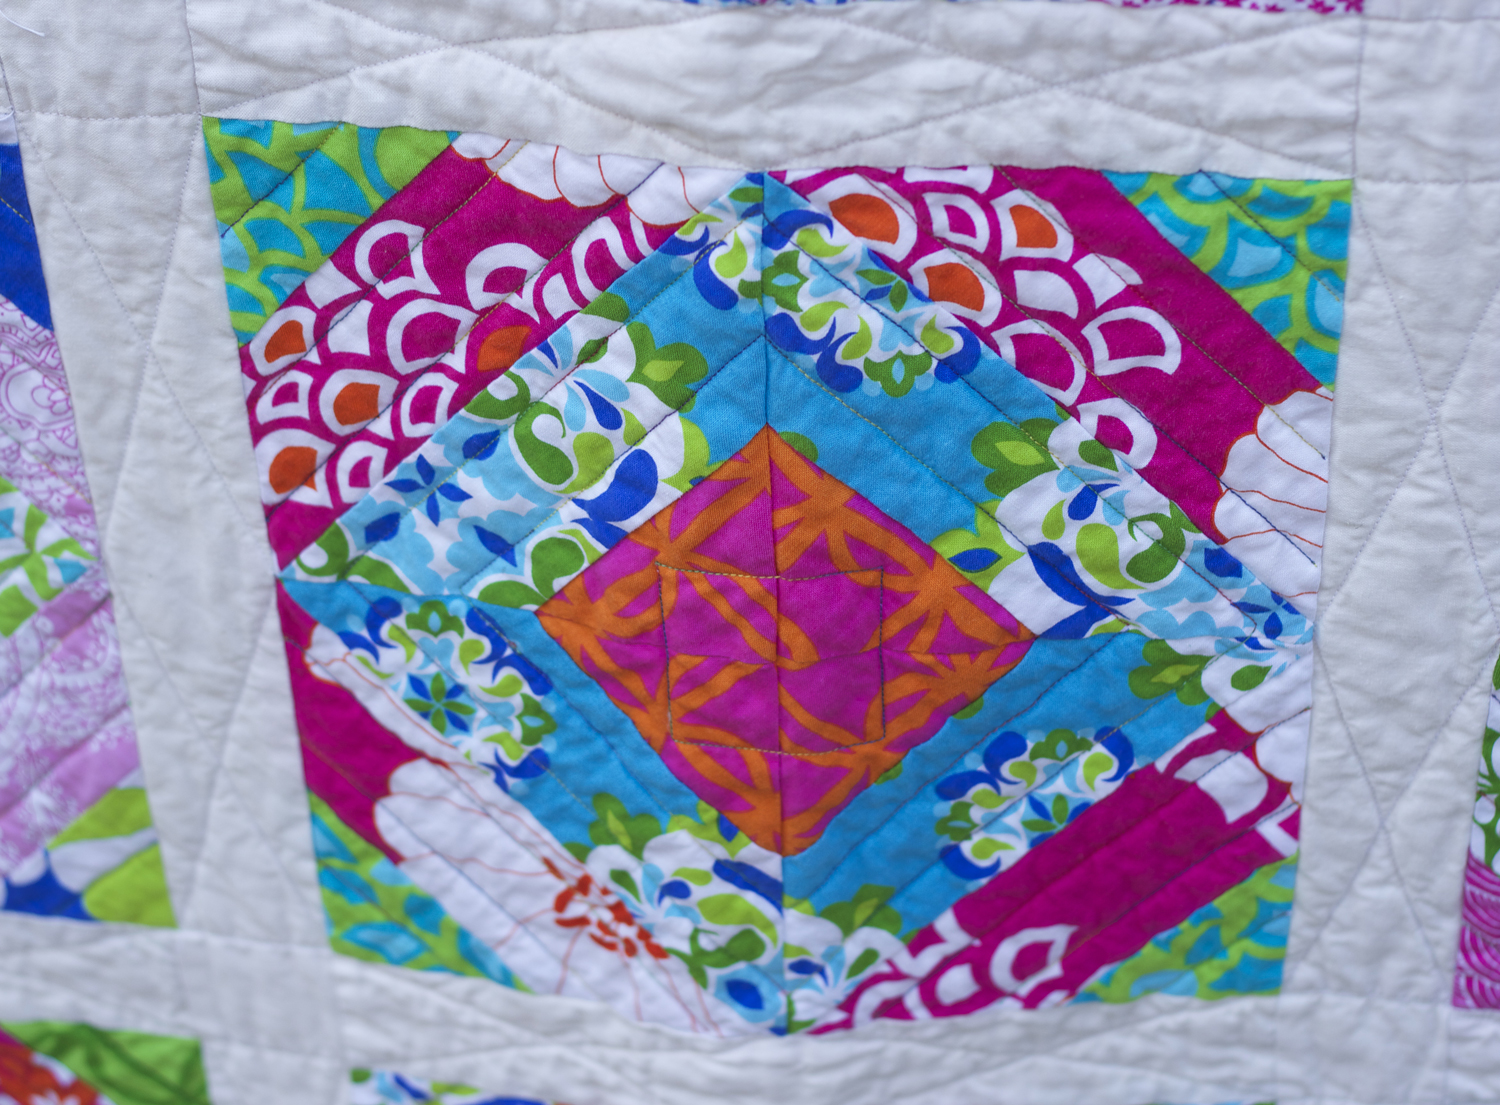
The devil is in the details….BORING to quilt but I am thrilled with the end result.
My sister came to town for a few days and we switched gears from quilting to creating. Some months ago I purchased a couple of yards of some really lovely Hanukkah fabric. While she was here we made some great items to use for the upcoming holiday.
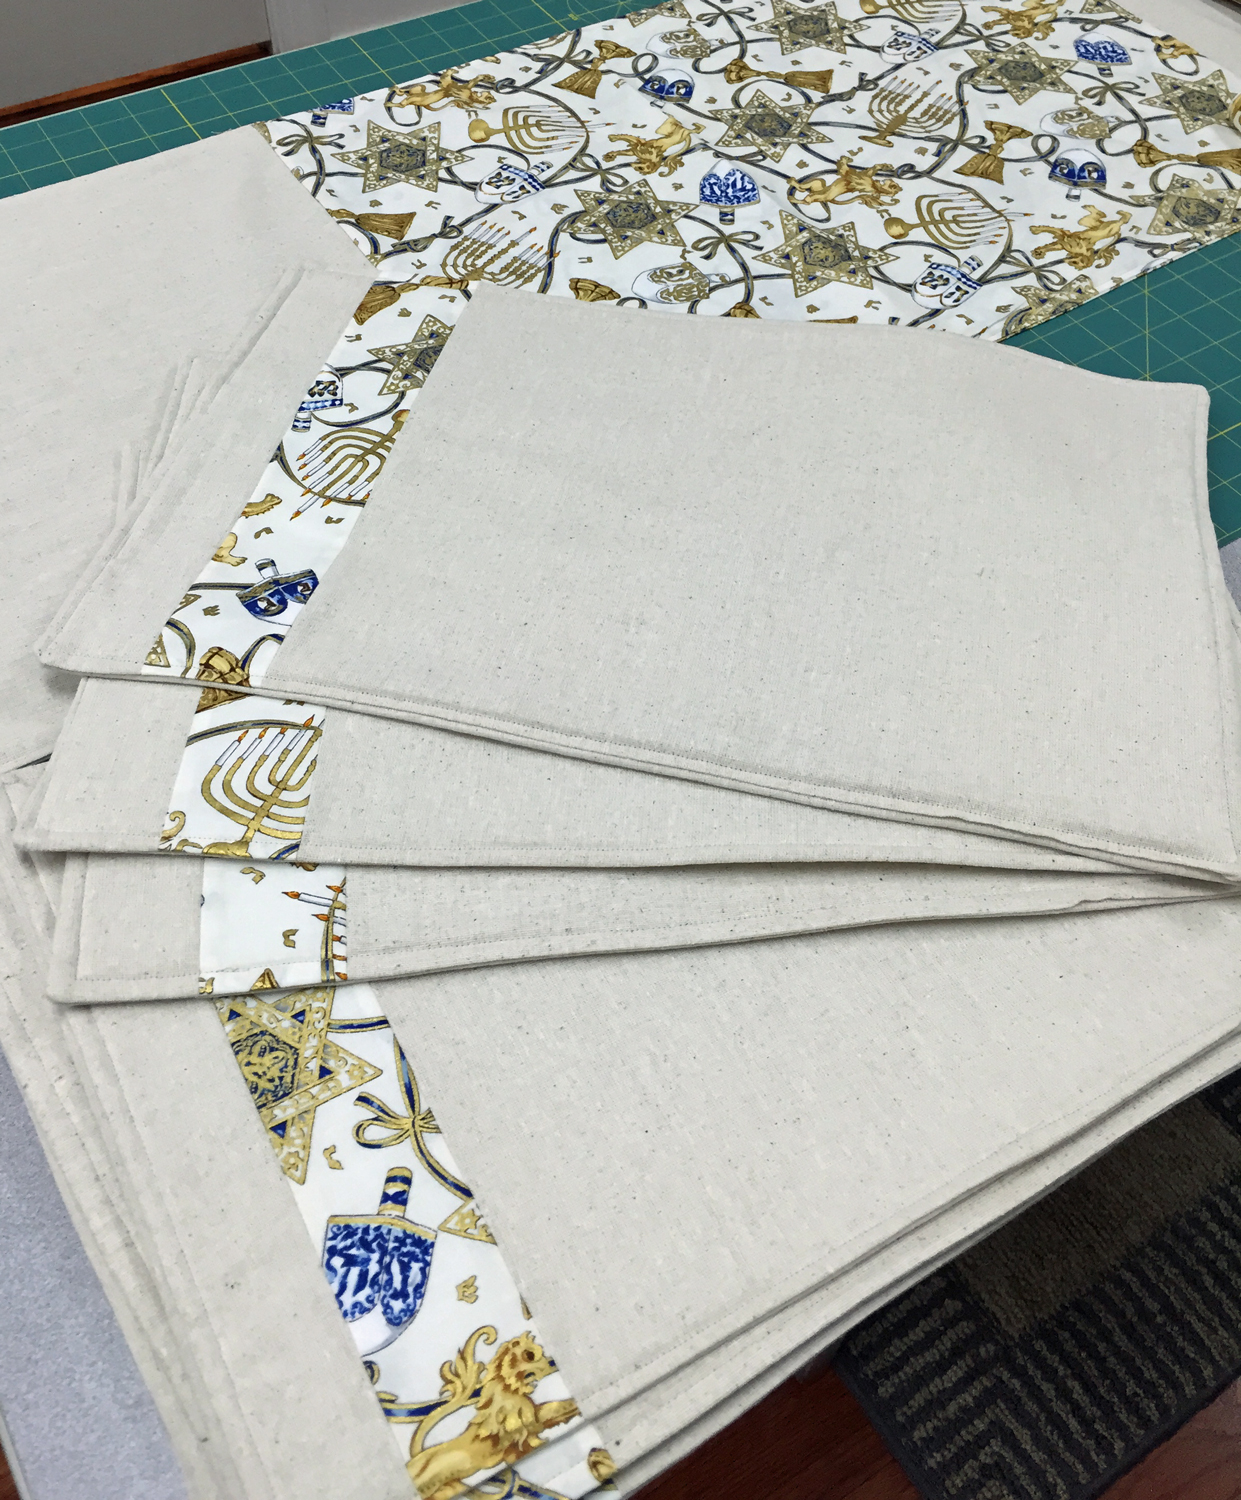
Using Osnaburg for the linen look, we created placemats and a table runner.
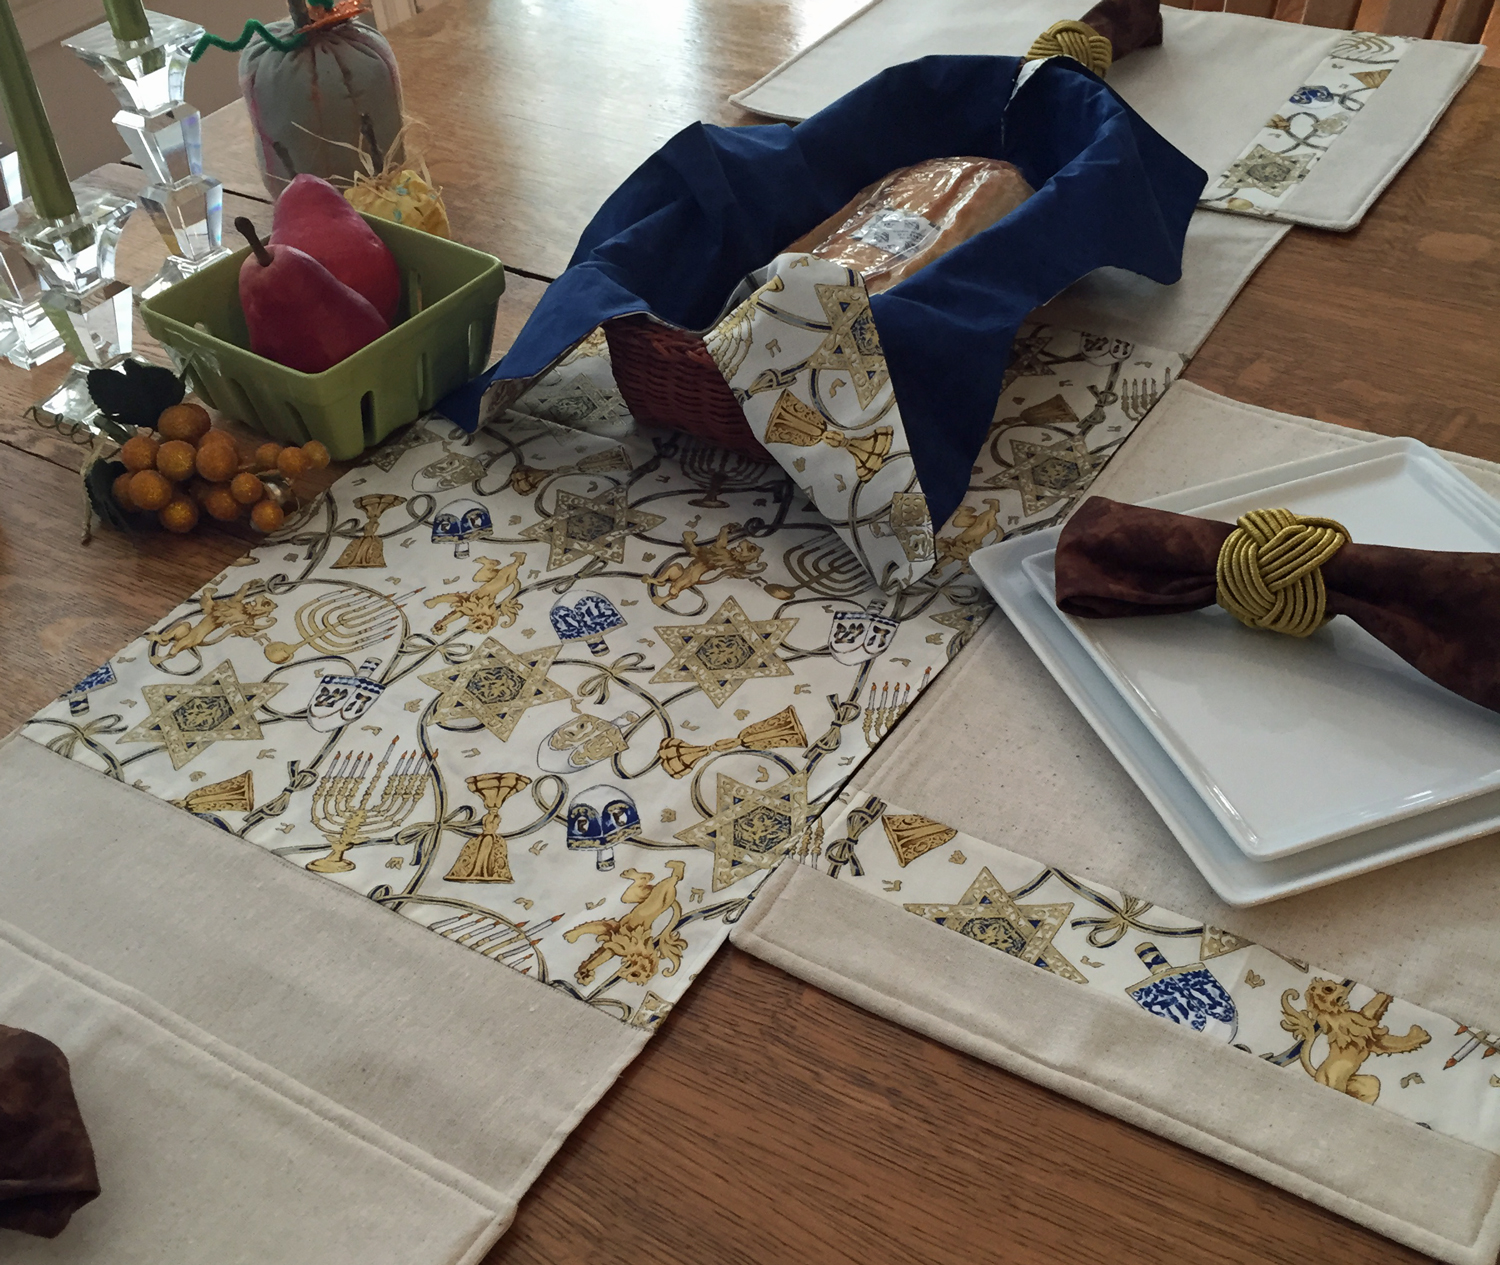
Using a nice blue, we made bread basket liners for the challah and napkins for 8 place settings.
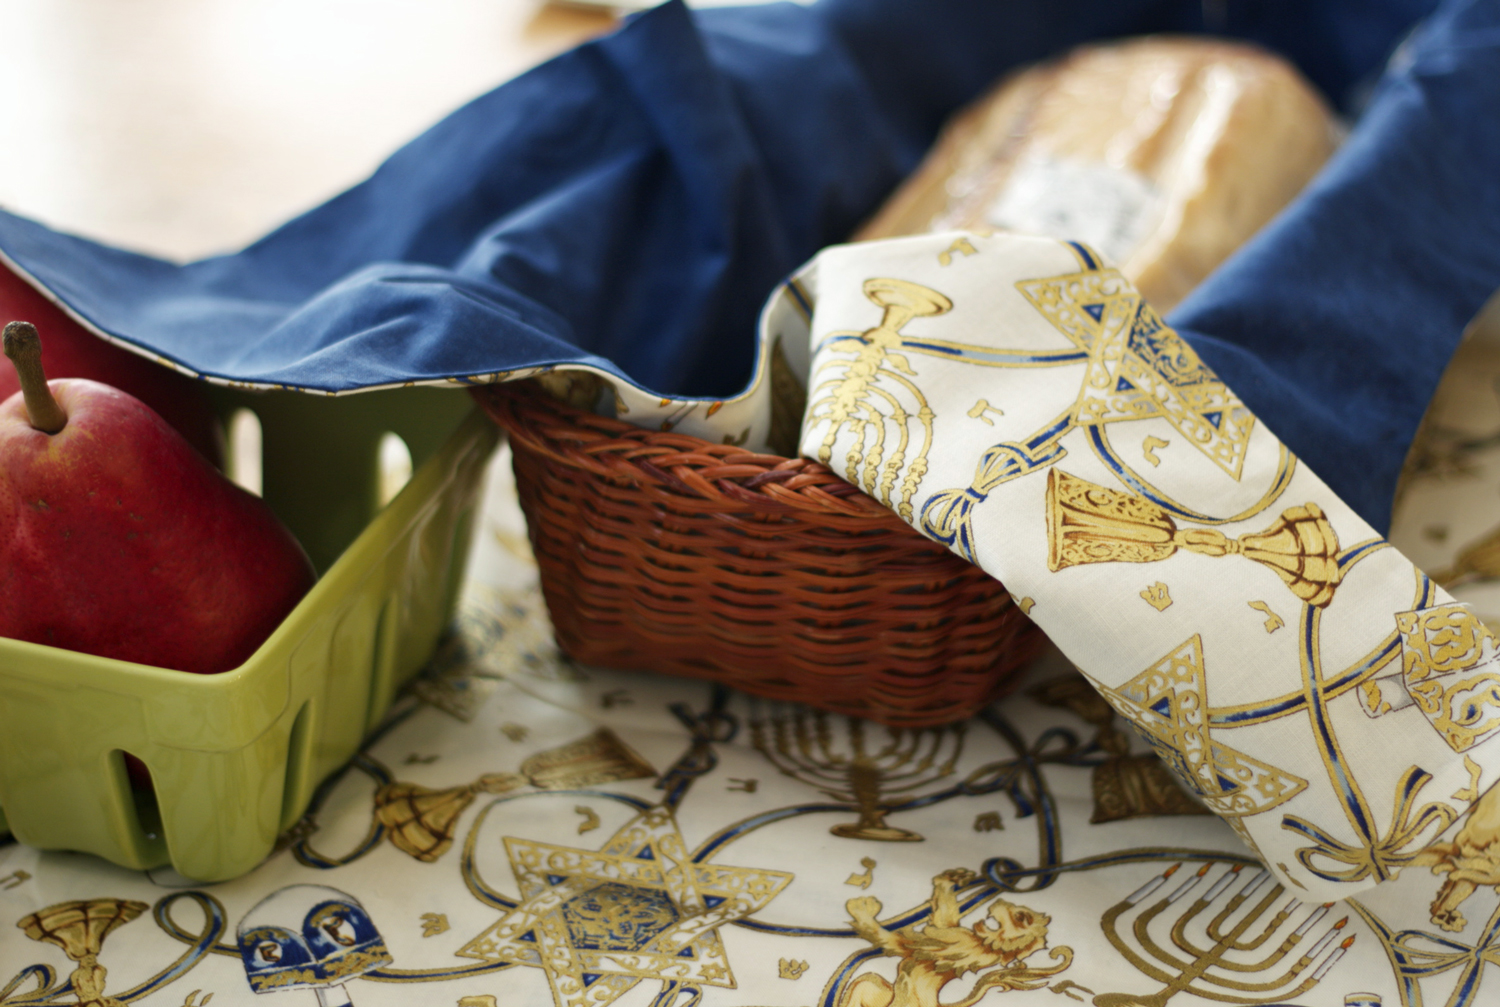
Really classy fabric with the Lion of Judah and gold and blue embellishments
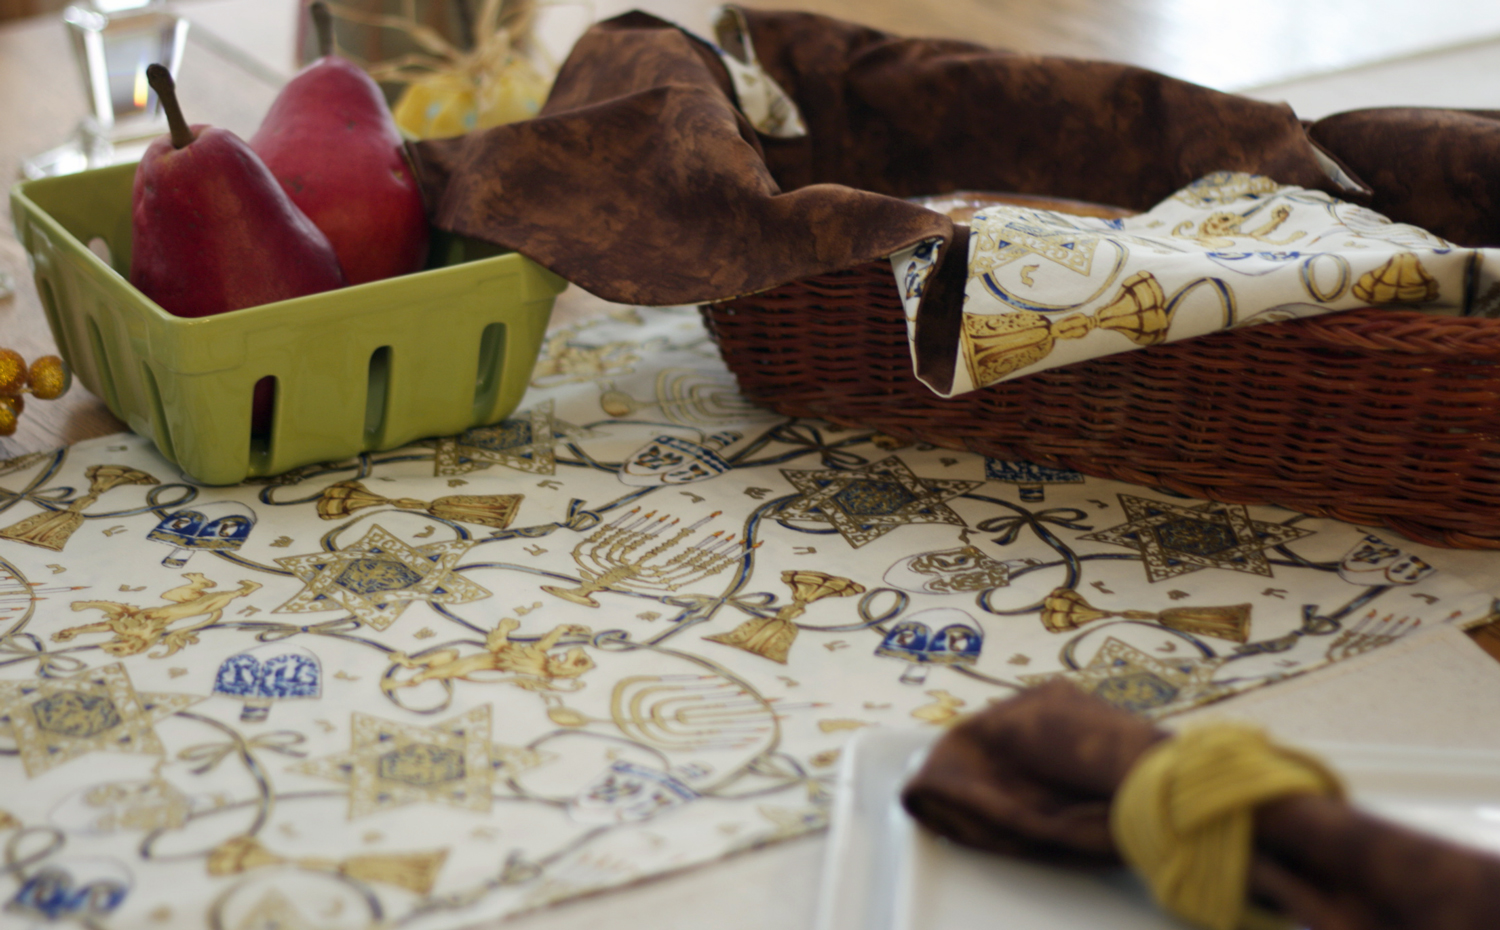
We made a brown version of the liner to coordinate with the napkins. Very pleased and it should make for a magnificent holiday table. Could you pass the latkes and applesauce, please?
My dear sister and I tackled one last big project. When I visited my mom in August she sent me home with a vintage quilt that avuncular aunt had made for her over 60 years ago. In one of our frequent moves, it was damaged by some unknown liquid. While I was loathe to take on the cleaning (and possible destruction) of this heirloom, it was unusable in its present condition. A WORD OF CAUTION: This is NOT a guide on how to clean an antique quilt, merely a description of what I did and how I did it. All cleaning methods involve risks, even with new textiles. You decide your level of comfort with taking on such a task and if you feel the risk is worth it.
First we spread out the quilt on the kitchen floor and assessed the fabric integrity….we found a few loose stitches on the hand bound edges but none of the other fabrics appeared frayed or torn. Next with a white towel, I dabbed a bit of water on the red pieces on the quilt to see if the fabrics would bleed. They appeared to be colorfast even though these were genuine 30’s fabrics. We scoured the web for cleaning suggestions and finally settled on making our own “oxygenated” bleach. That is a paste of baking soda and hydrogen peroxide.
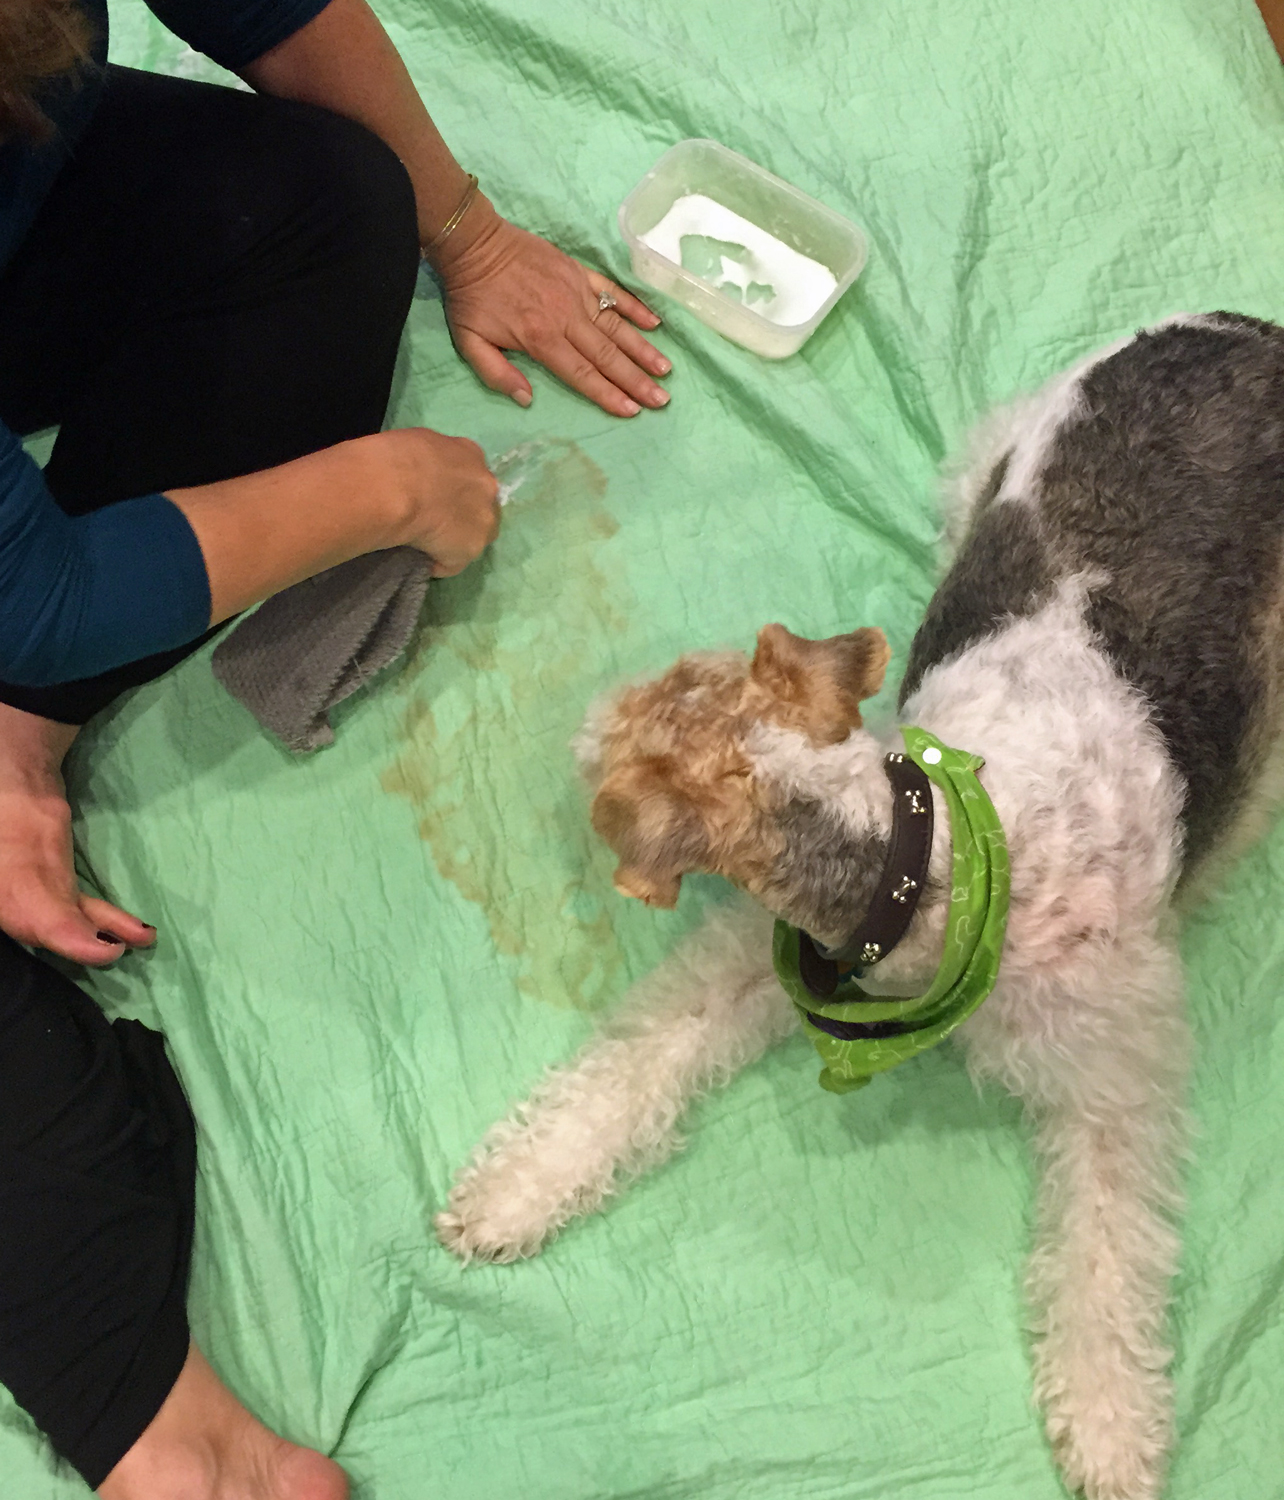
Here the faithful sister with the every ready assistant Charlie, dabs on the oxygenated paste. We let this sit for about 30-40 minutes and then rinsed it. A few areas needed to be re-treated and once that was done I put it in (HORRORS!) my front load washing machine on the hand washable setting in cold water with some Woolite. I was concerned that the paste needed to be neutralized and that the baking soda could potentially “rub” a hole into the fabric. I would NEVER suggest you place a vintage quilt in the washing machine but again; this quilt looked as though someone had shat on it, it was unusable in its condition and so I was willing to take that risk.
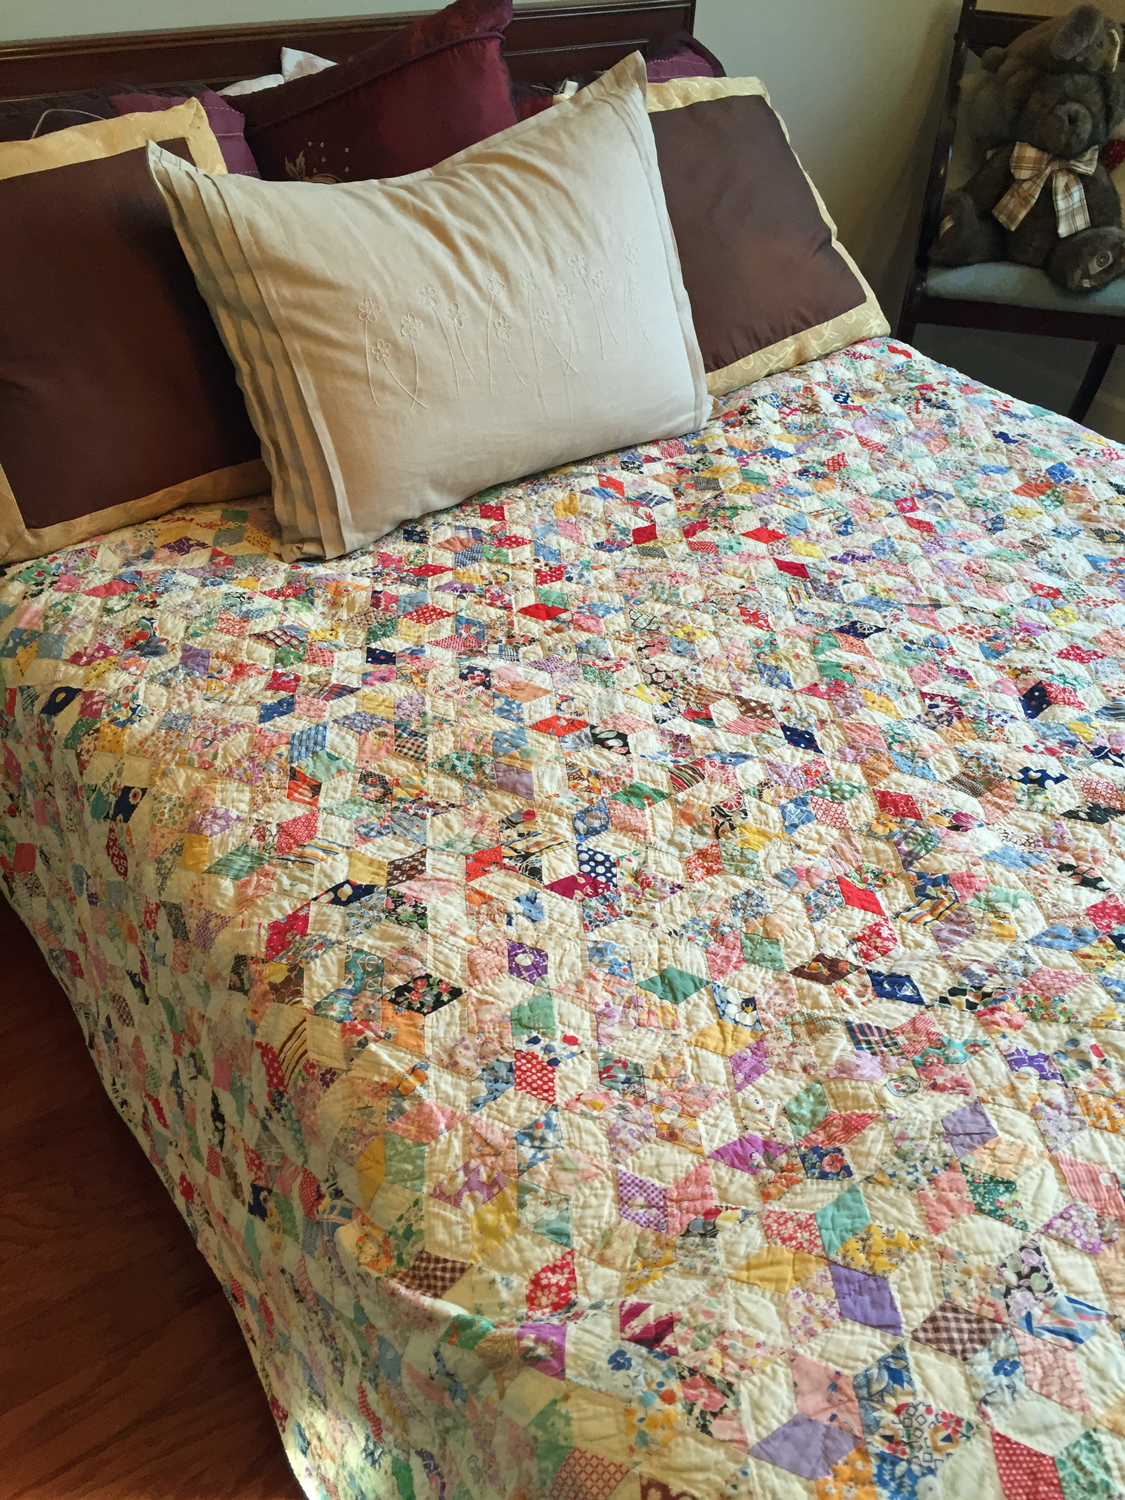
Here is how it turned out. Yes the stain is still slightly visible from the front, but it is nothing compared to before. I am so sorry that I failed to take that before photo…..but the colors of these genuine 30’s fabrics are not to be believed and I am amazed at how well it held up. It can actually be used, loved, enjoyed and admired for all of the patterns, fabrics and hand stitching.
There is always something to sew!
Ya do what CHA gotta do sometimes!
Great job on this old quilt! My aunt has 2 quilts over 100 years old but last time I was up there I caught on quickly she wasn’t ready to part with them. They aren’t that pretty but we’re made more for warmth from what I can gather. Great job sisters!!! Oh yes, good supervising Charlie!!’