Last week we did an awesome binding technique to create a bumpless and seemingly endless edging. This week we are going to get this car cover finished up because it is nearly time to hit the road again.
First a disclaimer: I am making this as a seat cover to protect our leather seats from a DOG carrier. Before you attempt or install any such item with a baby seat or a compromised child or adult, ensure that the safety equipment is properly installed, adjusted and allows for any such item between carrier or restraint and the person/animal/item being restrained. I make no guarantee of the safety or efficacy of the use of this item.
Now back to our regularly scheduled programming.
When cutting my 2 1/2″ strips for binding, I did cut one extra and set it aside. Now I will use it to make ties for securing the seat cover around the headrest. First press the strip in half.
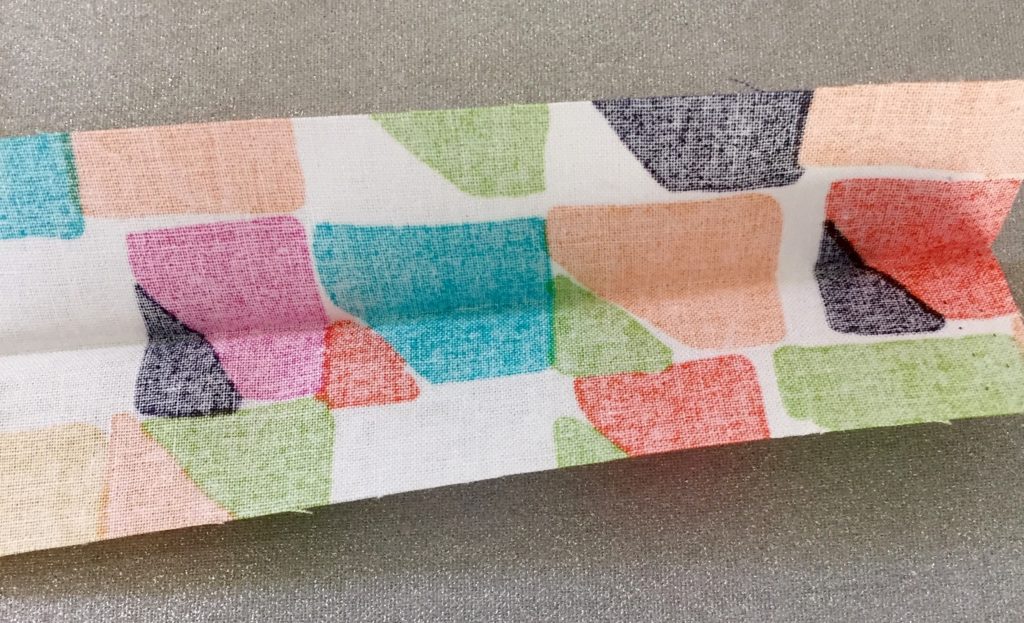
Now open the strip back up and using the press line as your guide, fold and iron in the right side to the middle. Do the same with the left side and now your strip should look like this:
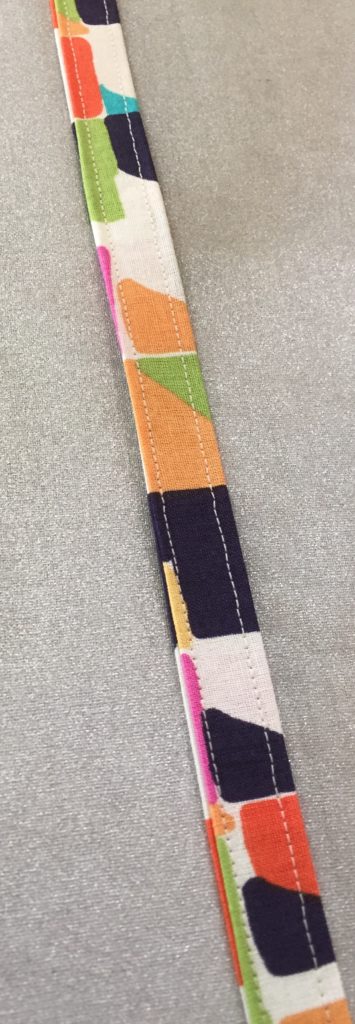
Now fold it in half one more time and press well. It will be a long skinny piece of fabric.
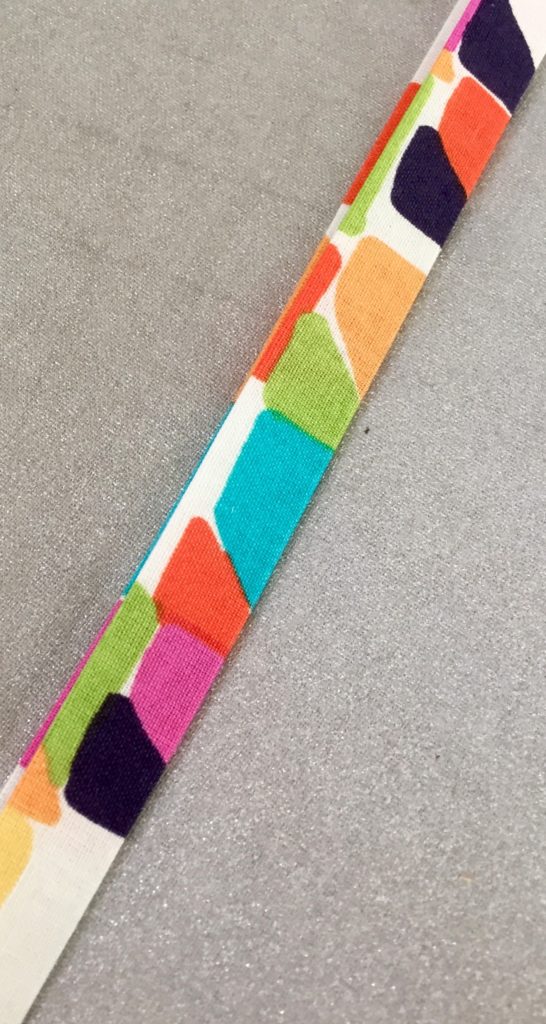
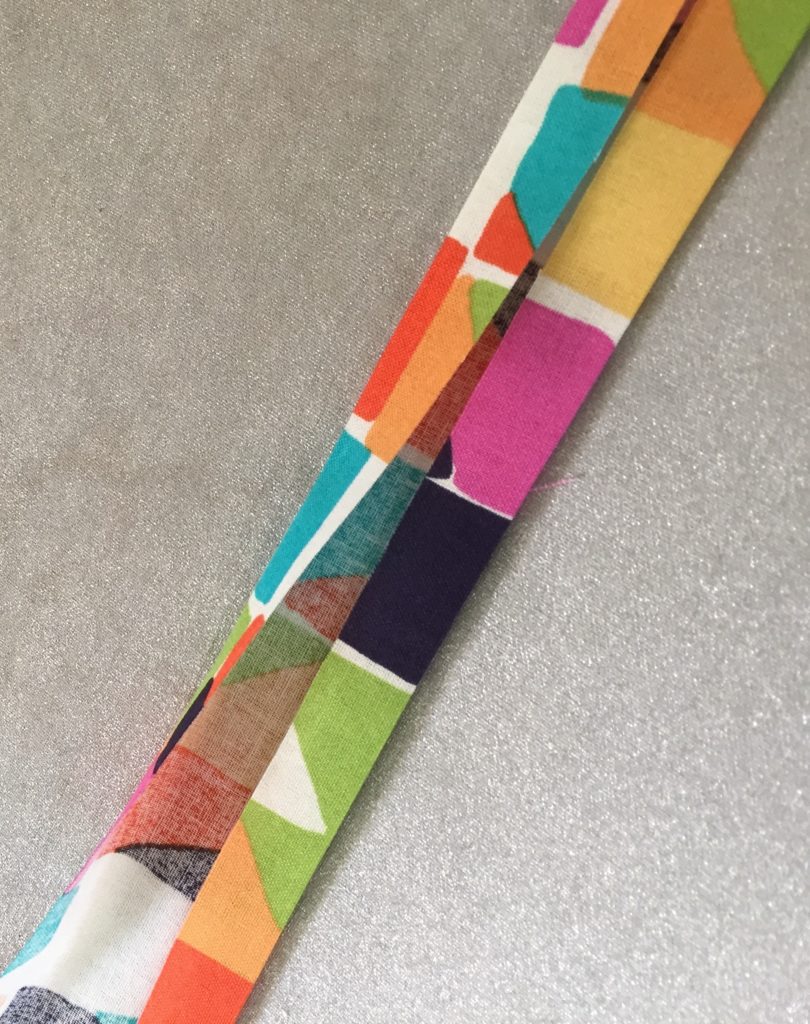
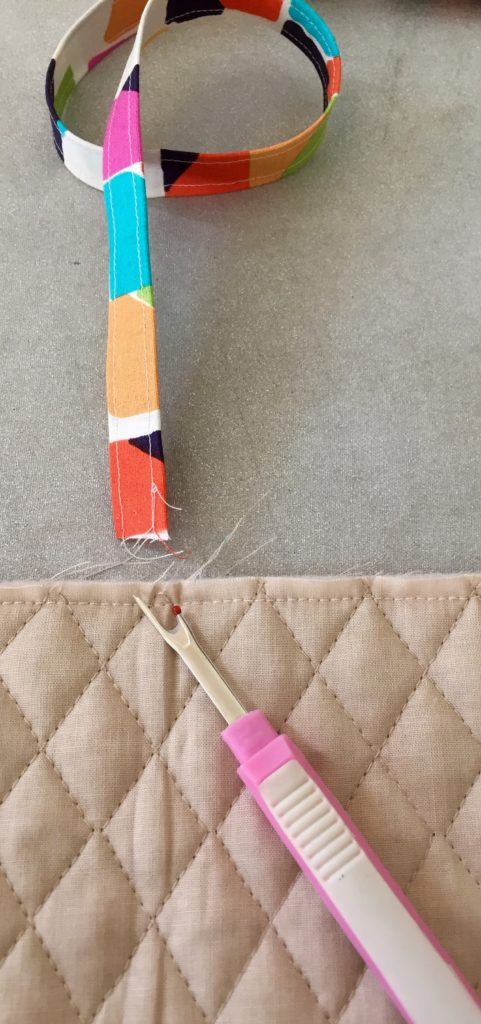
Topstitch close to each edge using ~1/8″ seam. The will close the fold and strengthen the tie.
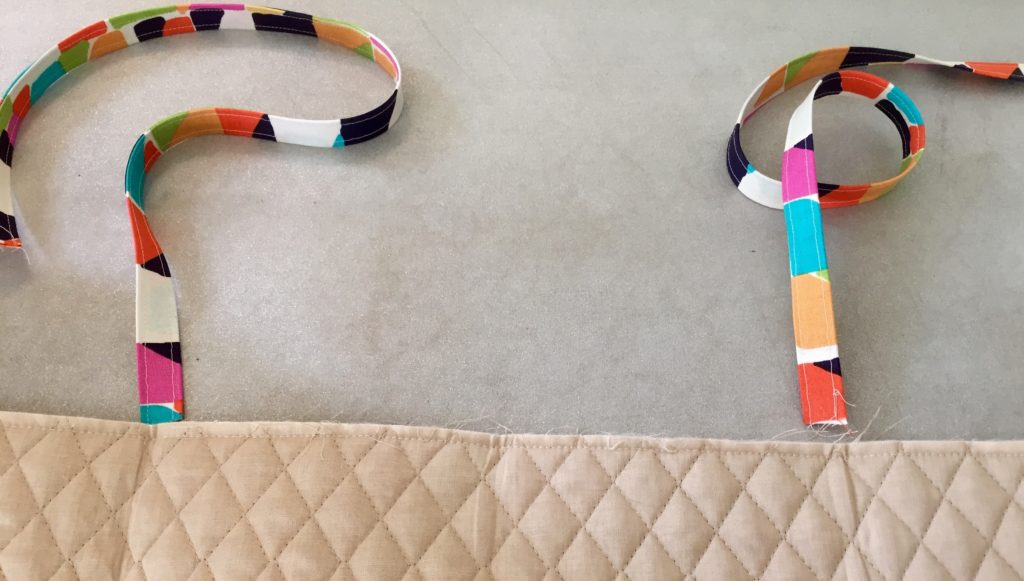
Cut this length of fabric in half (each piece should now be about 20″) and set aside. Let’s figure out where we need to place the ties on the top of the car seat cover.
First, fold the top of the cover in half
Give it a little press to mark the center. Open up the cover and then fold both sides into that middle mark.
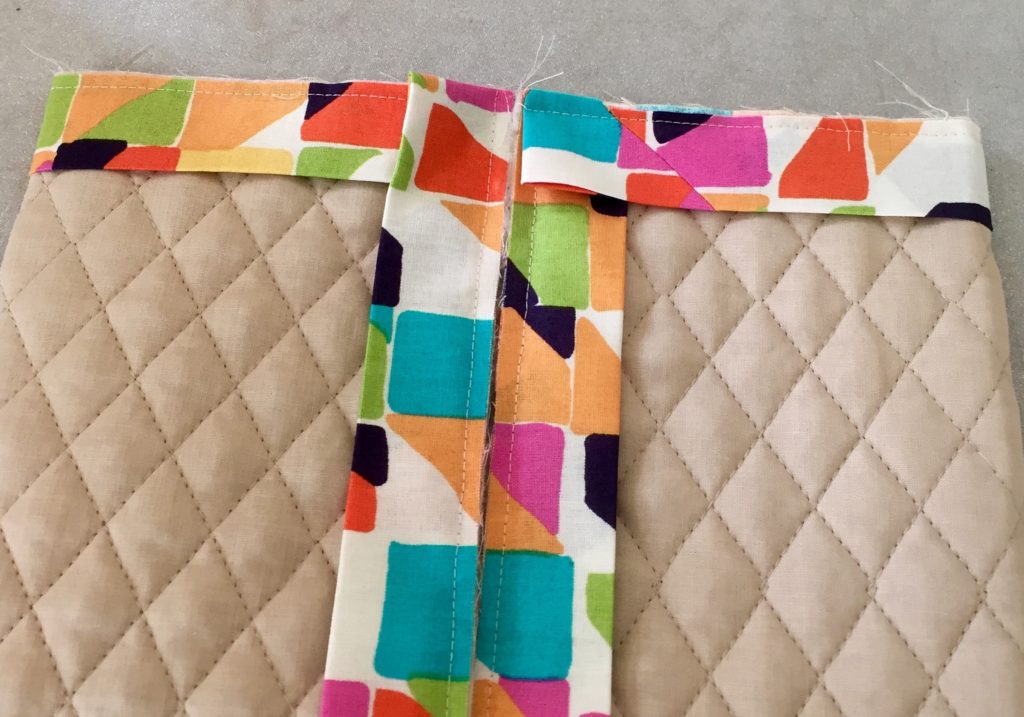
Create a press mark at each of these folds and then unfold the cover. The press marks are where you will attach your ties.
Now grab your seam ripper because we need to pick some stitches. I know, worst job ever, but you can handle it. Where the ties will be attached to the cover, pick out about 3-4 stitches. See? I told you that you could handle it
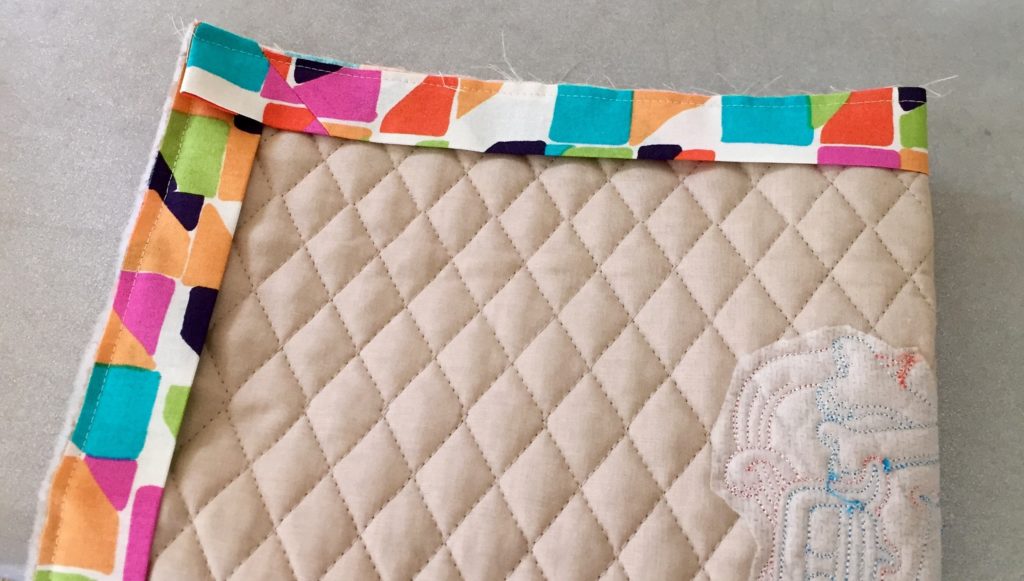
Gently insert them into this opening
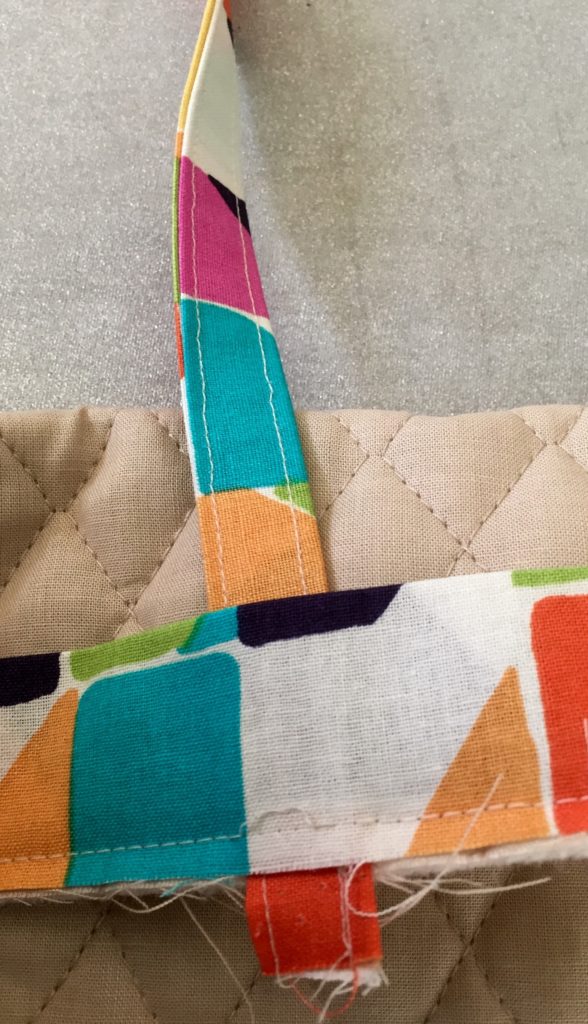
Note the placement of the tie under the binding strip. Place a pin in this and take it to the sewing machine.
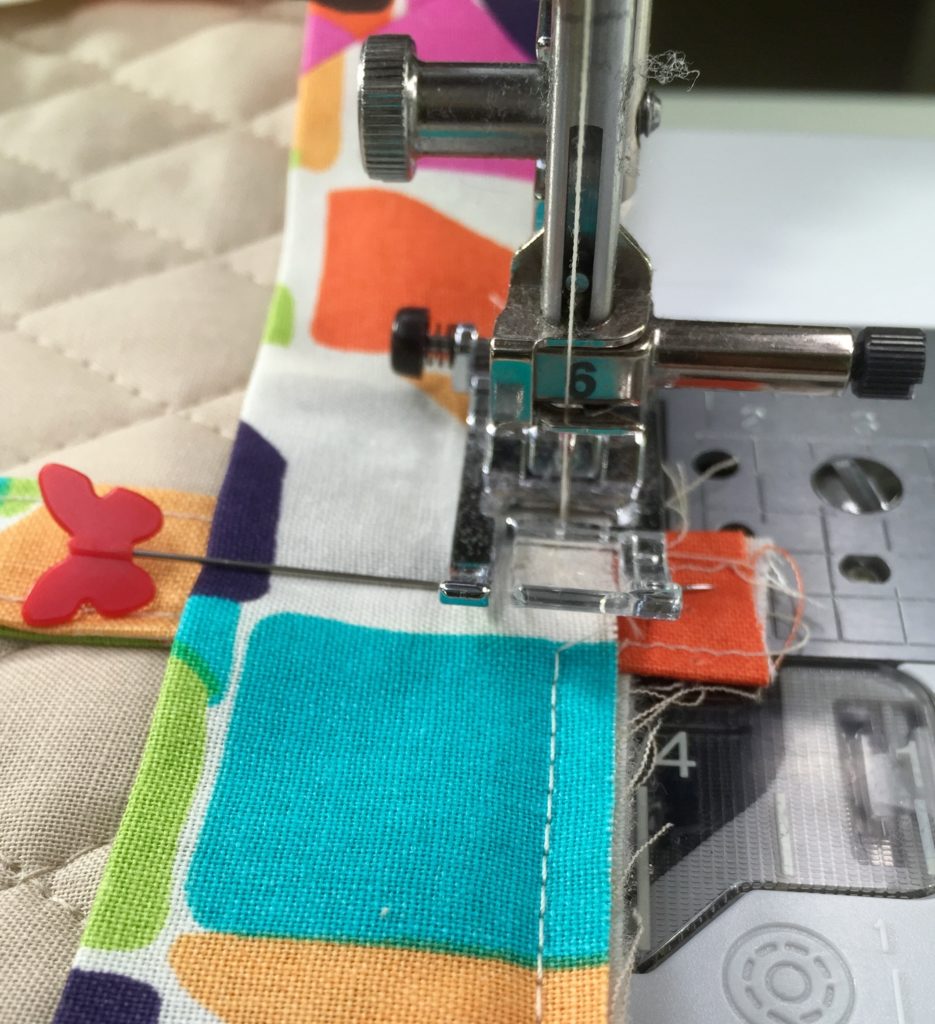
Stitch and backstitch over this end of the tie several times. It will probably take a good bit of abuse and you didn’t do all of this work for it to come apart upon its first use. Trim the end closest to the binding and stitch the raw edge on the opposite end. Trim as needed. Now let’s turn the binding and put this dude into the finished column!
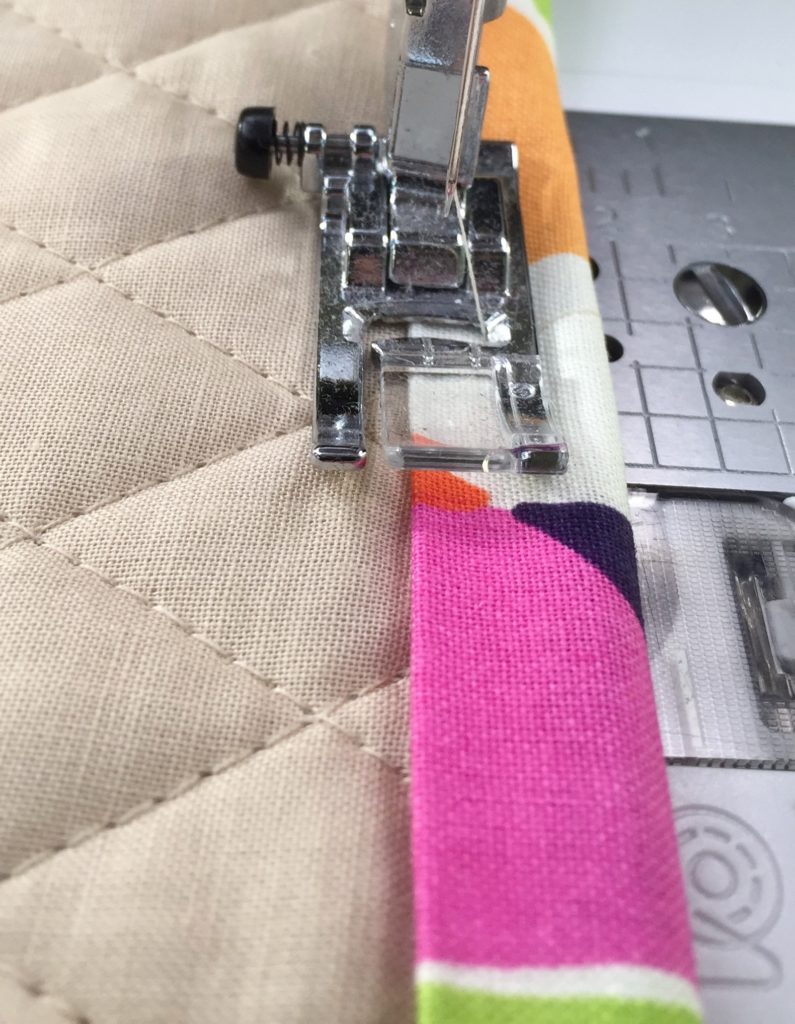
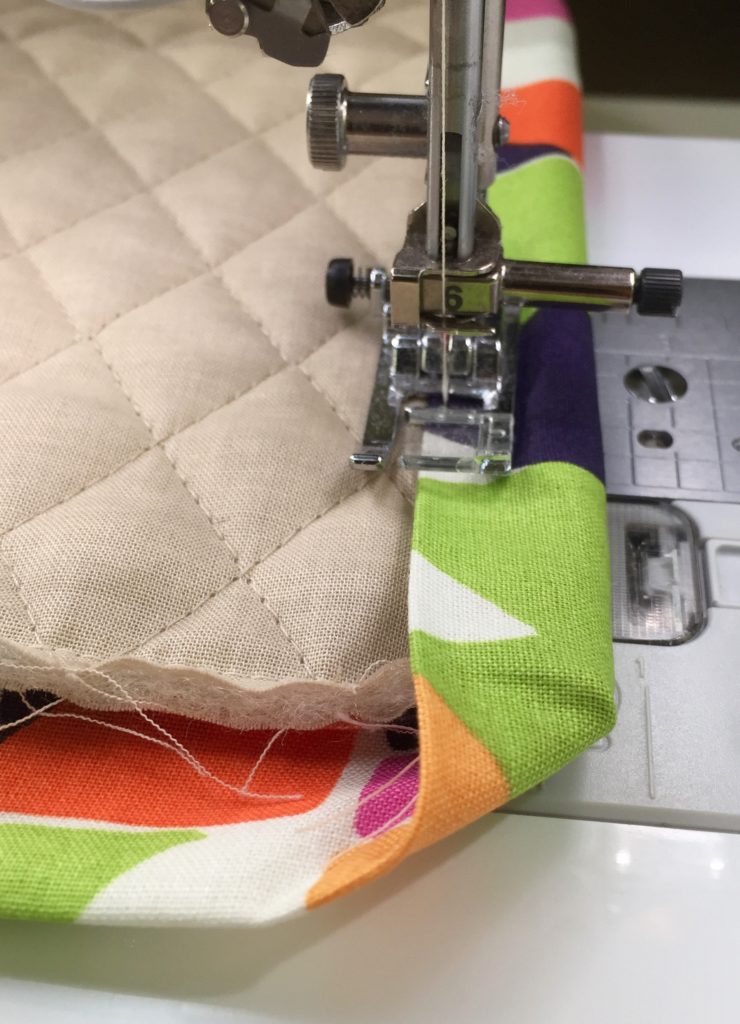
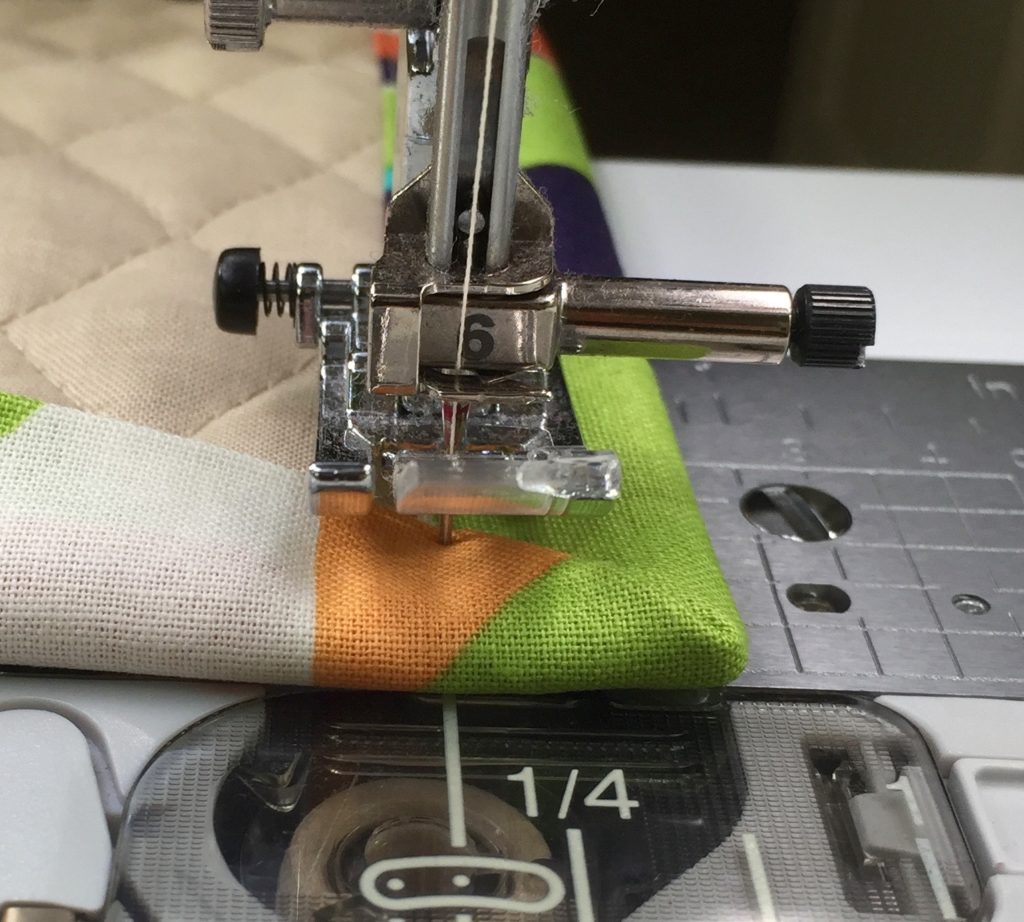
Because I want a lot of the binding to show on the front side, I cut the binding 2 1/2″ wide and I will pull it tight to the front side. Your mileage may vary based on how you wish to position the binding on the front but here is how I did it. Gently roll the binding from the back to the front and press it. I don’t clip or pin, I just manipulate it as I go along. Start along the middle of one side and sew about 1/8″ from the binding edge.
Continue sewing until you near a corner. Remember how I said that the time you took folding those corners mattered? Well, here is when it matters!
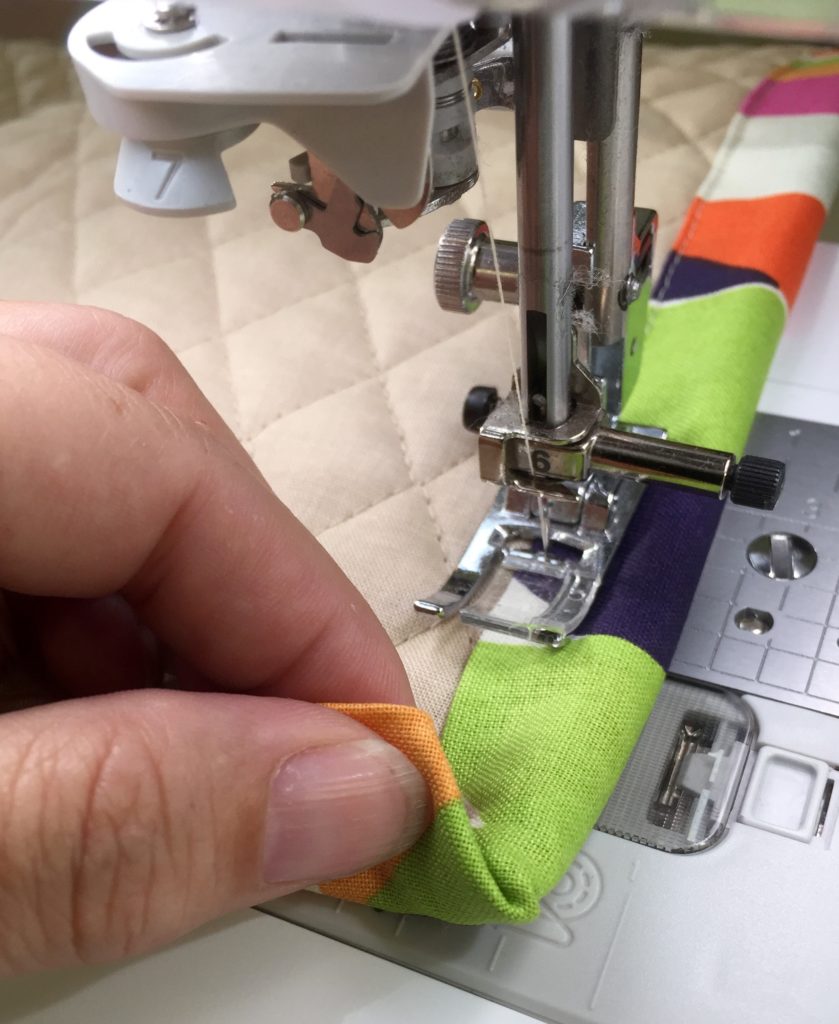
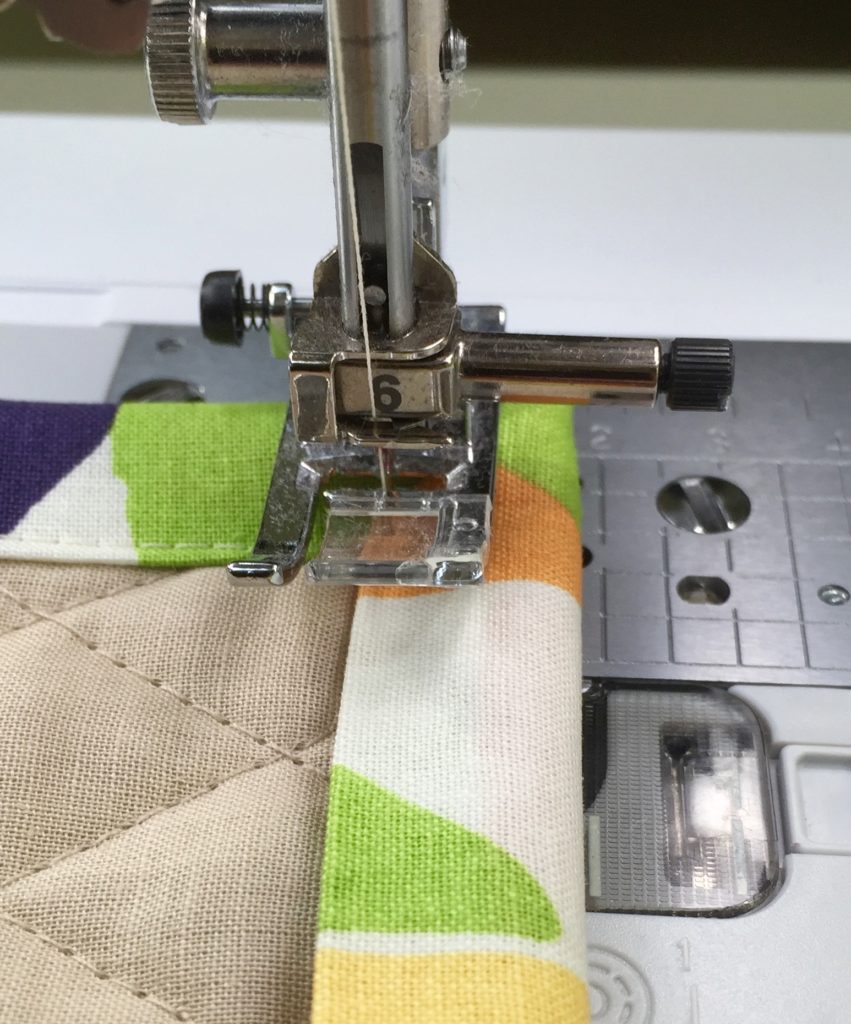
If the stars align and you have done a nice job so far, these corners will comply and do the right thing. As you near the corner, stop and pull the binding strip down towards and insert your finger into the corner to help make a sharp crease. Then pull the binding up and position it on top of the cover. Your corner should form a nice 45 degree miter.
Sometimes it is a bit fiddly, but keep working with it until you get the right placement. Pin if you desire.
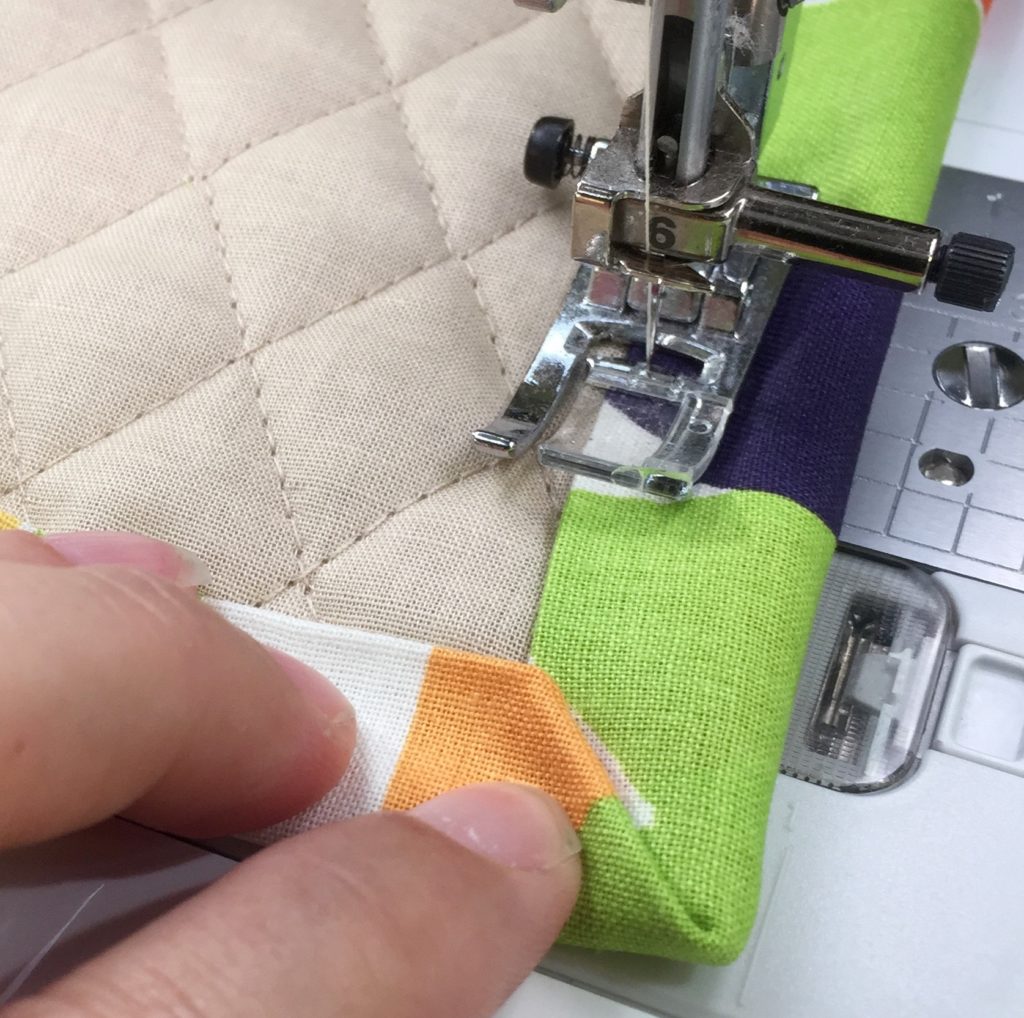
Slowly sew down the edge and take at least one stitch on to the overlapping binding fabric.
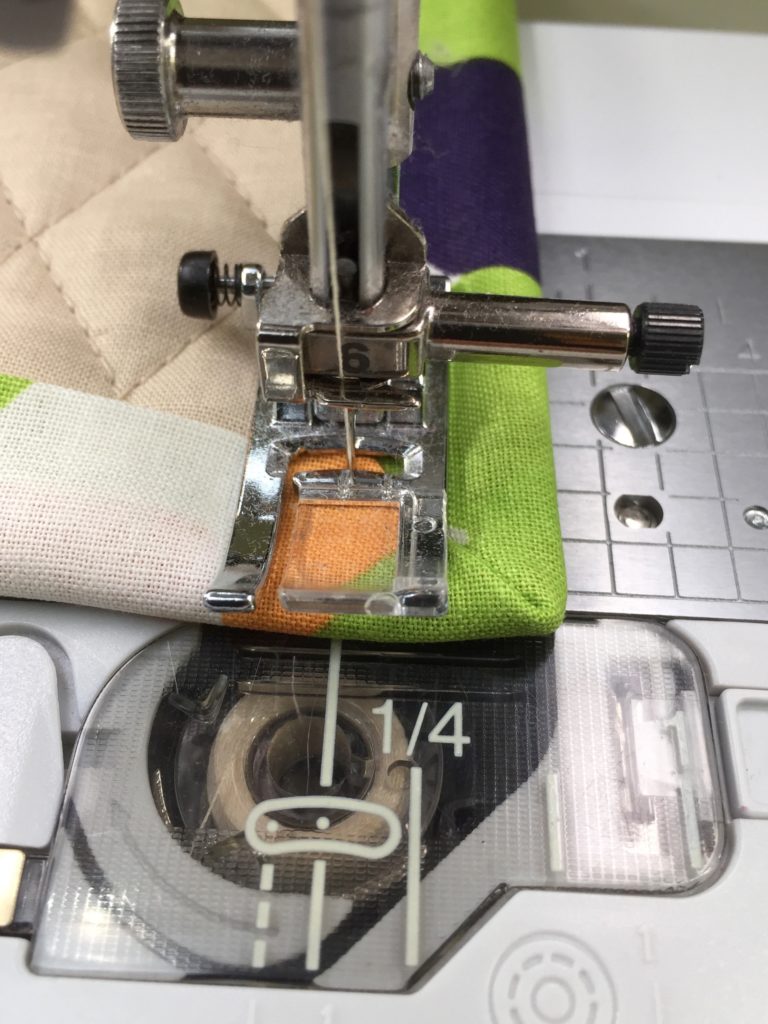
With needle down, lift the presser foot
Rotate the cover, lower the presser foot and sew down this edge
Repeat that process until you are back to the beginning and your binding is now complete!
Drag yourself and your car seat cover out to the garage and try it out
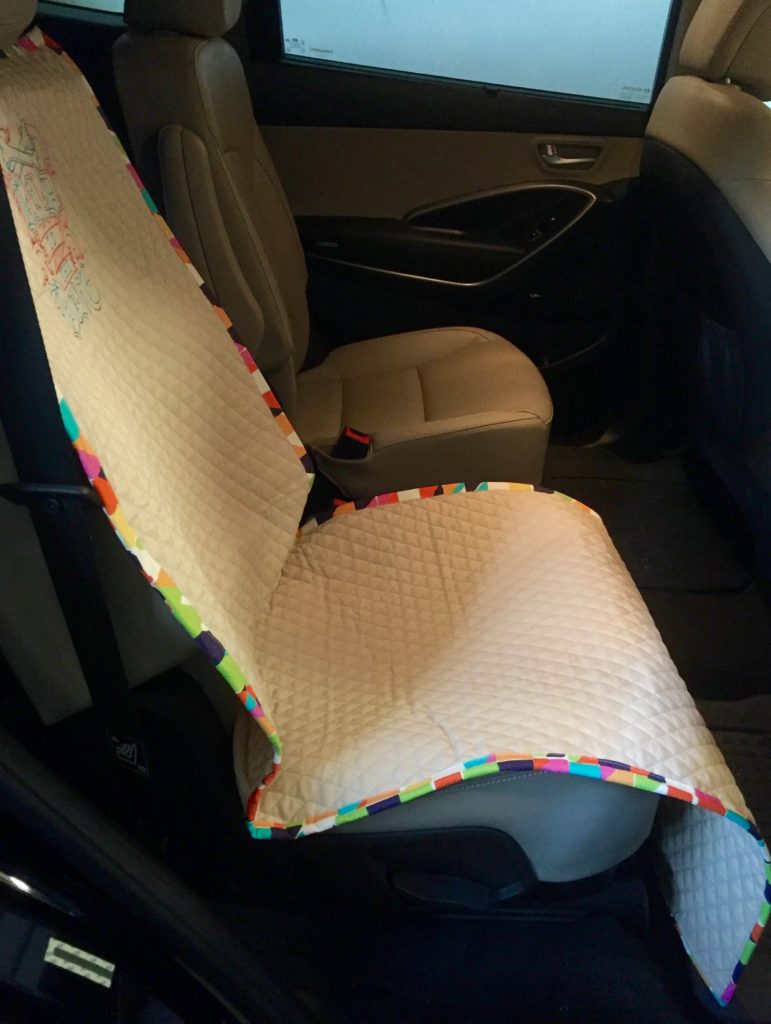
Oh yeah! Now that is some kinda snazzy

Mr. Charles just got an upgrade and he will be riding in style. There is no doubt about it! You now have some new skills, a car seat cover and Charlie sez he is:
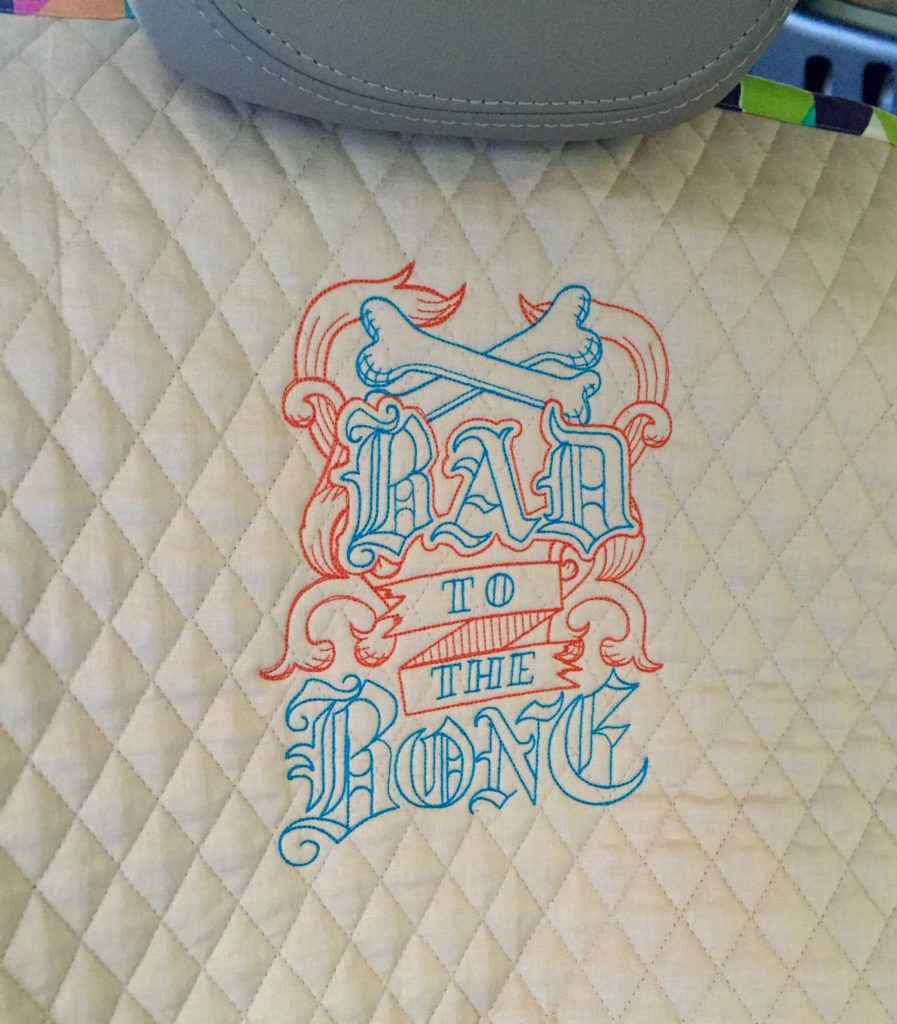
embroidery design courtesy of Urban Threads
Did you miss a segment of this three part series?
You can find Part One Here
You can find Part Two Here
