
The last few months of my life have been nothing short of insane…the mister had surgery, lots of visitors, an ill mother, an ill mother-in-law, Christmas, Thanksgiving and on and on; yet somehow I have managed to crack out a few projects. Let’s get caught up!
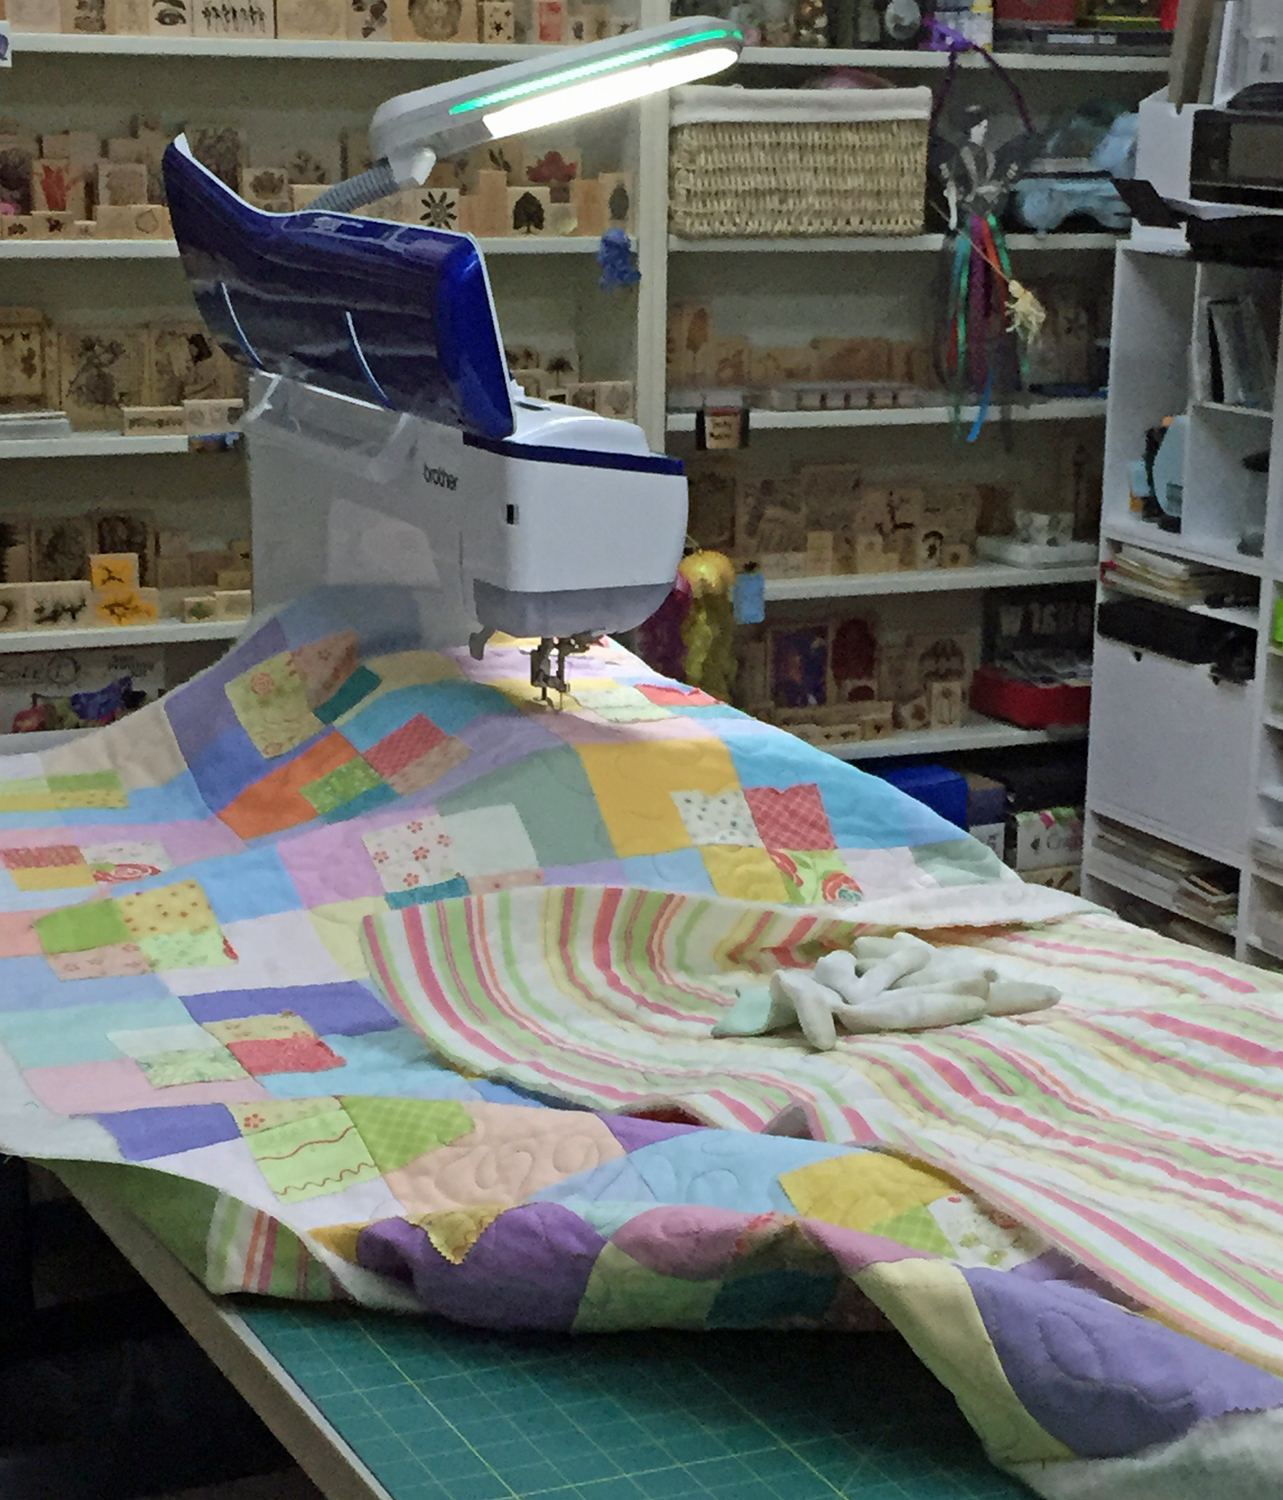
First I have to share the news of a wonderful addition to my household. I had a really lovely Elna sewing machine that I adored but didn’t love. There were just a few things that we couldn’t see eye to eye on, but they were enough to keep me from really embracing the lovely girl. I have had several Brother sewing machines and I really was yearning for another. After much discussion and trepidation, I brought the new Brother Dream Machine home. It has been several months and I have nothing but wonderful things to say about this beauty. I am SO happy that I took the plunge.
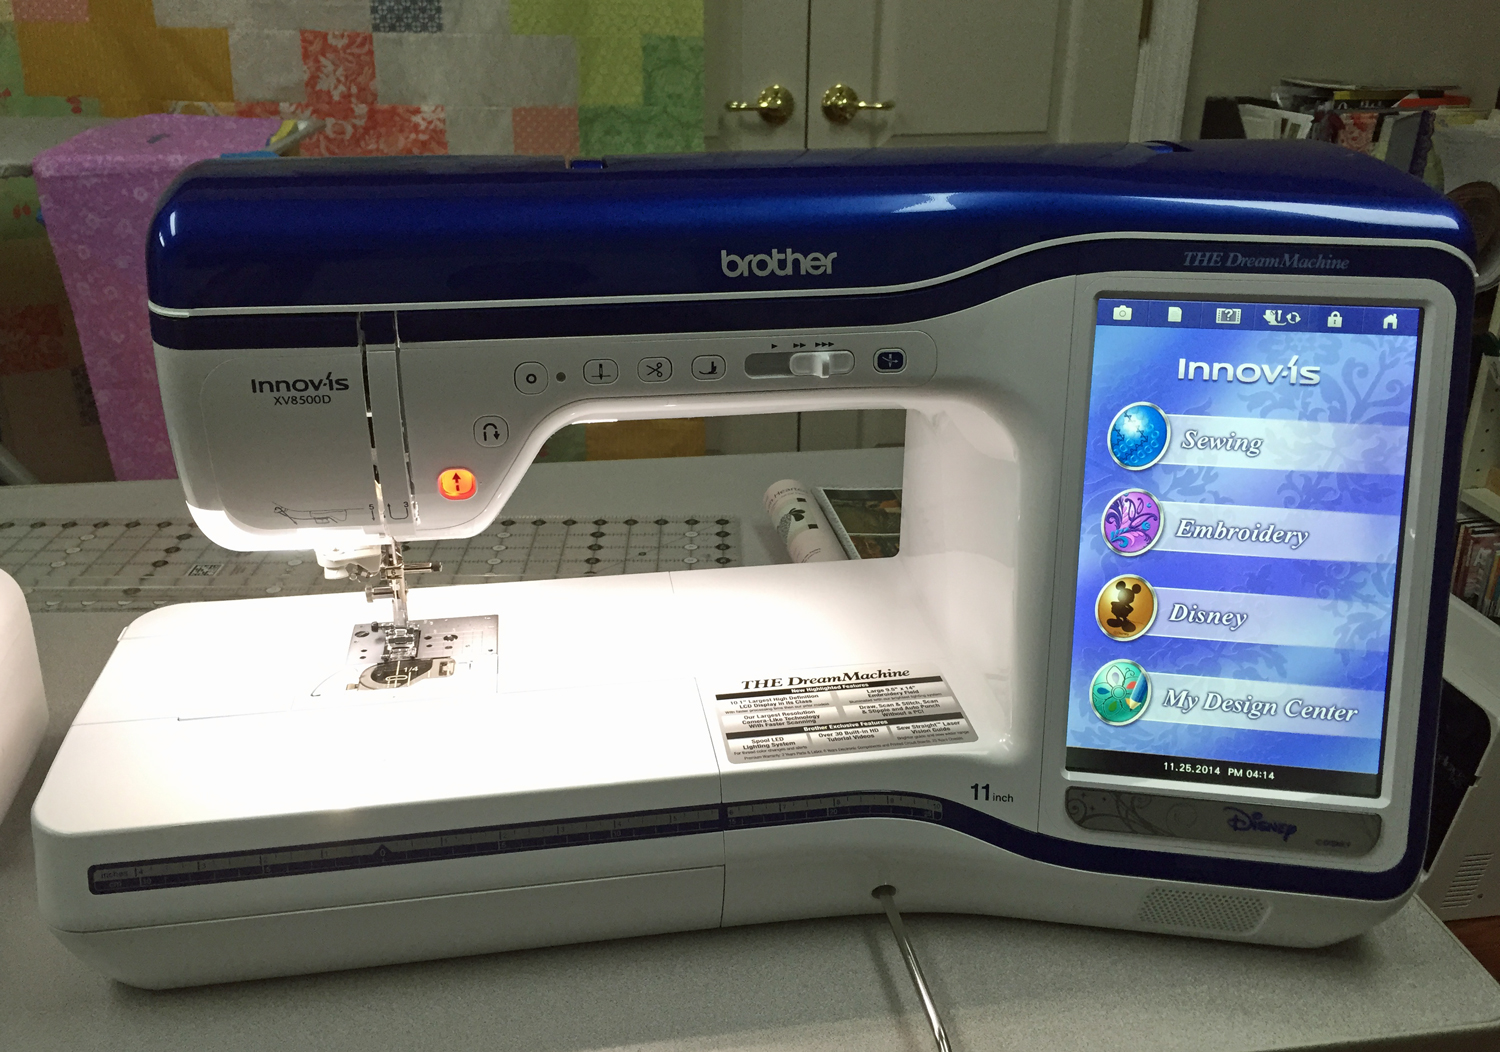
This machine truly is a dream. I have had so much fun with it!
Nearly a year ago Lynne Hagmeier of Kansas Troubles published a YouTube video with Jenny Doan of the Missouri Star Quilt Company. They did a tutorial on the Five and Dime quilt from Lynne’s book Loose Change. I purchased the fabric and the ruler and then didn’t get around to sewing it together. One weekend, I drug out all the parts and got busy sewing. It went together easily and it was a bit of mindless sewing. Then I set it aside. I really don’t like having UFO’s hanging around but I didn’t have an intended recipient for this project either. A few weeks went by and I pulled out the blocks and decided it was time to get this completed.
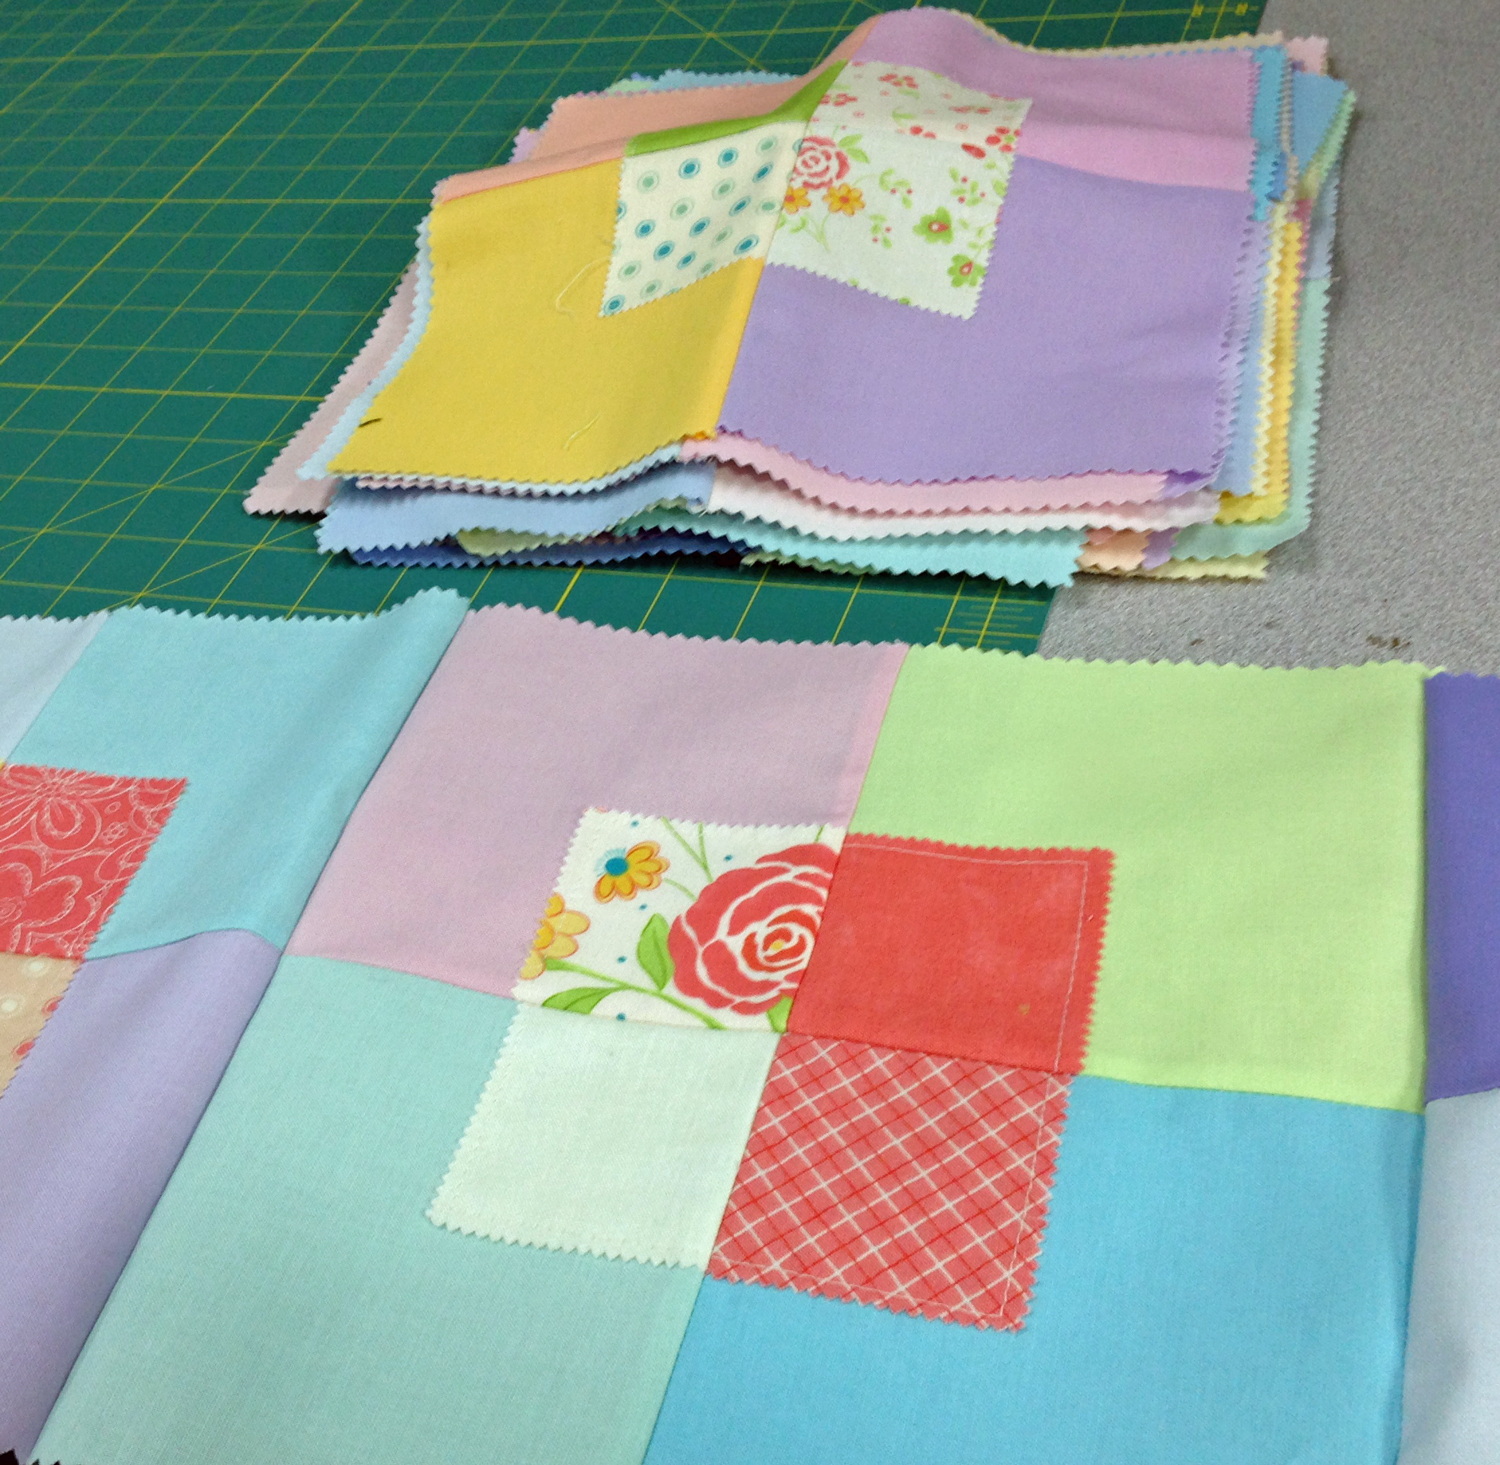
While it was easy and fun to make all the blocks, the layout was not so fun. I bet I twirled around those silly things a million times just to make sure that there wouldn’t be too much of any one color in any given segment. I sewed them in rows and then sewed each row to the next. I finally finished the top and it was time to choose the back and binding.
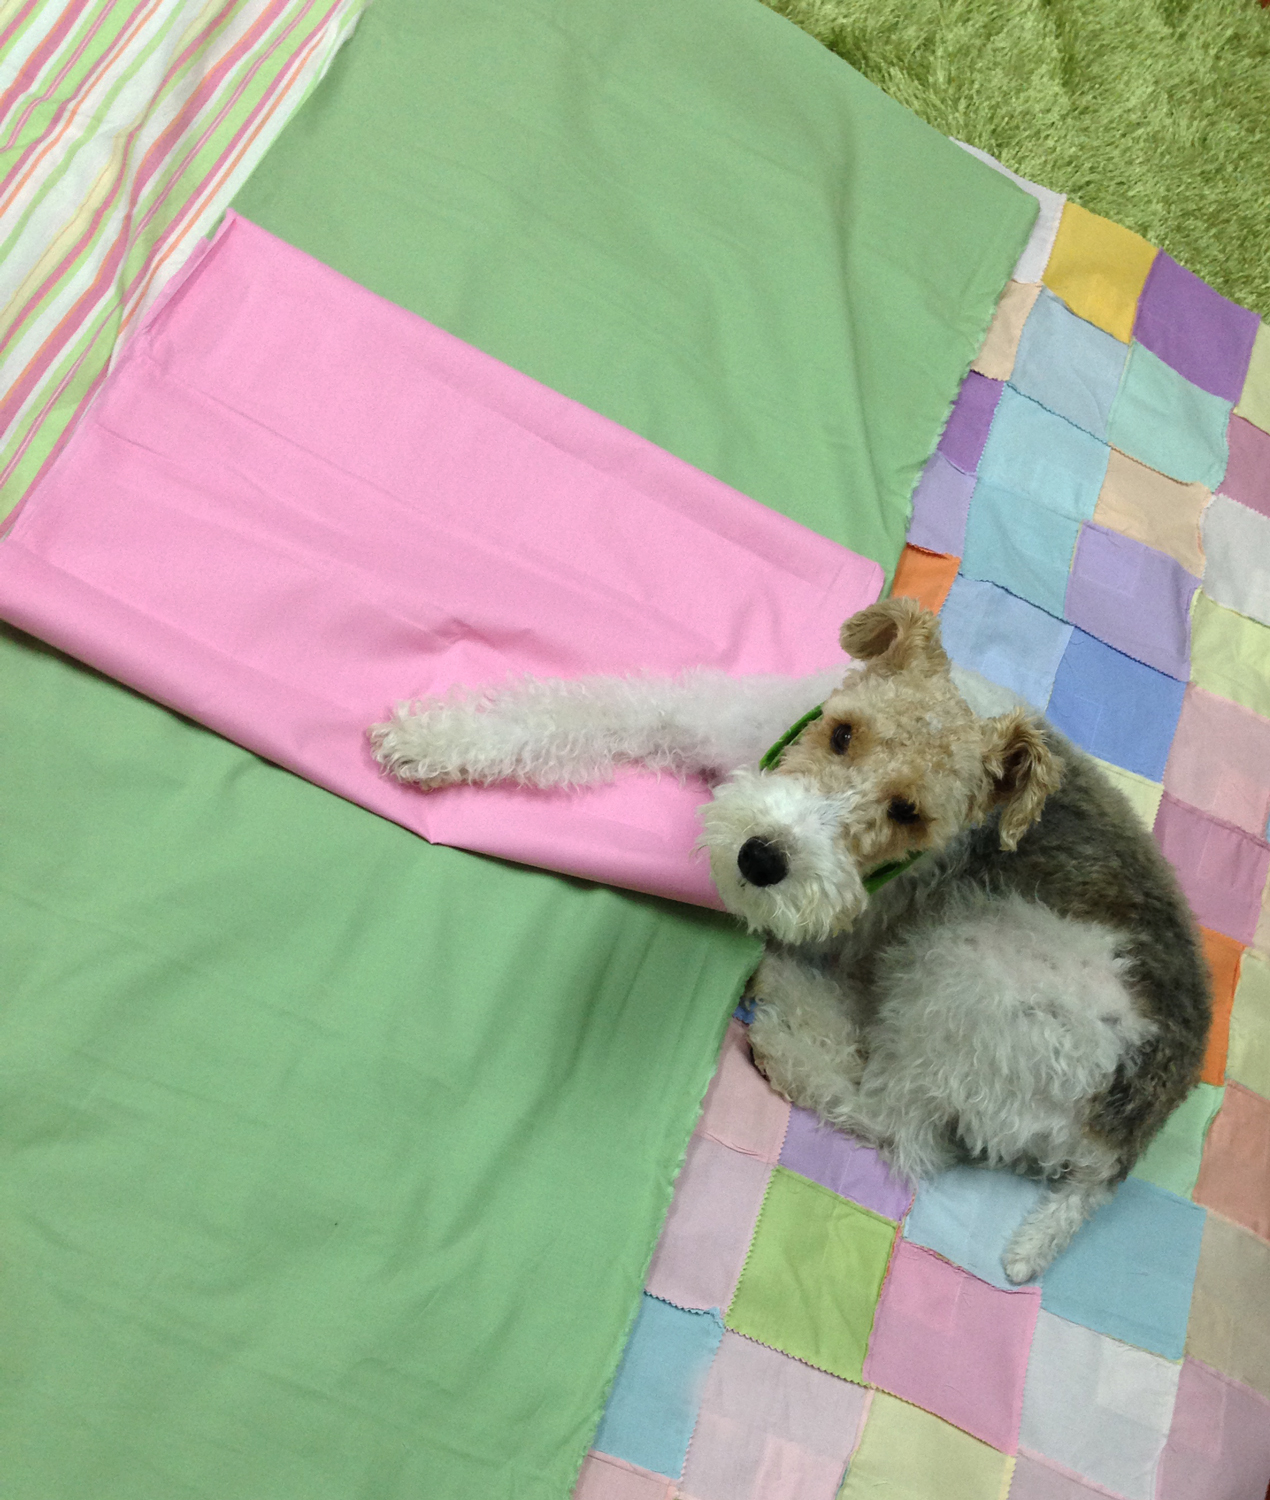
I loved that striped fabric, but there wasn’t enough to do the entire back. So, I opted to piece the back with several colors and bring the purple binding in as well. Charlie is there giving his paw of approval as I audition the arrangement of fabric. I got the quilt sandwich all together and then I had guests for several days. Obviously I am talented but I can’t sew and entertain at the same time. Into the back bedroom the sandwich went, and it waited several weeks for my return.
After my friends departed, I decided to drag this dude down the stairs and get it quilted on my new machine!
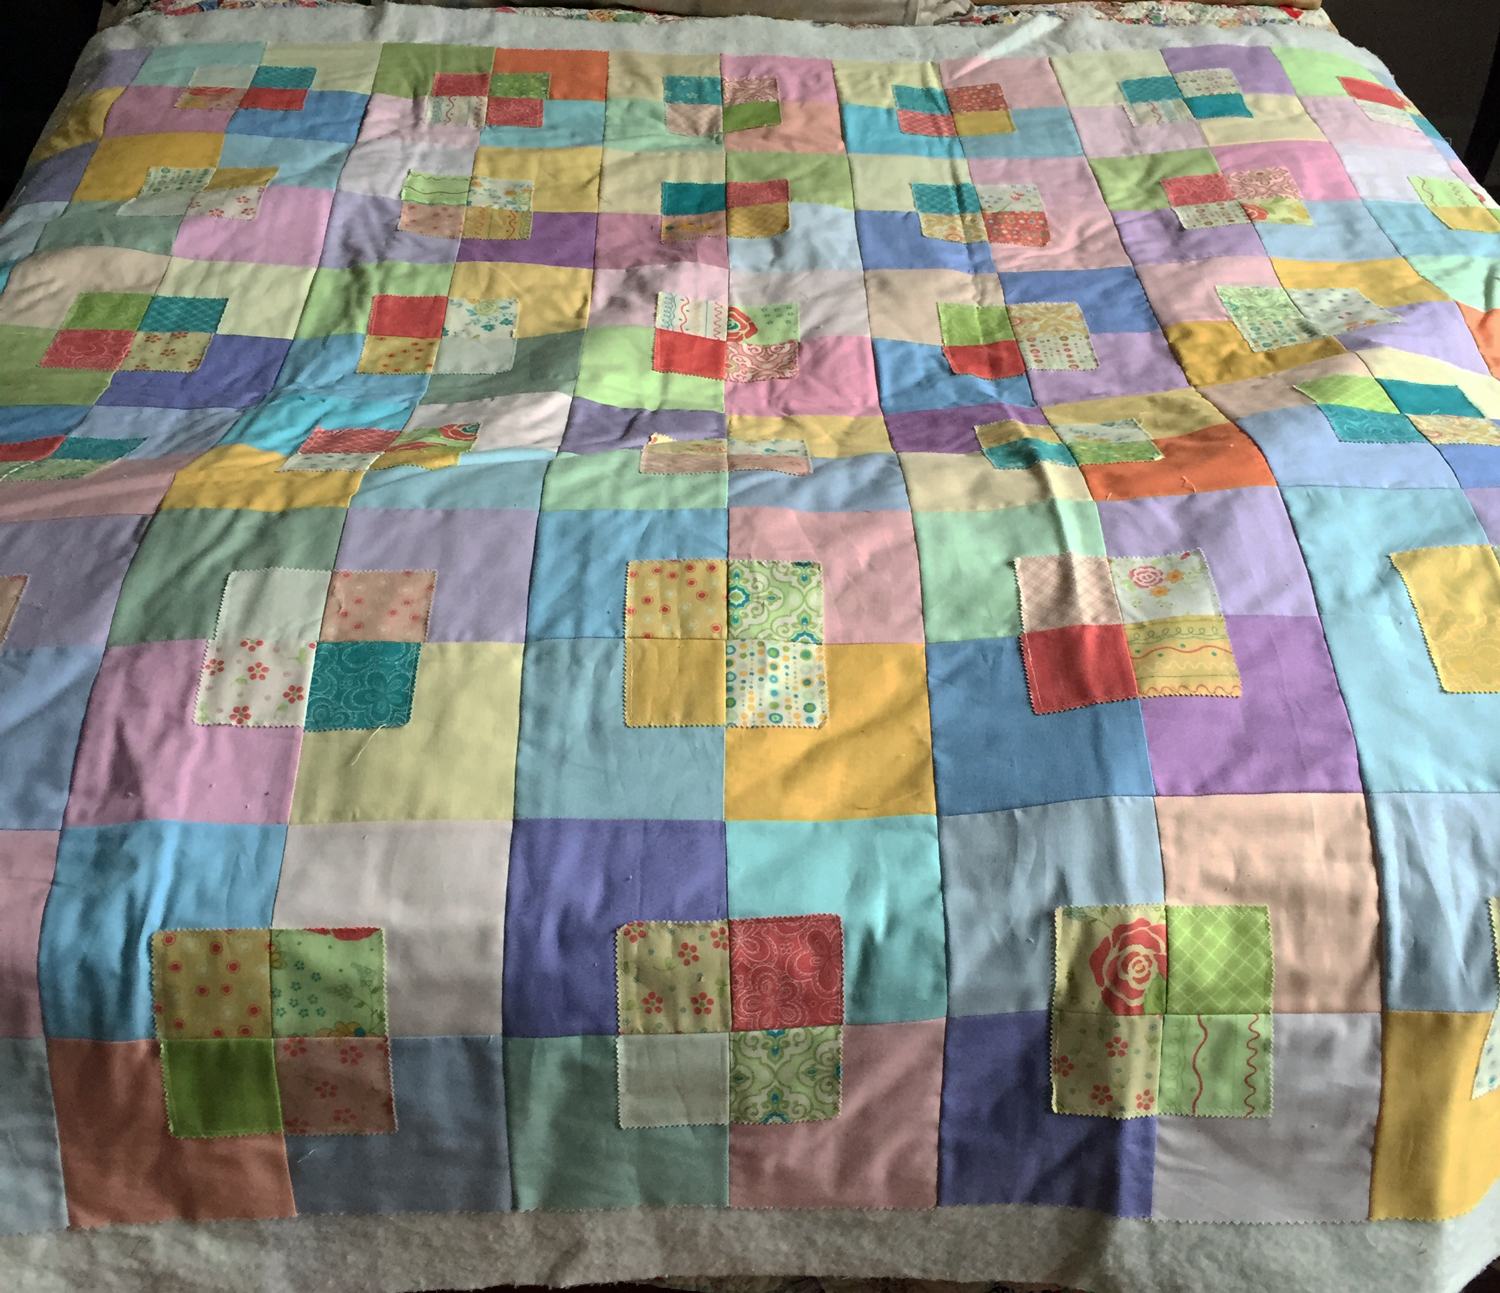
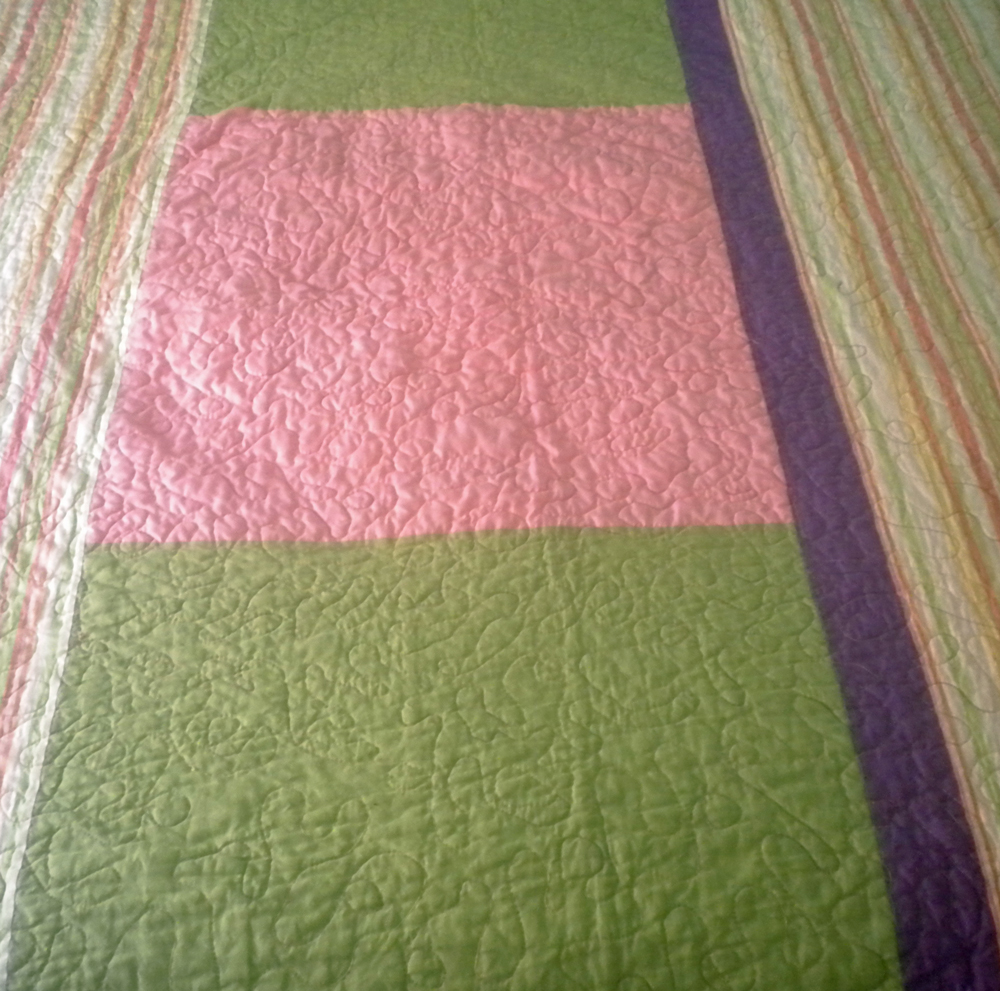
I wasn’t happy with the free motion quilting….I am not really talented in this department but I also figured out that my settings needed to be much different from what I had previously used on my Elna. I decided that this was a “learning” project and it would not be leaving my house. Here is the detail of the back of the quilt:
It turns out that I was wrong about this quilt. Despite all of its warts and errors, my friend wanted to send it to her great-grandson that had just been born. I tried to dissuade her but she would hear none of it and away it went to South Carolina. At the top of the blog is that lovely boy wrapped in this soft and rustic quilt and I am happy it found a good home to love and cherish it.
My next project was to make my dreamy new machine a cover. I made one for my little Brother embroidery machine (look here) but I had a cheesy plastic cover to tear apart and use as a template. This time I had nuttin’ honey! I took measurements, drew out a template and checked and rechecked the fit at every step. This machine actually curves AND gets wider at the right hand end, so it was a bit of a challenge. However, I was patient and took my time and I think the end result is more than worth it. Hell, I even impressed myself!
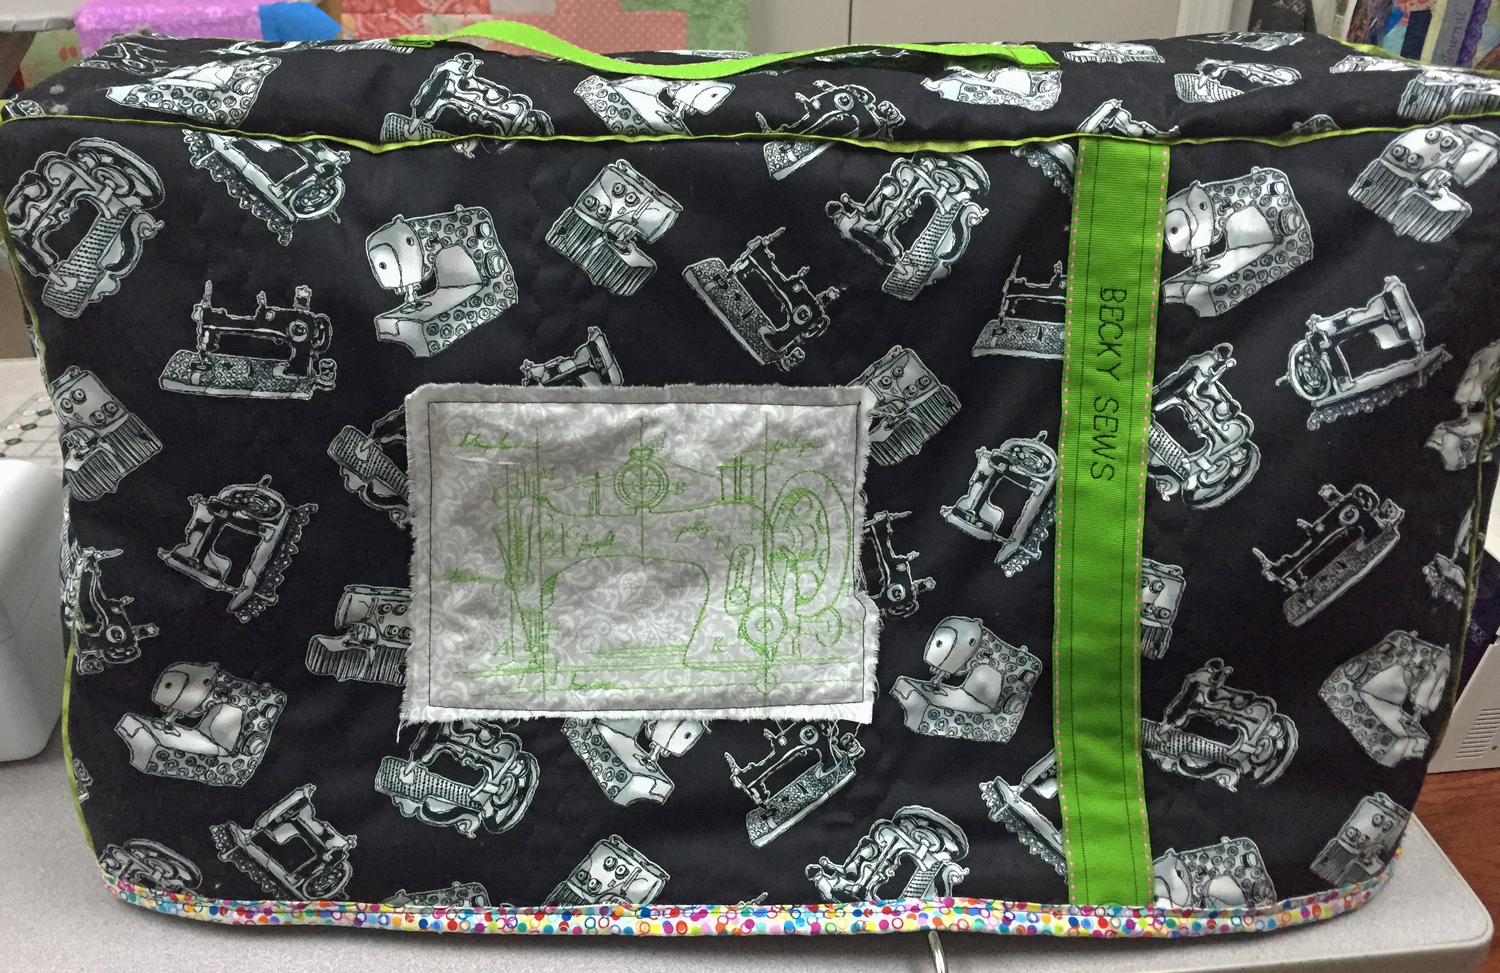
Using an embroidery design from Urban Threads, I created the focal point of the cover to match the one that I had on my little embroidery machine. I am so pleased with this!
For Christmas I made a few tied fleece blankets for me and my football friends. If you have seen one, you have seen them all and I will save you the time. I also decided that my furry friend Charlie deserved his own fleece blanket and I whipped up one of those for him. I used a wonderful embroidery pattern from Embroidery Library to embellish his blanket and I think he appreciates it. How about you?
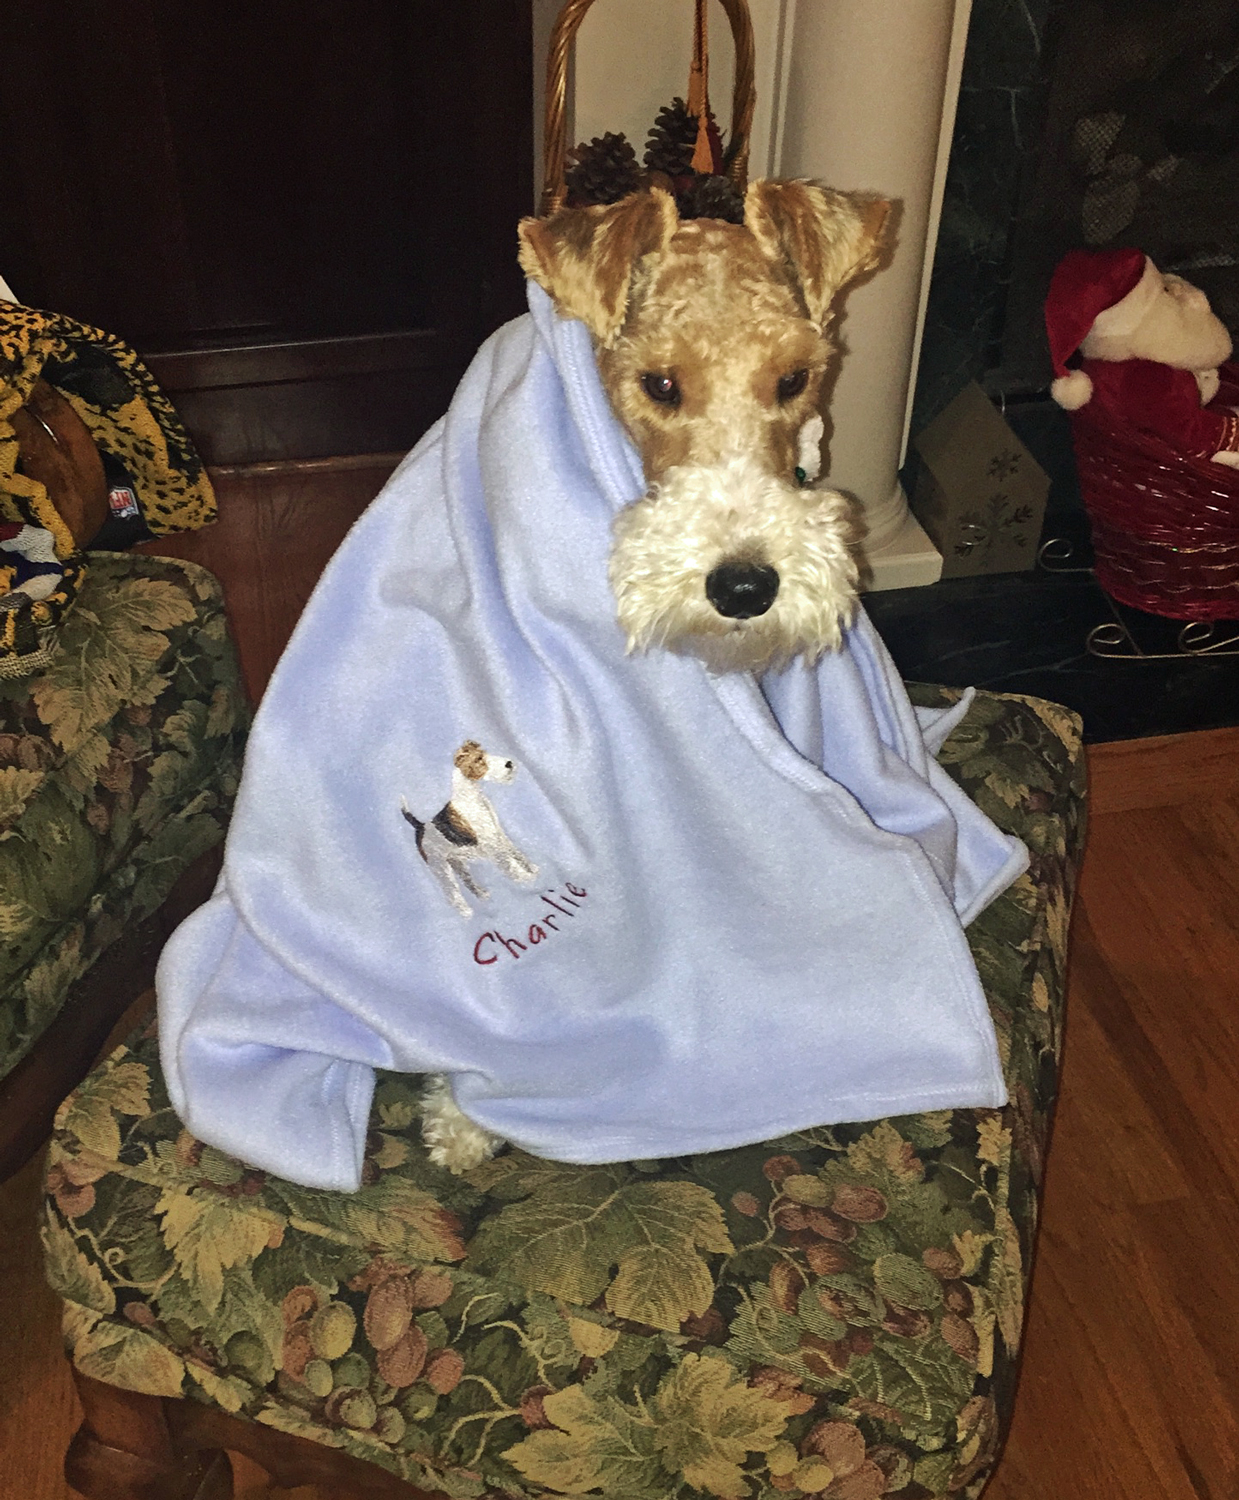
What a handsome dude and his blanket is pretty cute too, isn’t it?
I stitched up some really sweet little fabric baskets using a pattern from Sweet Jane’s Quilting and Design. I love that these use the “candies” or the mini charm squares and just a couple of fat quarters. I made a trio of sizes for my mom and she just thought they were the cutest thing ever.

Last but not least is that quilt top that is hanging on the door behind this sweet basket. I visited my sister early last year and she took me around to a few of her local quilt stores. I found a wonderful collection of fabrics from Art Gallery Fabrics called Reminisce Fair. I immediately fell in love with these 1/2 yard cuts and had to have them.
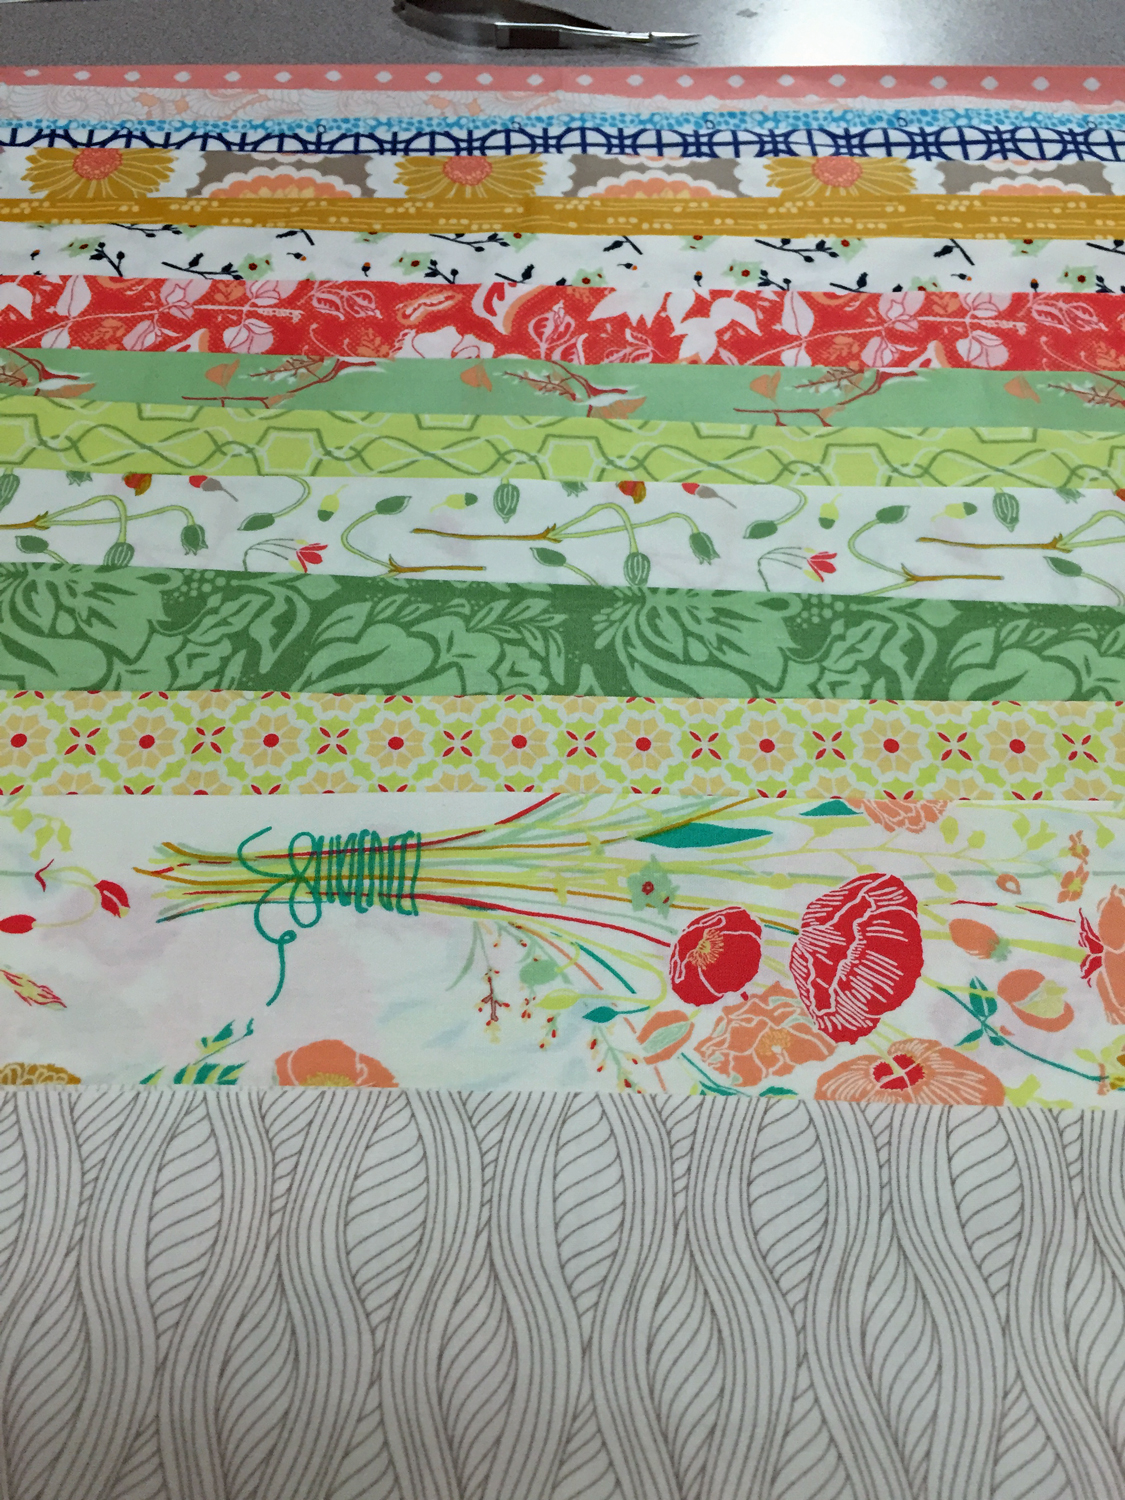
I was overwhelmed with the desire to create a Plus quilt and was sure that this would be the perfect fabric assortment for that project. I found some instructions online on how to construct the Plus quilt and I was sure I was on my way to perfection….but the patterns provided were either for a crib size or a king size. I was having a “Three Bears” moment and wanted something else in the middle that was just right as one was too small and the other too big! I thought I could easily enlarge the crib size to fit my requirement. It would have been easy if I had checked my math. Once I cut and laid out all of my long rectangles that made up the middle piece of each + sign, I realized that I cut them too short. All of them. I now understood that the middle rectangle needs to be divisible by three in order for the pattern to work itself out correctly and not be wonky. I had to re-cut every rectangle…I am so grateful that I had 1/2 yard cuts or this would be a quilt of another sort. I also realized that I needed a design wall or this would never work. I simply bought a bit of flannel yardage and hung it from some command clips on the front of my closet doors and it worked out perfectly (much better than my math and cutting!).
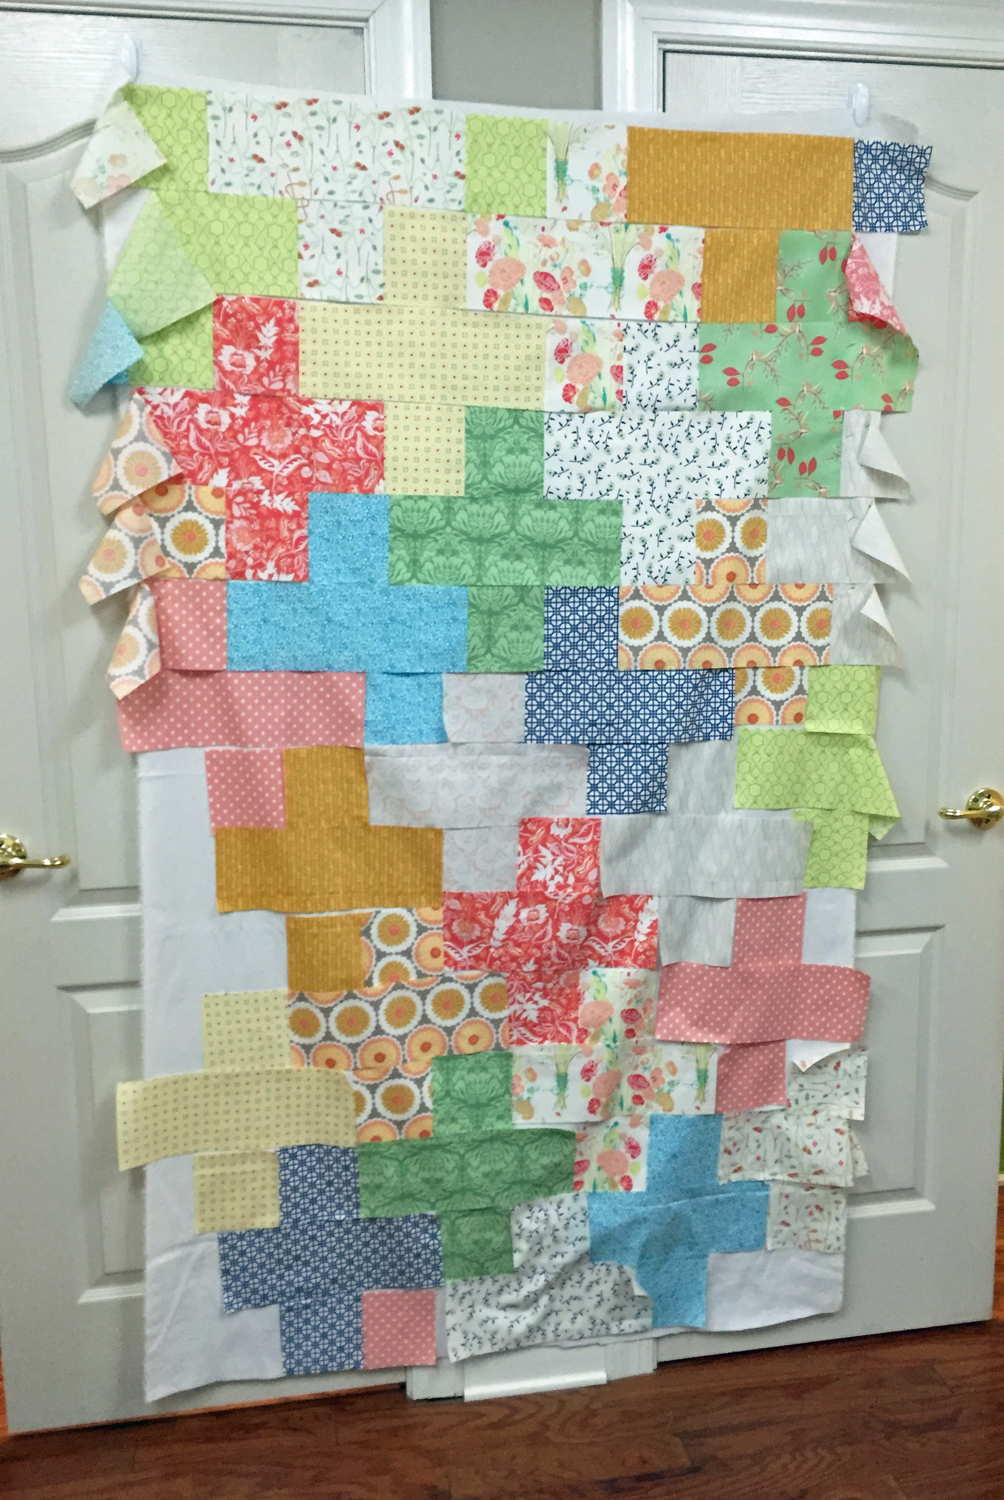
Here you can see that I am working my way down the layout stitching up row by row and aligning the quilt layout on the design wall as I go. I have purchased the binding and backing for this quilt but it has been so cold or rainy that I haven’t had the opportunity to get it sandwiched together.
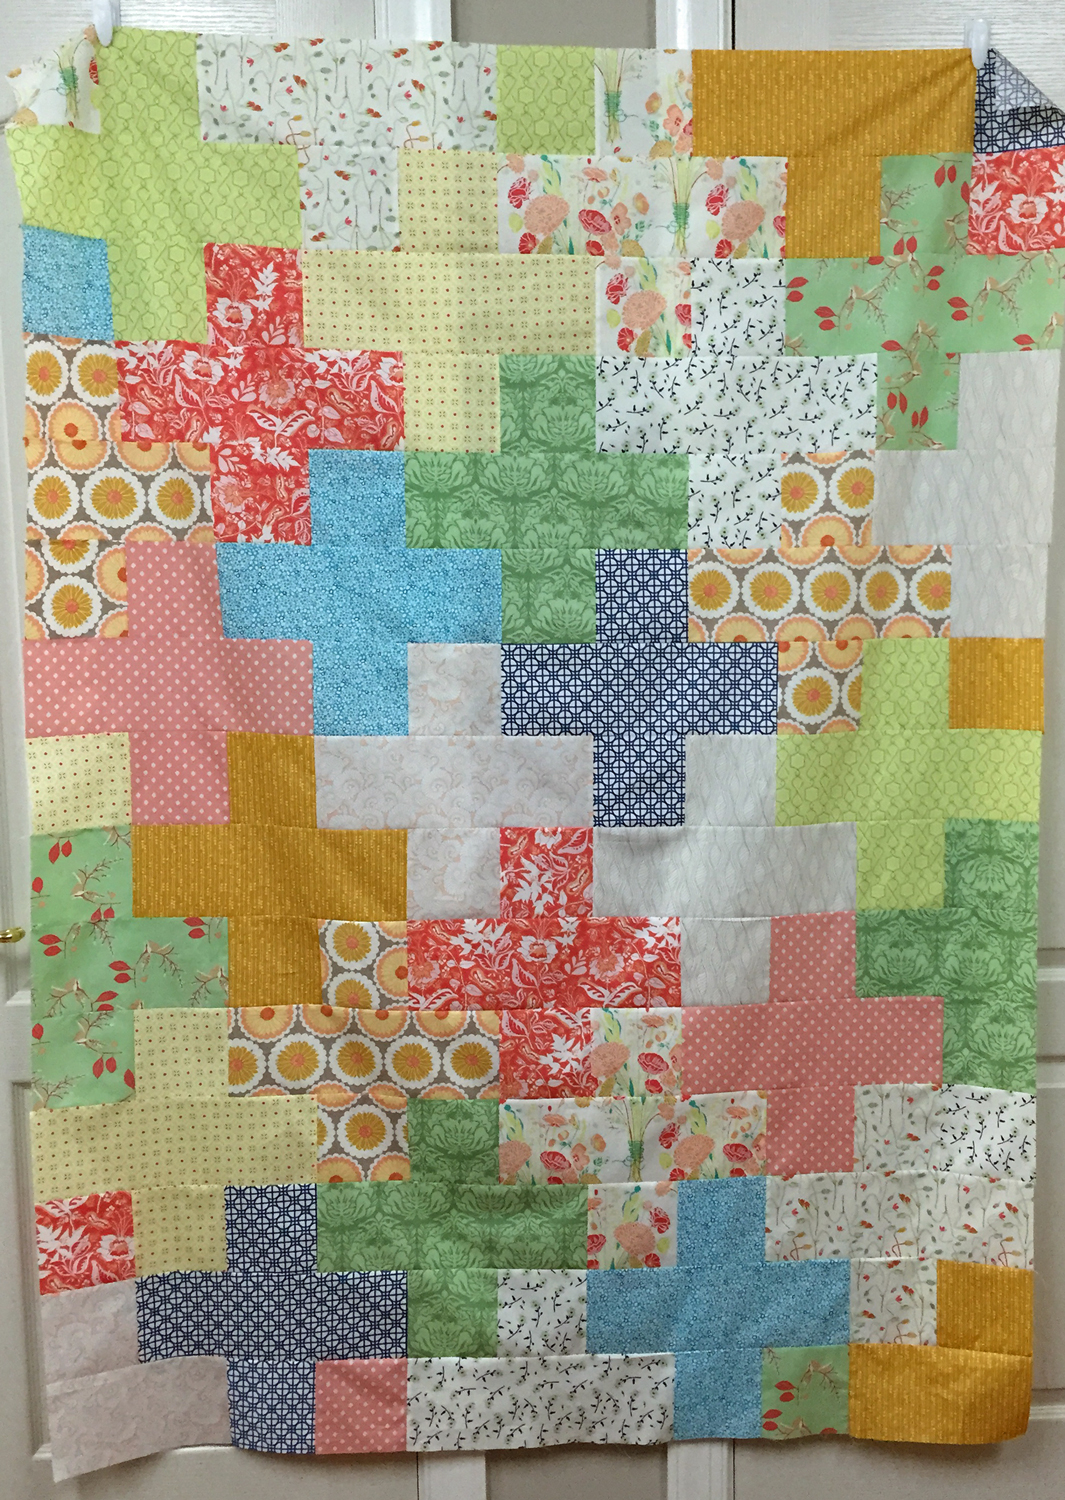
Here is the top all sewn up, awaiting a warm day and some inspiration to get it finished. Despite a few missteps, I am pretty happy with the quilt thus far. Once I have finished it, I will post some photos of the completed project so stay tuned.

You are amazing and do amazing work. Wish I had your patience and desire. Keep up the good work.