This is a down and dirty tutorial for making some super sweet toddler dresses. You will need to know the size of said toddler and a few measurements. First, measure from the armpit to the natural waist and then from the natural waist to the length that you desire the finished skirt to be. For a 4 year old wearing a 4T tee shirt her measurements are generally 6″ from armpit to waist and 13ish” from waist to desired length. This will make more sense in a minute.
First, the dreadful task of finding t-shirts that aren’t embellished with a bunch of stuff or sayings that will be cut off when you trim the length of the tee. Keep this in mind when shopping for the shirts to make these dresses. Also, shark bite style shirts or anything shirred or gathered won’t lend itself to this project. Also, tees for toddlers seem to be offensively priced. I don’t know what that is about, but I do frequent the clearance racks for just the right shirts. 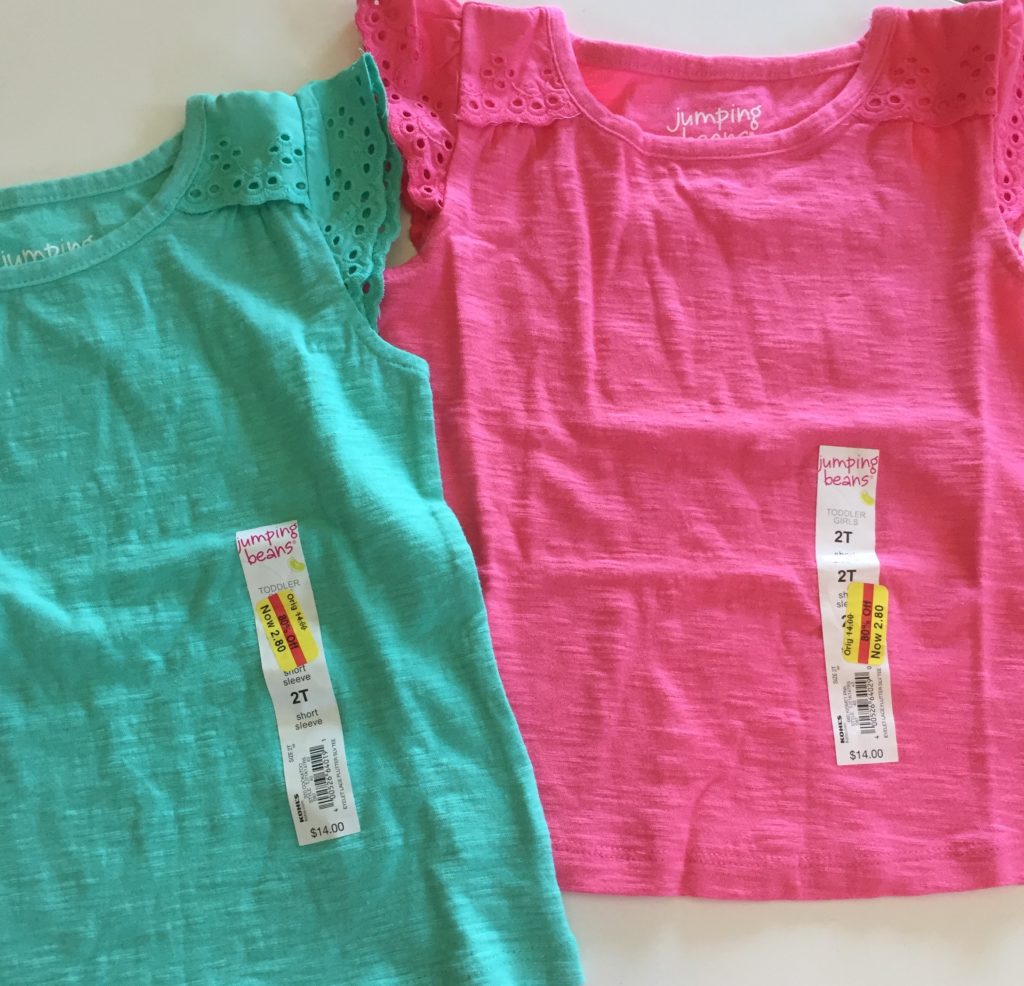
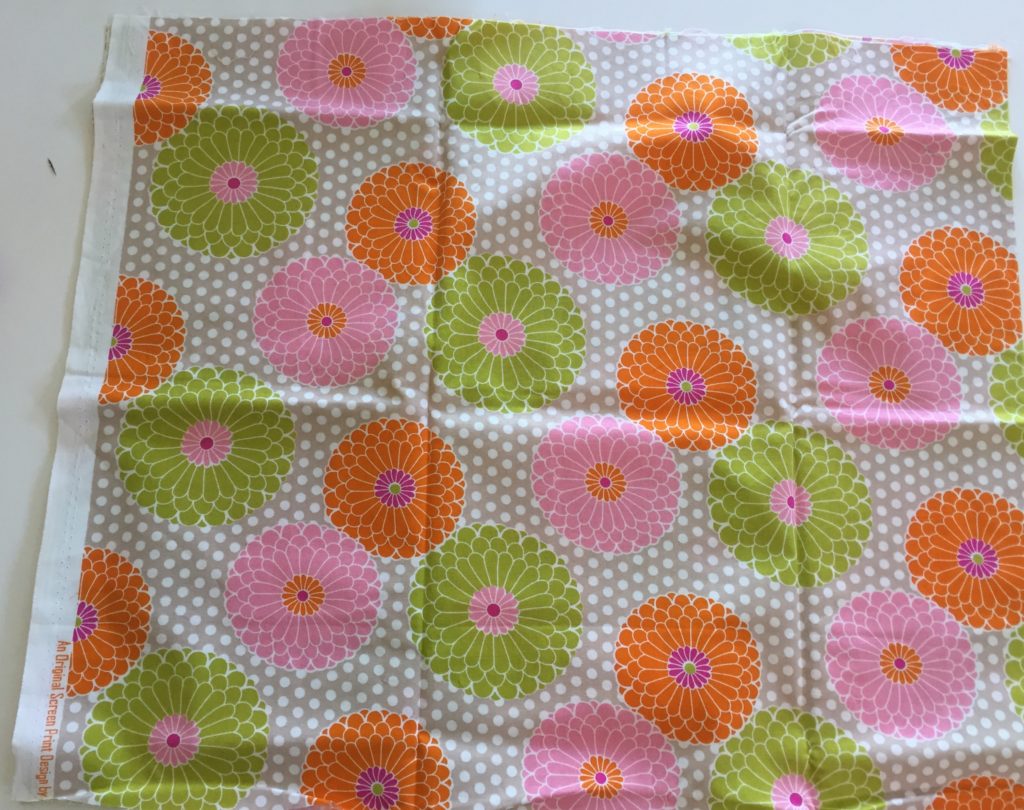
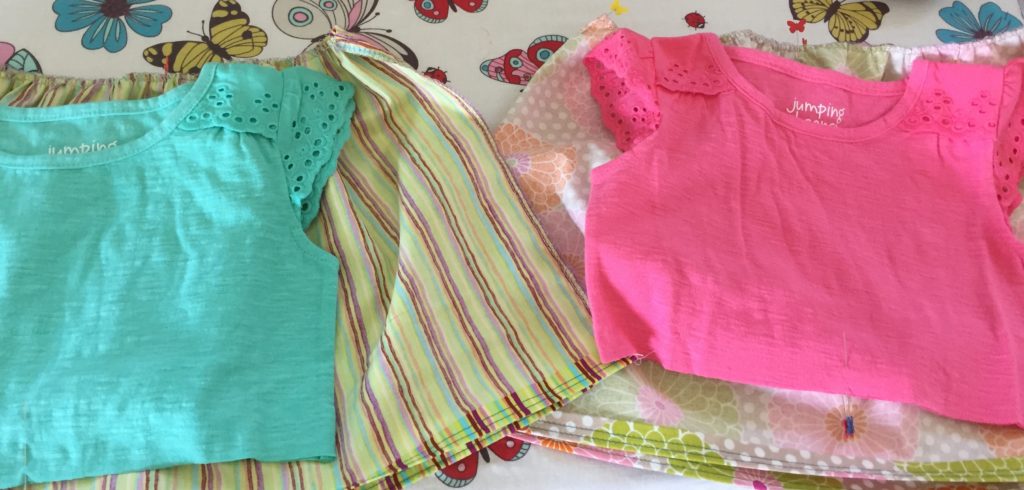
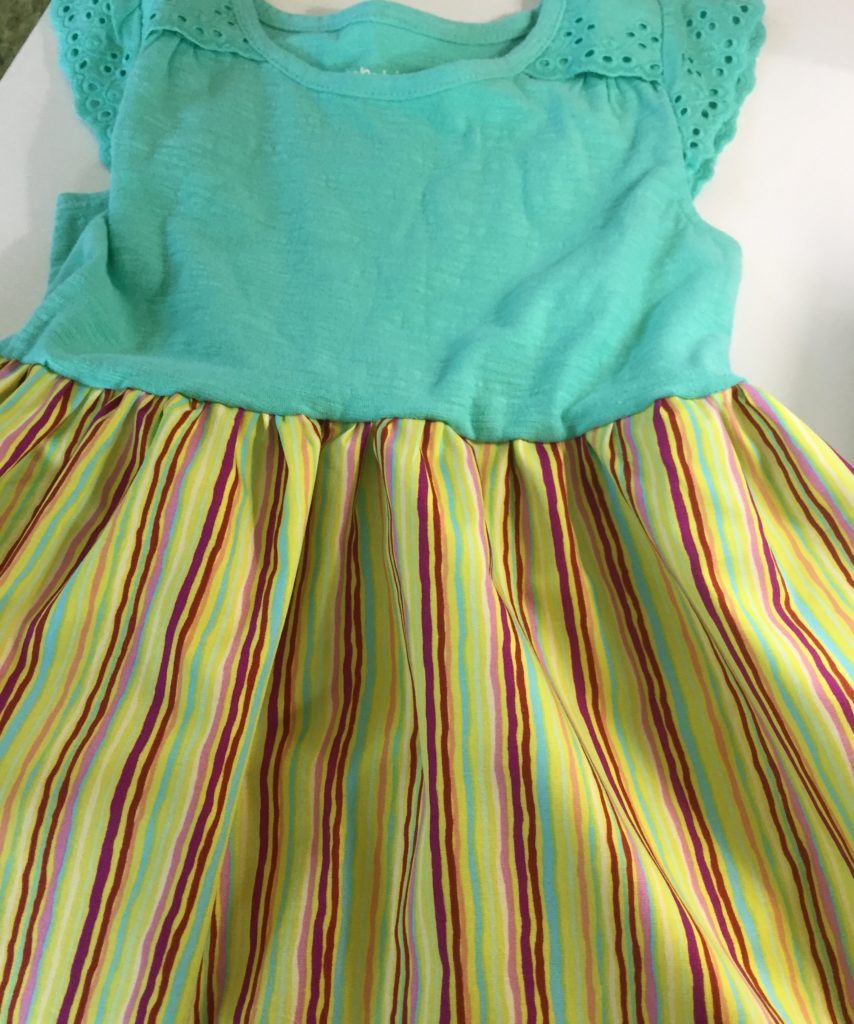
Shirts such as these are perfect and perfectly priced! Love the cute details on the sleeves! Now for each dress you will need 1/2 yard of fabric for the skirt portion.
Next step is to prepare the t-shirt. Remember the measurement from the child’s armpit to natural waist? Here is where it comes into play.
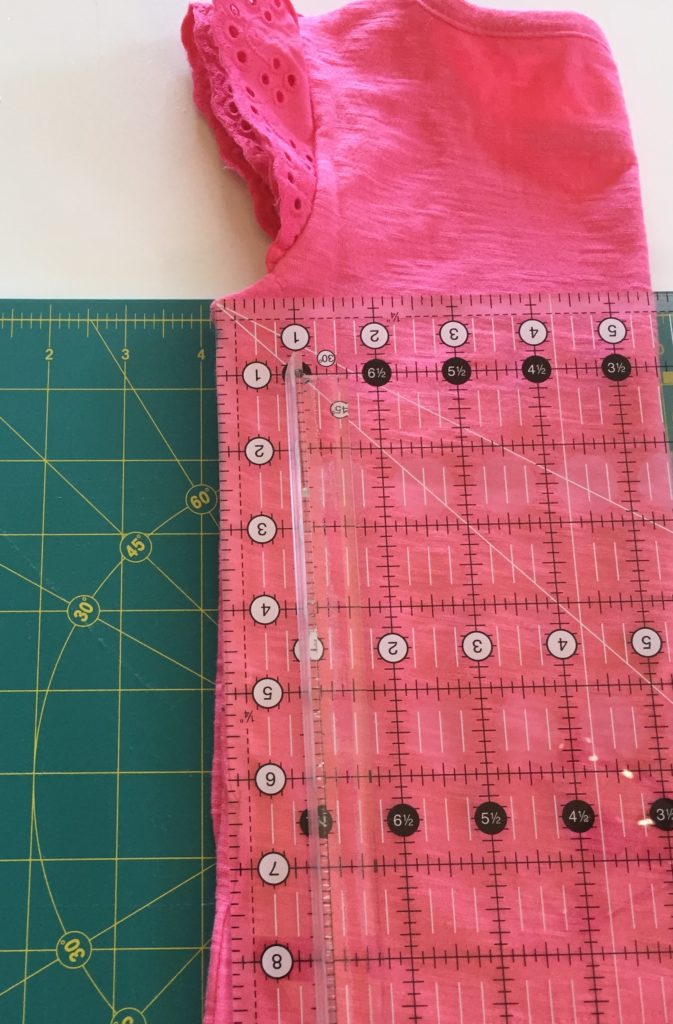
Fold the tee in half and measure from the armpit of the shirt to the measurement you determined from your favorite rugrat. In this case for my 3 year old granddaughter, 5″ is appropriate. If you desire to have more of a drop waist or Empire style, then you may need to cut the tee a bit longer.
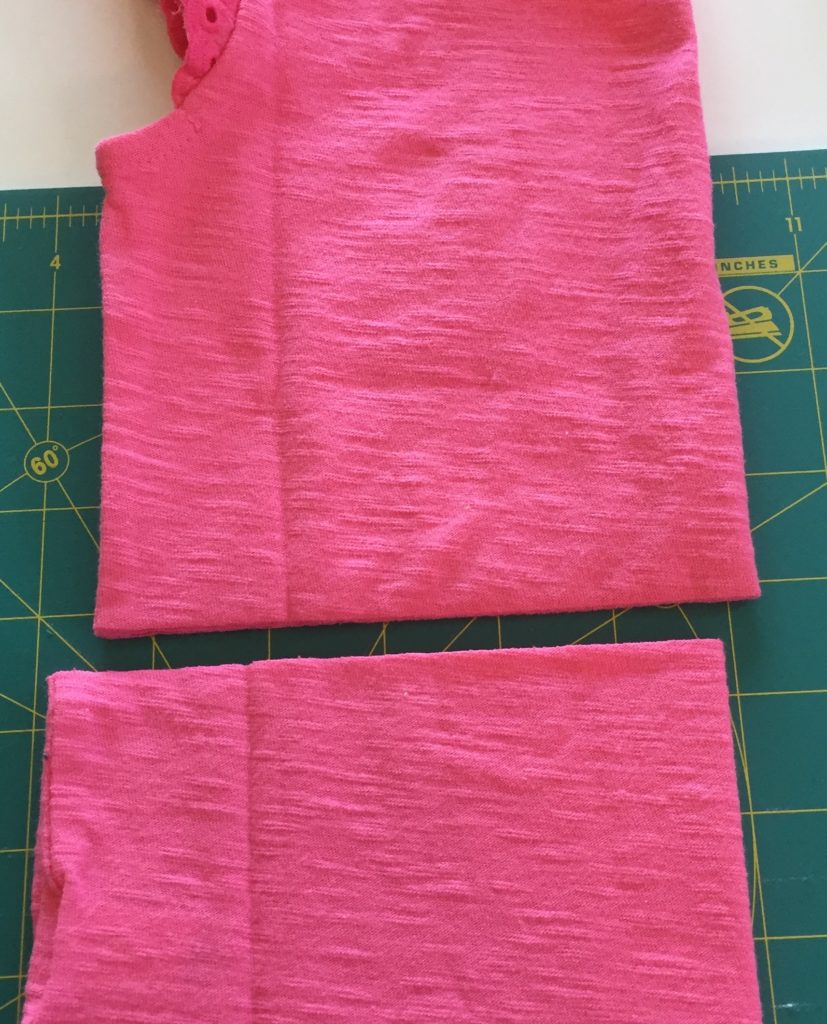
With a rotary cutter and ruler, cut off the bottom of the t-shirt. A word of caution here….t-shirts are made from stretchy material and to prevent distortion of this fresh-cut bottom edge handle with care, as little as possible and DON’T stretch or pull it.
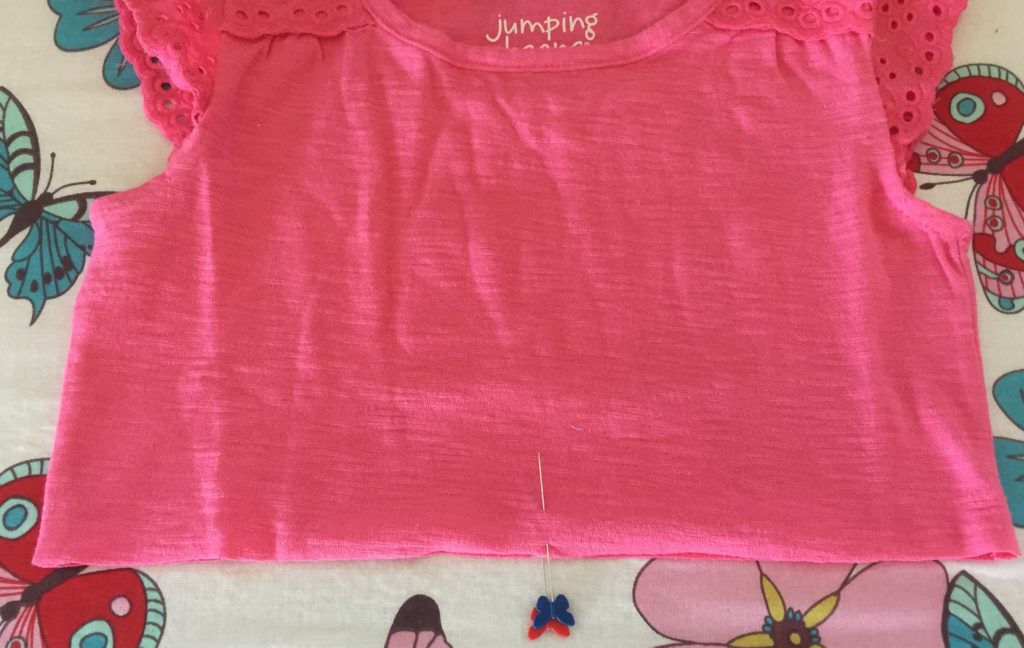
Keeping your tee folded, mark the center back/front with a pin. I just pin through both layers, open and then separate front and back the mark each one. 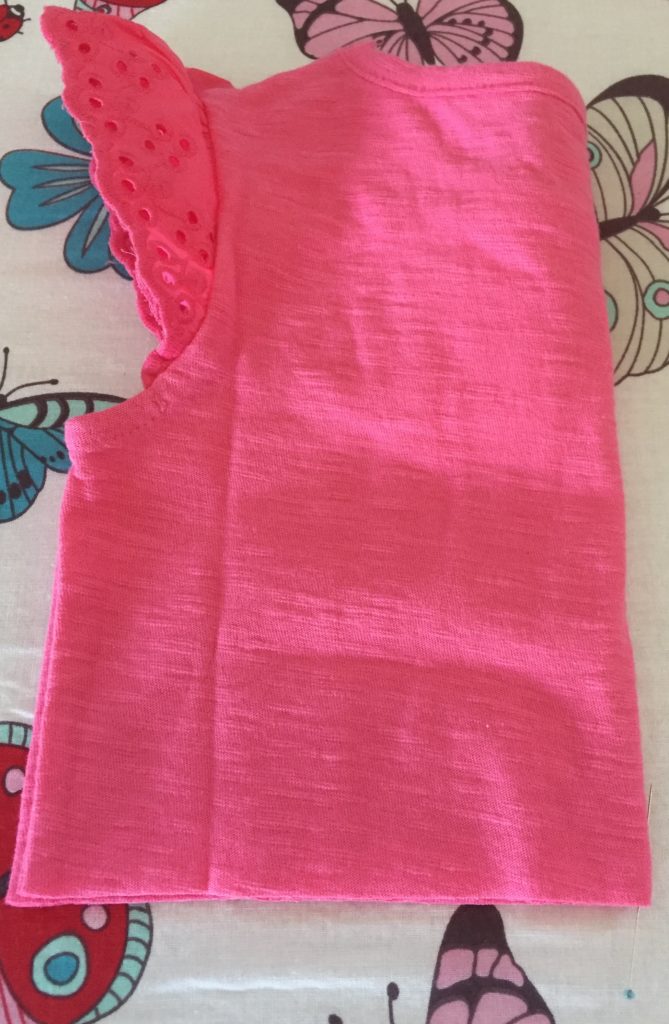
I find it difficult to pull each layer apart while it is still folded and you don’t want to stretch……
Set the top aside and let’s work on the skirt. First, square up the fabric and cut to the proper length. I do a 1″ hem and allow about 1″ for the seam that joins tee to skirt. Therefore, I cut the fabric length to 12″ and will end up with approximately a 10″ long skirt. Your skirt fabric should measure 12″ by WOF. At the ironing board I iron in a 1/2″ seam.
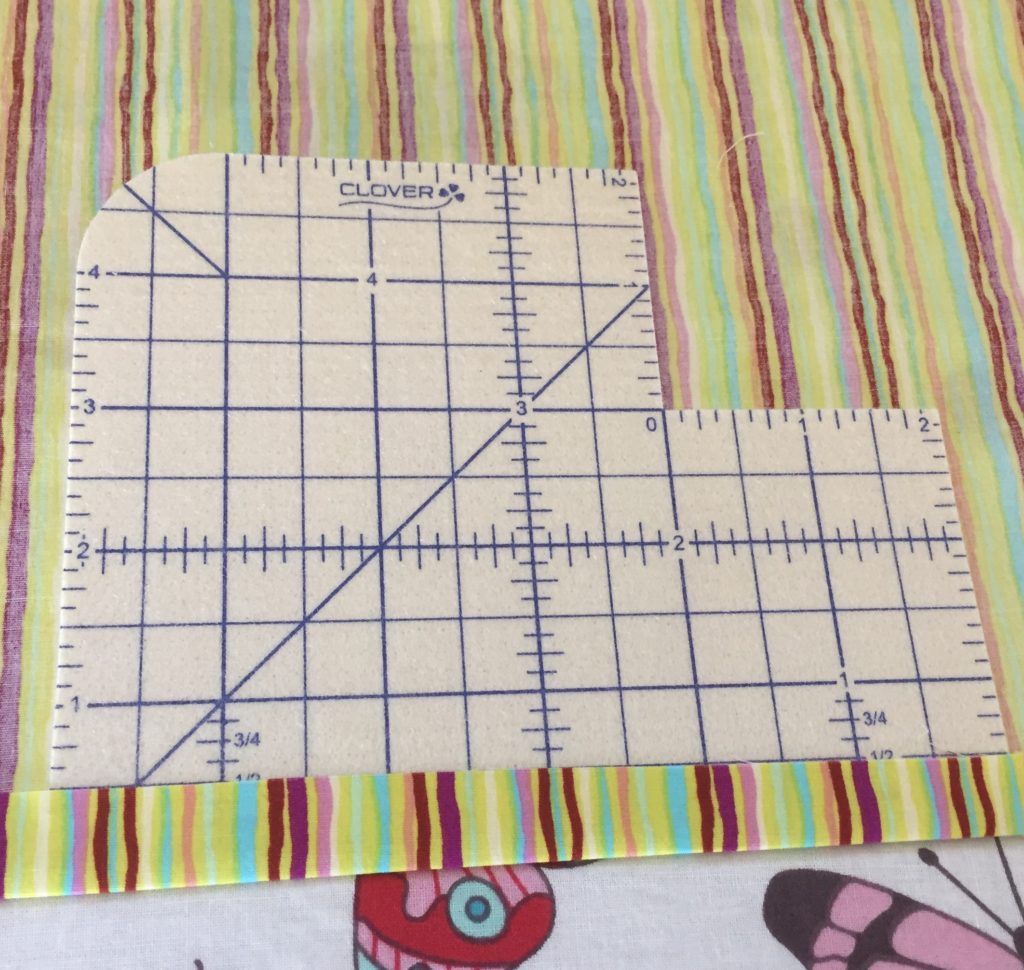
This Clover Hot Hemmer is the best thing evah!! Once I have ironed the hem, I will go back and turn up the hem another 1/2″ to enclose the raw edge.
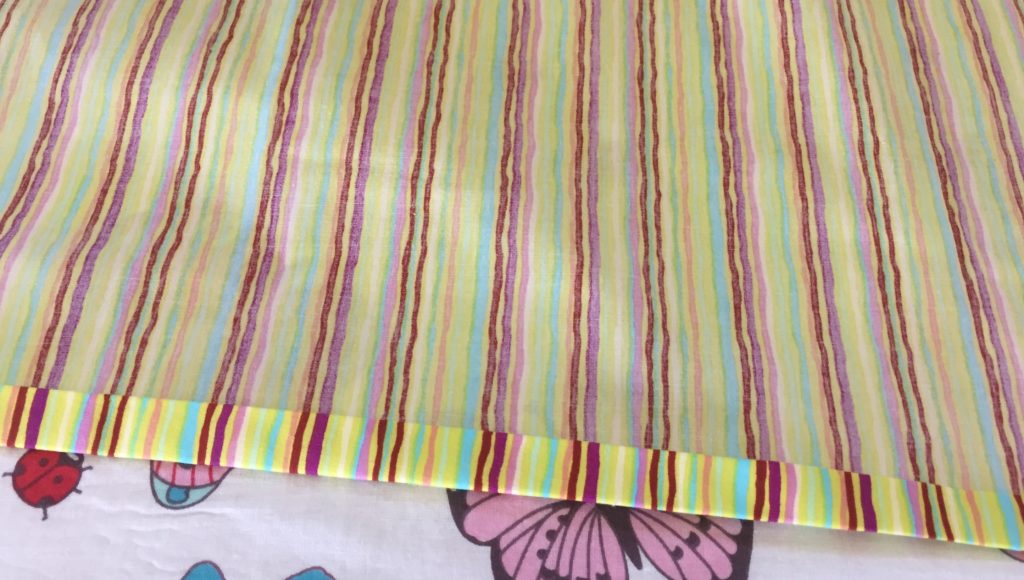
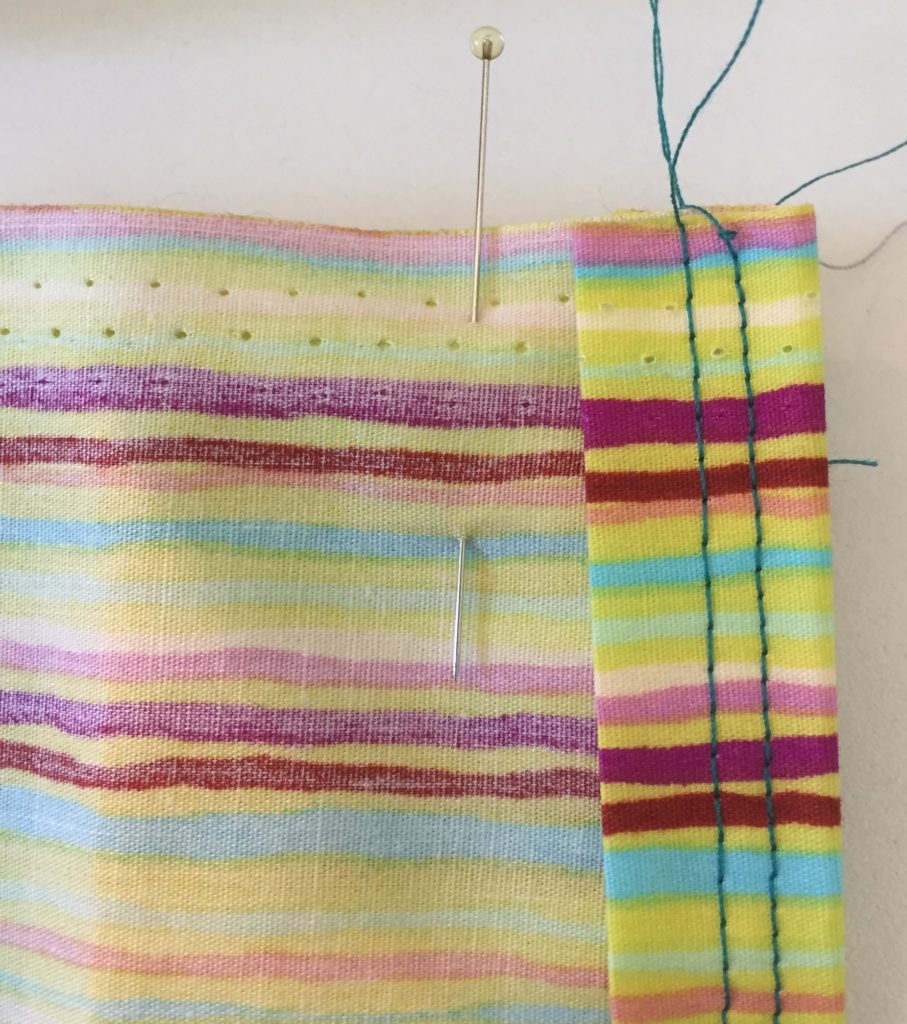
You can finish this hem several ways, you could have done a blind hem with a serger, you could use a twin needle and decorative threads, you could use one of those fancy decorative stitches on your machine. Choices, choices! I decided to just sew a double seam. 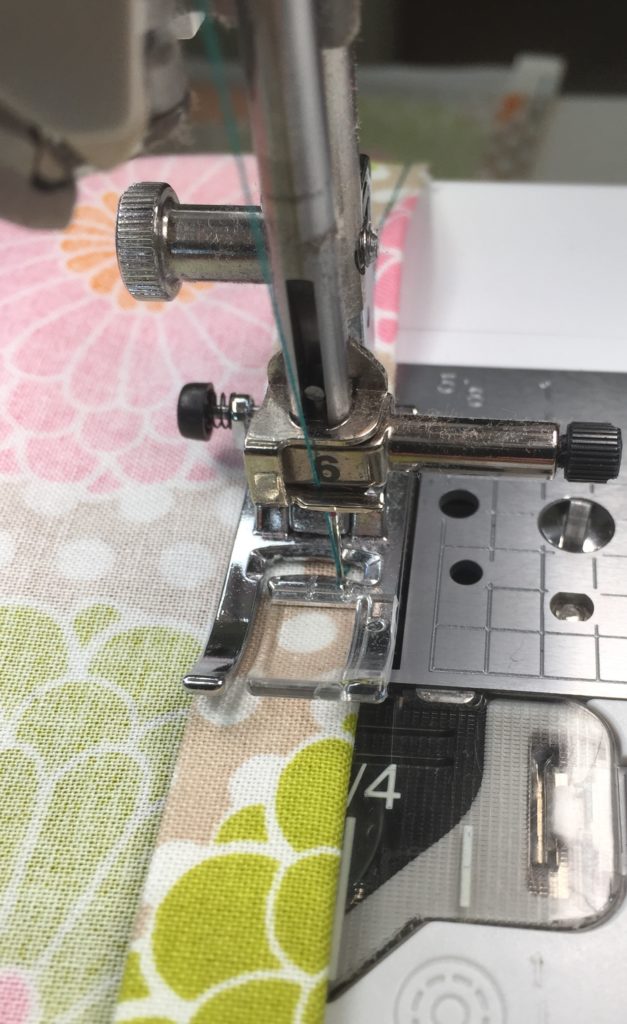
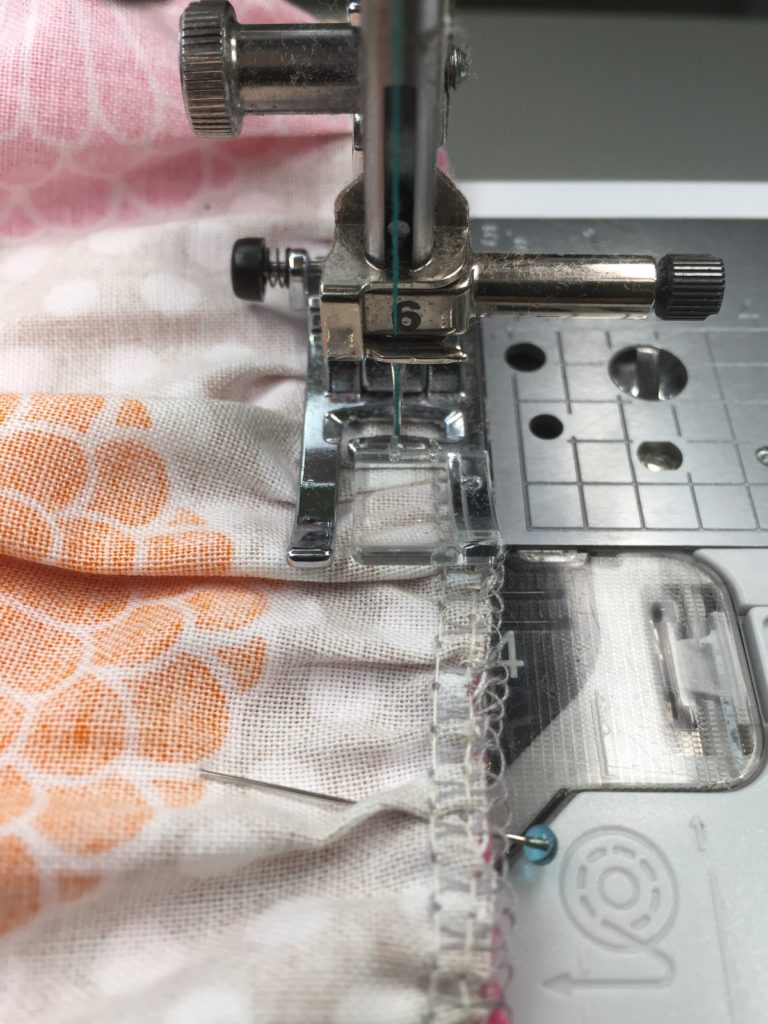
Using a 3.0 stitch length with my needle moved to the right and fabric aligned with the 1/4″ mark, I sewed the first hem. 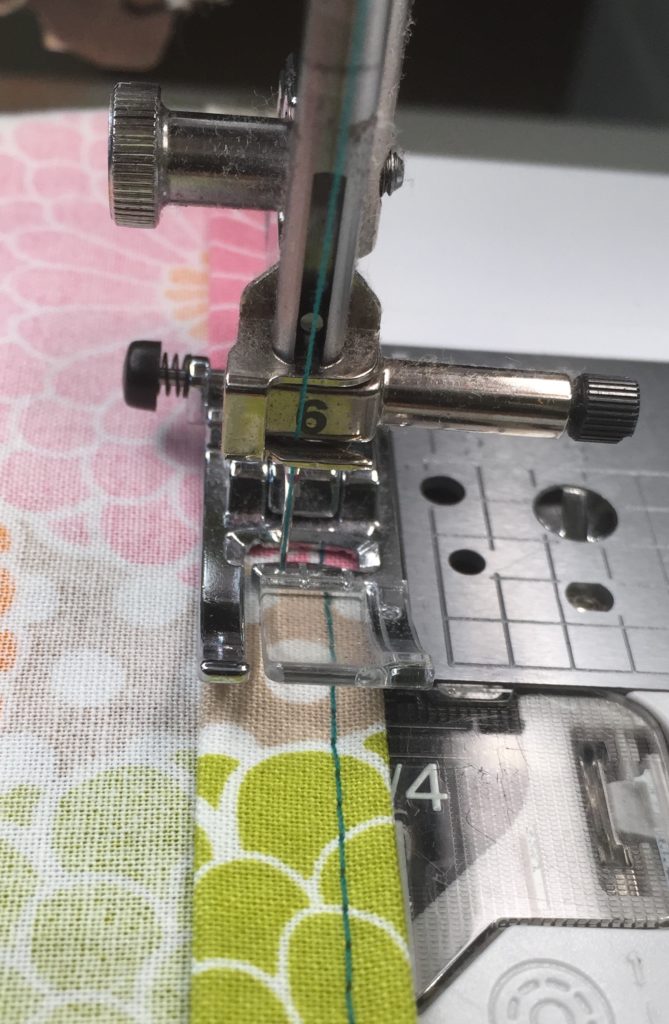
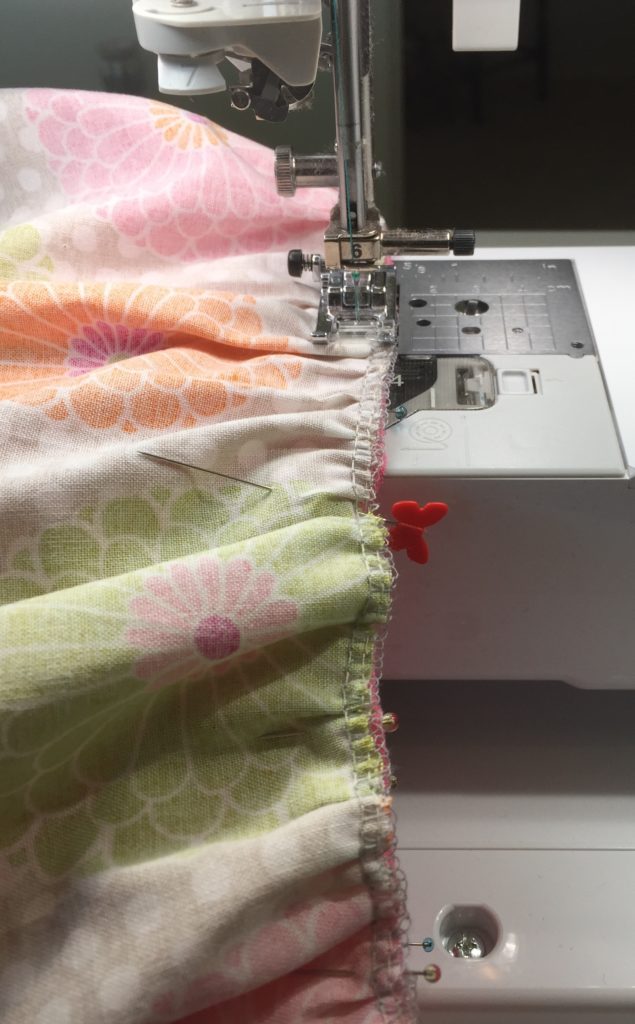
I repeated the process with my second hemline except I moved my needle to the left.
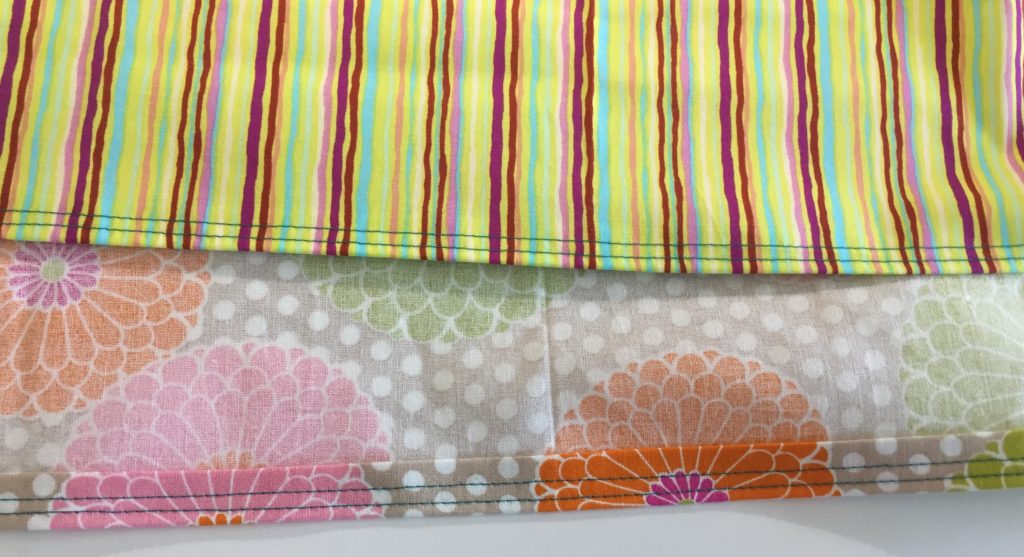
Here are the finished hems, front and back in these two skirts. If you wish to embellish further, now is a good time to do that. Add rick rack, embroidery or other trims to dress up the skirt.
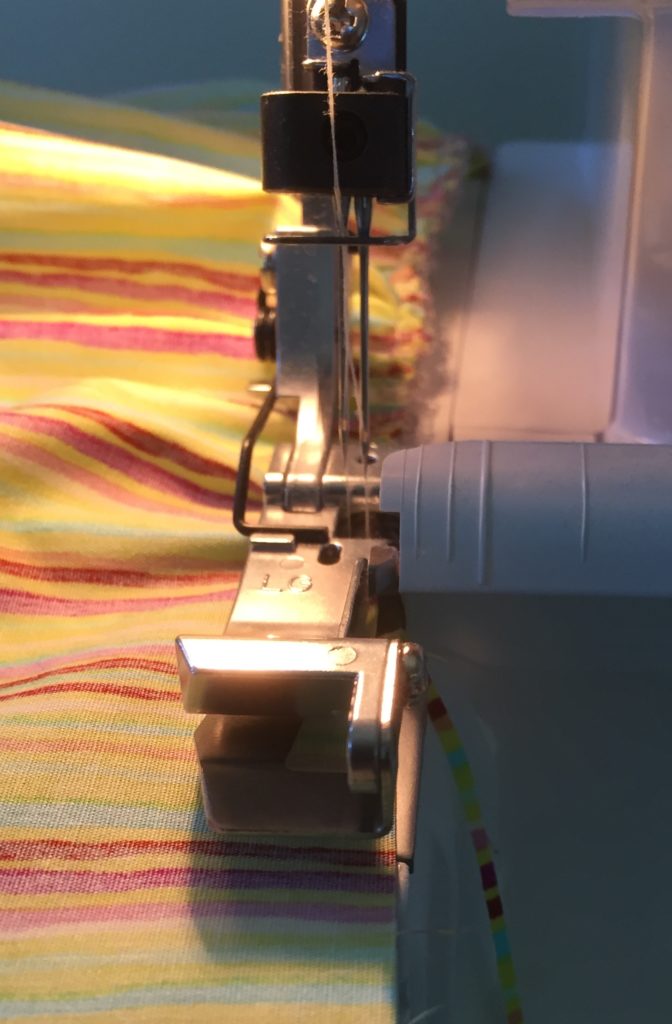
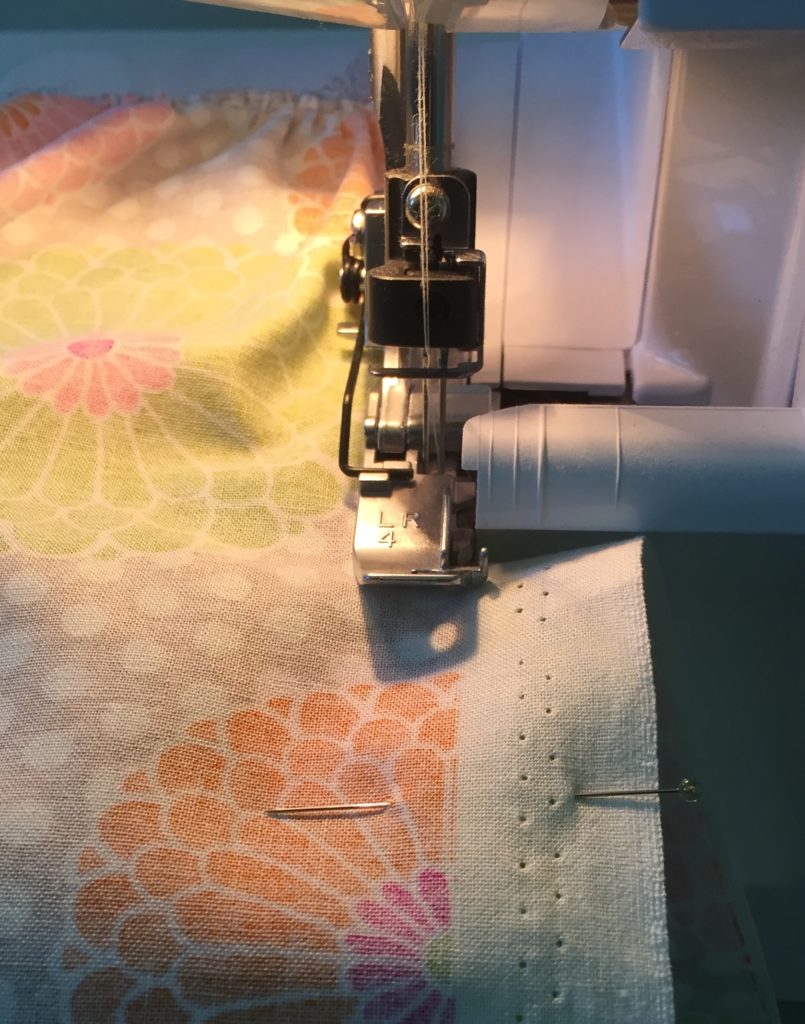
Now let’s gather the top edge of your skirt. You can do this with your sewing machine, serger or if you are really brave, by hand. I chose to use the gathering foot on my serger.
I also opted to join the vertical (back) seam of my skirt on my serger. You can also do this by machine. Whether you use a serger or machine, match the bottom hemmed edges and pin. Then moving toward the gathered top edge, match the selvedge edges and pin. If you were finishing this on your machine, I still use the same method. I would double stitch a seam wide enough to allow me cut off the selvedge edge after I have stitched and would then iron that seam open.
This time I used my serger and as you can see, I let my serger do the heavy lifting of cutting off the selvedge edge.
You should now have a hemmed, gathered cylinder of fabric! Yay! Now let’s get this dress together. We need to mark the side seams and front of this skirt so that we can properly align it with the t-shirt. I like to put the vertical seam in the center back of the dress. Experience has proved to me that it is risky business to put that seam on the side because the gathering may not allow it to always line up nicely when finished and no one wants a twisty dress. Not even a three-year old.
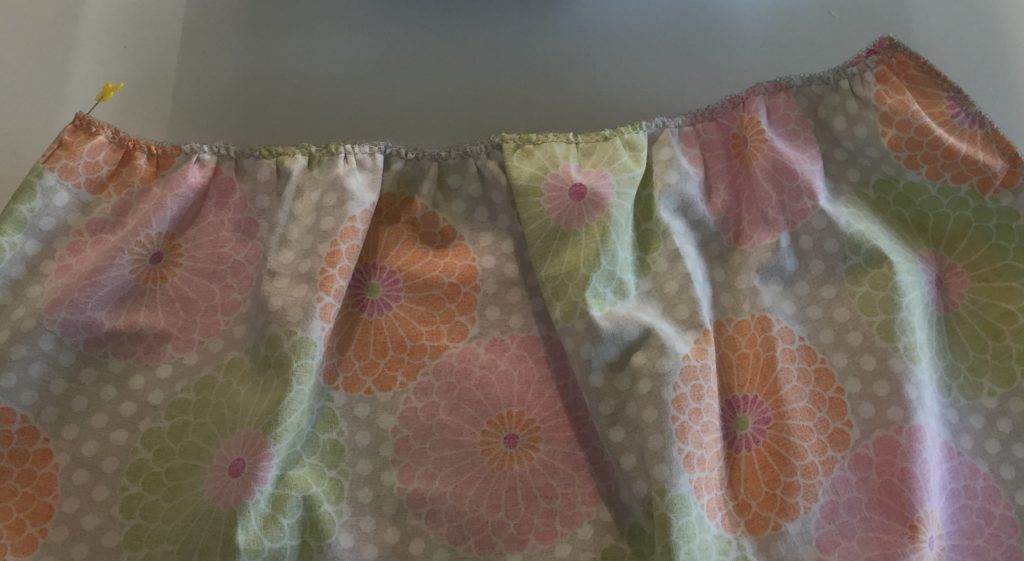
Here you can see the back seam on the right hand side and the left side marked with a pin. Now fold the skirt in half, to find the center.
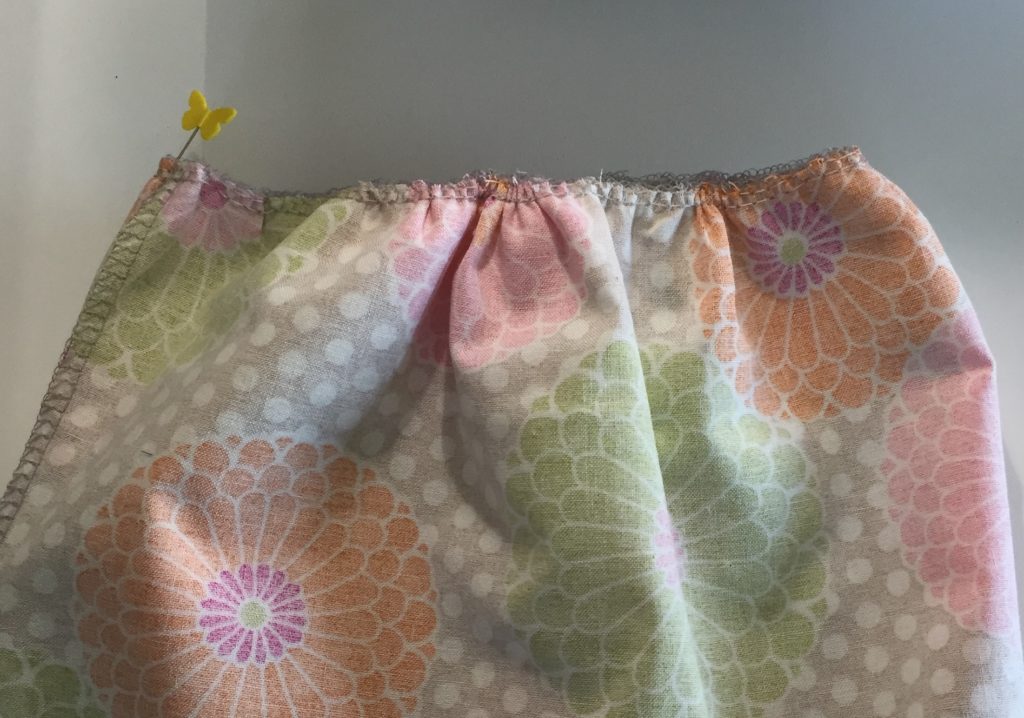
Now mark the centers with pins. 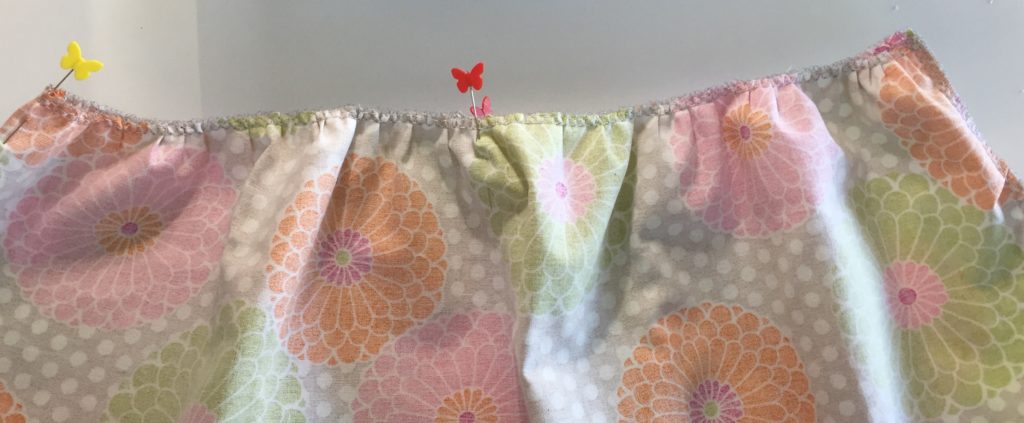
You should now have a pin at each side seam and the front. Remember that the vertical seam is going to be center back.
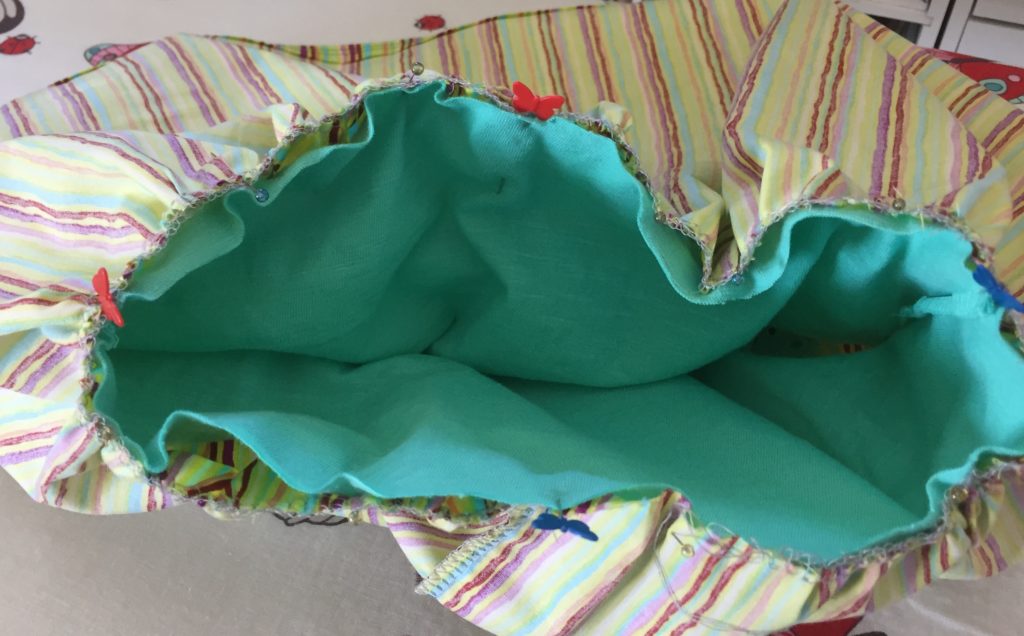
Time to match the tees to the skirts. Make sure that your skirt is wrong side out and your tee is right side out. You will now insert the t-shirt into the skirt being sure to put the vertical seam line in the back.
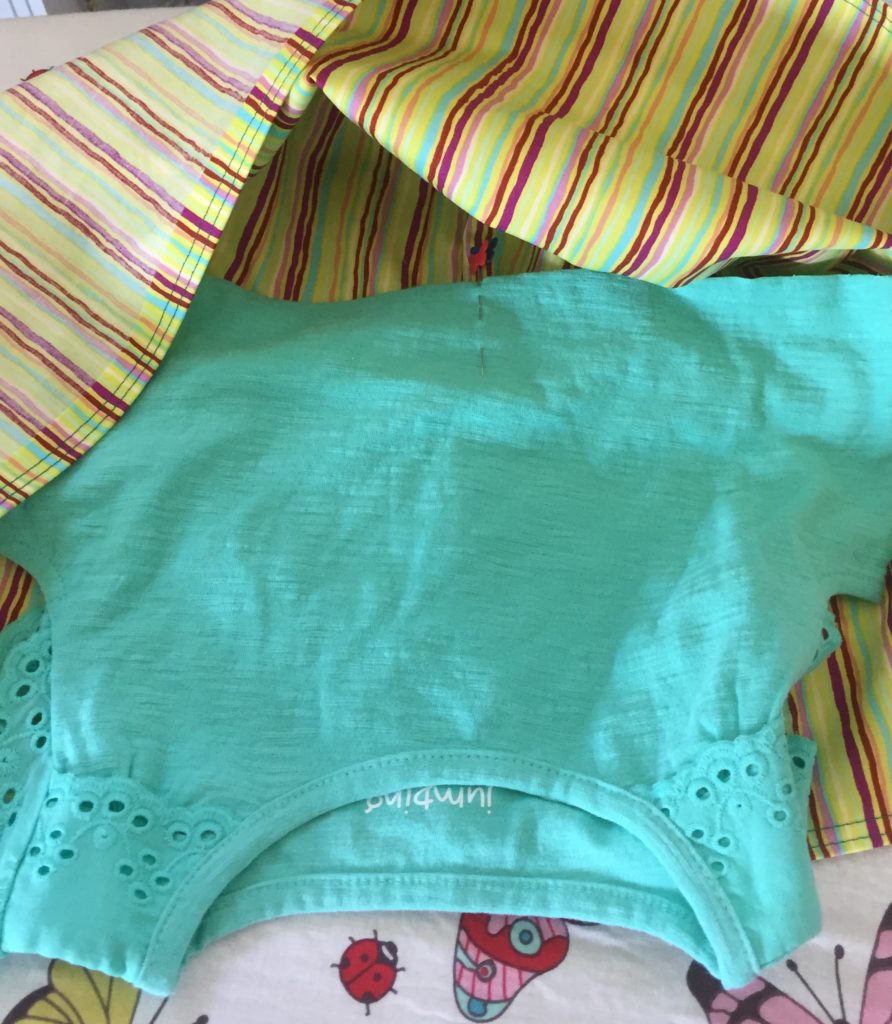
Look at the pretty picture…..the gathered edge of the skirt will be pinned to the bottom of the tee. Shoulder seams and hem should be facing you. Right sides of the skirt and tee should be together and your vertical seam should be oriented to the back.
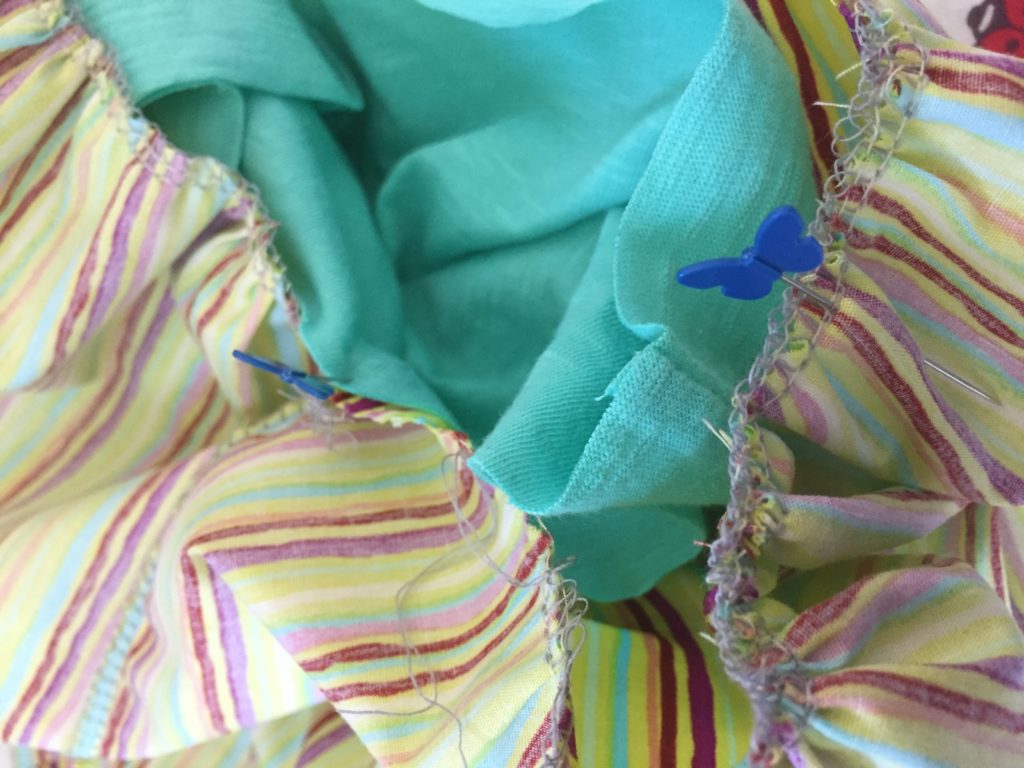
Match the side seams of the tee to the pins on the sides of the skirt. Pin through both layers.
I suggest pinning the sides, then front and back. Finally, easing in the tee-shirt fabric, pin the entire perimeter. Note: I generally don’t pin anything but don’t try to wing this without pinning. It doesn’t work. Don’t ask how I know this.
If you have a free arm feature on your sewing machine, remove it.
Seam allowance isn’t what is important here. But what you want to do is sew below the gathering stitches so that they don’t show when you turn the dress right side out. Go slow speed demon and use a 2.0 stitch length.
Stitch around the entire perimeter. If your darling daisy is a bit rough on her clothes, you can stitch this twice.
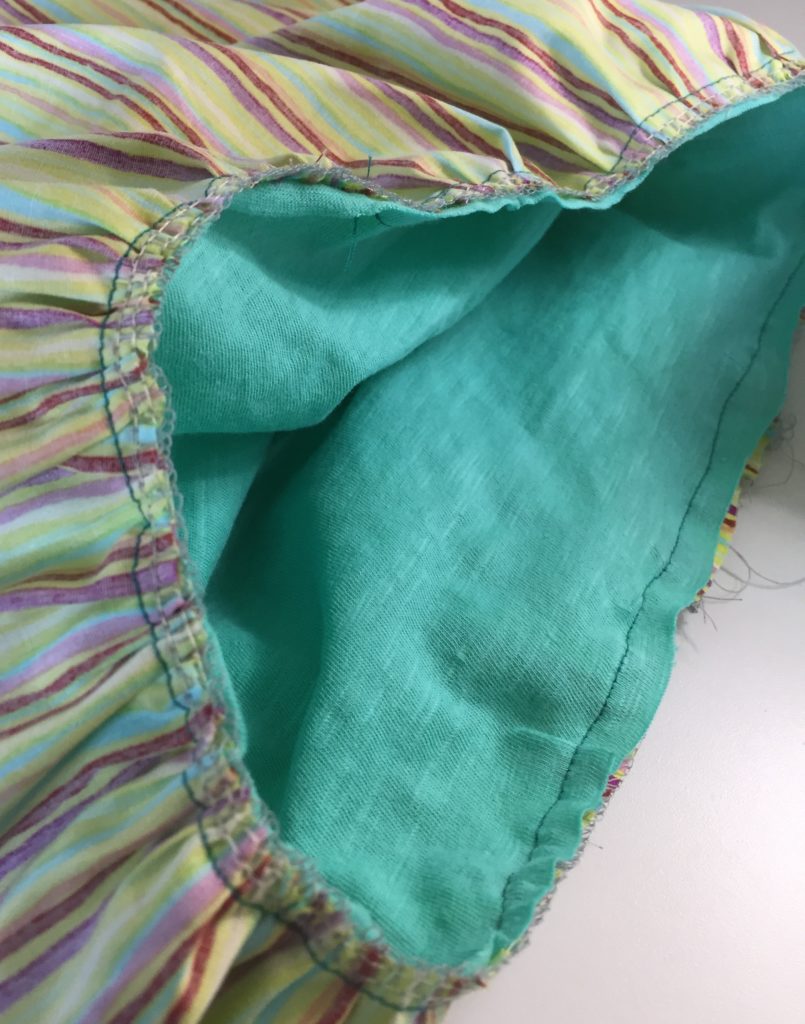
Here is the skirt now attached to the t-shirt. All I need to do is trim threads and turn right side out.
Yep! How cute is that? It took me nearly three times as long to write this blog post as it did to make these two dresses this morning. Because they are so easy and fun to make, I like to make several at a time.

Here they are! Cute, quick and fun.
I have to thank my friend Carol for this dress idea. She has made many of these lovely creations for her sweet granddaughter Helen and I appreciate the inspiration. I hope you enjoy making these too!
