A couple of months ago, I signed up for a one to one photo book swap through my local rubber stamp club. The book should be no bigger than 5×7 and would allow for photos to be added with a minimum of five pages.
I decided I would make the book centered on an ocean theme. I started by cutting thin chipboard for each of the pages and then cut card stock to cover them.
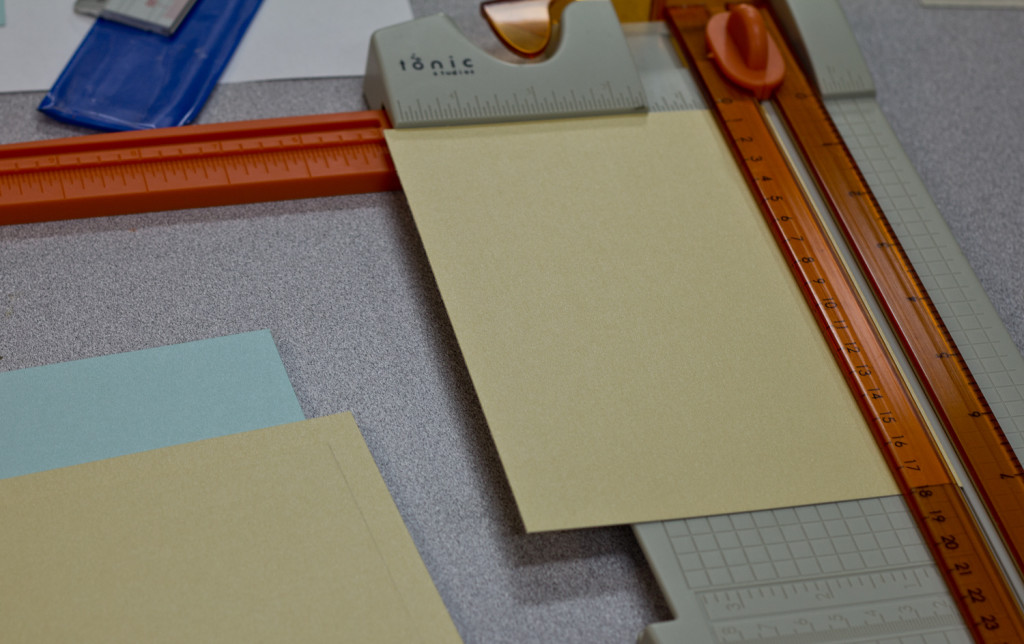
I used a pale blue for the right side pages and a soft, sandy yellow for the left side pages. For the first and last page of the book, I pieced the cardstock with a large blue field and yellow band. I reversed the “theme” for the other end of the book.
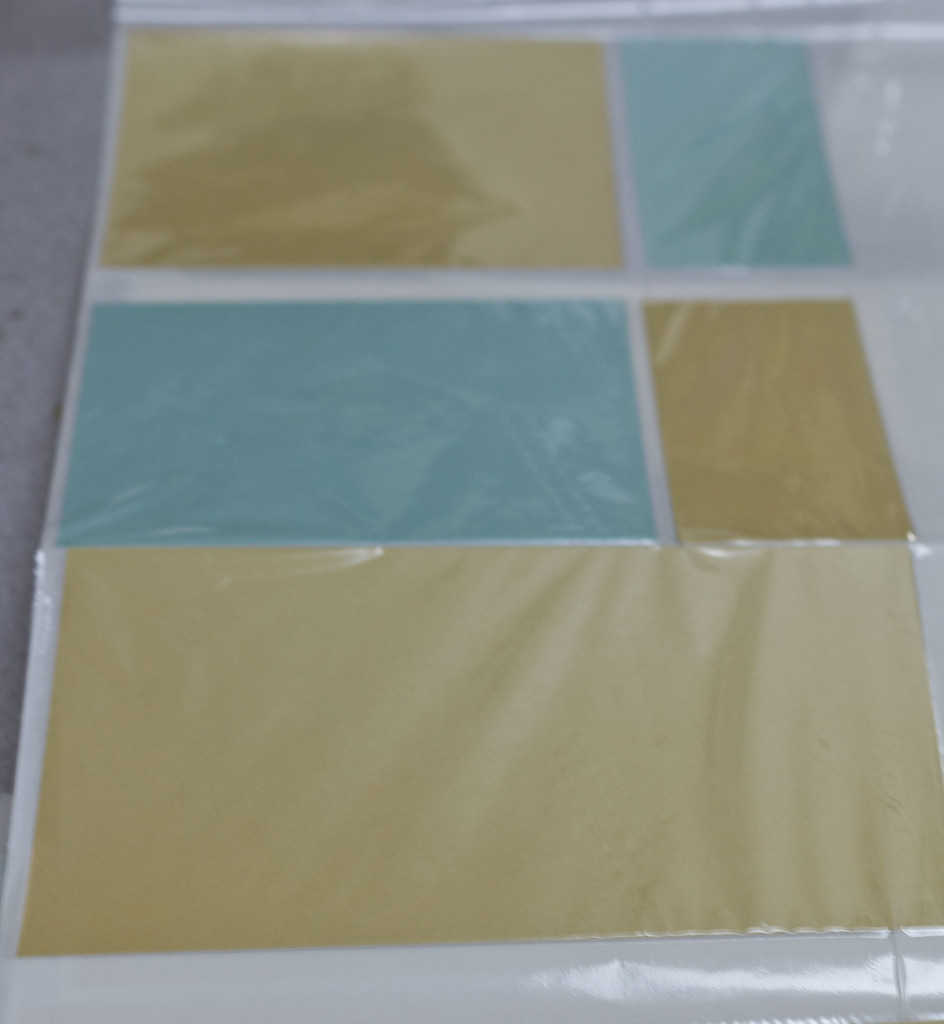
I ran the cardstock through my Xyron to put adhesive on the back, the plastic “sheet” on top is removed after the adhesive is applied.
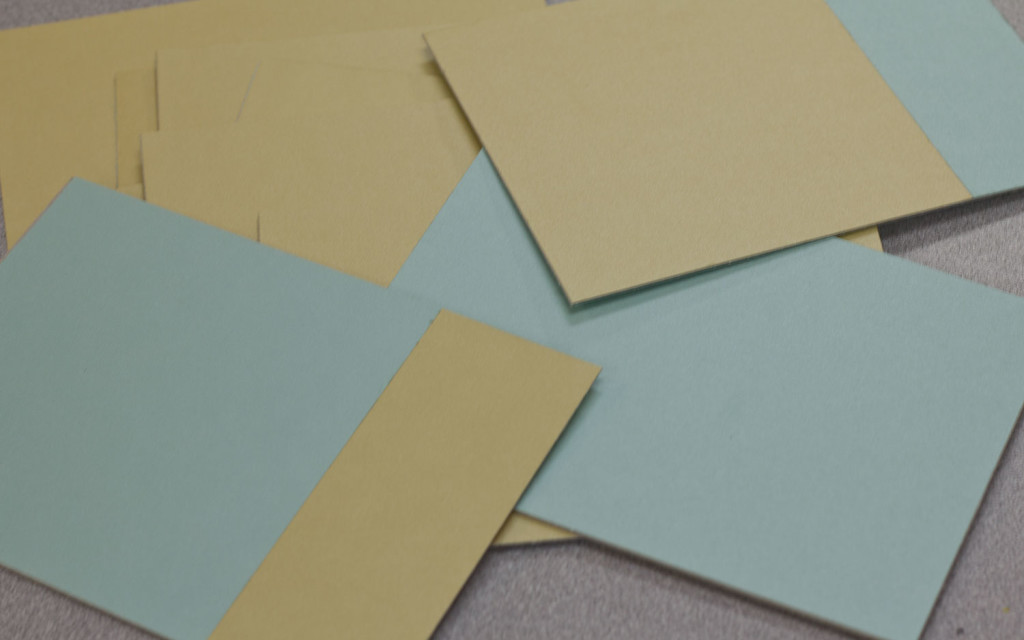
Here are the first and last pages with the cardstock adhered to the chipboard and all of the rest of the pages are ready for embellishment.
Next I began planning layouts for each page, keeping in mind that I needed to leave space for the recipient to add photographs.
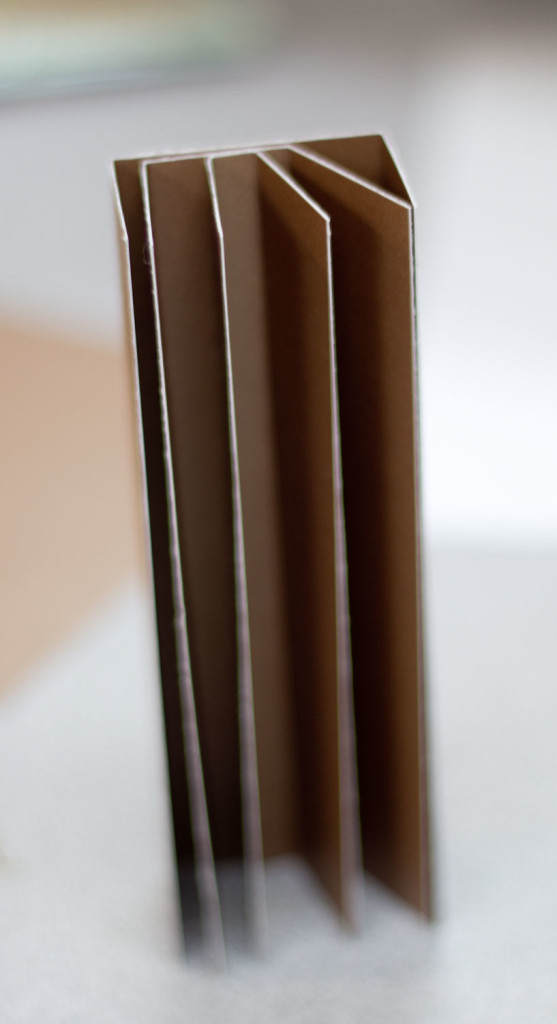
Using brown cardstock for the binding, I made use of my brass rules from Volcano Arts to help measure where I needed to score the paper.

Once folded and nested the “binding” looks like this:
Joining pages and binding makes a crafty, crap-tacular mess!
Once the nested style binding and all of the pages are joined together, I then added the covers and the endpapers. Here is the inside of the front cover and the first page.
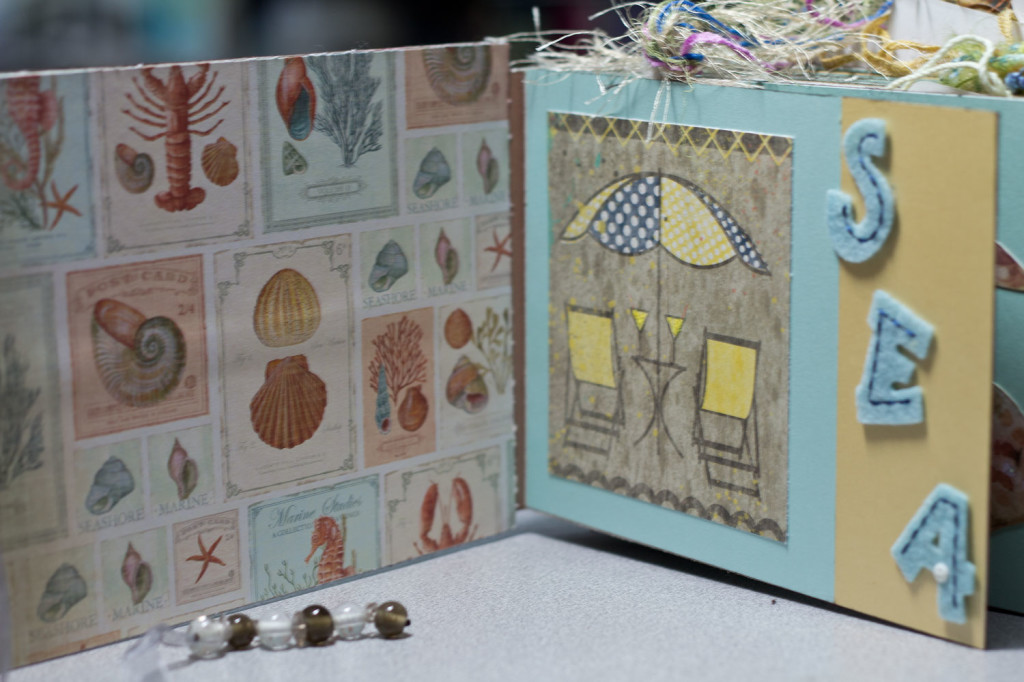
Pages 2 and 3:

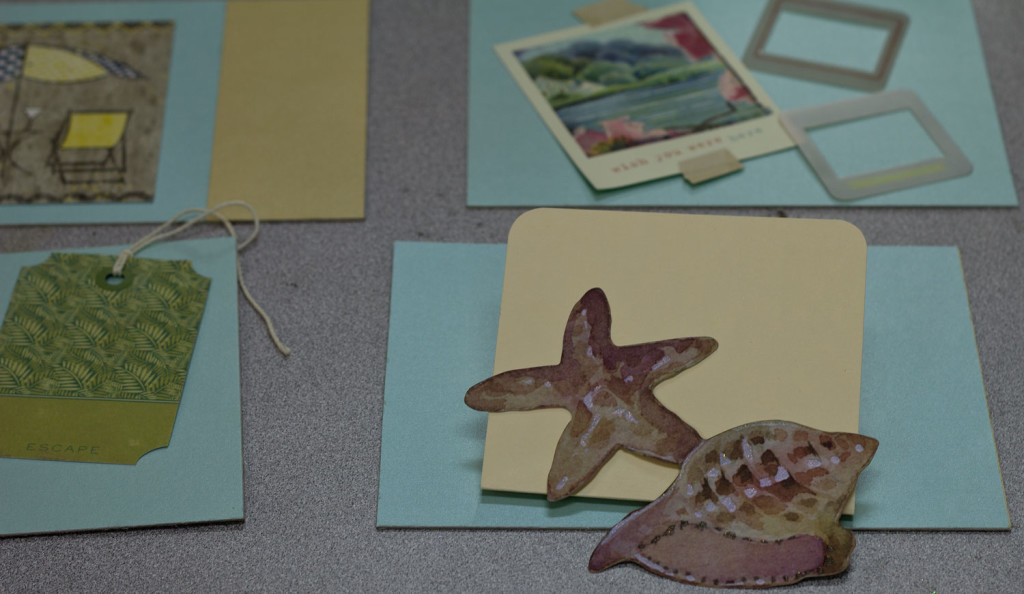
A photo can be placed behind the Sail Away With Me circle.
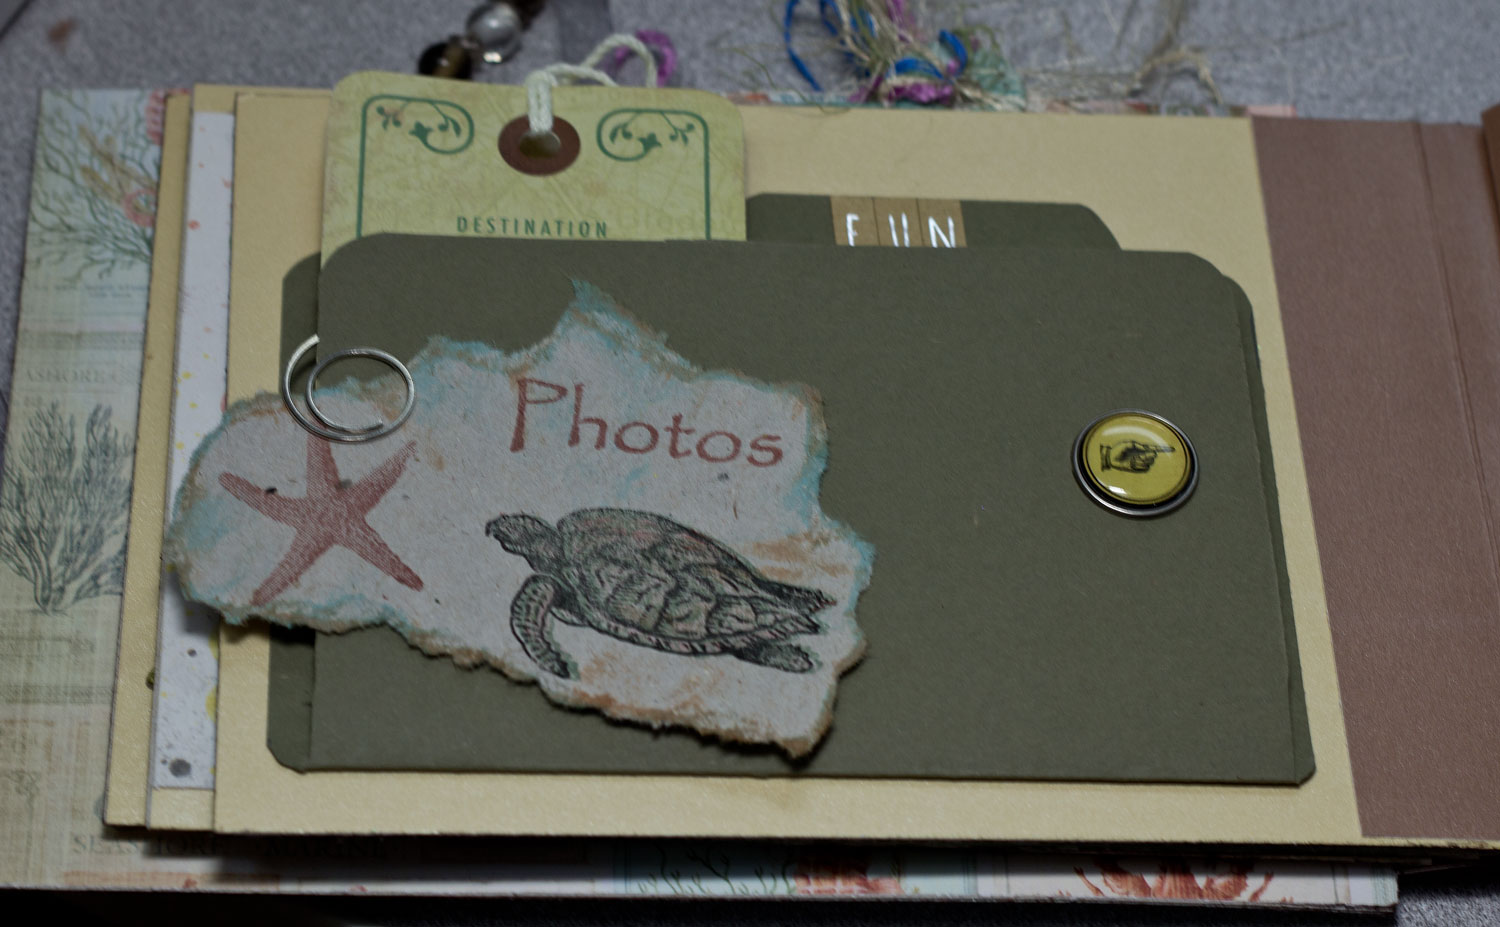
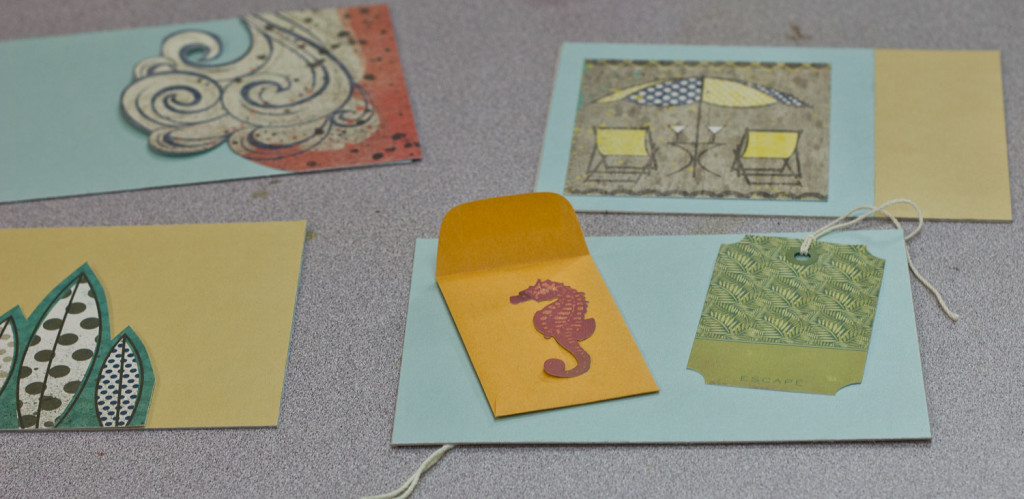
Featuring a turtle, this photo folder also holds a tag that reads “Destination”. Turtle and starfish stamps are from Rubber Stamp Plantation.
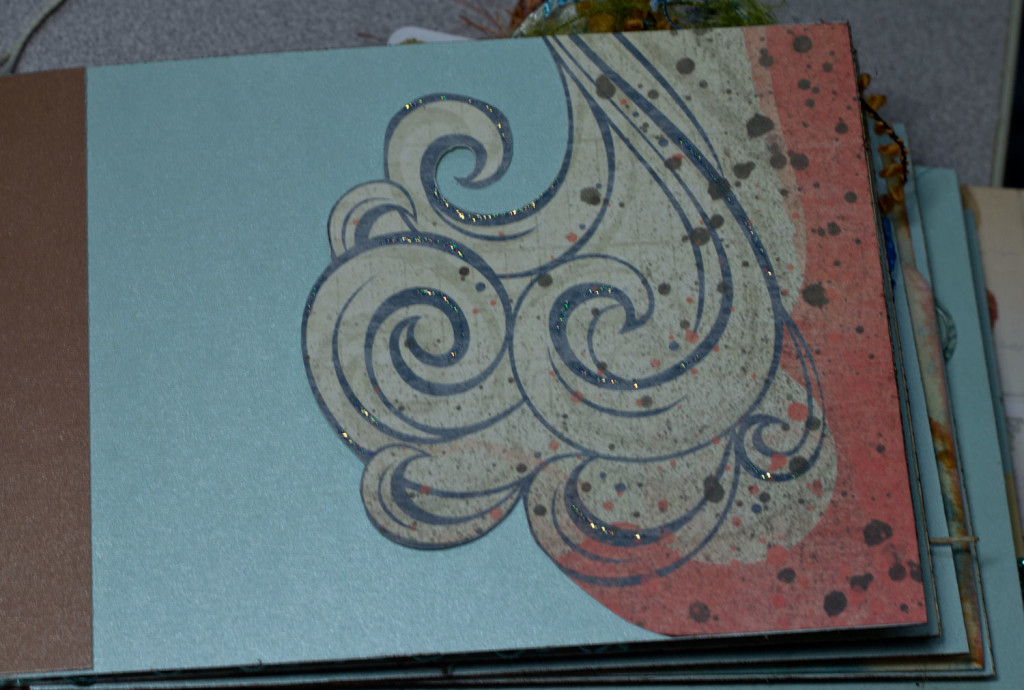
Cut from the edge of a preprinted 12×12 scrapbook page, this wave is a perfect fit for the corner of this page. Strategically adhered to the page to allow photos to be tucked into the wave. A bit of embellishing with some glitter and the wave seems to shimmer in the sun!
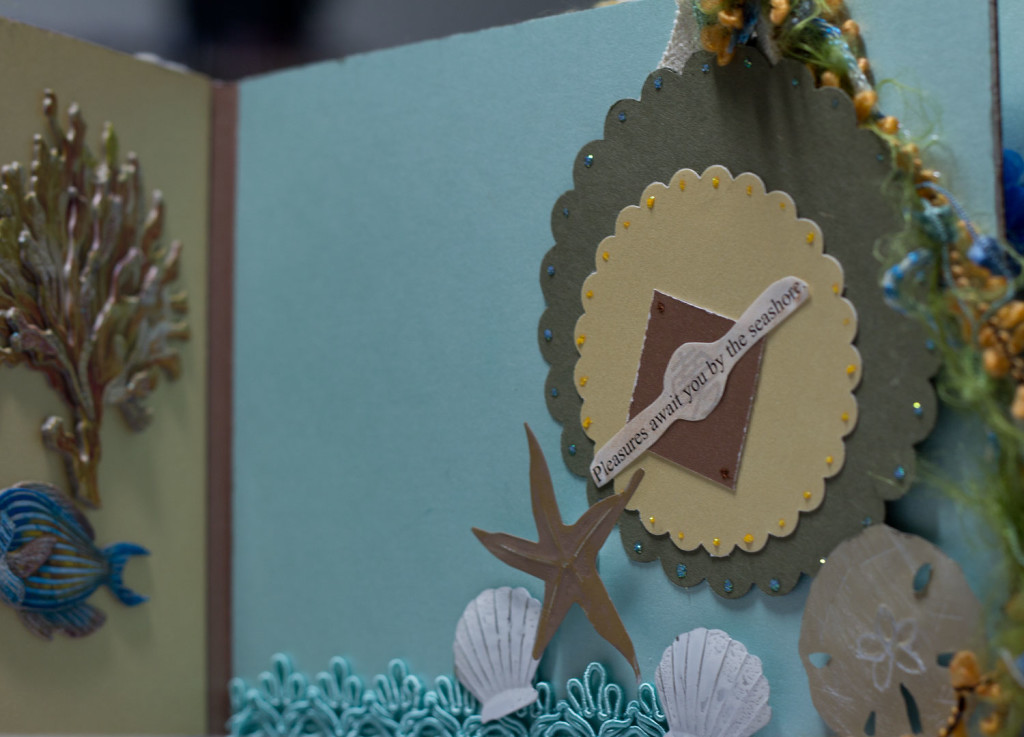
I used a bit of fabric trim to create the “waves” at the bottom of this page and adhered several metal sea creatures to create depth. Then I punched two different sized circles and layered them. They are topped with a square of “binding” cardstock placed on point and finished off with a fortune from some ancient Chinese dinner. I positioned the circles and attached them so that photos can be slipped into the pocket behind them. I have a fabric tag and fibers tucked in behind the circles in this photo.
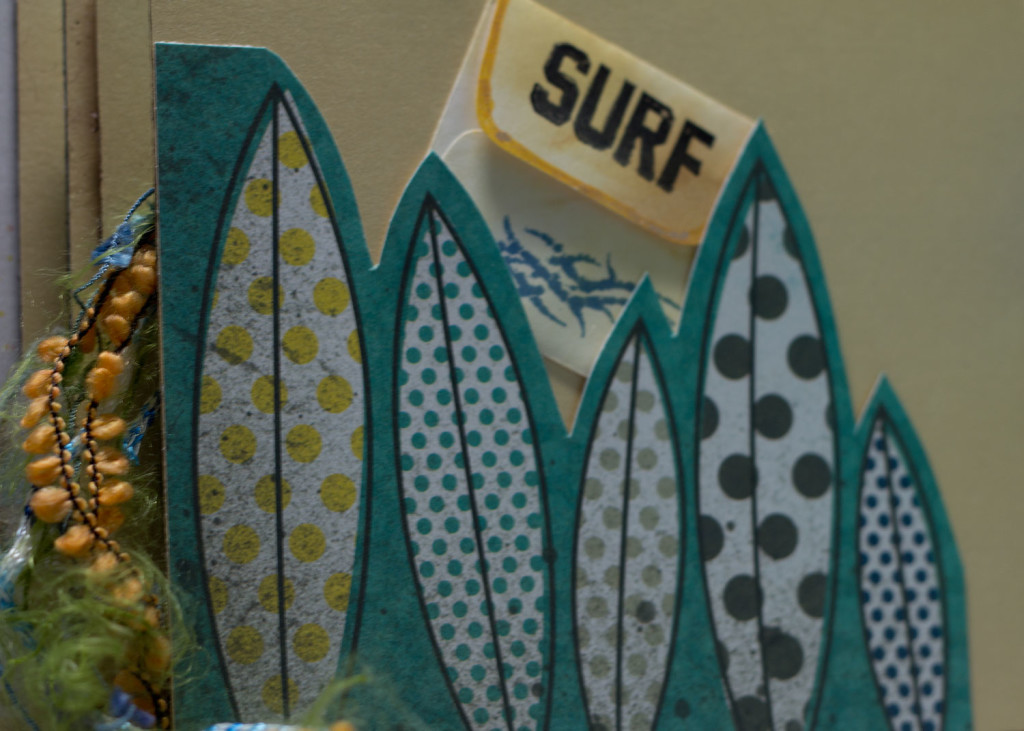
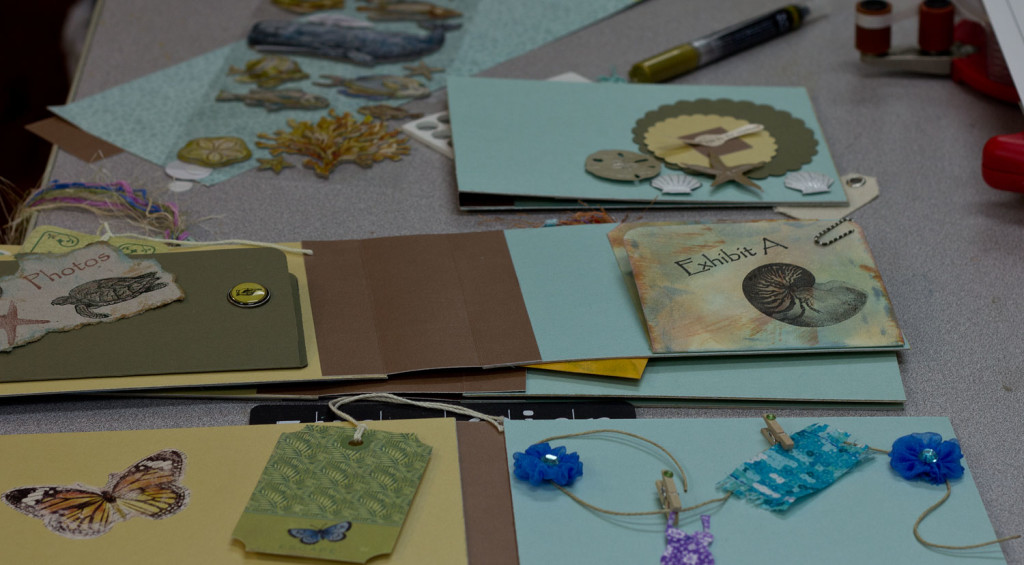
Again using a great image from a scrapbook paper, I added these fun surfboards to a corner and turned it into another pocket. I stamped a small white envelope with “SURF” and a wave image and tucked it behind the boards.

I really had to put my brain to work to come up with a layout for this page. I don’t know about you but on a beach vacation I always have one bathing suit on and another drying! So this clothesline seemed like just the thing. Some cute seersucker fabric creatively cut makes a fun towel and one piece bathing suit drying in the sea breeze don’t ‘cha think?
Next I chose an oversized tag and inked it with several colors. I folded the tag to make a place to insert photos and then added a nautilus and exhibit A stamp from Oxford Impressions Field Notes plate.
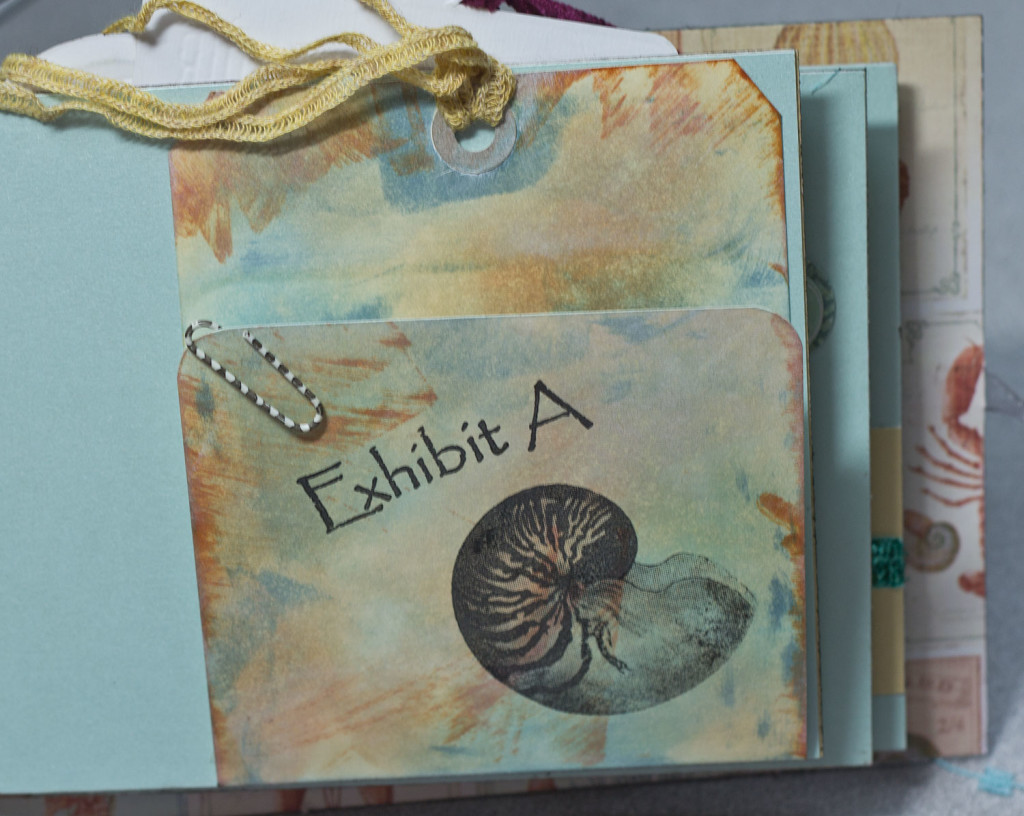
A fun little striped paperclip helps set things off!
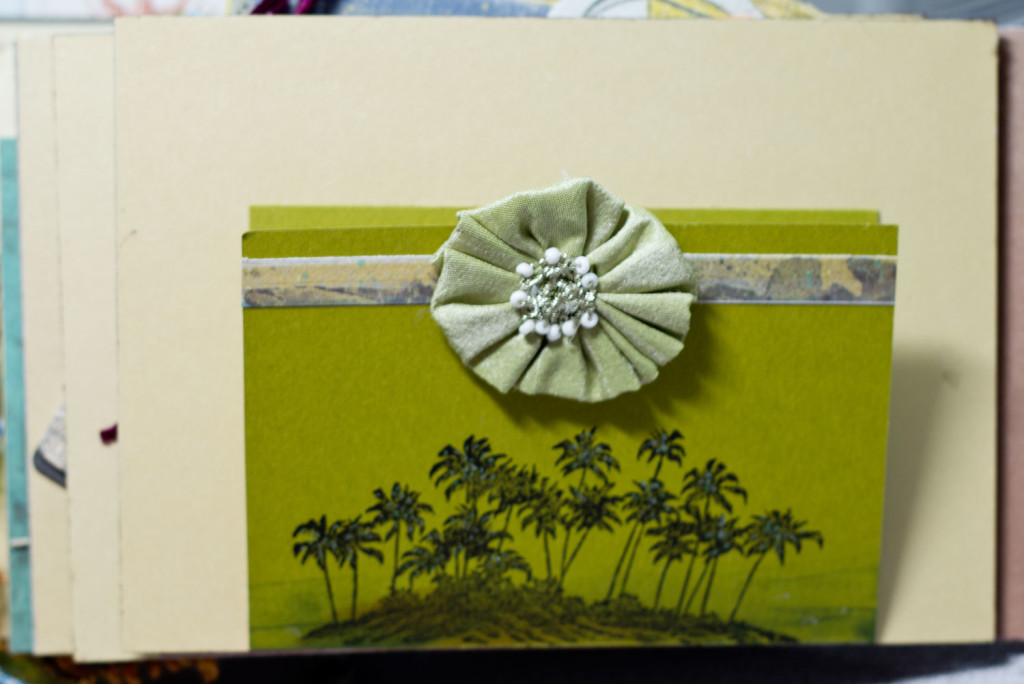
Using a bit of green paper, I created another folder with a strip of glittered cardstock across the top and finished it off with a beaded fabric flower. At the bottom, I utilized a stamp from Rubber Stamp Plantation to create that island feel. With touch of glitter pen and some sponged on ink, it helps this image pop.
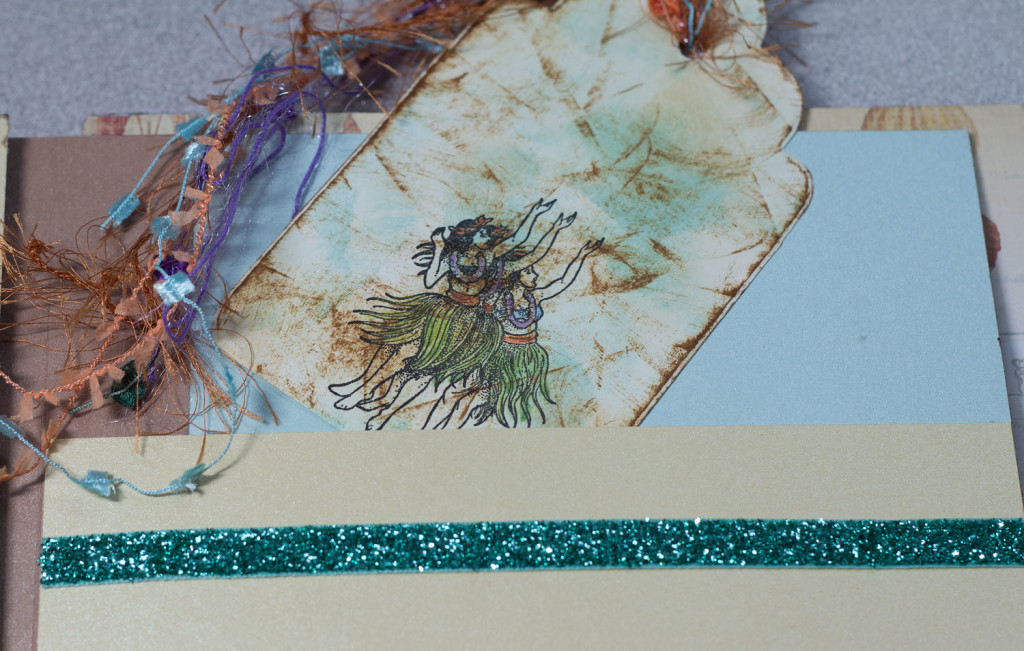
On the adjacent page I added a strip of contrasting cardstock to create a pocket and embellished it with a stripe of glittery aqua ribbon. Then I stamped an oversized tag with a hula girl image from Rubber Stamp Plantation and colored it with colored pencils. Adding a bit of sponged ink to the tag and some interesting fibers finishes things off.
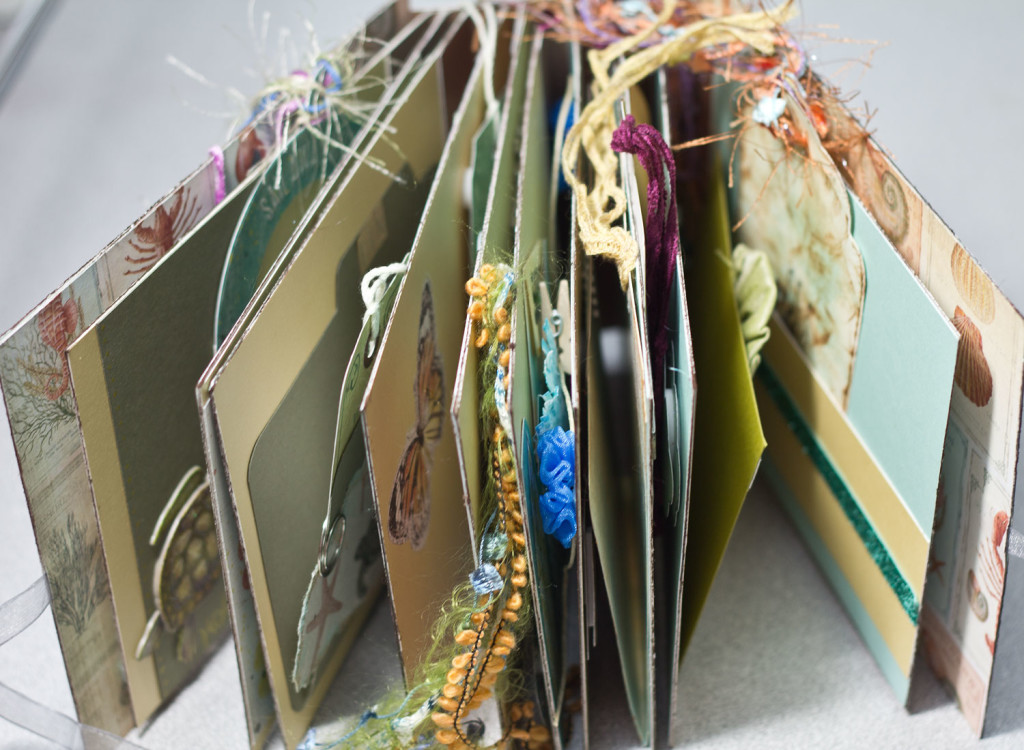
Now for a peek inside the completed book:
Once the book was “bound” together with the nested binding, I used a contrasting green cardstock to wrap the outside. Before adhering I ran the paper through my Big Shot to texturize the paper and give it some interest. This outer wrap also gives the binding some added strength and rigidity as well as tidying up any ugly edges.
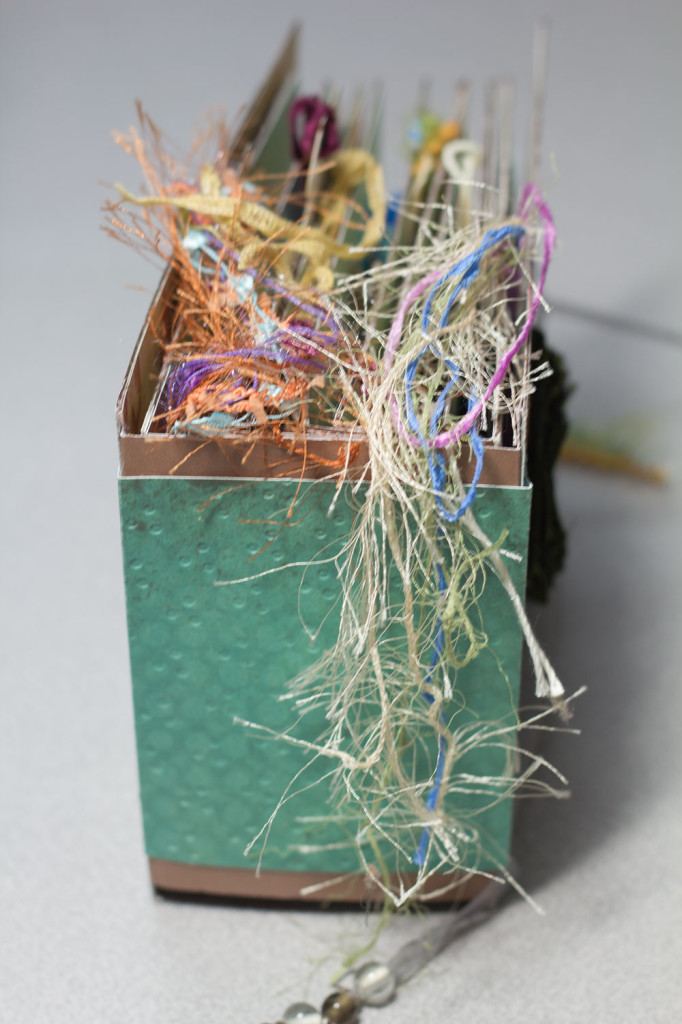
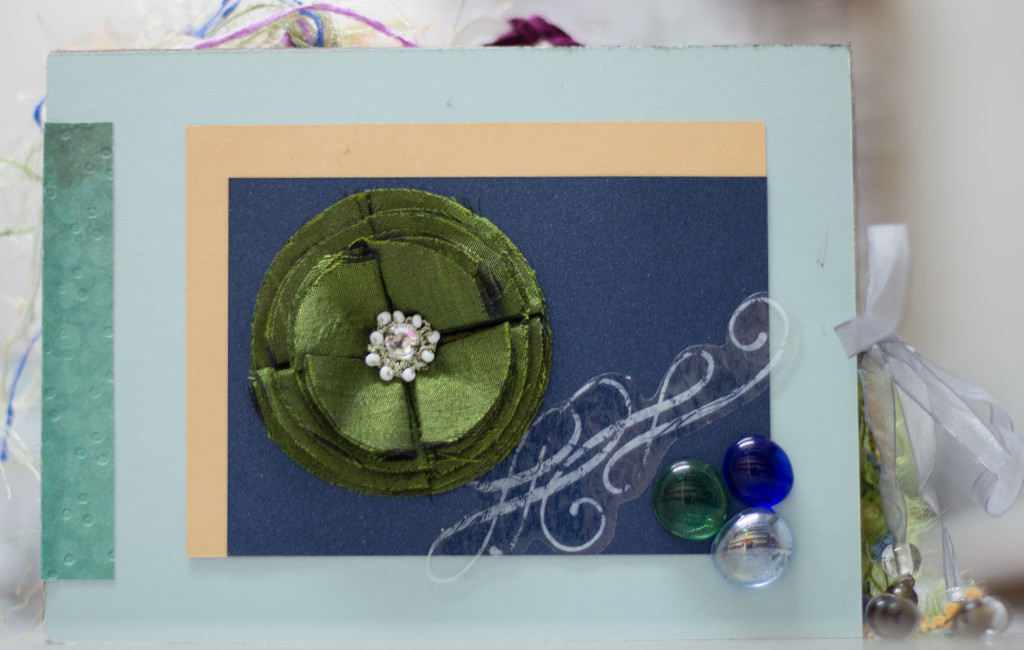
Finally I used a beaded ribbon tie to provide a closure for the book. On the front I layered several shimmery cardstocks, a beaded fabric flower and an acrylic swirl. In the corner I glued several glass pebbles that look like sea glass. I also used a brown ink pad on all of the pages to eliminate that dreaded glaring white from the raw edge of freshly cut paper.
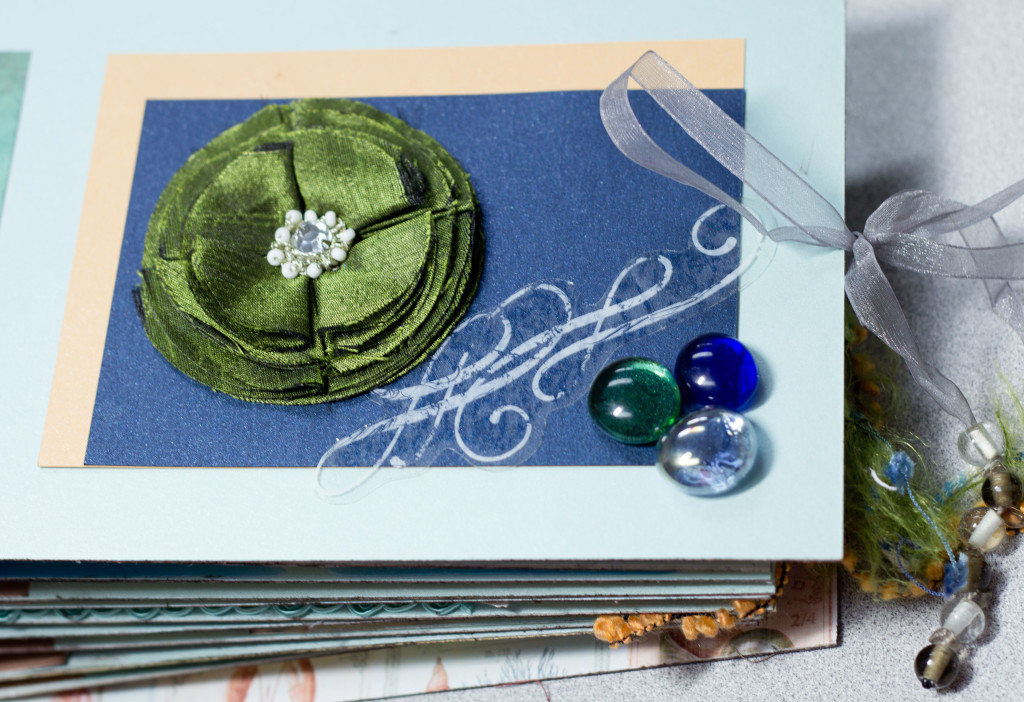
I would hope that the front cover will invite you in for a look…..perhaps even two!
When I receive my swap book in November, I will be happy to come back and update this entry with the the book that I received. I can’t wait!
OMG how cool is this!
You have truly brought the Hawaii theme into this book! Your book partner will be amazed!!