Sweet Mr. Charles just loves to ride cross-country with his mom and dad, but they don’t love the way his basket rubs on the leather seats. For the last few years we have made do with using old bath towels to protect the seating area beneath his car seat but I felt like he needed an upgrade since he is a frequent rider!
First a disclaimer: I am making this as a seat cover to protect our leather seats from a DOG carrier. Before you attempt or install any such item with a baby seat or a compromised child or adult, ensure that the safety equipment is properly installed, adjusted and allows for any such item between carrier or restraint and the person/animal/item being restrained. I make no guarantee of the safety or efficacy of the use of this item. Whew! Now on to some fun!
Since there are about a bazillion configurations of car seats out there, I can only give you general directions for the first part of this project. You will need to measure and adjust your “pattern” to your specific needs. I began by measuring from the top of the seat back to where it meets the base and the width of the seat back. I also measured the depth and width of the actual seat base. My “rough” measurements were 19 wide x 26 long for the back of the seat and 20 wide x 25 deep for the base of the seat. I added a few inches to the depth measurement because I wanted the cover to fall over the edge of the seat and nearly touch the floorboard. I chose a plain, double-sided quilted fabric for my cover. I cut away my selvedges and then cut my pieces according to the measurements above. When using fabric such as this, be sure to mark which piece is which!
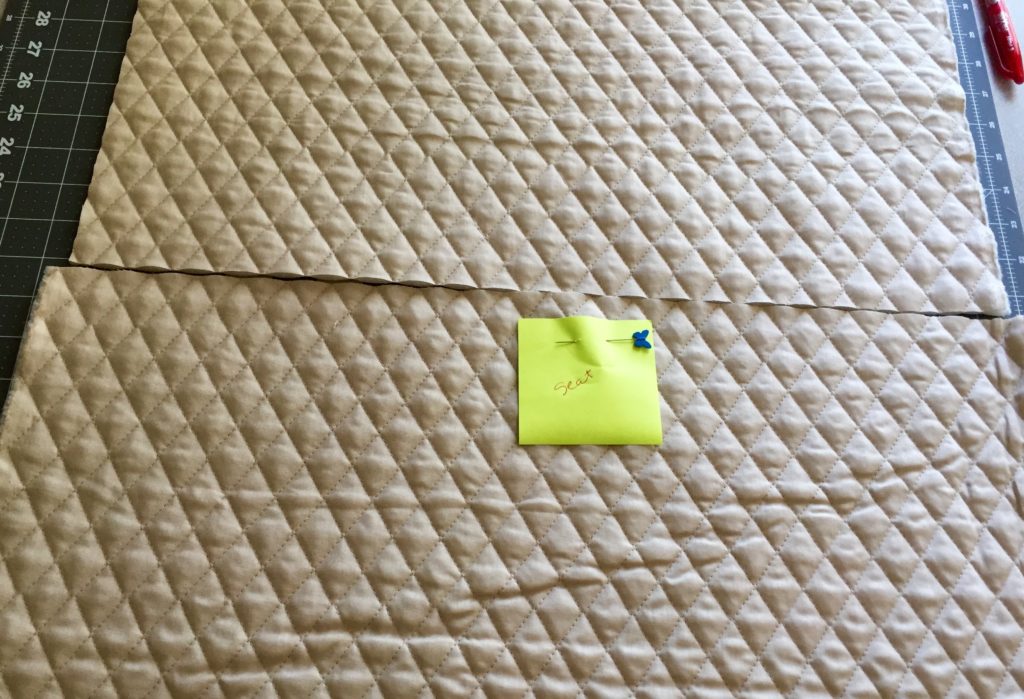
It will all quickly look the same!
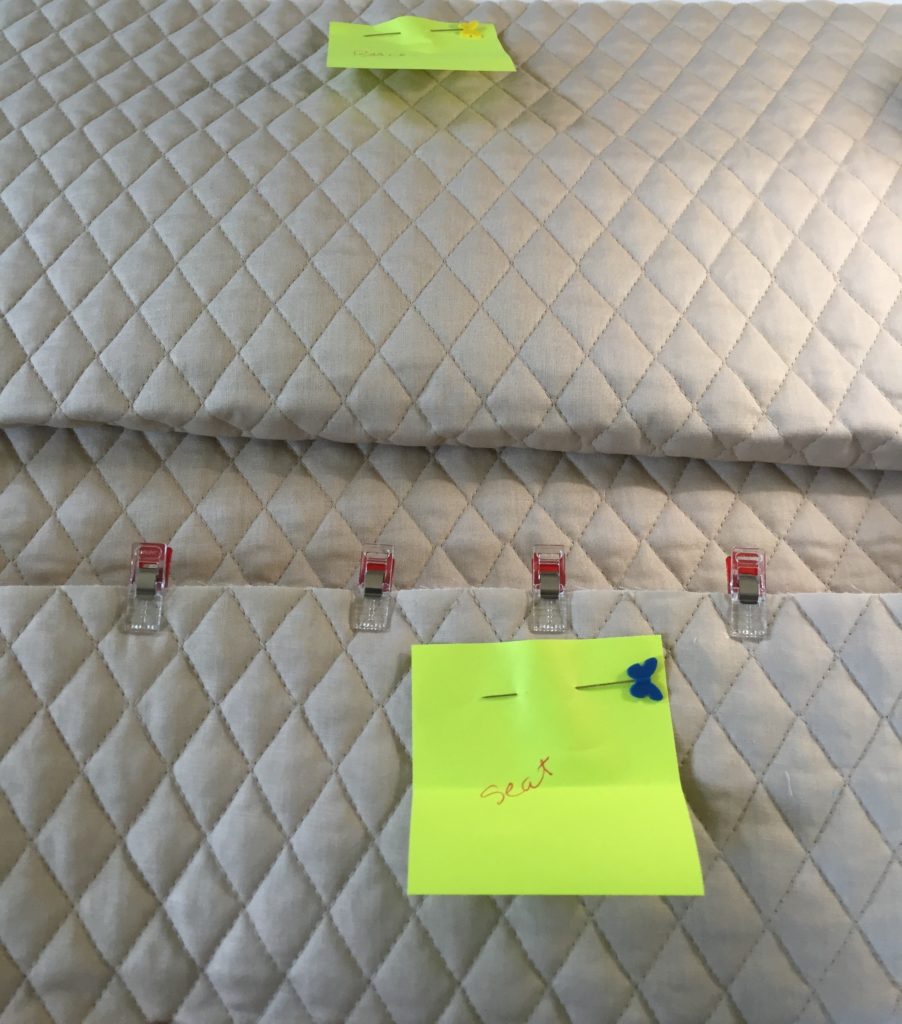
Once cut, be sure to “dry fit” your pieces in the car.
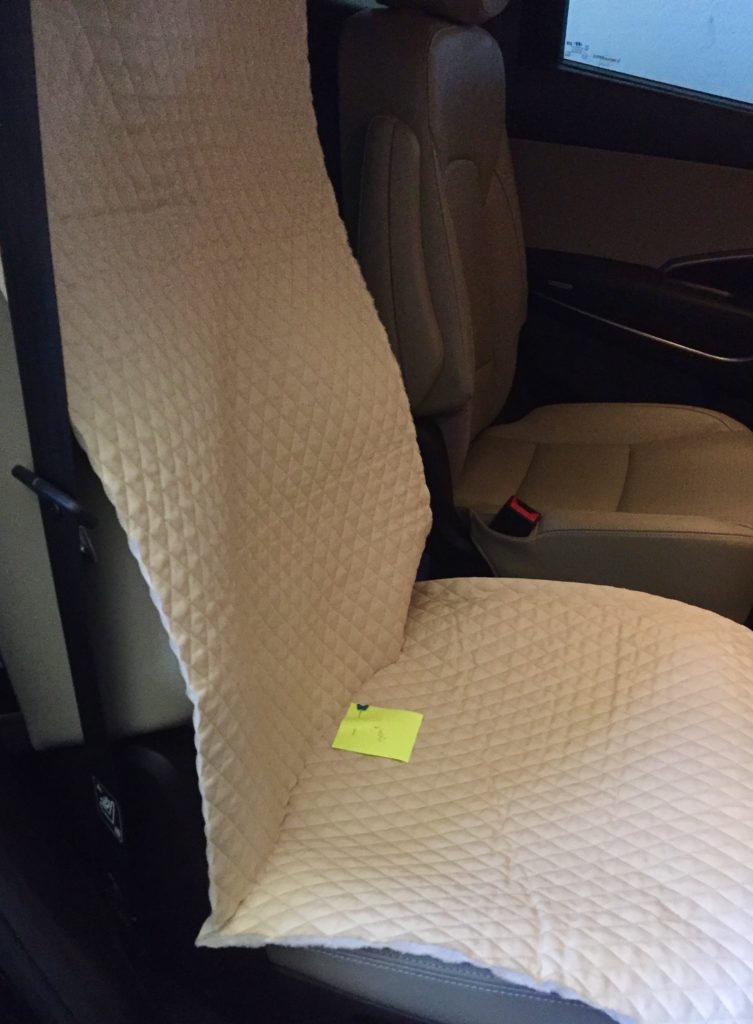
Here is how long I would like for the base piece to be:
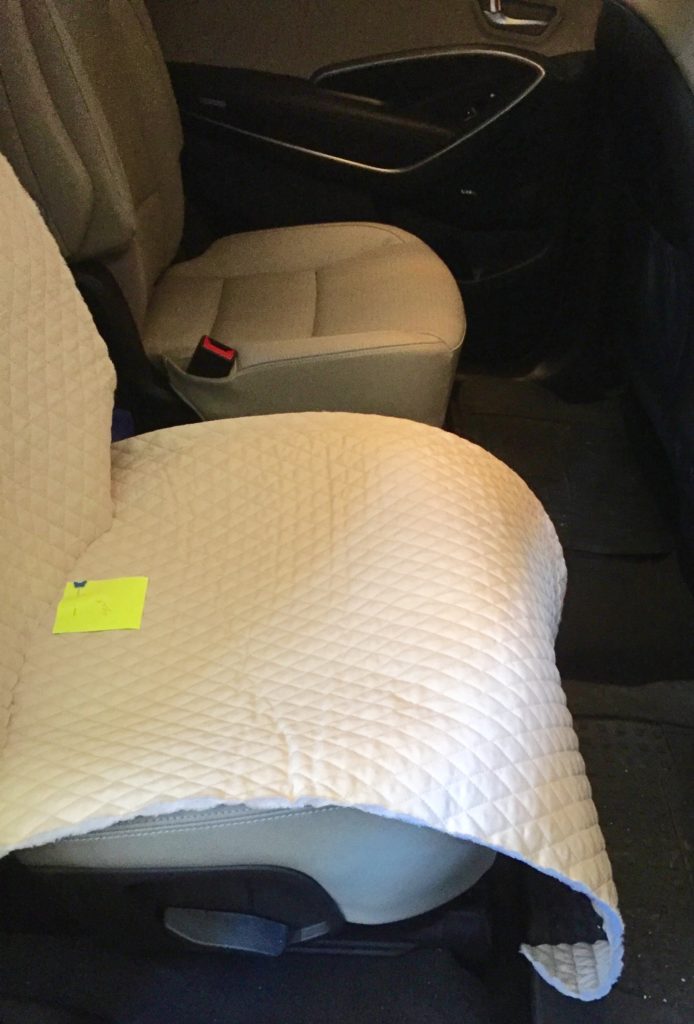
This may look too long but I am going to use the French seam method to attach the back piece to the base and I have added that extra 1 1/2″ into my measurements. To make a French seam do the following:
Place WRONG sides together (I do realize that in this case there is no wrong side but just pick one!)
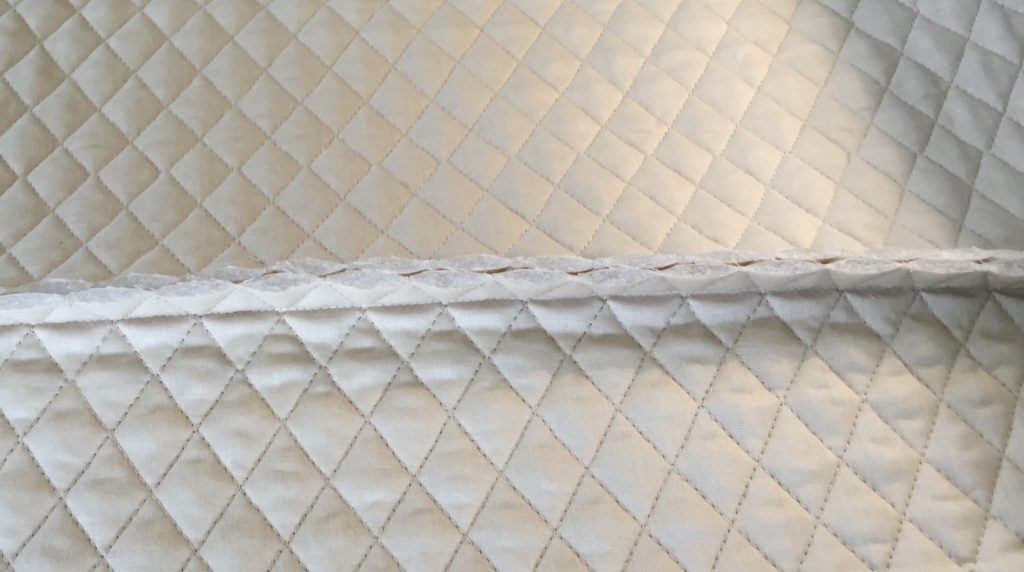
I have clipped them together. Sew between a 1/2-3/4″ deep seam.

Your seam should look just like any other at this point.
Now fold your project with RIGHT sides together….heck, even get out the iron and give this baby a press. Then clip this together. It should look something like this:
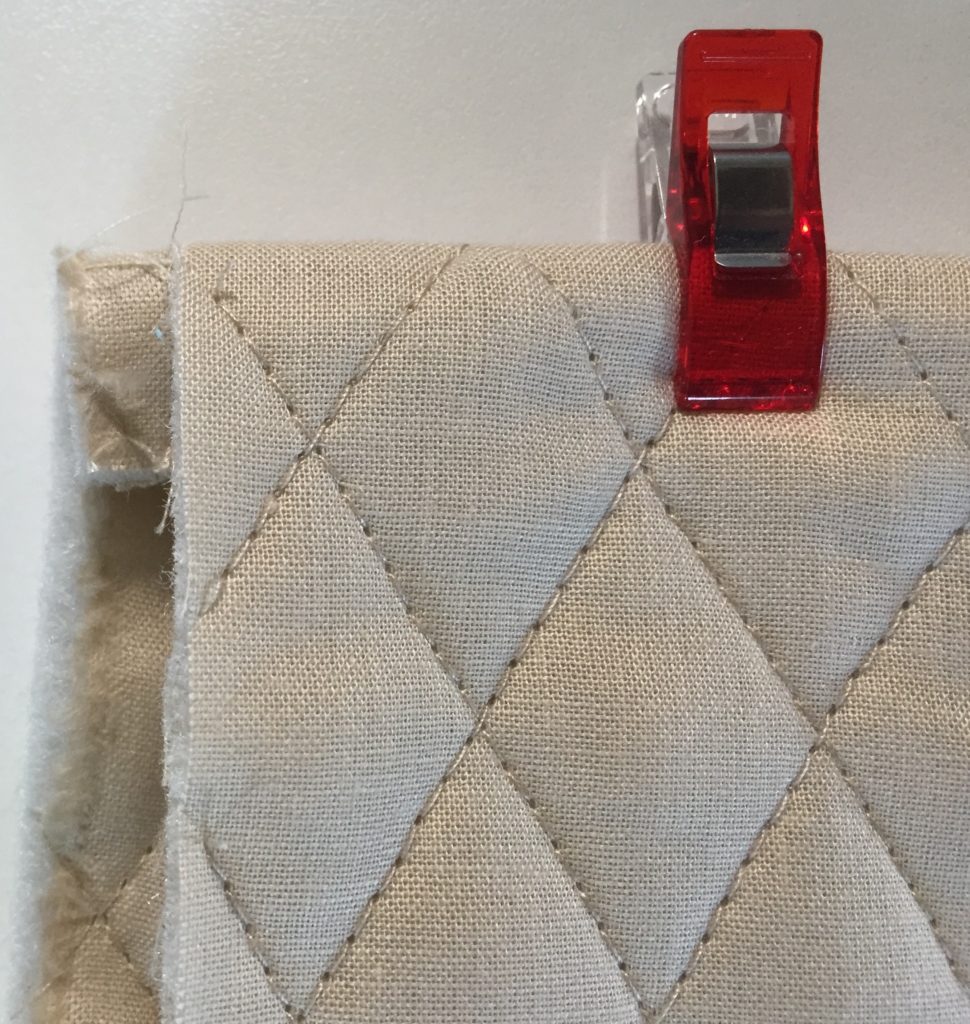
Now when we sew, it will be below those raw edges in the middle and they will be encased in the new seam. Based on the depth you sewed your first seam, sew 1/4″ deeper on this next seam to ensure there are no dangling participles. In other words, if your first seam was 1/4″ deep then sew the second one 1/2″ deep.
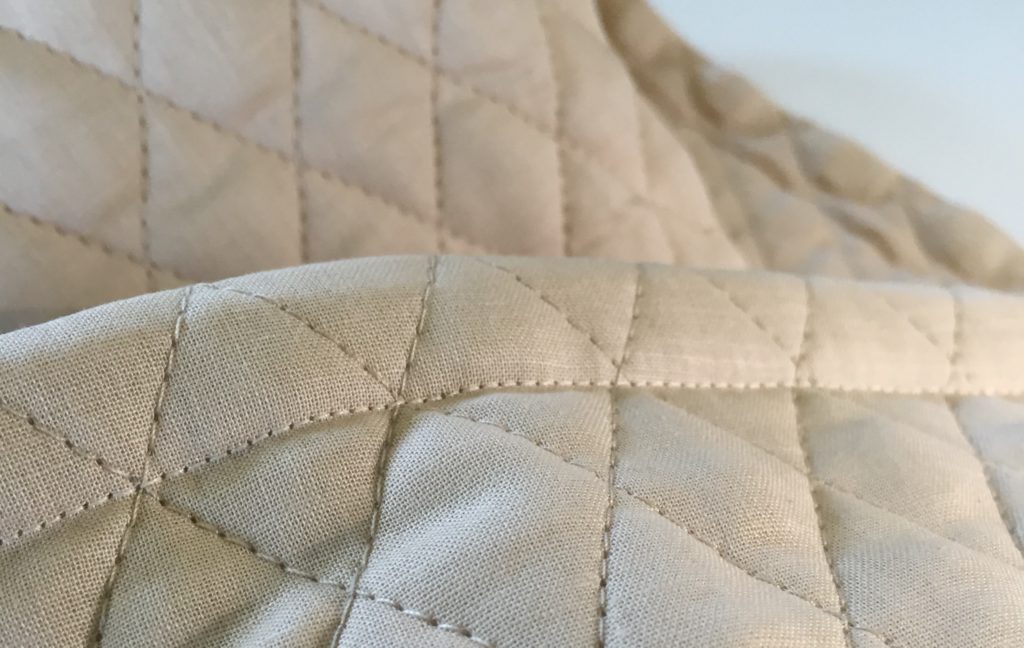
Your finished seam should look something like the above. This will allow the junction to tuck nicely in the crevice between the seat back and bottom.
Now because Charles is no ordinary dog and I am no ordinary woman and I own an extraordinary sewing machine, I decided to do a bit of embroidery on the center back of my seat cover.
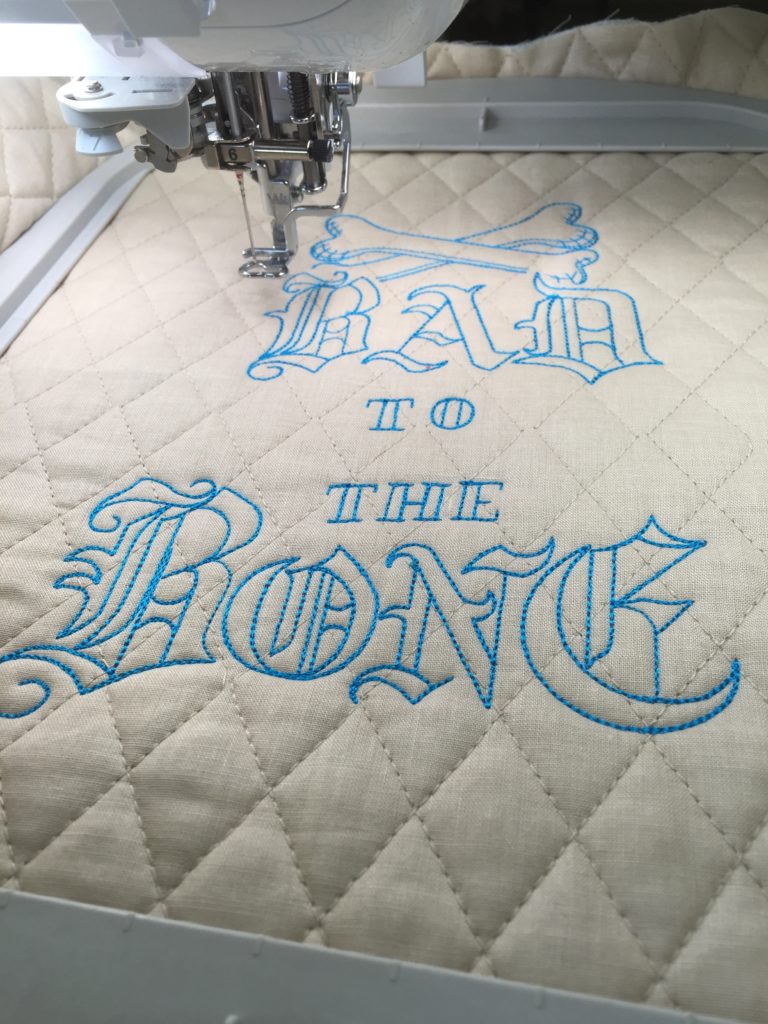
Urban Threads has the kewlest and most fun embroidery ever!
While the background fabric is pretty sedate, I decided to brighten things up with the binding. One of my go-to sewing tools is Robert Kaufman’s Quilter’s Little Helper app for iPhone. I put in my measurements for my seat cover along with the width I wanted to cut my strips and it told me how much fabric I needed to buy. Yeah. It is awesome like that!
Something else awesome is my Creative Grids strip cutting ruler…..I love everything Creative Grids. They don’t slip, they are well-made and they are accurate!
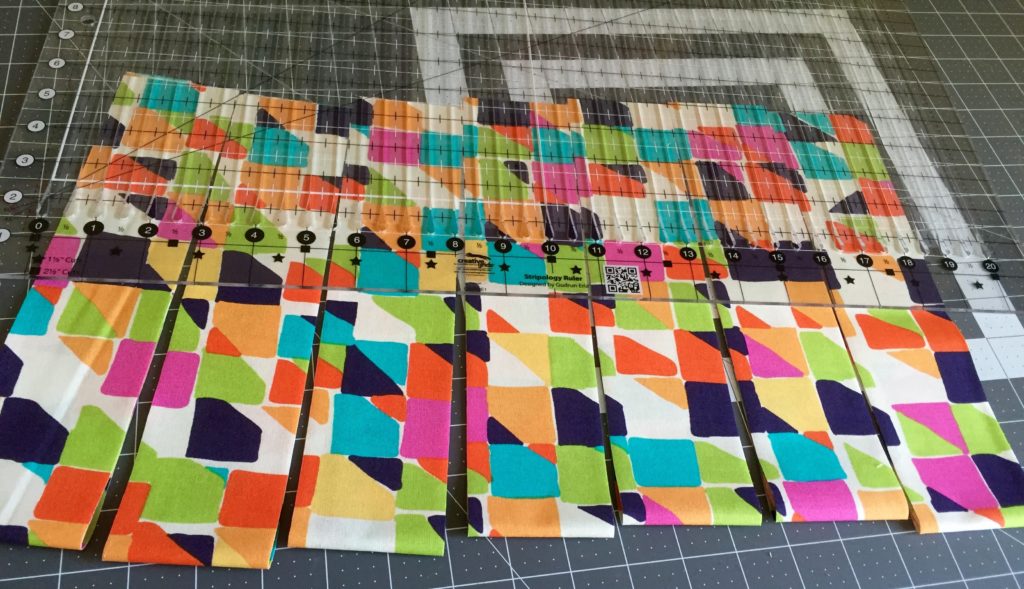
This crazy fabric will certainly brighten up the car seat cover. I did cut extra strips because I decided to use them for ties around the headrest at the top to secure the seat cover.
Come back next week and I will share my binding method with you and we will finish up the car seat cover. See you then!
