A few weeks ago I made a cute little bag to take with me on vacation. I needed something that was simple, yet stylish and utilitarian. A great Sew4Home project, I featured it here: http://www.btreehouse.com/a-bunch-of-sew-and-sew/
Prior to leaving, I had to have my hair did. Not done, did. It’s a southern thing….Point is, that Katelyn (the hair doer) saw my bag and fell in love.
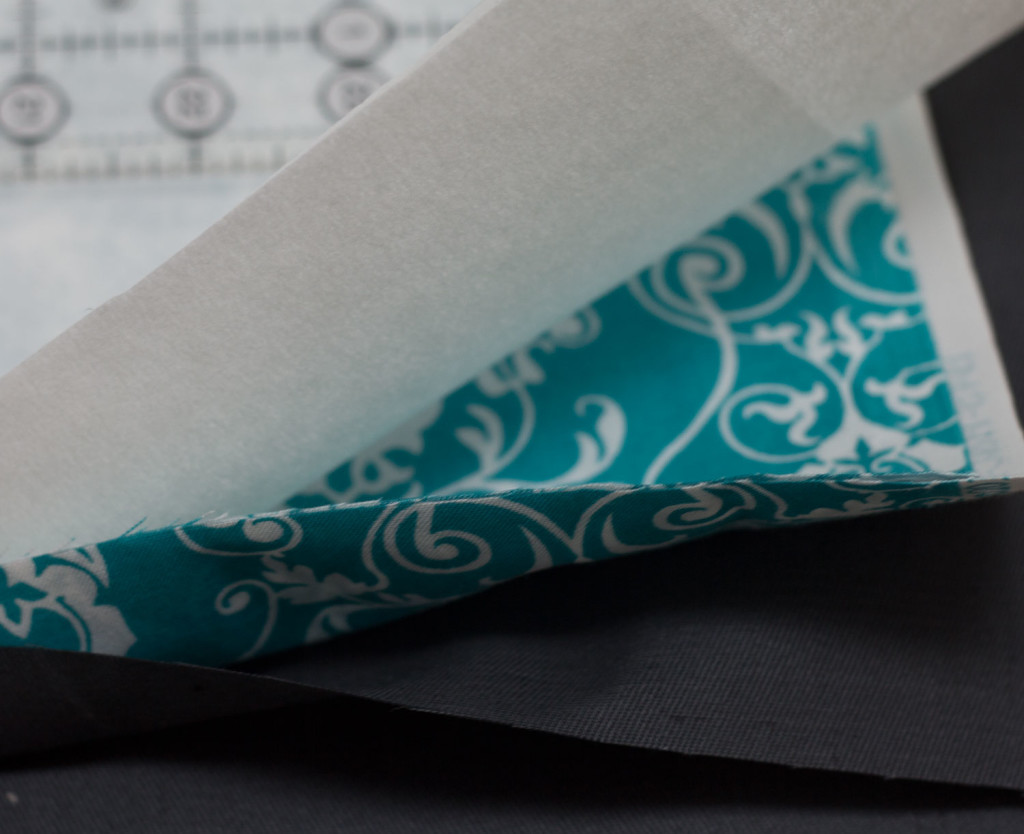
She wanted one and her choice of colors were gray and teal. I promised that as soon as I returned, I would get one whipped up for her.
Now, I have to love the mister as he can be uber observant when he wants to be. Once my original bag was made to the specifications of the Sew4Home pattern, he pointed out that to suit my needs, the placement of the inner pocket was in the wrong place AND it needed to be divided so that it would securely hold a phone. He was absolutely correct and upon making Katelyn’s bag I incorporated that change.
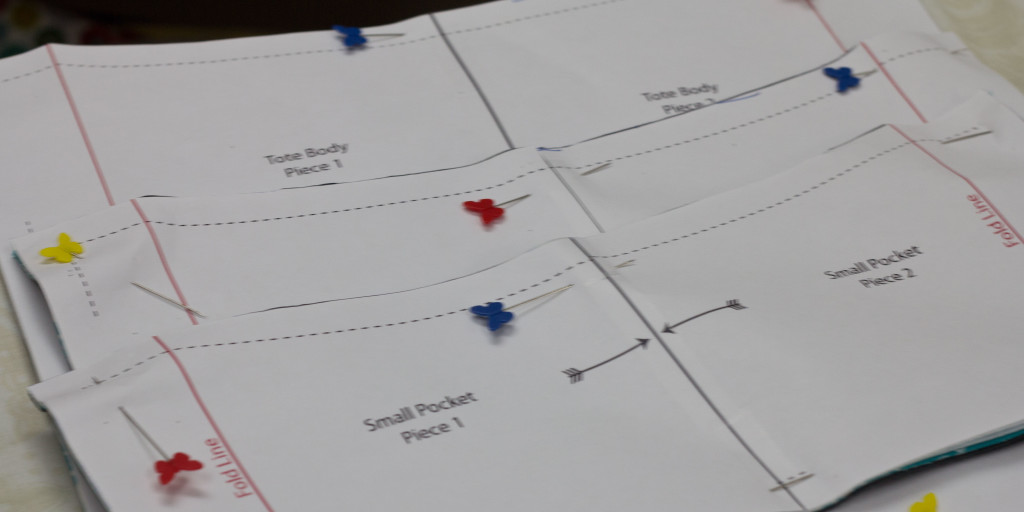
The other thing I opted to do was to stack my lining, outer fabric and interfacing to make one cut instead of cutting each element separately.
It saved a ton of time and was sufficiently accurate. Next I laid out the pattern pieces.
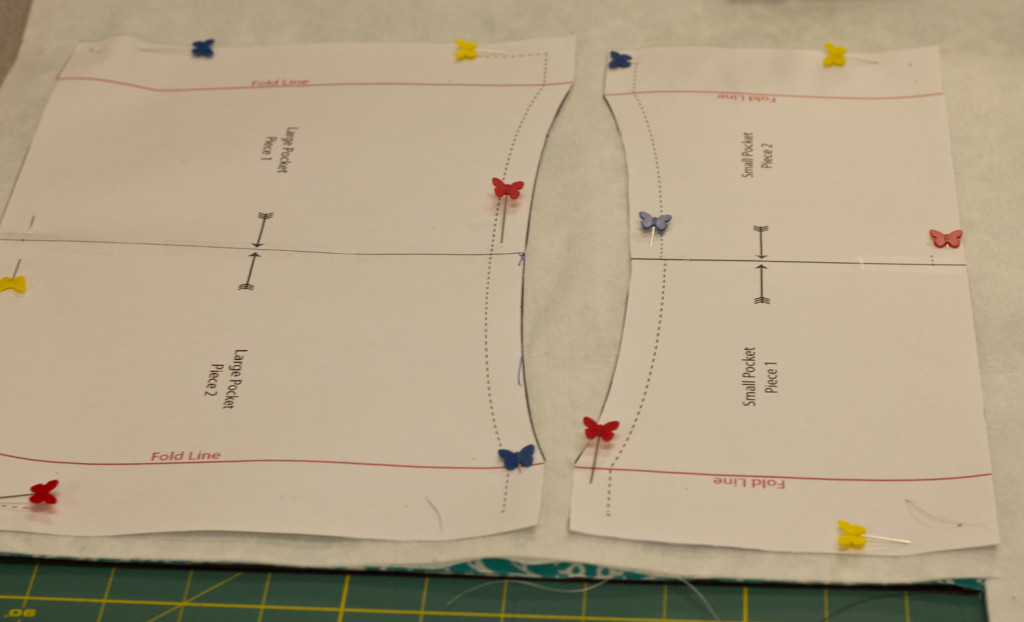
Then I proceeded to make my cuts.
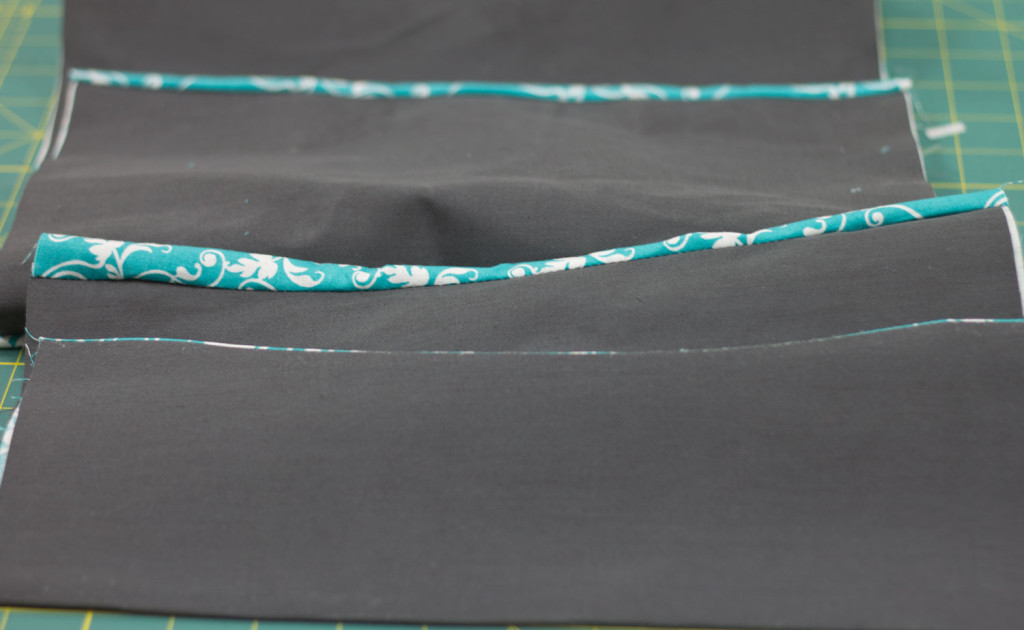
I fused all of the interfacing as directed and then began assembling the bag. Here are the pockets; fused, lined, turned and the first one pressed.
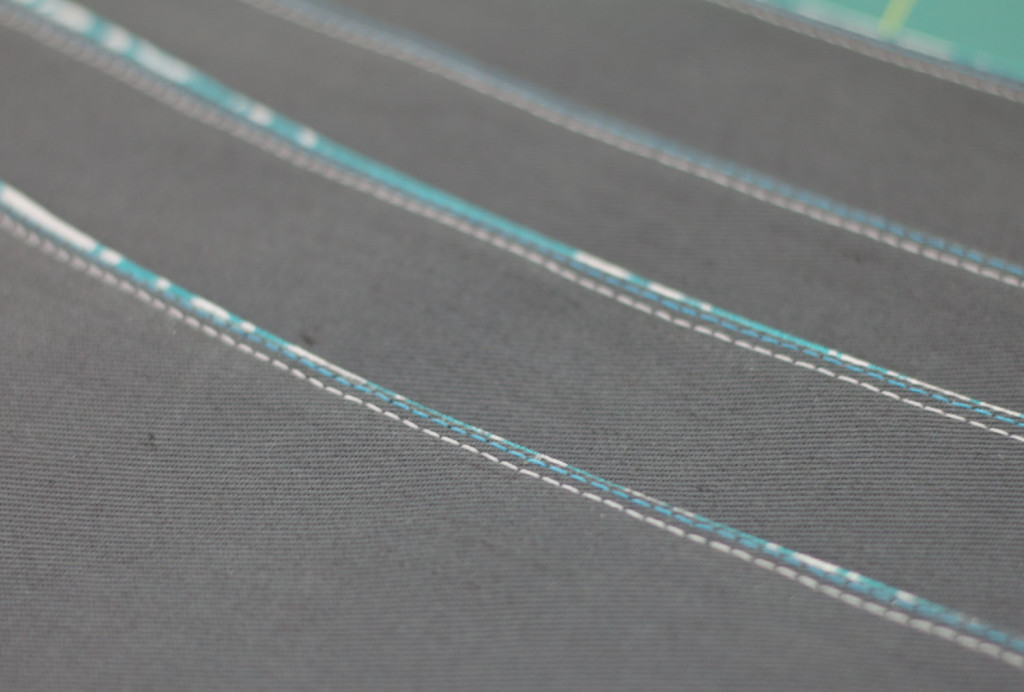
Next, using a twin needle I topstitched each pocket.
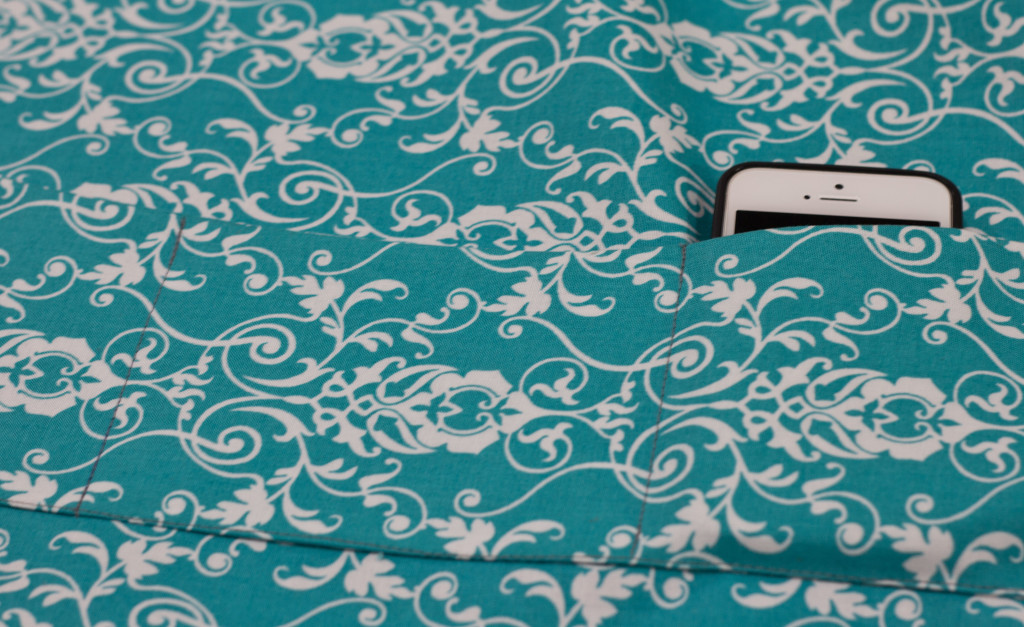
I then worked on the lining according to the directions with the exception of the interior pocket finishing and placement. I oriented the pocket about 4 1/2″ down from the top and stitched “compartments” in the pocket. I know she has a phone and is a smoker, so she will appreciate having this segmented area to store her belongings.
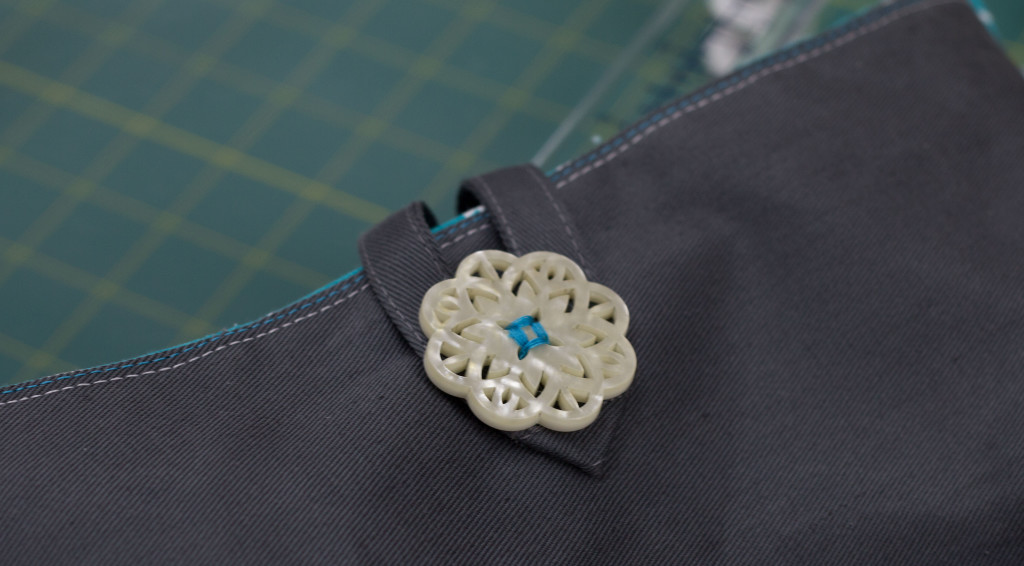
Next I constructed the button tab and attached it to the bag.
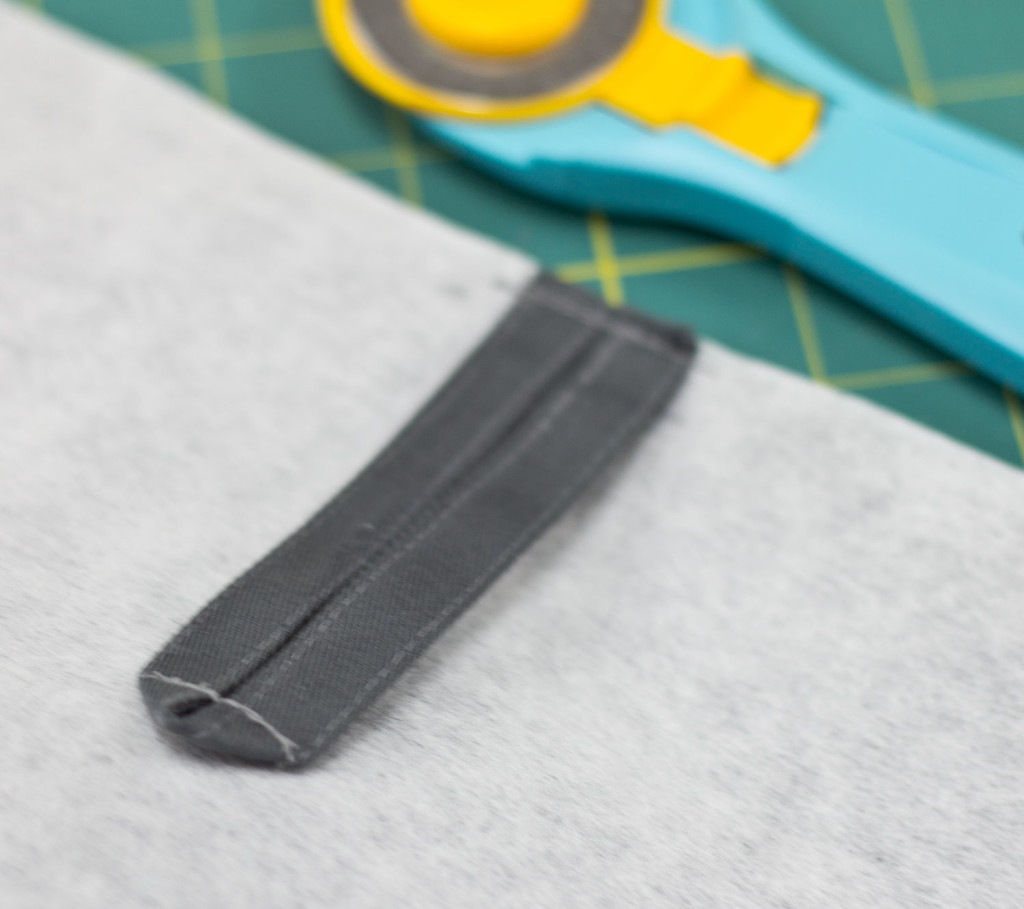
Now, if you look closely you will see that I sewed this onto the wrong side of the bag which means that I had to pick stitches out later….BLAH!
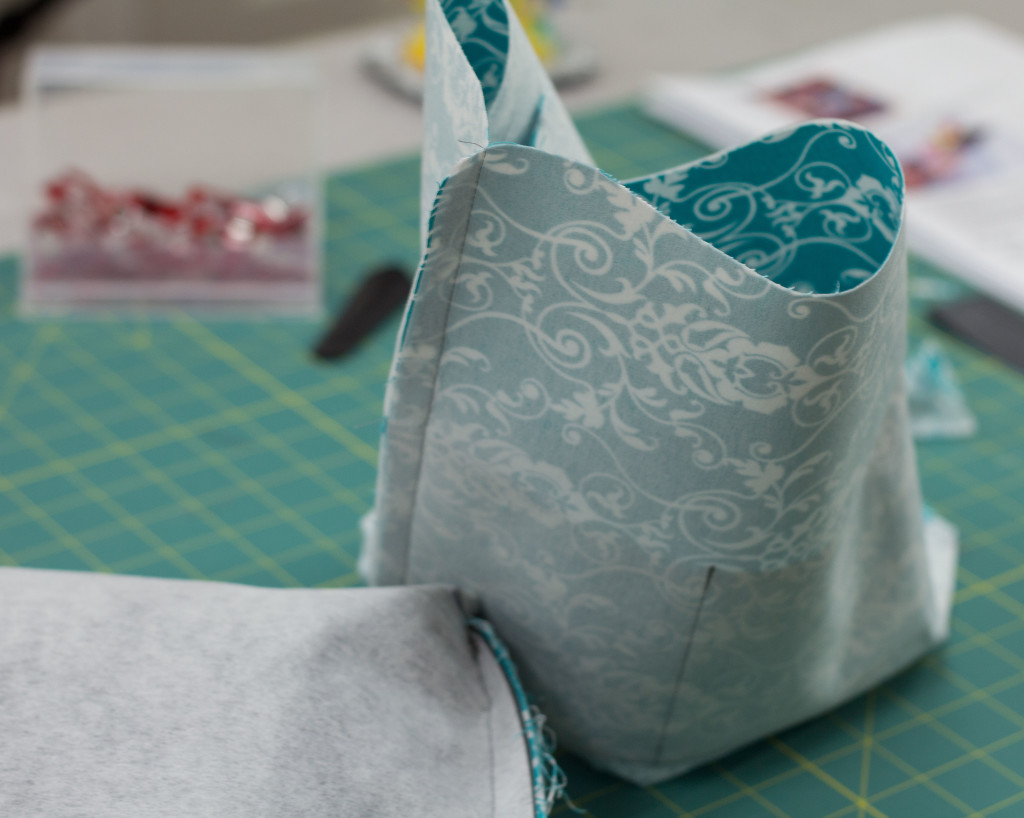
Here are the two portions of the bag waiting to be pieced together.
Once I put the lining in the body of the bag (and corrected my button tab error), I stitched the two together, turned them, pressed and topstitched the edges. I then determined the kind of button I wanted for the front of the bag.

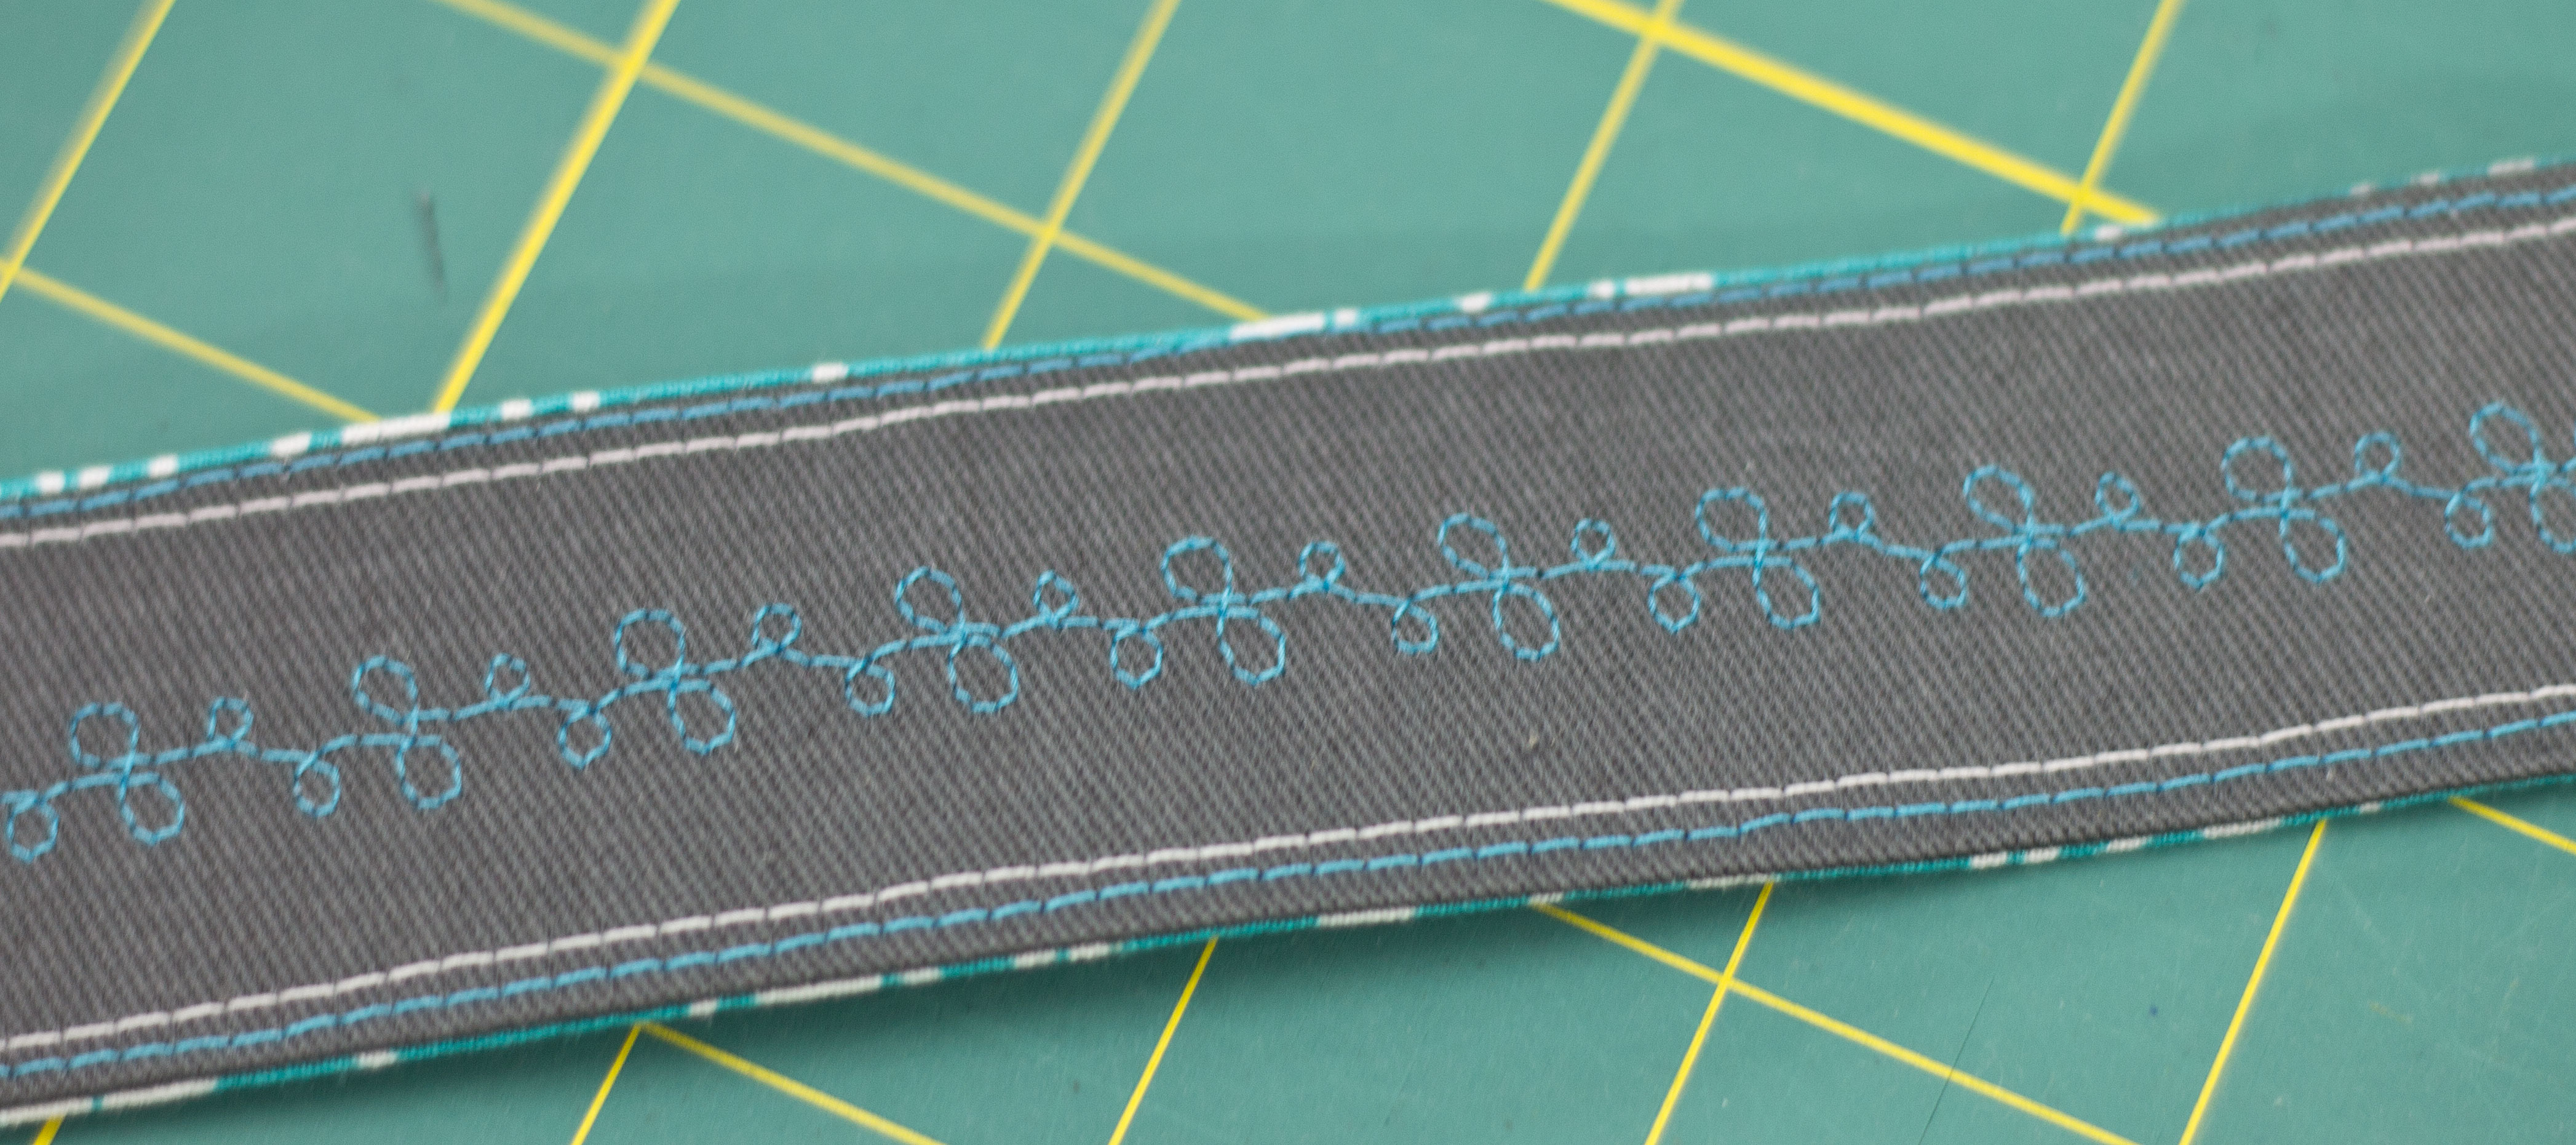
You can see that I have already constructed the strap and embellished it with a specialty stitch. I sewed this lovely button on by machine.
Here is the detail of the strap.
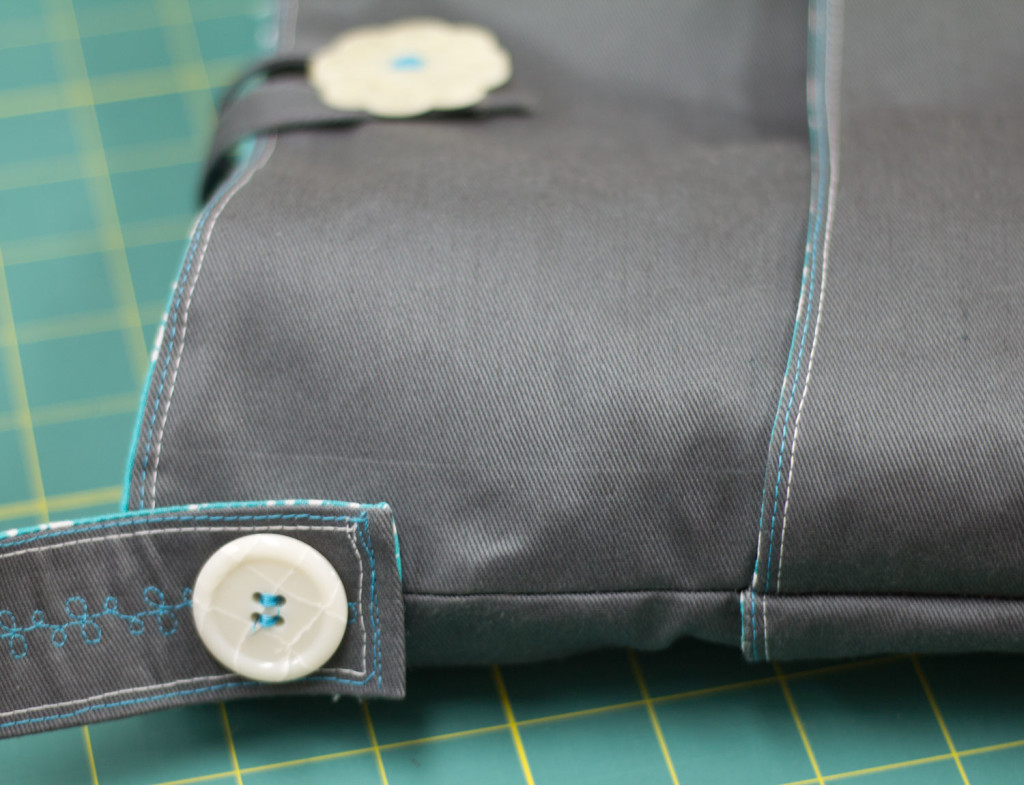
Then I attached the strap to the bag body with buttons on the side.
Finally, here is the finished bag. I hope Katelyn enjoys it!
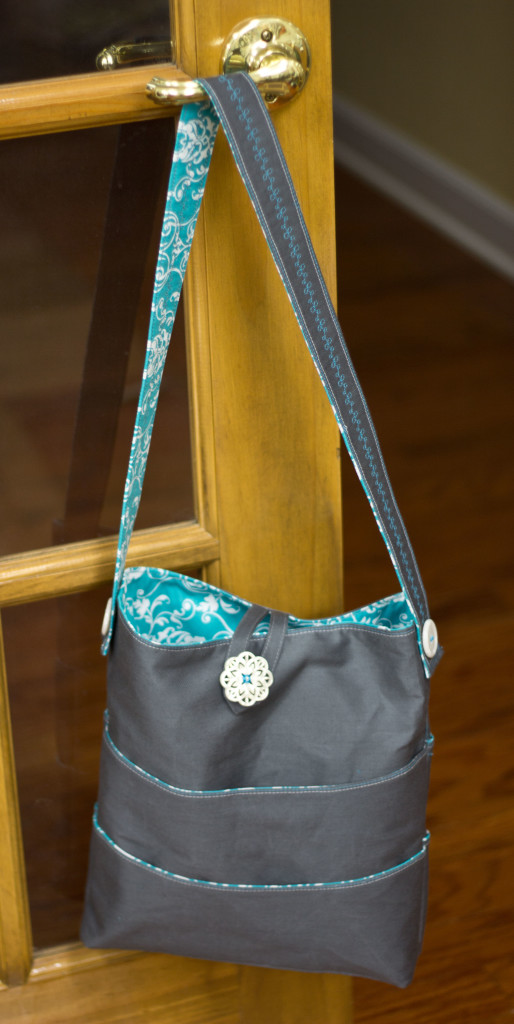
I think that it turned out very nicely!
Too cute!!
incredibly beautiful…love the colors, the design and the button is exceptional!! impressive! make mine exactly the same…, design, colors and button…it is perfection!
Just one thing, where’s mine???????