About 10 years ago the mister and I planted a couple of fruit trees. Our plums didn’t do so great and we had to cut them down. Our pear was fantastic and our labrador Remington loved to pick them and eat them straight off of the tree. Unfortunately, Hurricane Rita was unkind and snapped the tree in two. We were all sad about that and it only left our apple tree standing. We always have lots of apples but they are never of good quality. This is mostly because we never spray or fertilize this tree. The crows and the deer are usually the ones that consume all of the fruit and so everyone is (mostly) happy.
This year I didn’t do anything different, I just decided that I would try to get at least one pie worth of apples off of the tree.
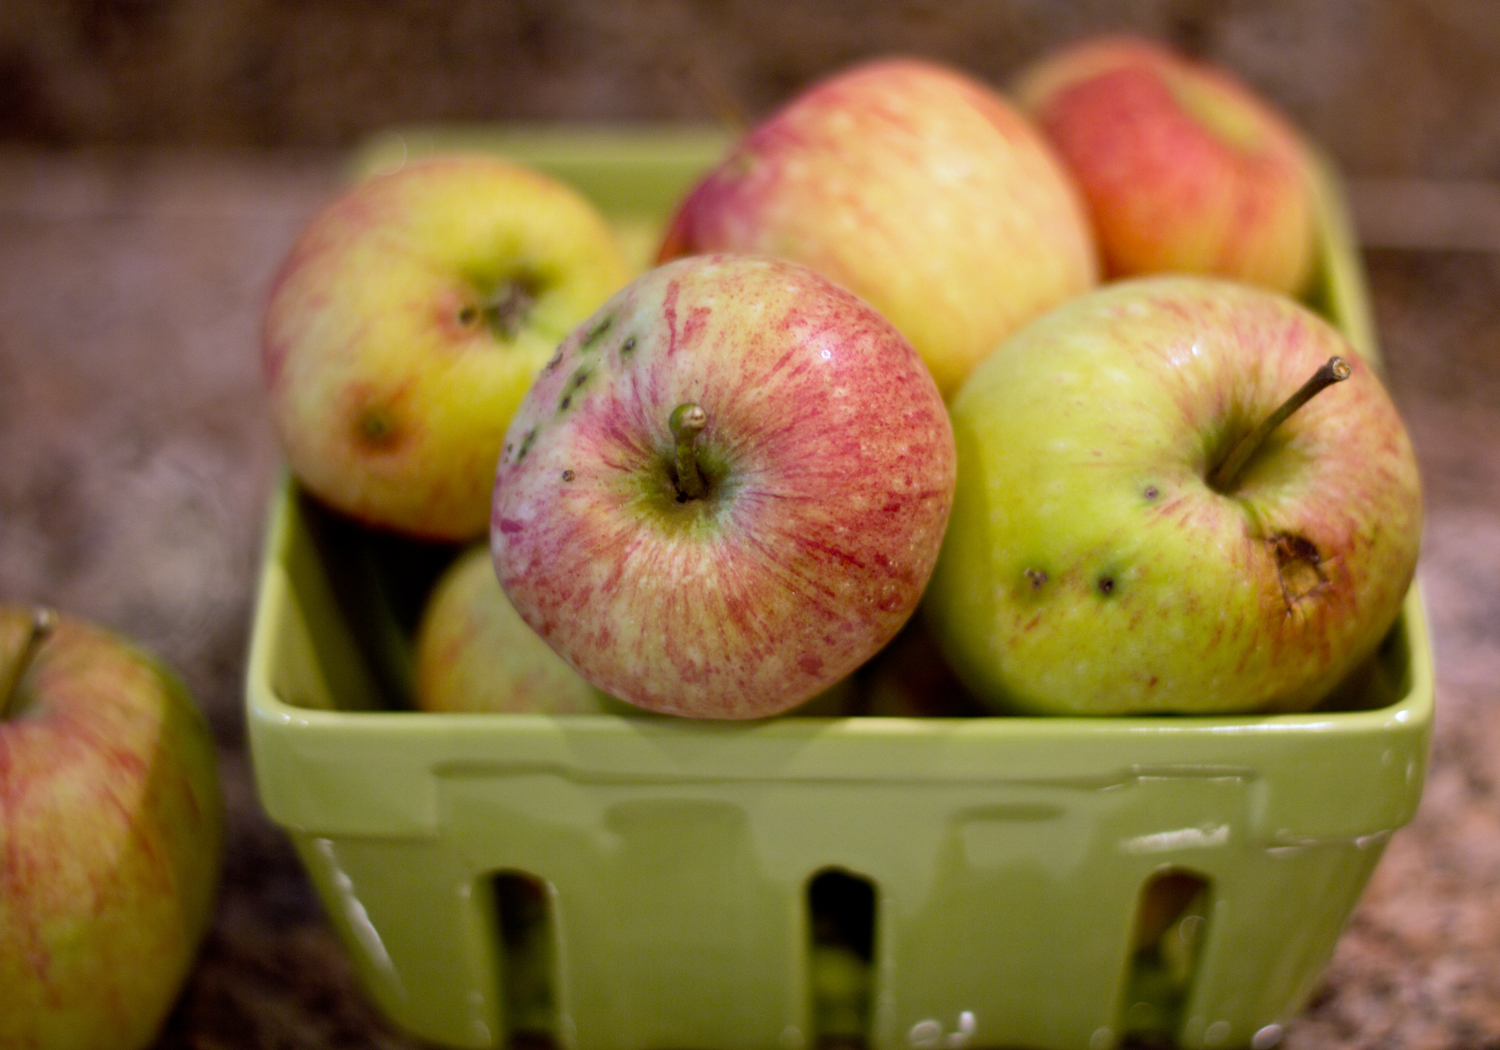
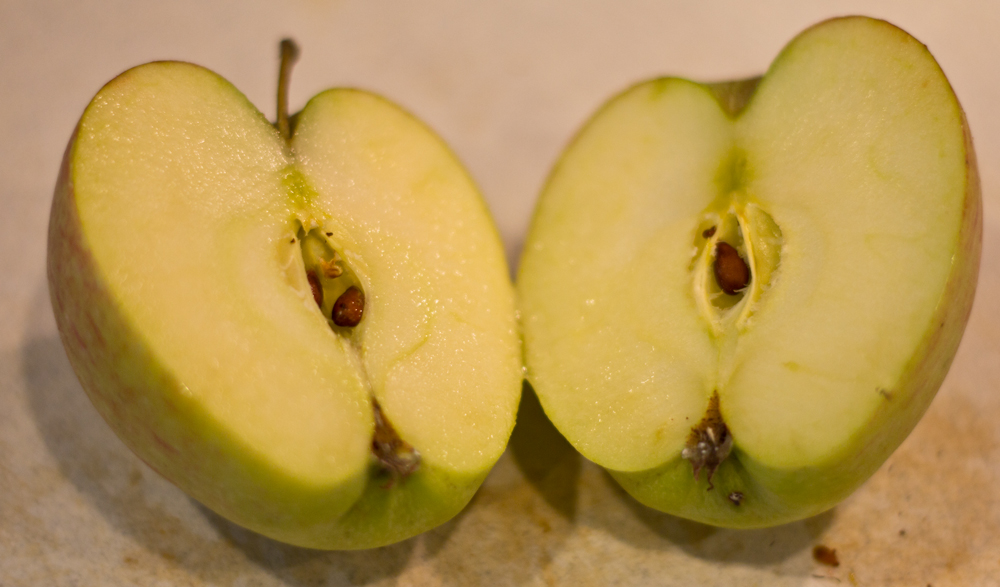
As you can see, they are pretty gnarly looking but I wanted to try to put a pretty face on these ugly apples. Fortunately, most of the apples looked fairly nice once they were sliced.
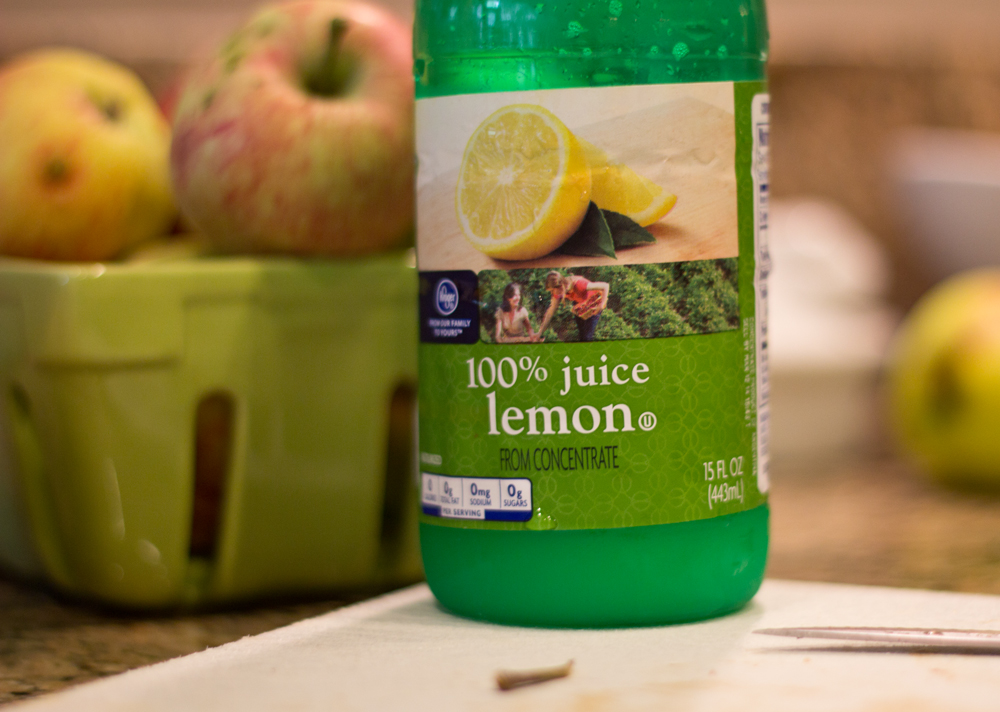
I knew that I was going to have lots of small, rangy apples to peel, core and slice and it would take a bit of time. So, I whipped out the lemon juice and tossed in a couple of teaspoonfuls to keep the apples from looking like rusty brown yuck.
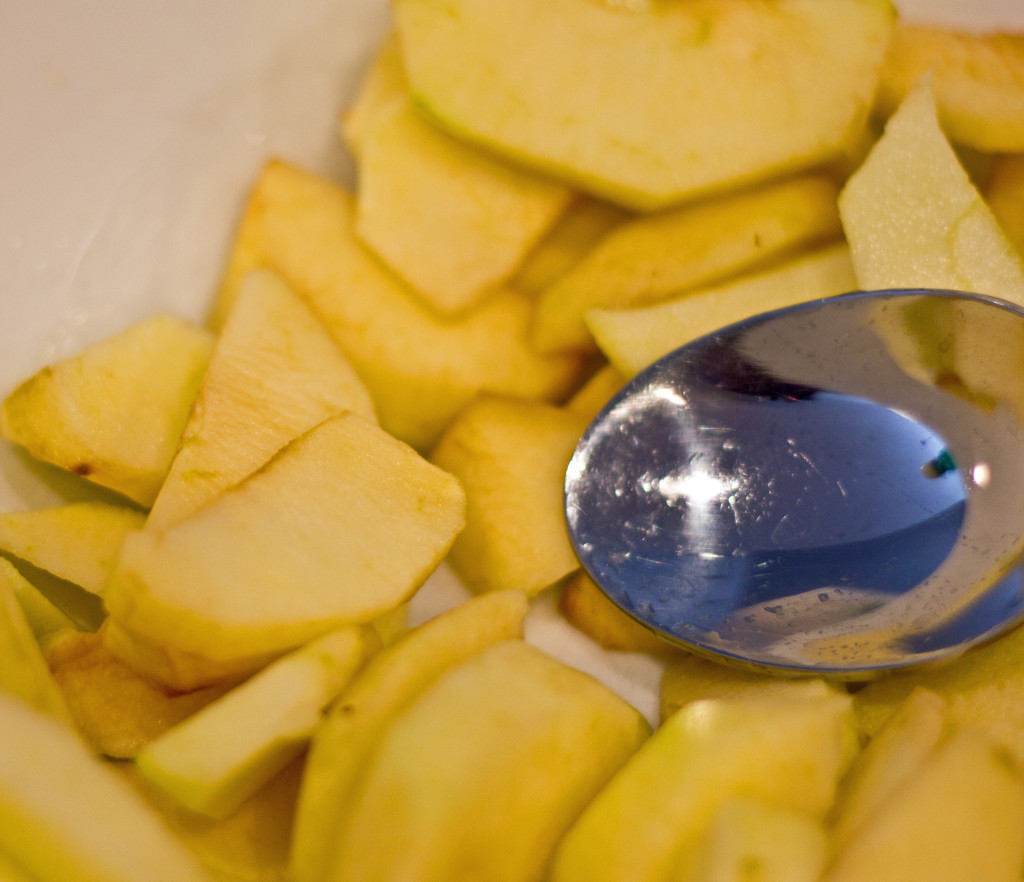
I ultimately got about 5 cups of apple slices and then I was ready to get this pie party on the road.
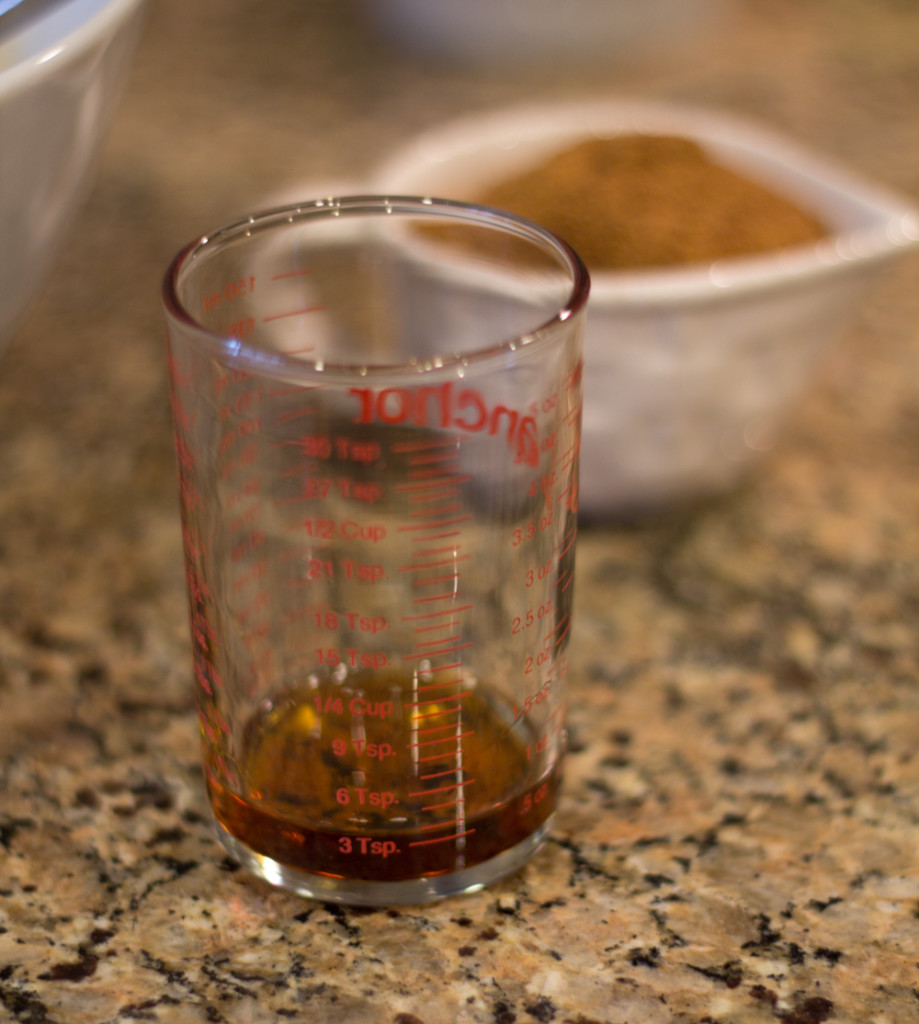
Now let’s get some tasty flavors going and pull this thing together. First I use about 3 tablespoons of dark rum and 1/2 cup of brown sugar and mix with the apples.
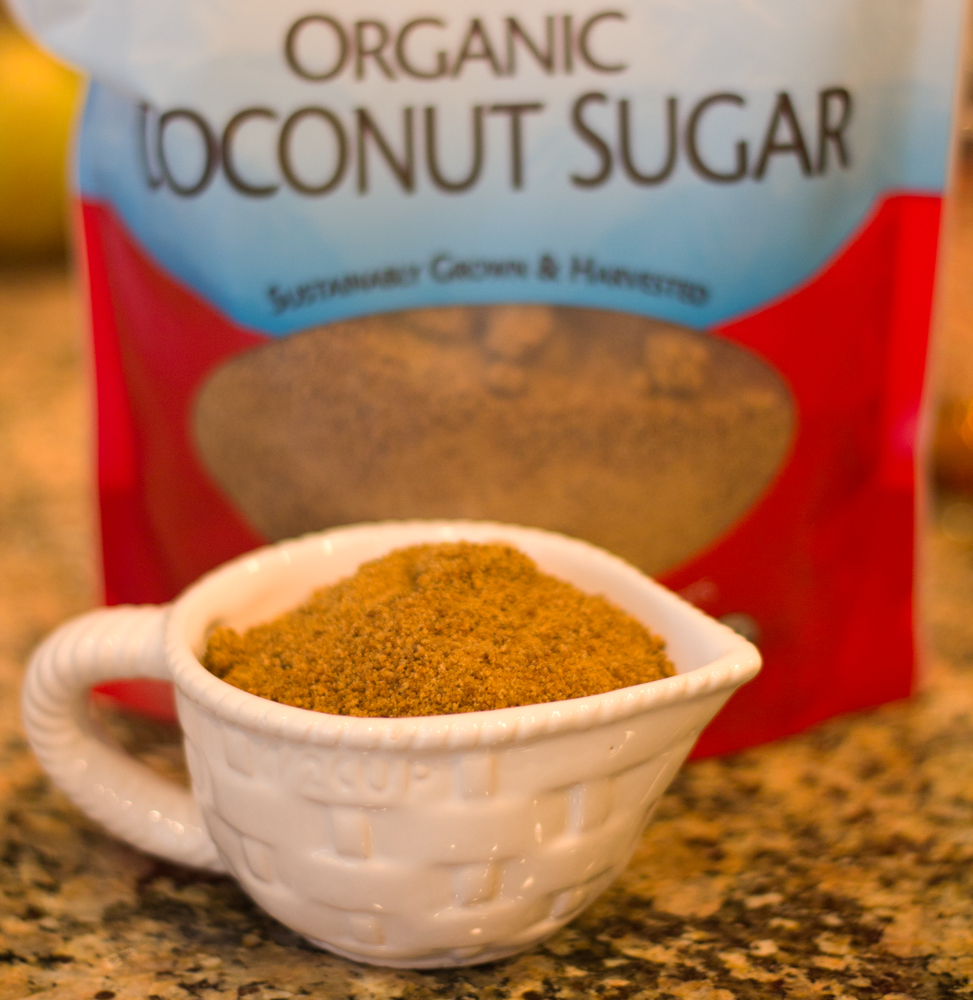
Instead of using white sugar, I tried something new and substituted 1/2 cup of coconut sugar. Not bad!
Now gather some spices…Cinnamon, nutmeg and cloves, plus some cornstarch.
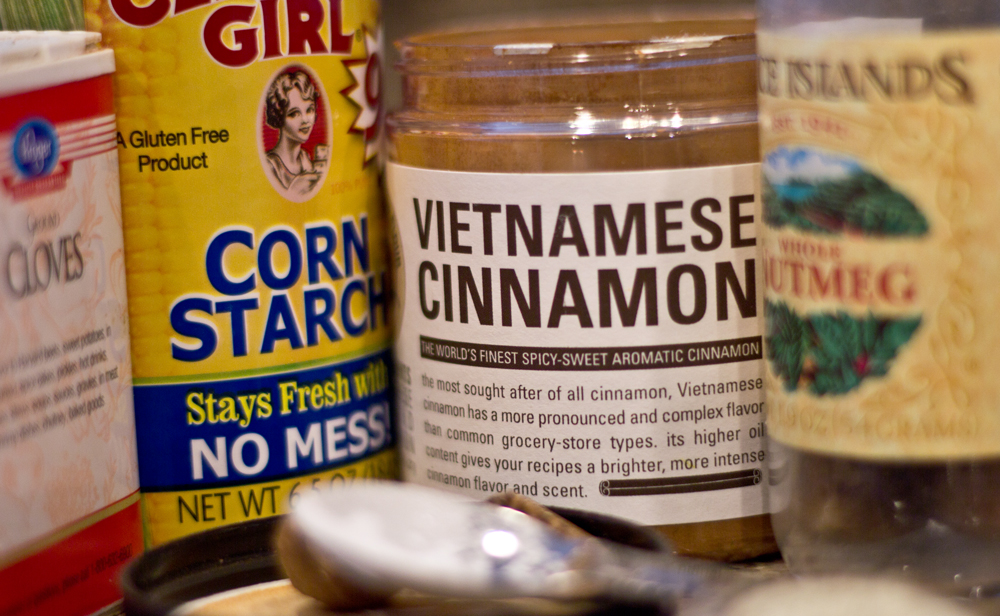
Use about (to YOUR taste, there is no right or wrong here), 1/2 teaspoon cloves, 1 tablespoon of cinnamon and 1/2 of a freshly grated piece of nutmeg or a 1/2 teaspoonful. Toss in 2 tablespoons of cornstarch. Mix all of your ingredients well.

Set aside and allow the mix to steep in its own juices.
Now, today is your lucky day. I was able to convince the mister that I would love to have him make me (you) a pie crust. He happily obliged. It was nice to just have to take the photos and not do the work too! Trust me, my hands aren’t quite this manly 🙂
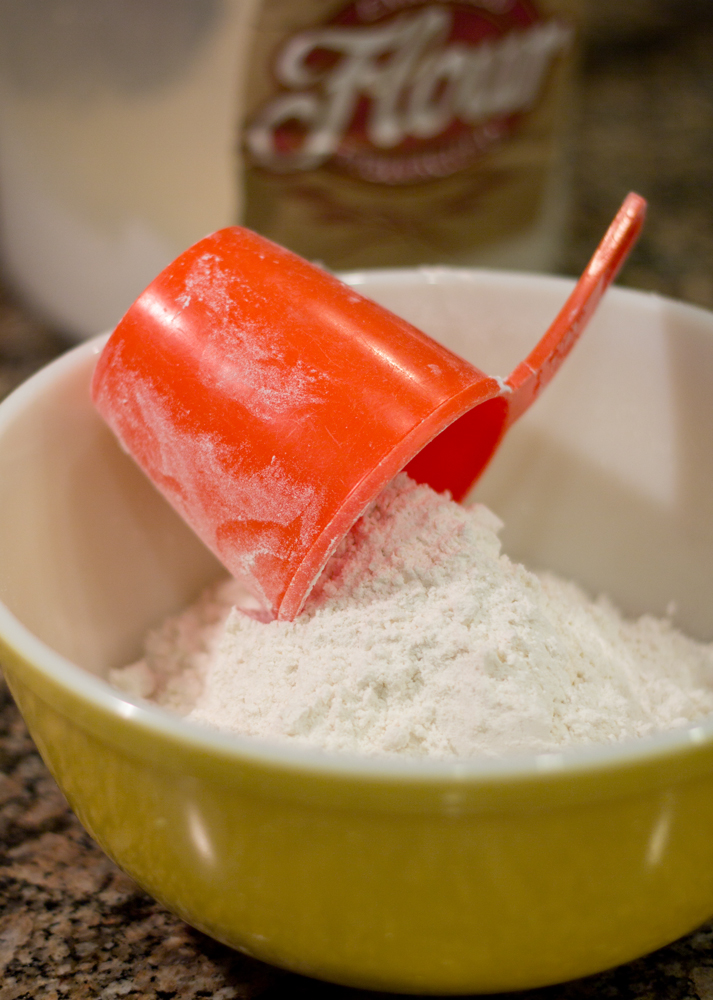
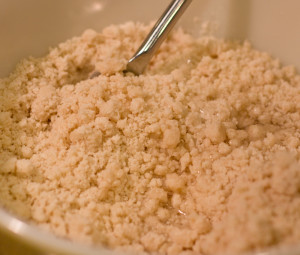
Start with 2 cups of flour in a medium bowl.
Now add about 1 teaspoon of salt to the flour.
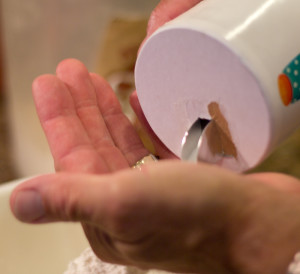
Use high quality corn oil (not canola or olive) and add about 1/2 cup to the flour.
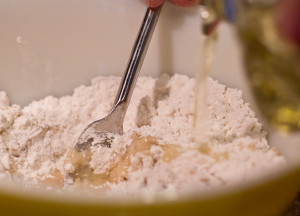
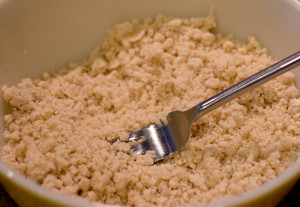
Now, using a fork, stir the flour mixture together until it begins to bind. It will look pea-sized.
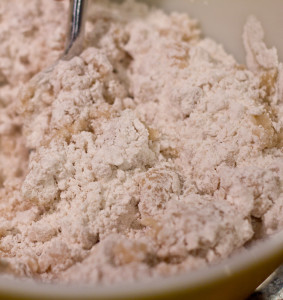
With a bit further stirring:
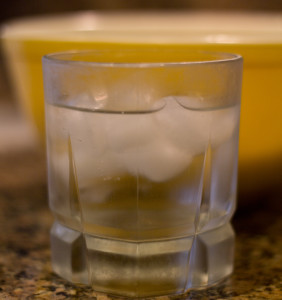
In a small glass, combine water and ice and allow to sit in the refrigerator for about 10 minutes. Then add about 6 to 8 teaspoonfuls of cold water to the the flour mixture. Don’t put any of that ice in there!
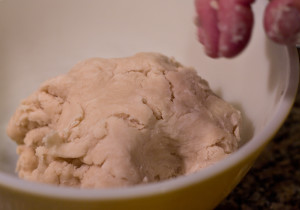
Gently stir in water and the pea like consistency will begin to change and “clump” together.

As it becomes difficult to mix with the fork, then begin pressing the dough together with your hands.
Now place a piece of waxed paper on your counter….you will be rolling out the dough between two pieces, so cut them large enough to accomplish this.
Divide dough ball in half and place one half on the piece of waxed paper.
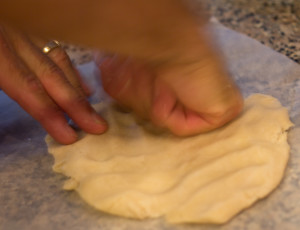
Press the dough flat
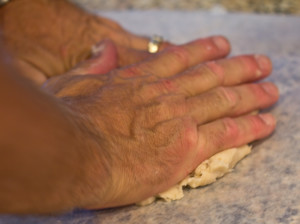
Get some knuckle action in there
Now cover with another piece of waxed paper and whip out your rolling pin!
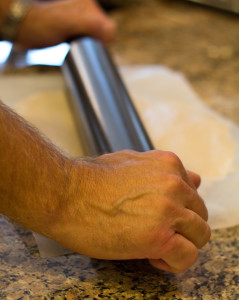
This nifty little trick keeps the crust from sticking to the rolling pin and allows you complete control. But wait….it gets better.
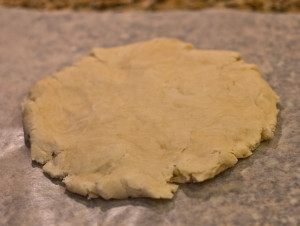
Get the dough rolled out so that it is big enough to fill the bottom of your pie dish.
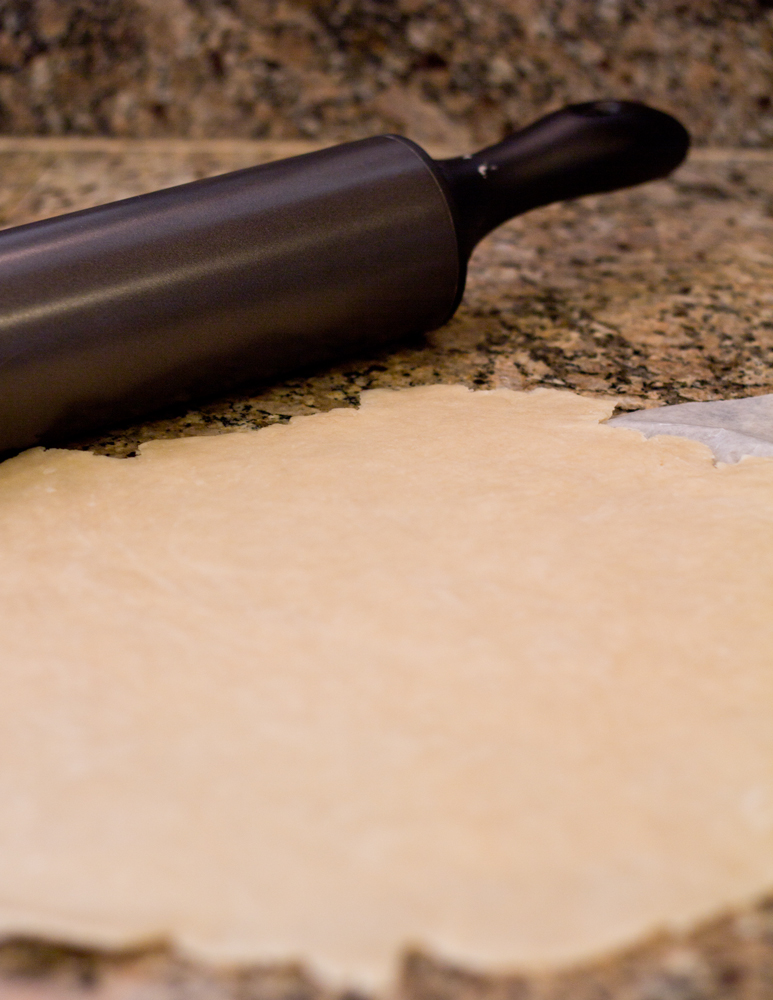
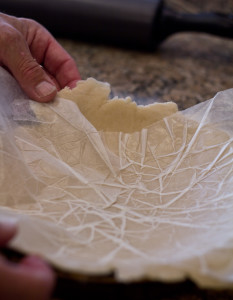
It looks kinda ragged on the edges but no big deal. Now remove the top layer of waxed paper and throw that away. Slip your hand under the bottom and flip the whole piece of dough over into the pie dish. Now the waxed paper is on the top and you can use it to help position the dough in the plate.
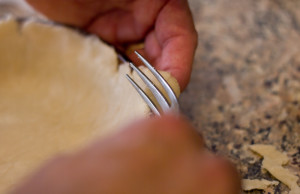
Get your crust in position, then peel away the waxed paper and throw it away. Using the edge of a fork, trim away the excess dough.
Now pull out that wonderful apple mixture that has been waiting for just this moment to make its grand appearance. Dump all of this into the bottom crust.

Repeat the waxed paper and roll out routine with the second half of the dough ball to make the top crust.

Press the bottom and top pastry edges together
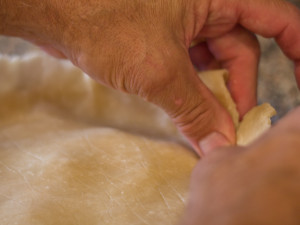
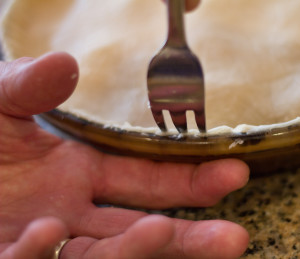
Trim the excess pastry dough away with the edge of the fork and then using the tines, press the top and bottom crust together.
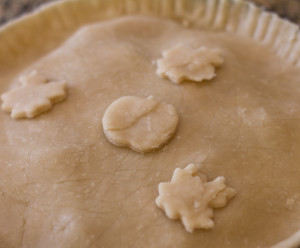
If you saved a few of those pastry scraps, use some decorative cutters to decorate the top of the pie.
If you wish, brush the top with a bit of milk or egg and then sprinkle with sugar. Bake in a 400 degree oven for about 15 minutes and then reduce to 350 for about 30 to 40 minutes. You want to have a nice golden brown crust and a bubbling center. Allow it to cool on a wire rack for 30 minutes and then cut and serve.
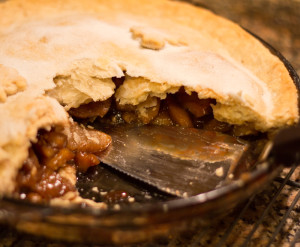
A dollop of vanilla ice cream and a steaming hot cup of coffee would seem to be just the thing to finish this off!