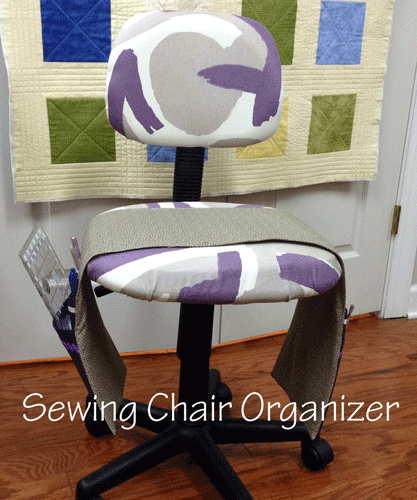
A couple of weeks ago I had an ambitious moment and decided that I was TIRED of my TIRED black task chair. With the guidance of a few Pinterest articles, I decided to recover my chair with some new (cheap) fabric. It was a relatively simple task and I think the chair turned out pretty darn cute. Only thing is….something was lacking. Perhaps like you, I discovered that no matter where I laid my scissors, seam ripper and ruler they were always in my way. Or where I couldn’t find them. Or falling in the floor.
Solution?
As much as I would like to, I can’t give you “pattern” for what I did since your chair height, width and depth will vary from mine. But what I can do is walk you through the steps that I took and you can tweak them to fit your choice of seating. Please read all of the directions prior to beginning any project.
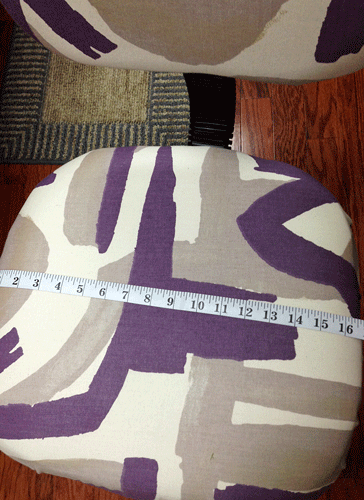
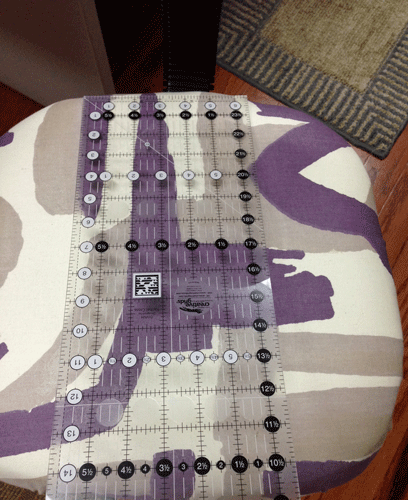
First I measured the width of my chair
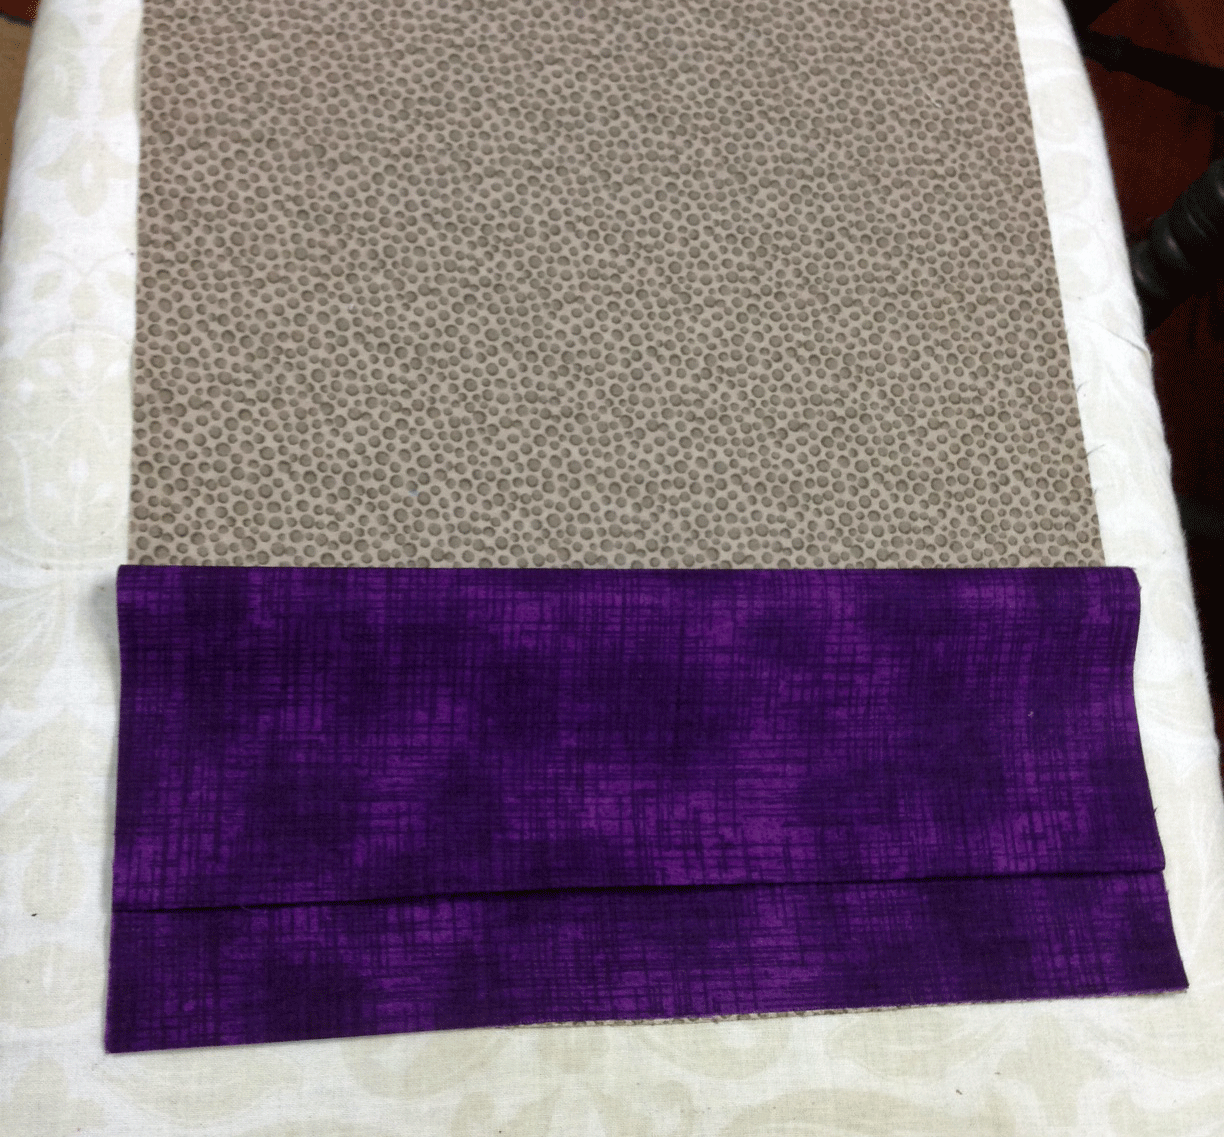
Then the depth of my chair (isn’t that fabric cute?)
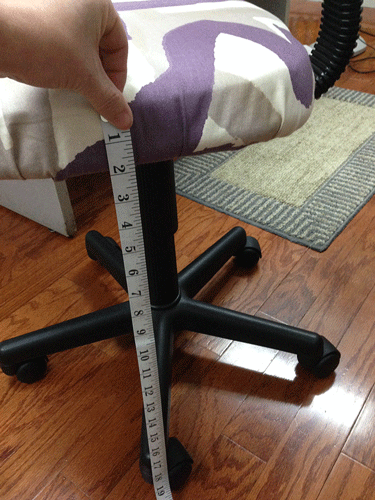
And finally the height of the chair seat from the floor to determine the amount of drop that I wanted each side of my organizer to have.
Now this leads to math:
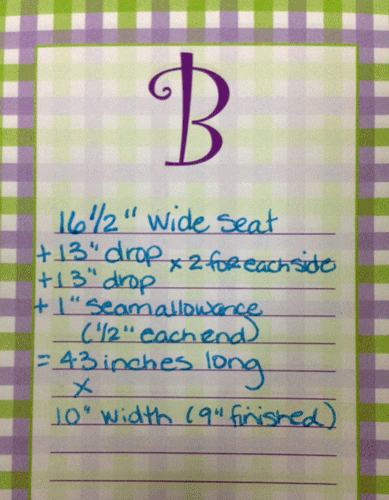
So…My seat is about 16 inches wide. ( I know I wrote 16.5 but that picture above tells the truth) I wanted to allow for a 13″ drop from the seat to the floor on each side and account for a 1/2″ seam on each end for a total of one inch. Based on the depth of the seat and the desired finished size of 9″, I would need to cut two pieces of fabric 43″ x 10″ for the “base” of the organizer.
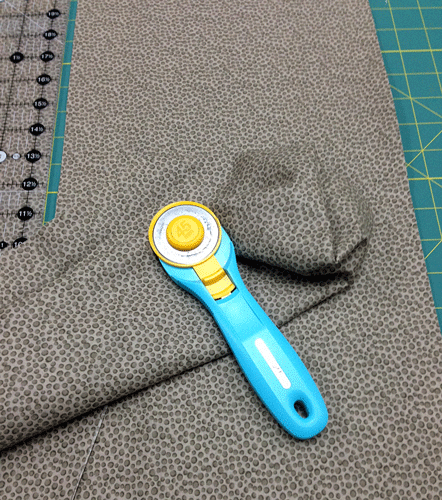
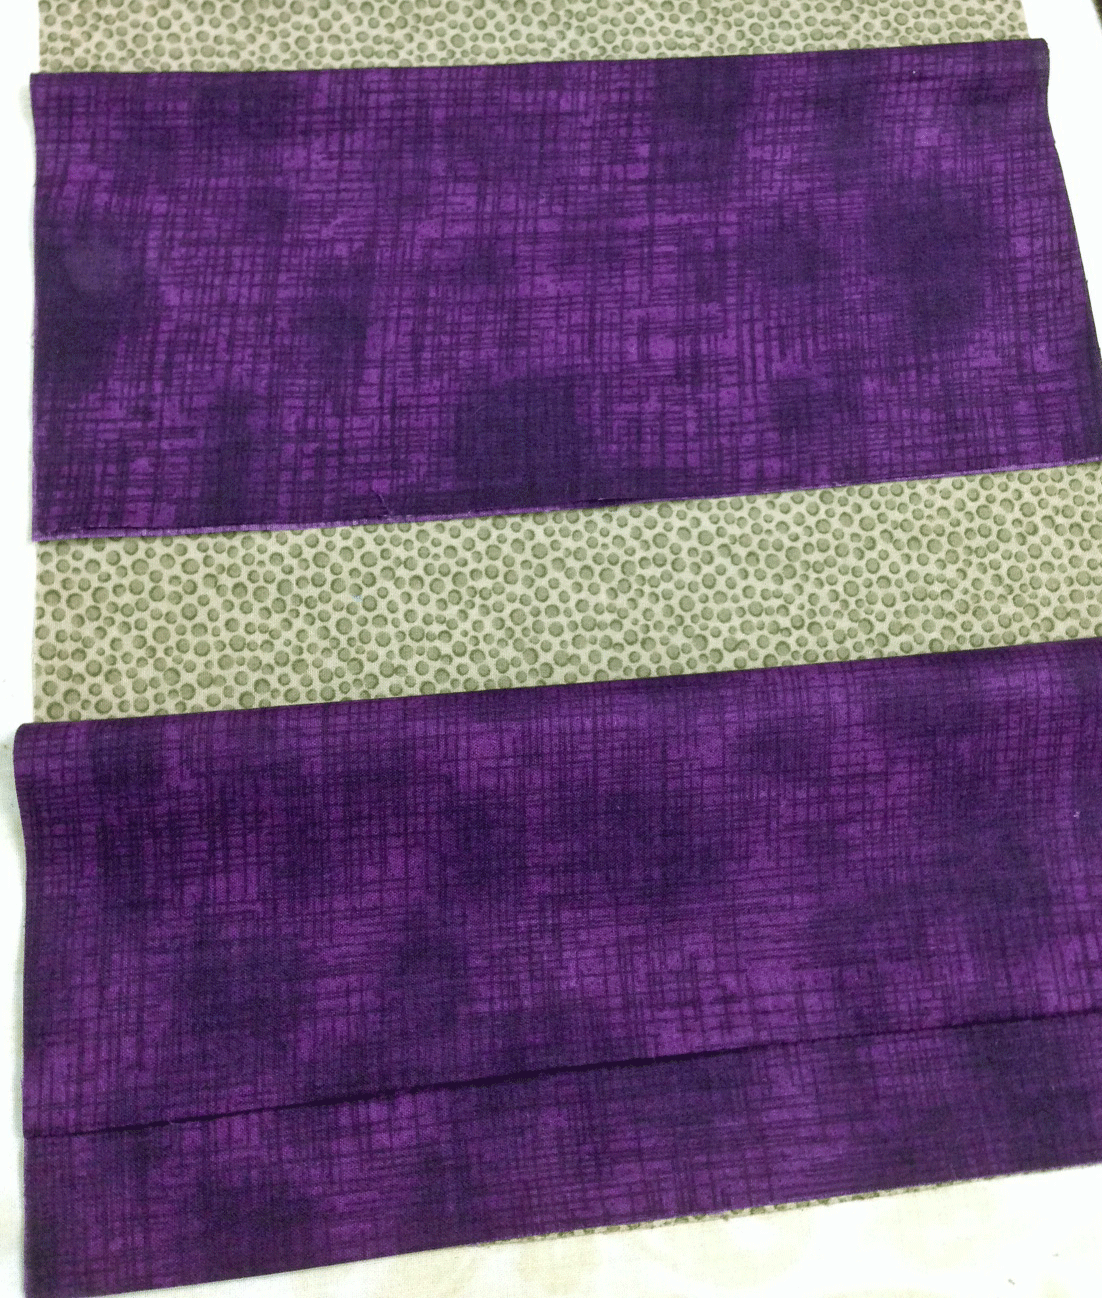
This is the fabric that I chose for the base or main body of my organizer. 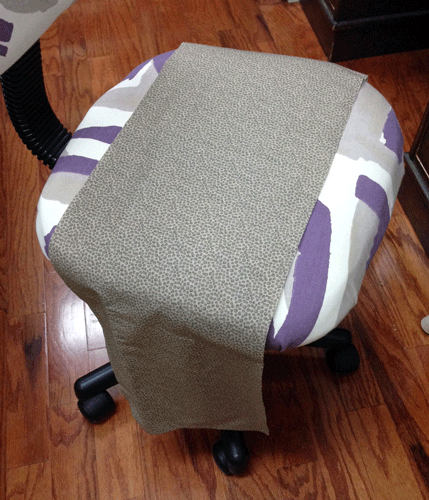
Once cut, take a moment to audition your fabric on your chair. Is that the color, length and cut you want? Heck, this sounds like a day at the salon!
Make sure the dimensions work for you before you proceed.
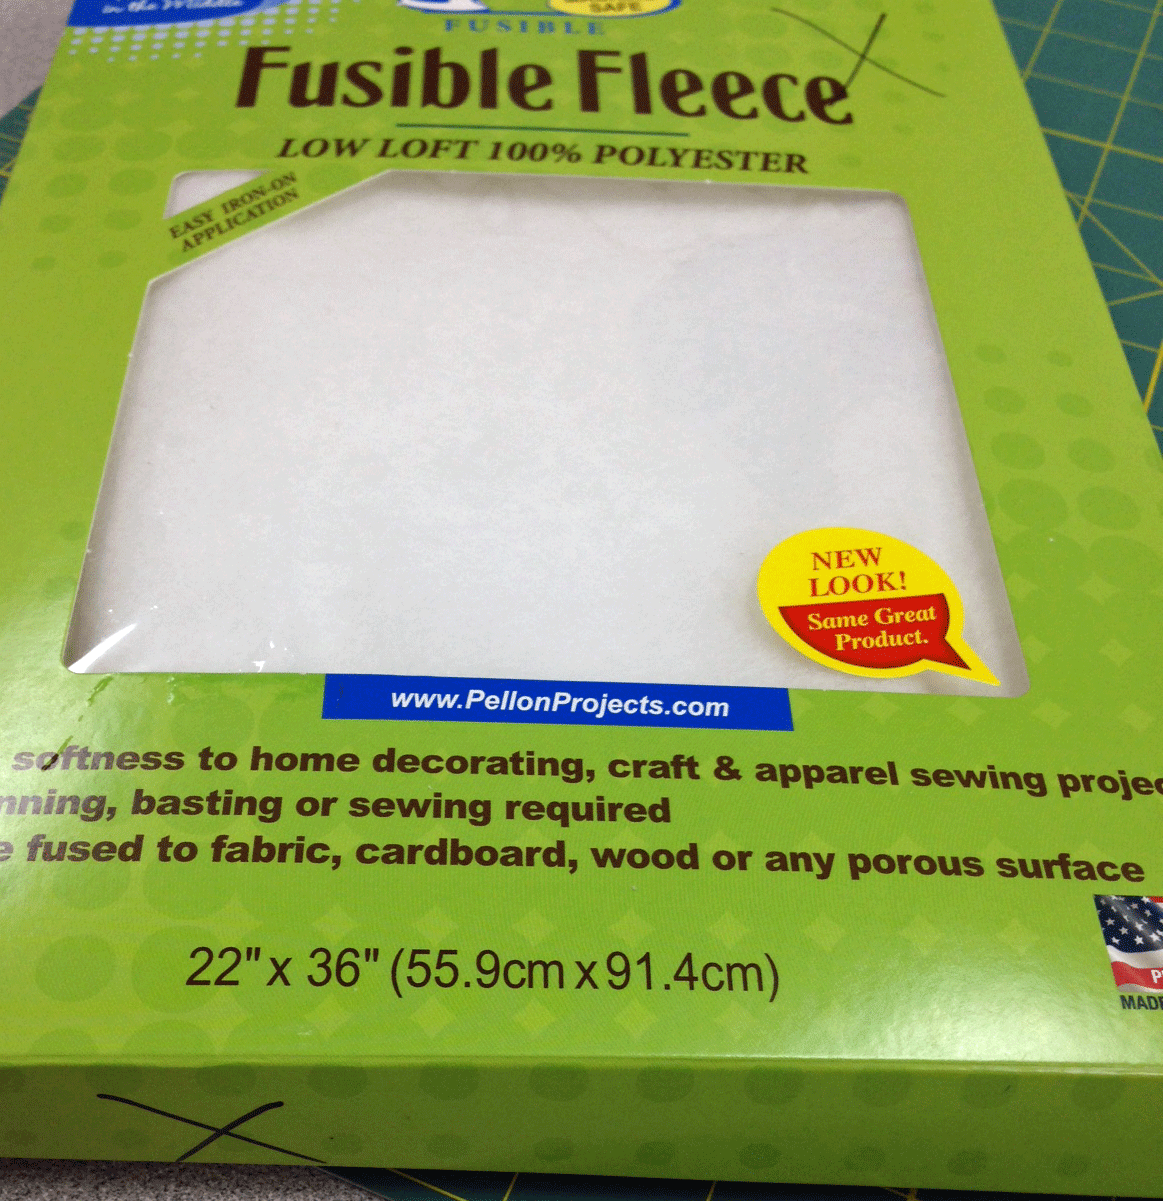
I opted to use a bit of fusible fleece in the center of my base fabric. My thought process was it never hurts to have a bit more padding and that the fleece would help the fabric wear better as time goes on. We shall see….
Please remember that all of my measurements going forward are based on the size of MY chair. Verify the size of your chair prior to cutting. Please? Okay!
Because I didn’t want too much bulk in my seams, I cut my fusible fleece 9.5 ” wide by 14 ” long,
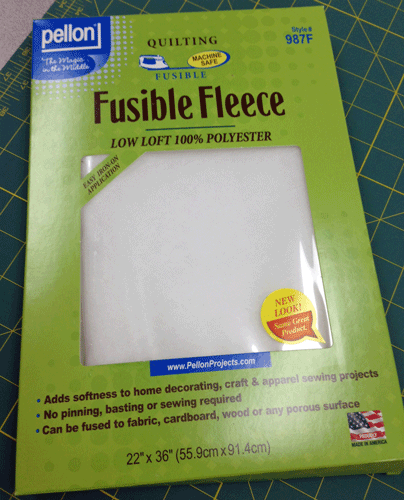
Please read and follow the directions on the package for this product. Center and fuse on the wrong side of one of your base panels.

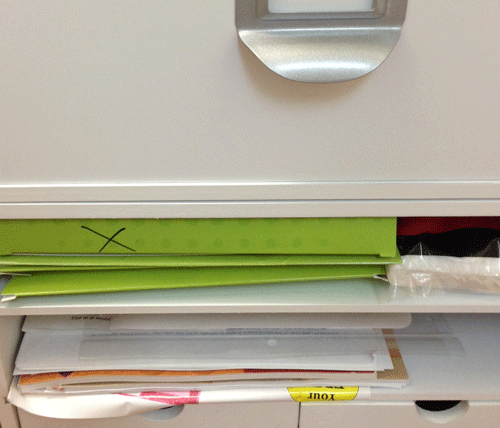
Let’s pause for a moment of sewing room sensibility. I have a couple of packages of fusible fleece on hand at this very moment. The best way to know that I have used a portion of this package and it is not intact is to mark an X on it. This way, you will know when you look at the package in your stash that it isn’t a pristine new package waiting for your next project.
So next time you head to your stash to figure out if you have enough of this or that to complete that purse or bag or quilt, you can tell with a quick glance if you have a partial or full package of something.
Uh, yeah you are welcome!
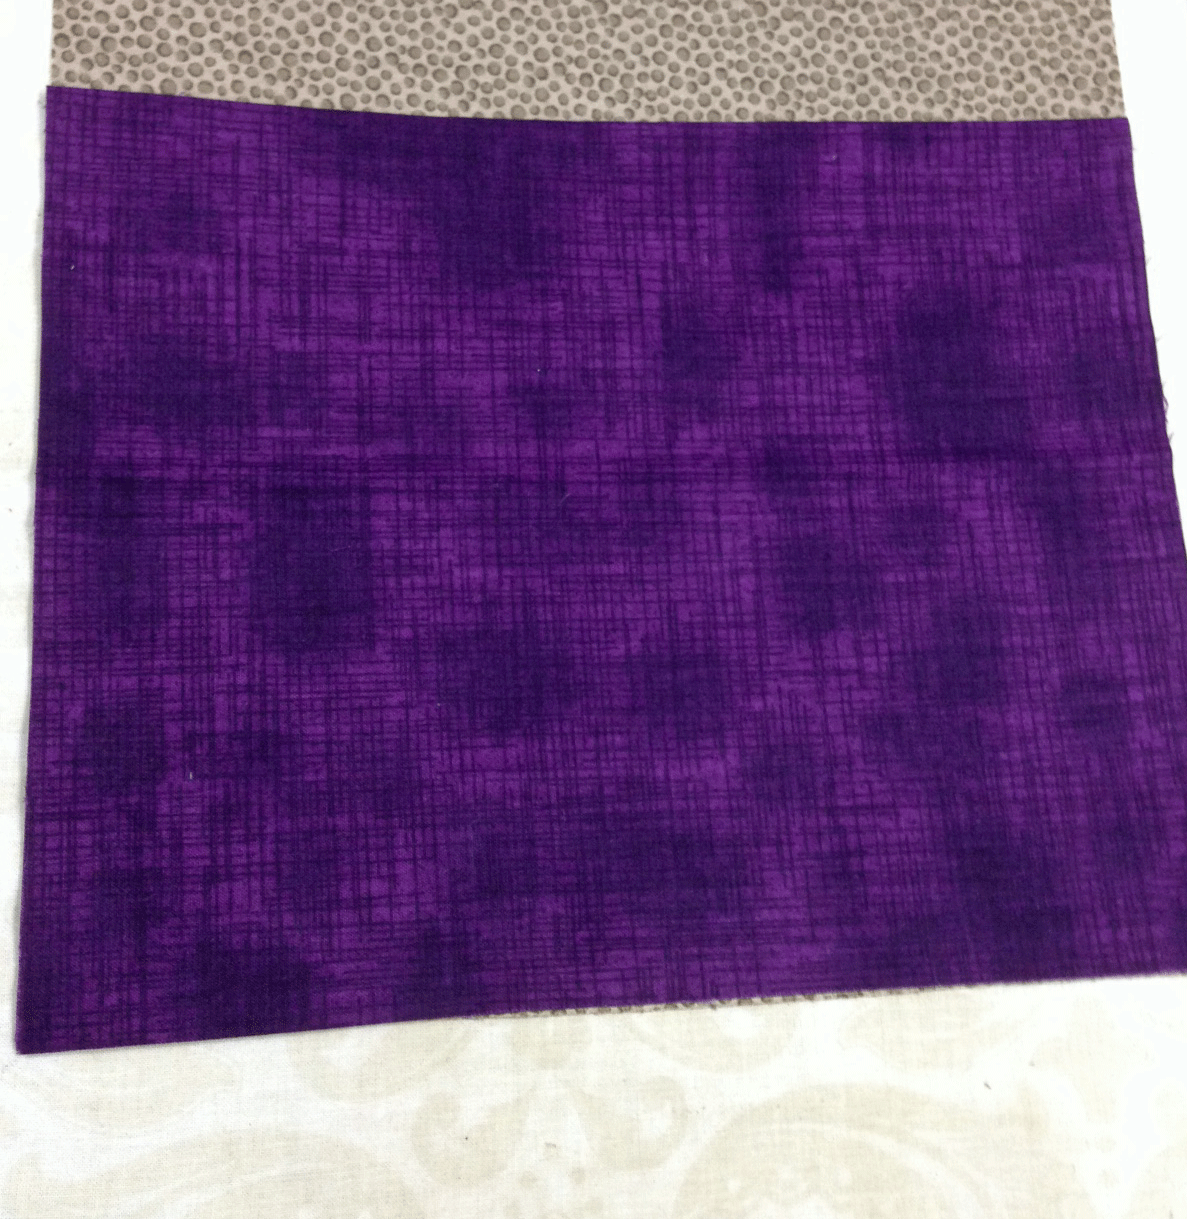
Now it is time to cut some fabric for pockets. I wanted something to make the purple in the chair pop, so why not some grapey apey kind of thing?
I cut two pieces 10″ wide x 16″ long for my large bottom pockets. Then I cut two pieces 10″wide x 9″ long for my smaller, upper pockets. 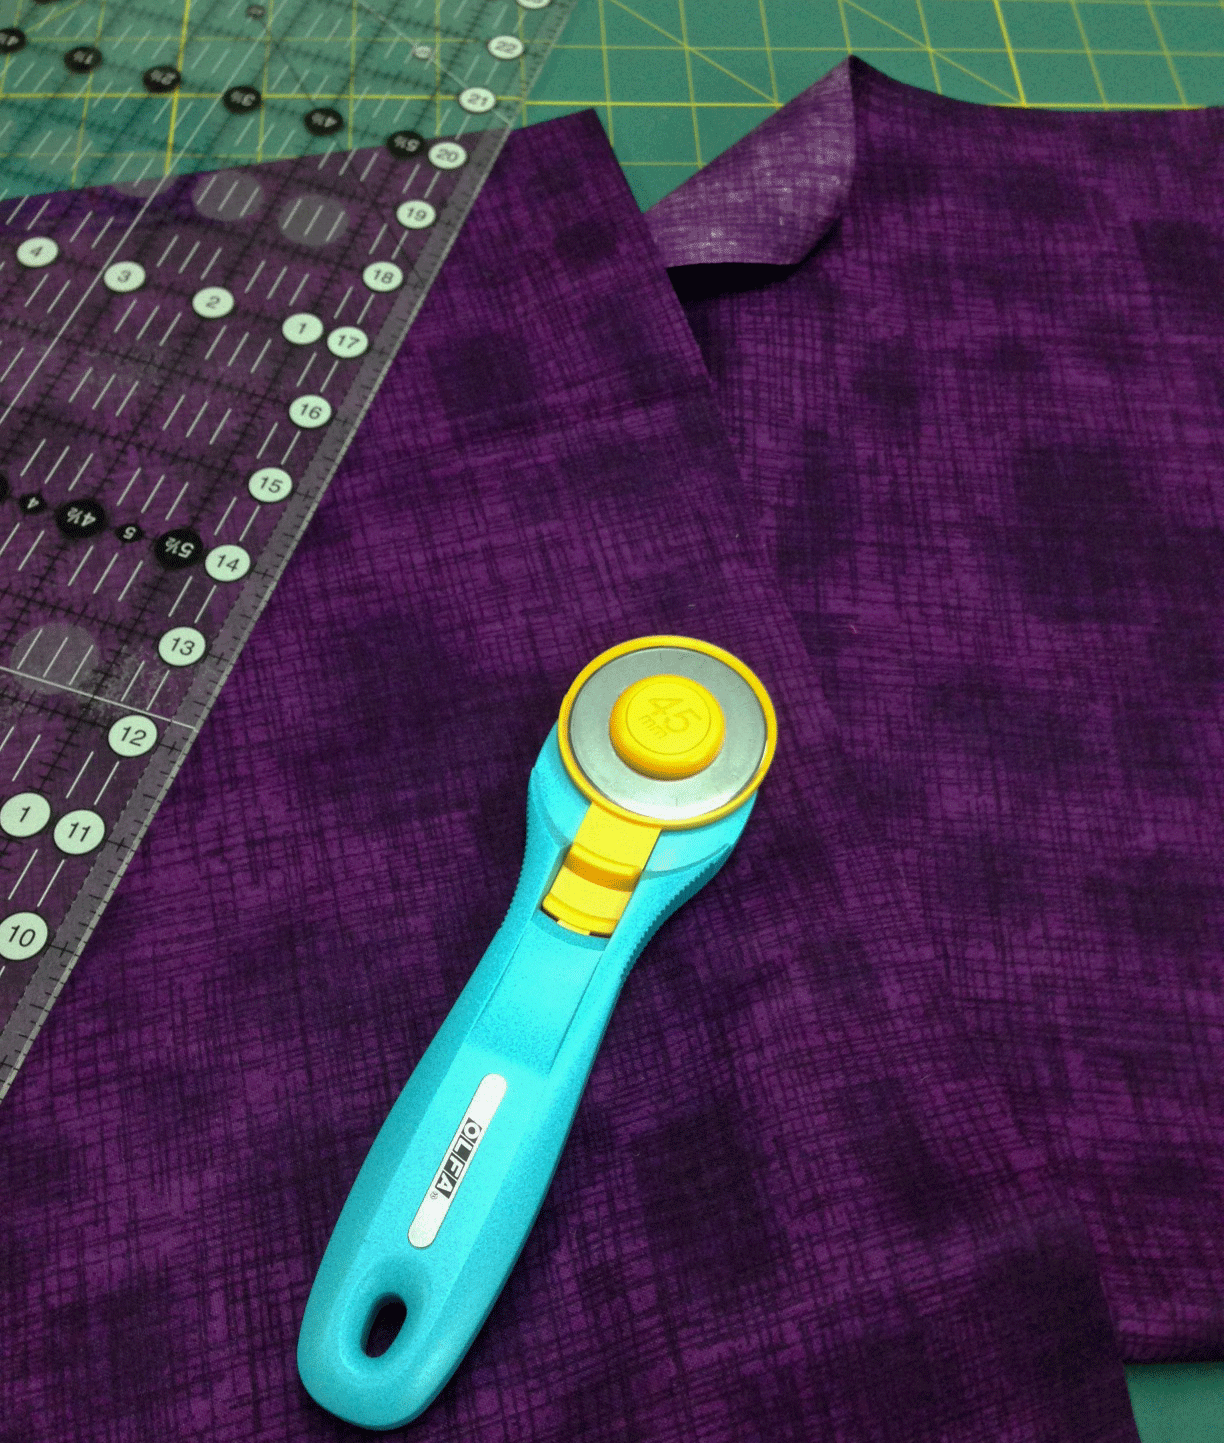
Now if these dimensions sound a bit off to you, here is what I did. I folded the piece in half, wrong sides together along the 16″ side.
Here is what it looks like laid out on the base fabric:
That is going to be perfect. Since I wanted to “stack” my pockets, I rolled down the edge of the large bottom pocket so that I could determine the placement of the smaller pocket.
Now locate that small pocket, fold in half wrong sides together and let’s audition the placement of this one.
That looks good to me! With a Frixxon pen, I marked where the top edge of the smaller upper pocket would need to line up. Note the measurement from the bottom edge and mark the other end of your base fabric. In my case, I placed the top edge of the small pocket 10.25″ from the bottom edge of the base fabric.
Remove the base fabric and the small pockets and set aside. I decided that I wanted my pockets to have some substance so that heavy things like my Gingher scissors wouldn’t fall right out. I also wanted to give this lightweight quilting cotton some lasting power.
Fuse-N-Shape is another great product by Pellon. But again….READ and FOLLOW the directions on the package. Unlike the fusible fleece, this is fusible on both sides and you don’t want to know what that would do to your iron. (No, I don’t know but the mental image is almost more than I can handle….)
Find your large pocket square and lay it on your ironing board wrong side up. Again, to allow for seams and in an effort to reduce bulk I cut two pieces of Fuse-N-Shape 9 x 7.5″ for the two large pockets.
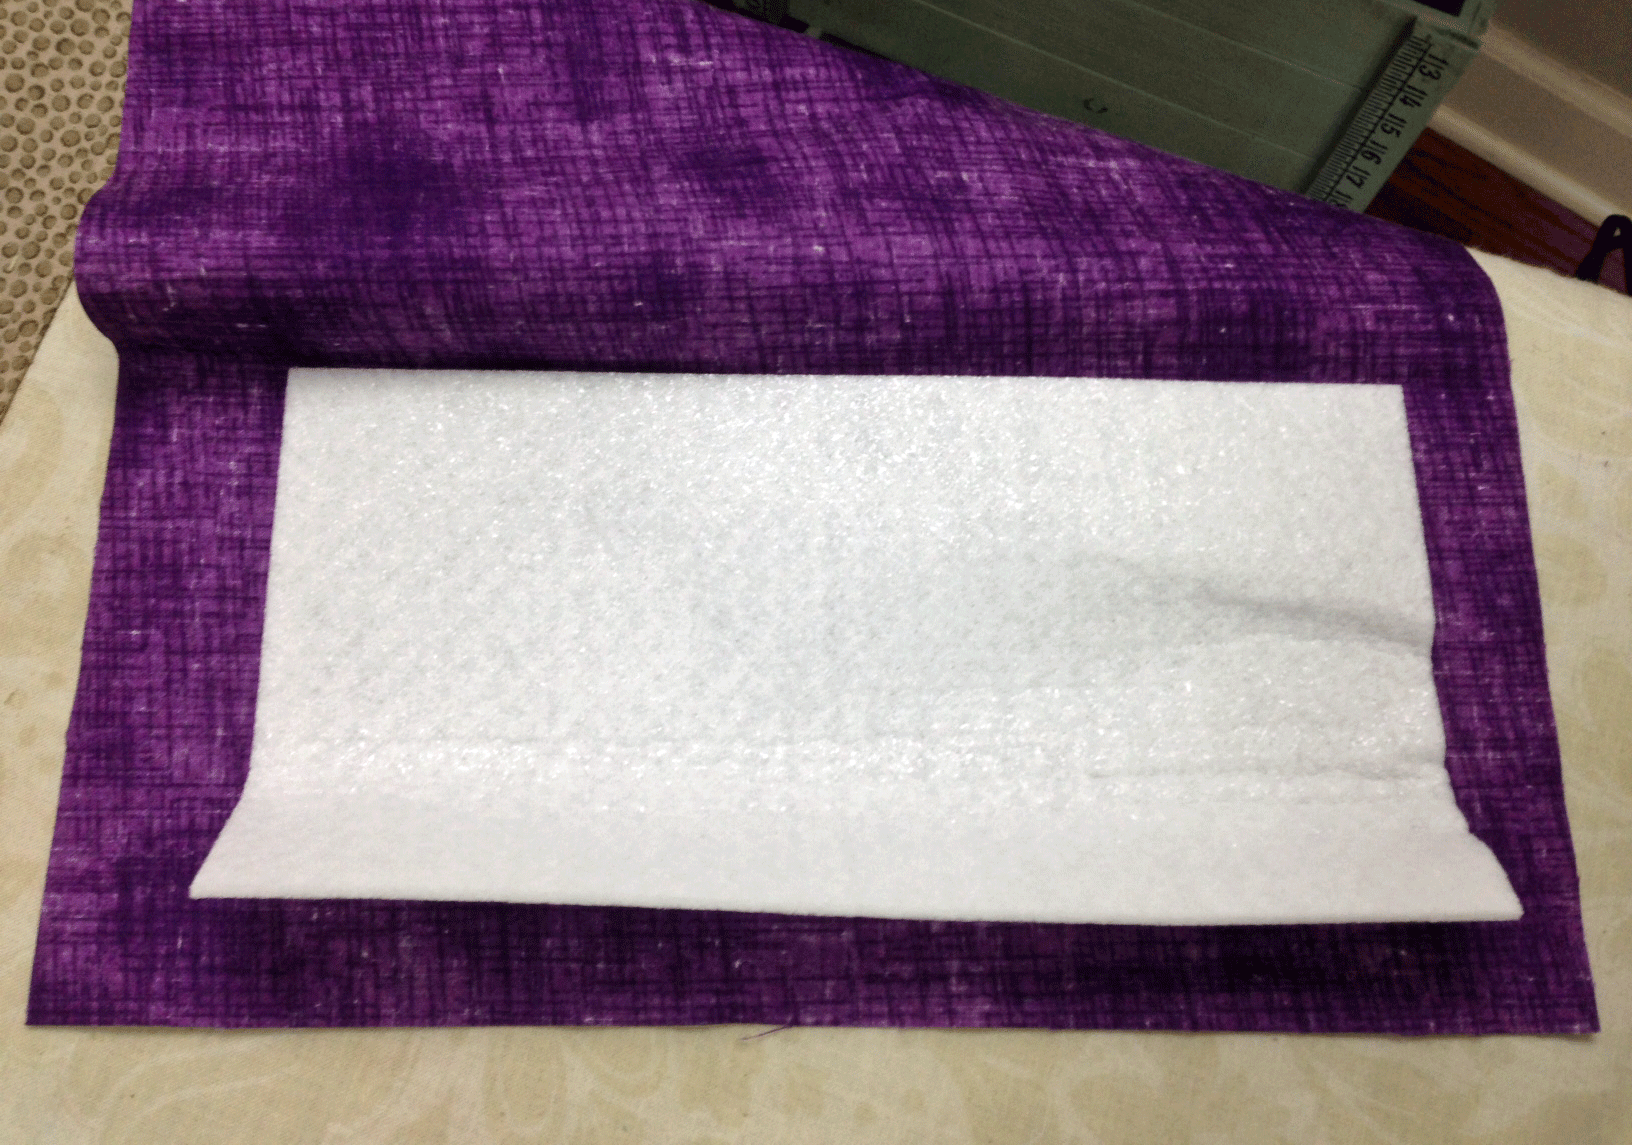
Fold your large pocket in half and finger press a crease. Now lay your piece of Fuse-N-Shape butted up to the crease and centered in the rest of the fabric. Fold over the top piece and sandwich in the fusible. Iron and fuse according to the directions. Repeat for the second large pocket. If it isn’t exactly beautiful, don’t worry. All of those messy edges will be encased when we sew everything together.
For the two small pockets I cut two 9 x 4.25″ pieces of fusible and followed the same directions as above to form the pocket piece.
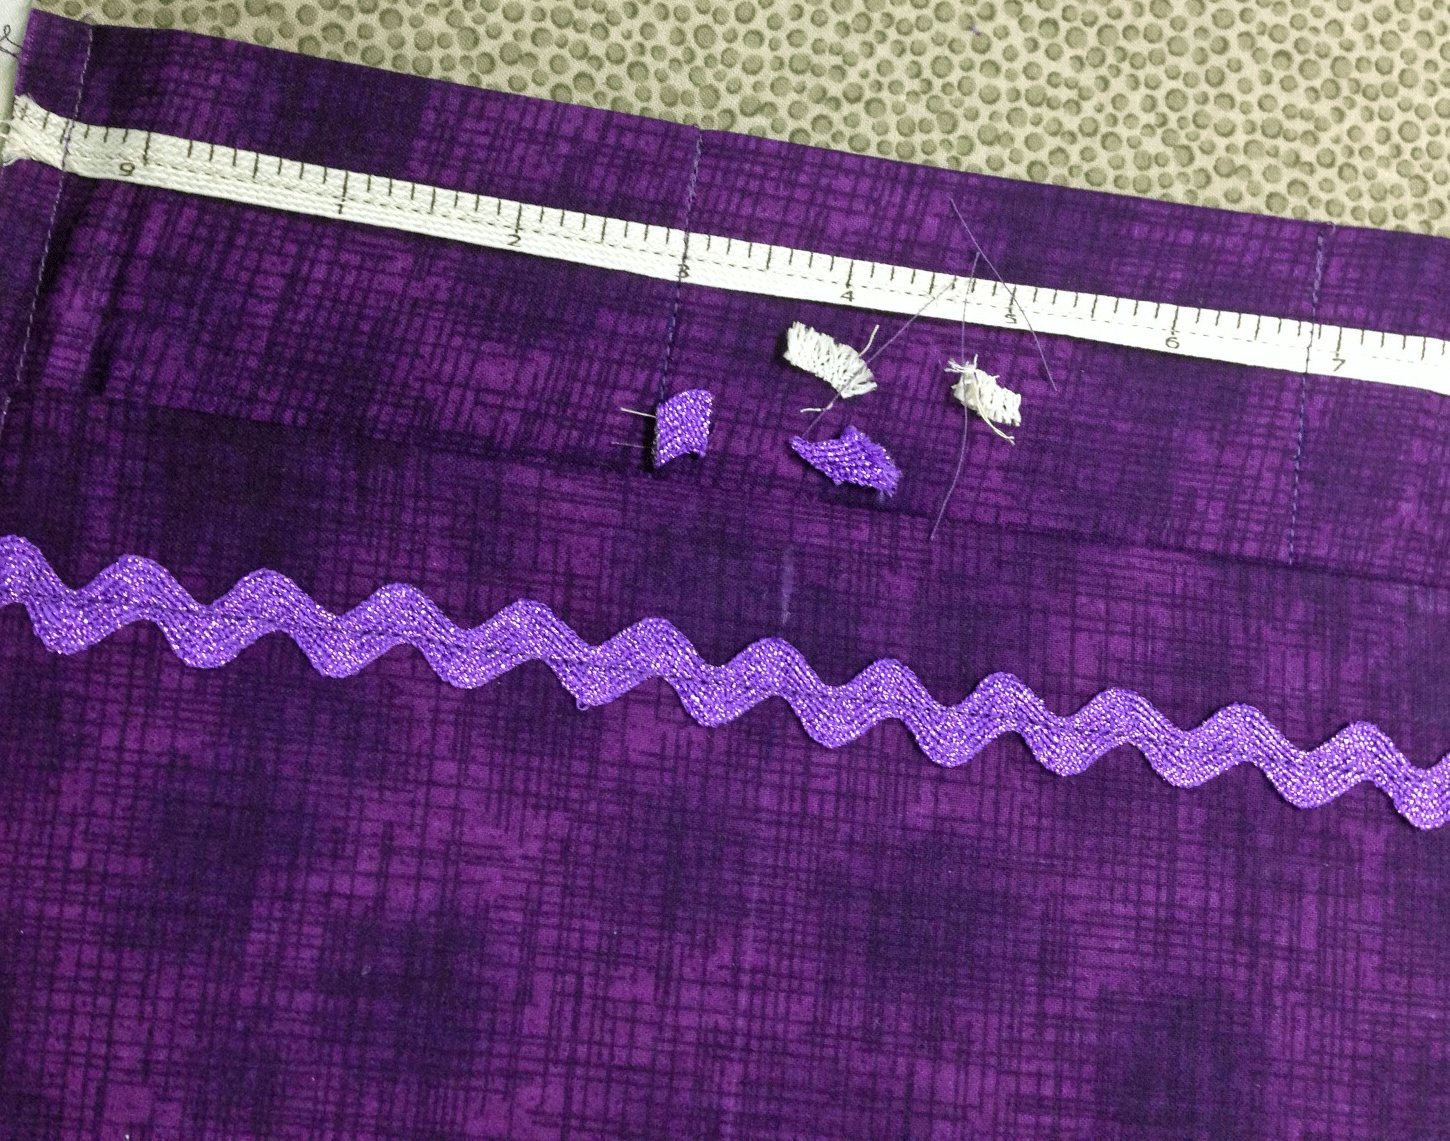
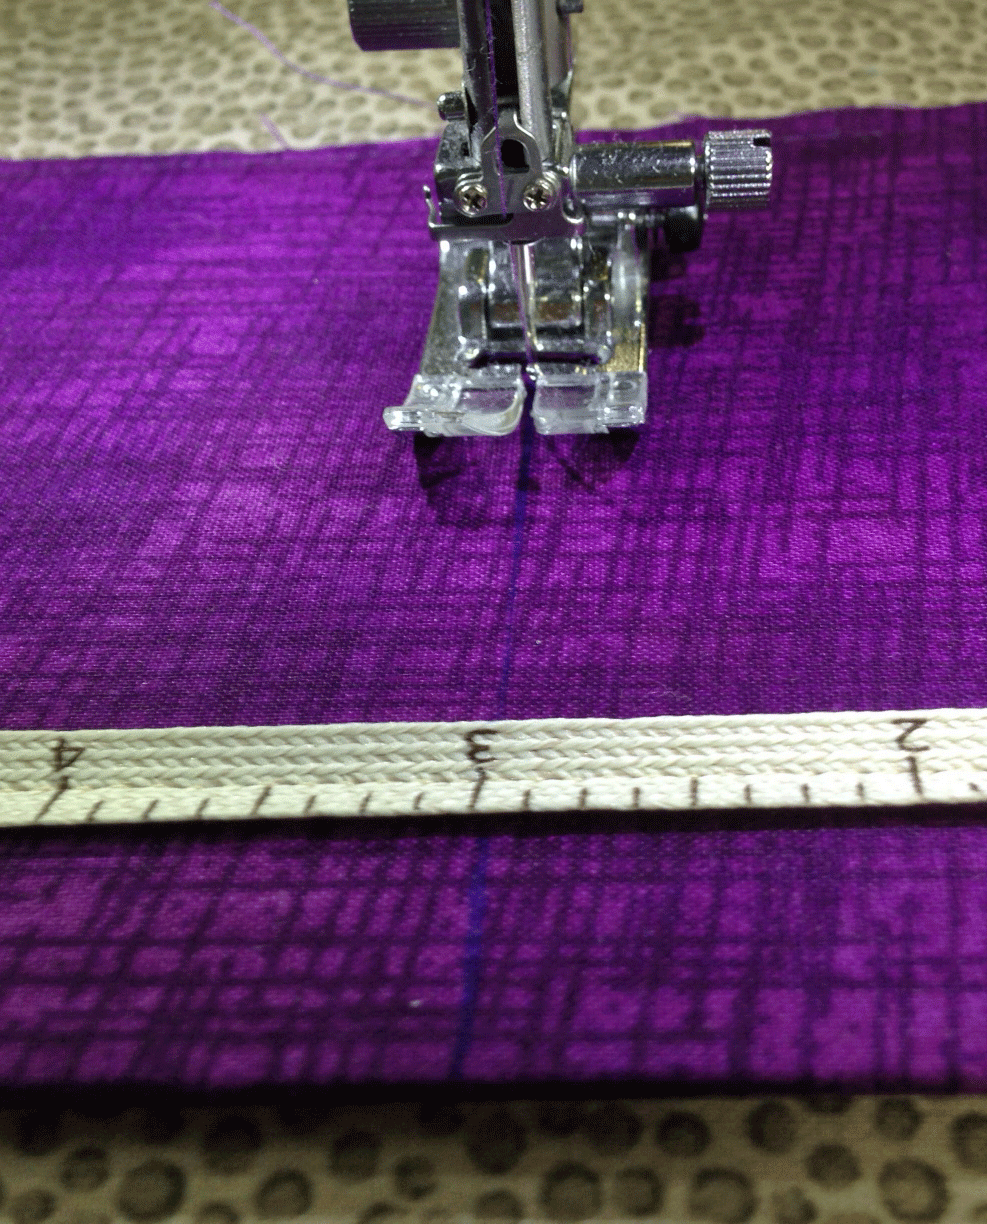
I decided that it would be fun (because isn’t that why we do this, to have fun) to add a bit of embellishment. I chose a sparkly purple ric-rac, (how could I not) and a tape measure ribbon.
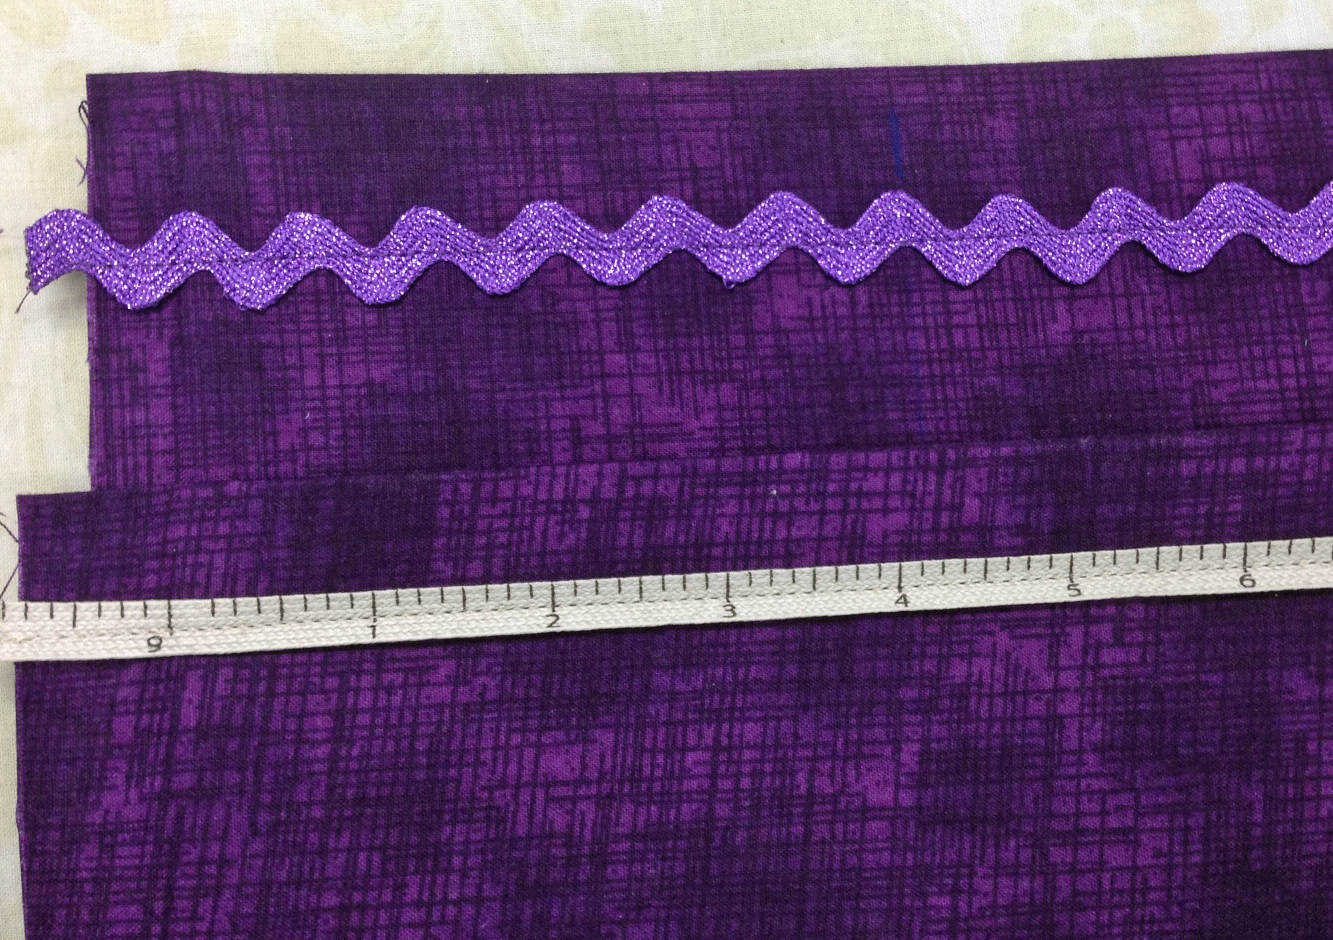
I stitched them on with a straight stitch about an inch down from the top edge of the pockets. This also helps prevent the fusible from shifting if you didn’t do a great job fusing it. Besides, it is cute.
Trim the ends of the ribbon flush with the edges of the pocket to reduce any bulk.
Now let’s get these pockets attached!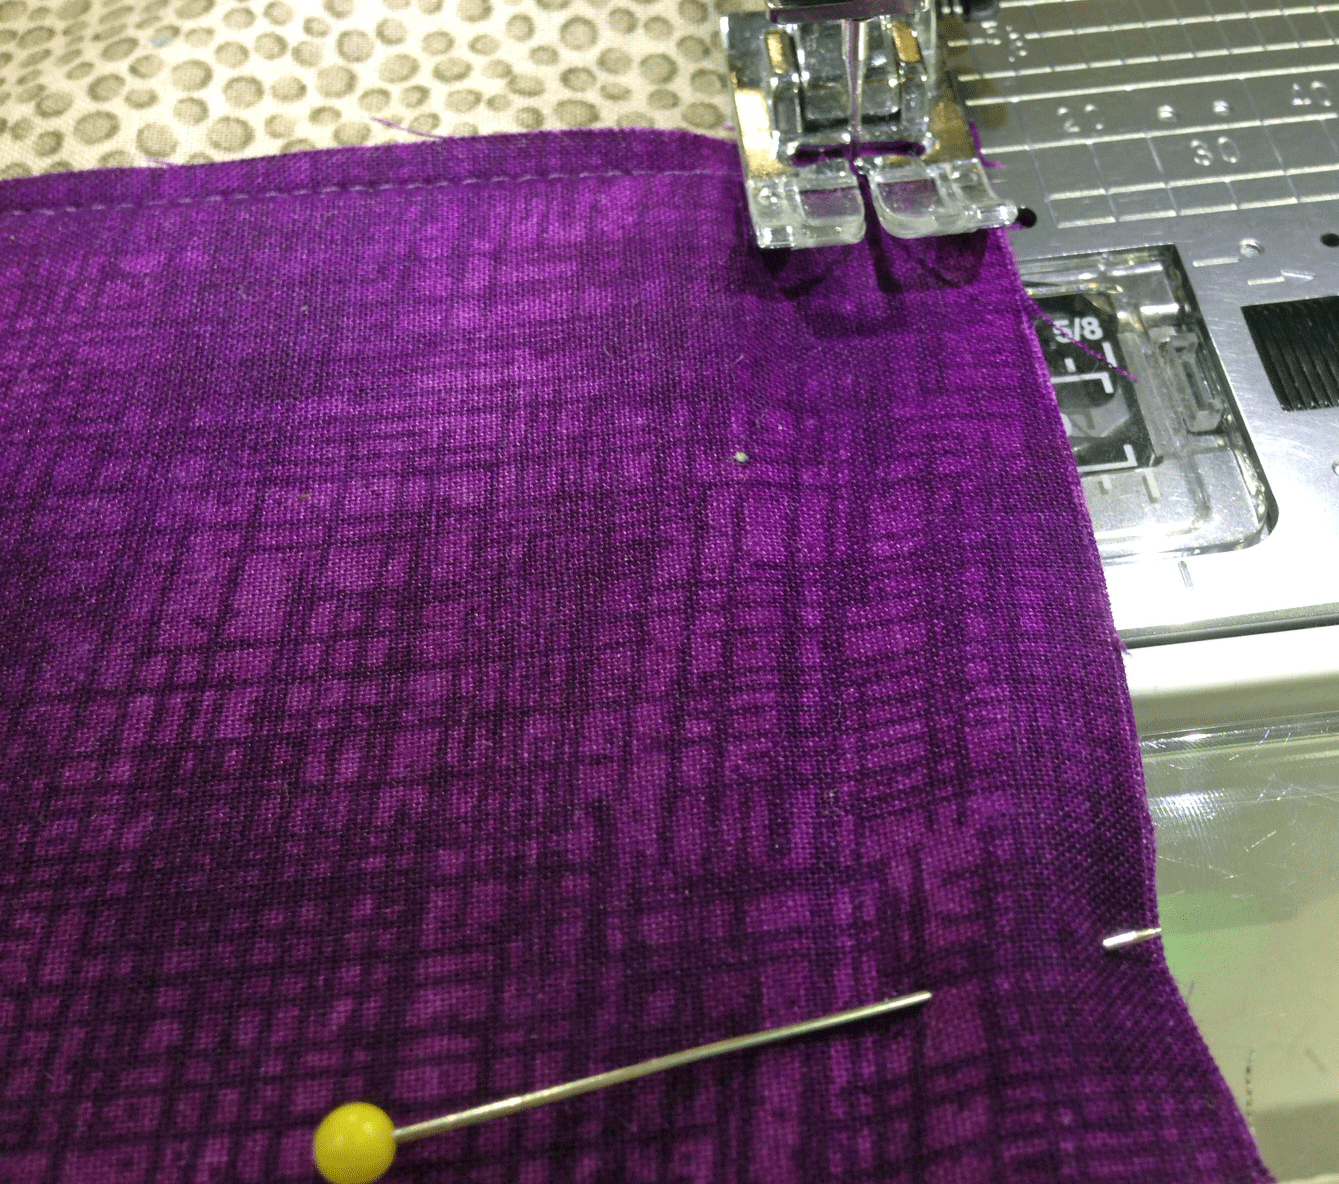
I first sewed on the small pockets, right side of the backing fabric facing up and the embellished edge of the pocket facing up, lining up the marks made earlier. Place the folded edge up and the raw edges along the side and facing the bottom. Sew across the bottom and then along the sides. Don’t sew the top edge shut or there will be no pocket….
It should look like this:
Repeat with the small pocket on the other side. I wanted to divide the full length pockets into small segments. If you wish to do this, now is the time. I sewed a line 4 inches from one side thereby making one 4″ wide pocket and one 6″ pocket.
I did backstitch close to the top edge since I know this area will get a fair amount of wear removing and replacing items within it.
I repeated the process with the large pocket sewing along the bottom and then up the sides. I divided this pocket evenly 5″ from the side. But do remember that these pockets overlap each other so you won’t sew all the way to the top on the large one. I ended my stitch line just below the ric-rac.
Once both pockets are placed and sewn on both ends, find the other section of base fabric. Now position these pieces right sides together and pin or as I prefer, clip together. 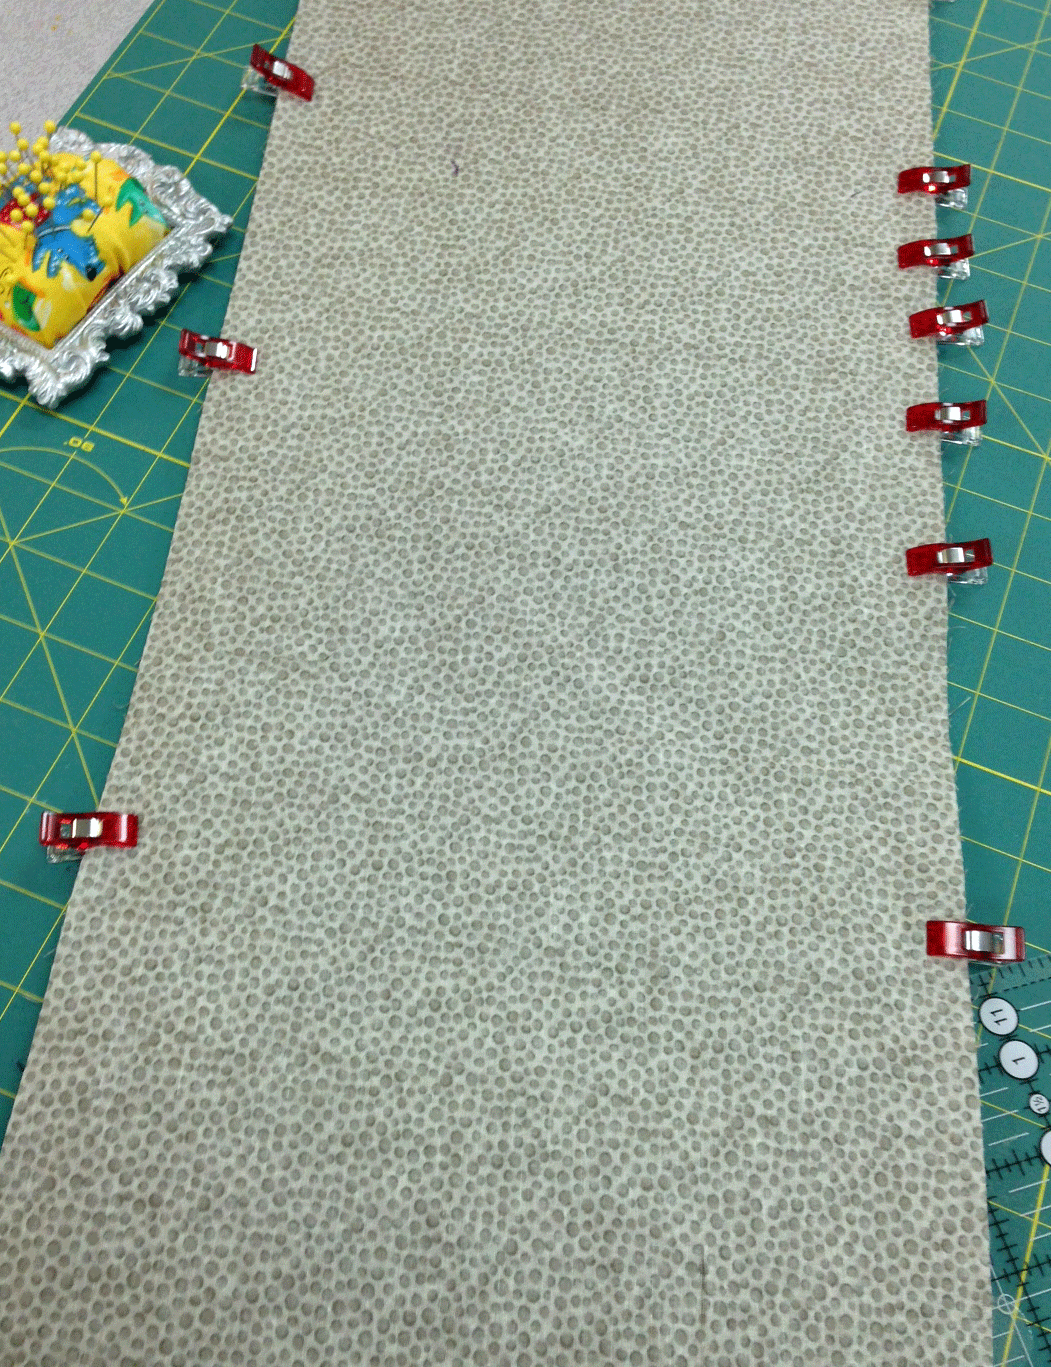
Note where I placed those 5 clips close together….This is where I left an opening to turn. You don’t want to turn this on the bottom since the pockets are so stiff. Stitch all the way around using a 1/2″ seam and backstitching at the beginning and end next to where you left the opening. I opted to leave about an 8″ opening to allow for the thickness and stiffness.
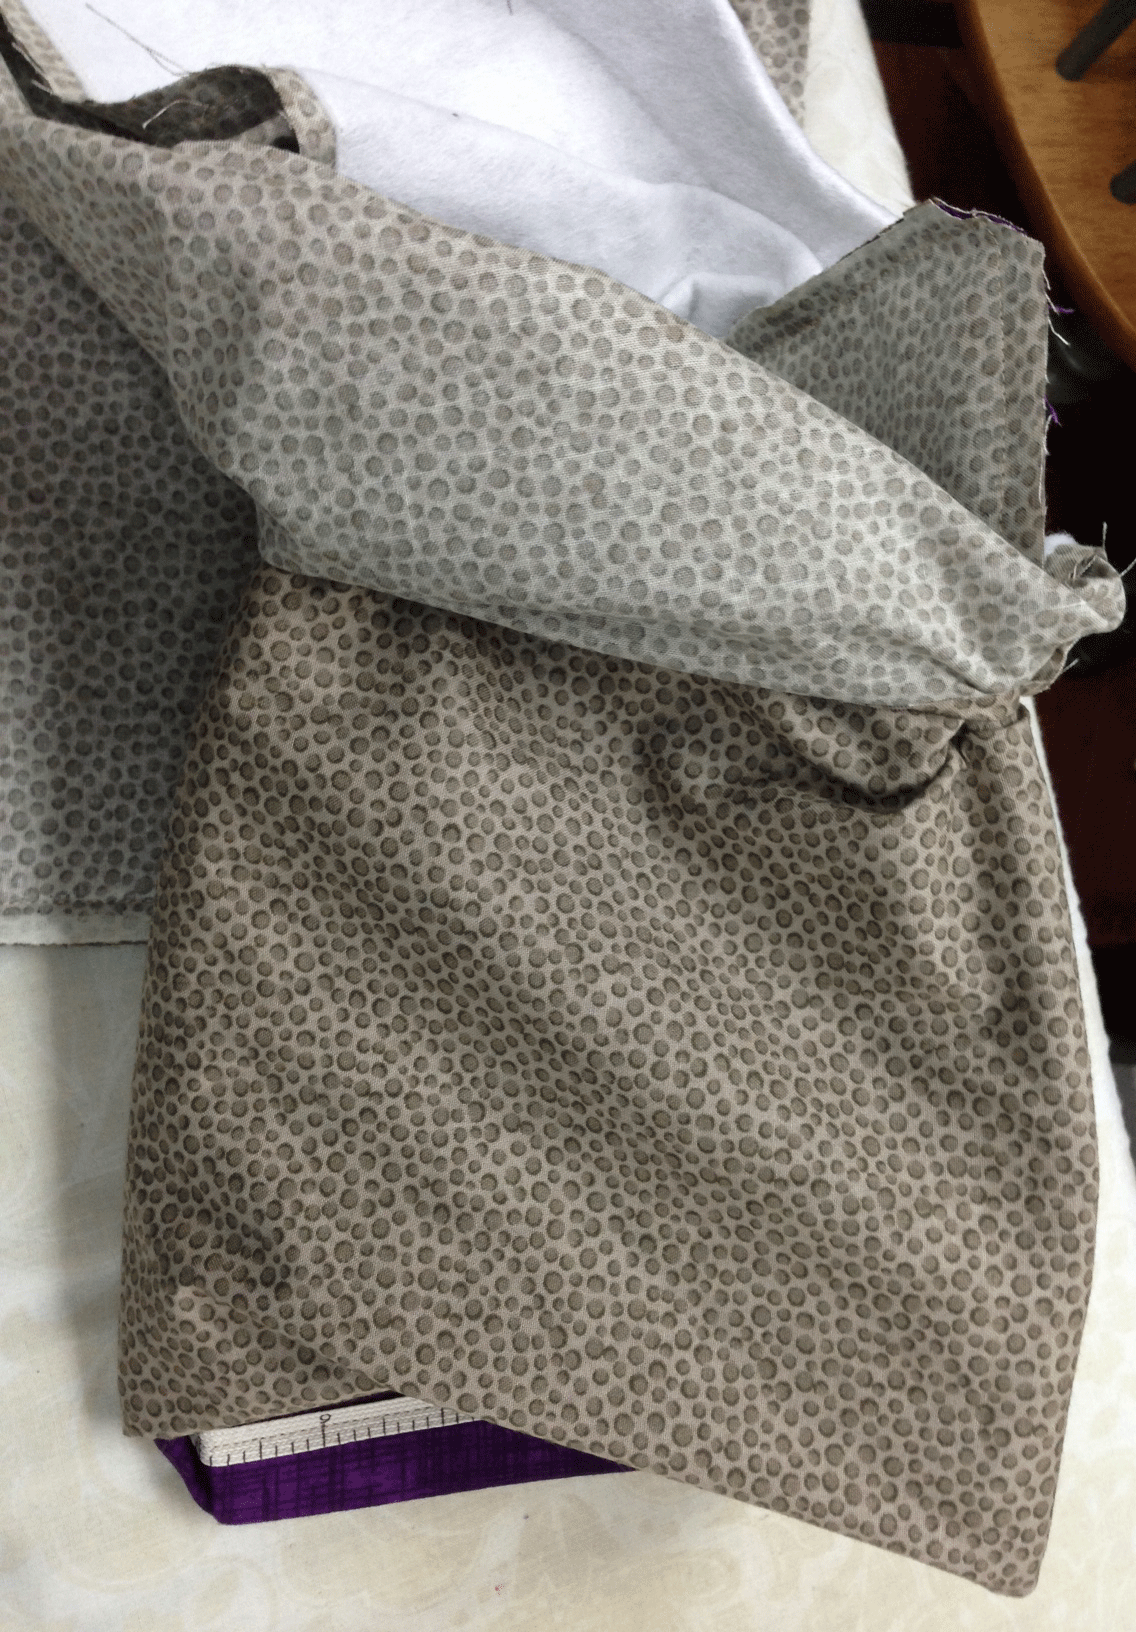
Take your time turning the organizer….it will be a bit fiddly but it will work out. Poke out the corners and adjust until everything lays flat.
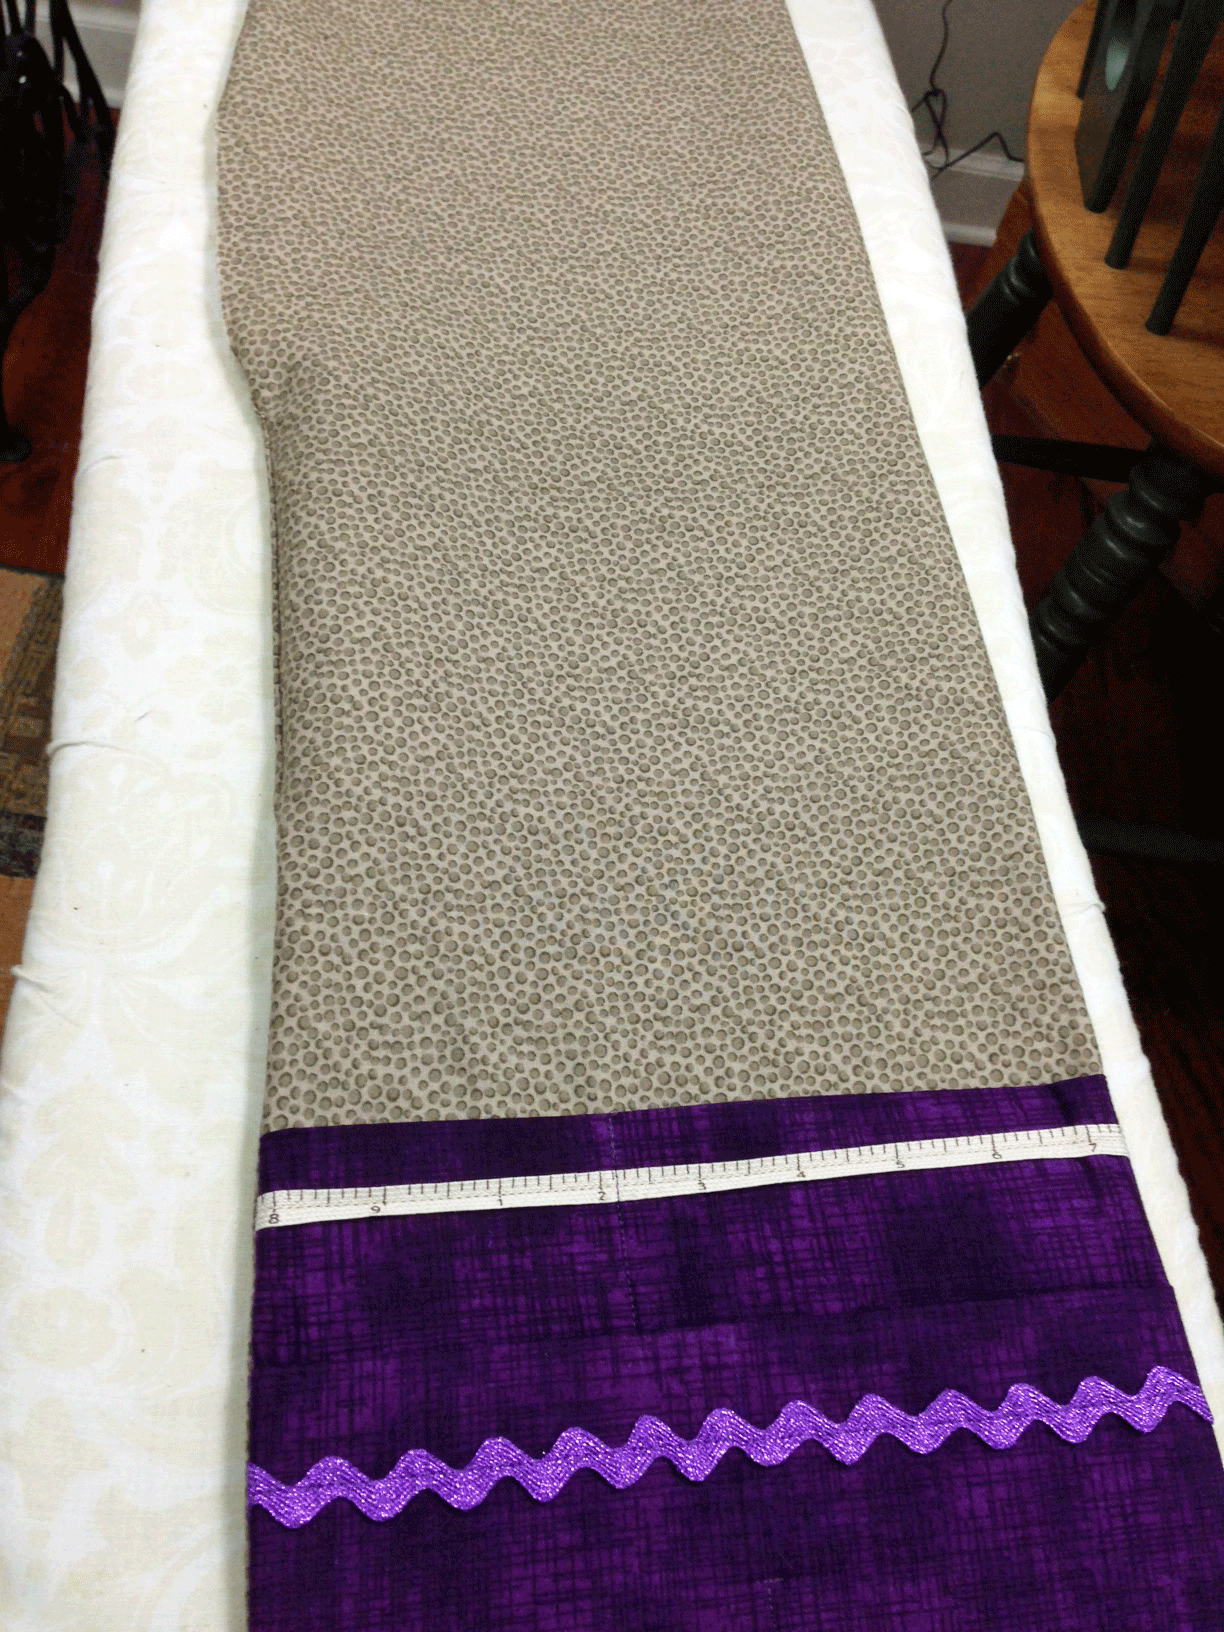
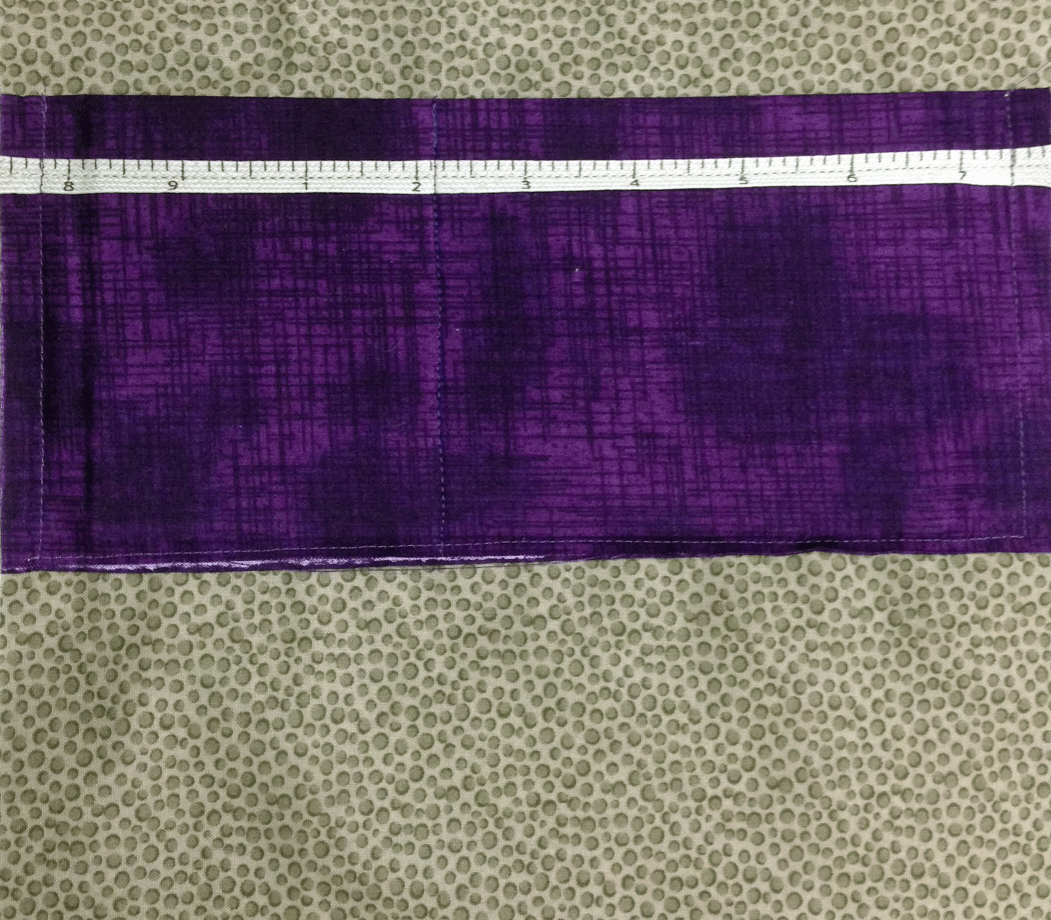
Here you can see the pockets attached and the organizer turned right side out. We still need to deal with that opening. Fold the edges inward and iron them to line everything up. Topstitch all the way around the organizer to finish off the edges and to enclose that opening.
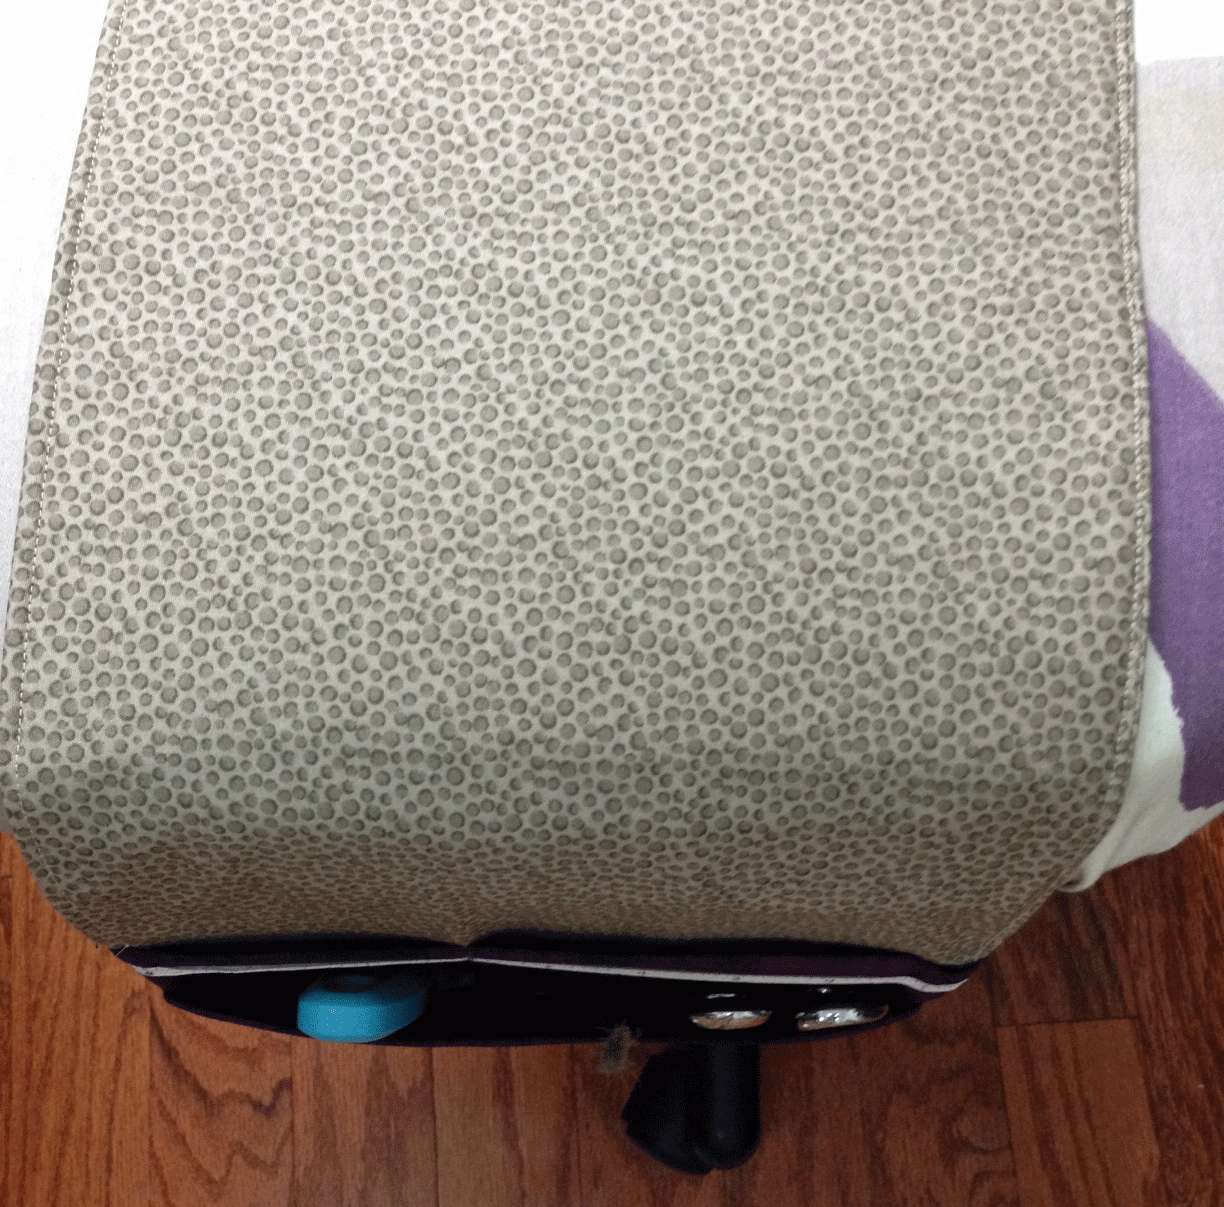
Here is what it looks like once everything is complete and the topstitching is done. Nice finishing and the opening is closed and concealed with no handstitching.
Now for a few more views of the finished organizer:
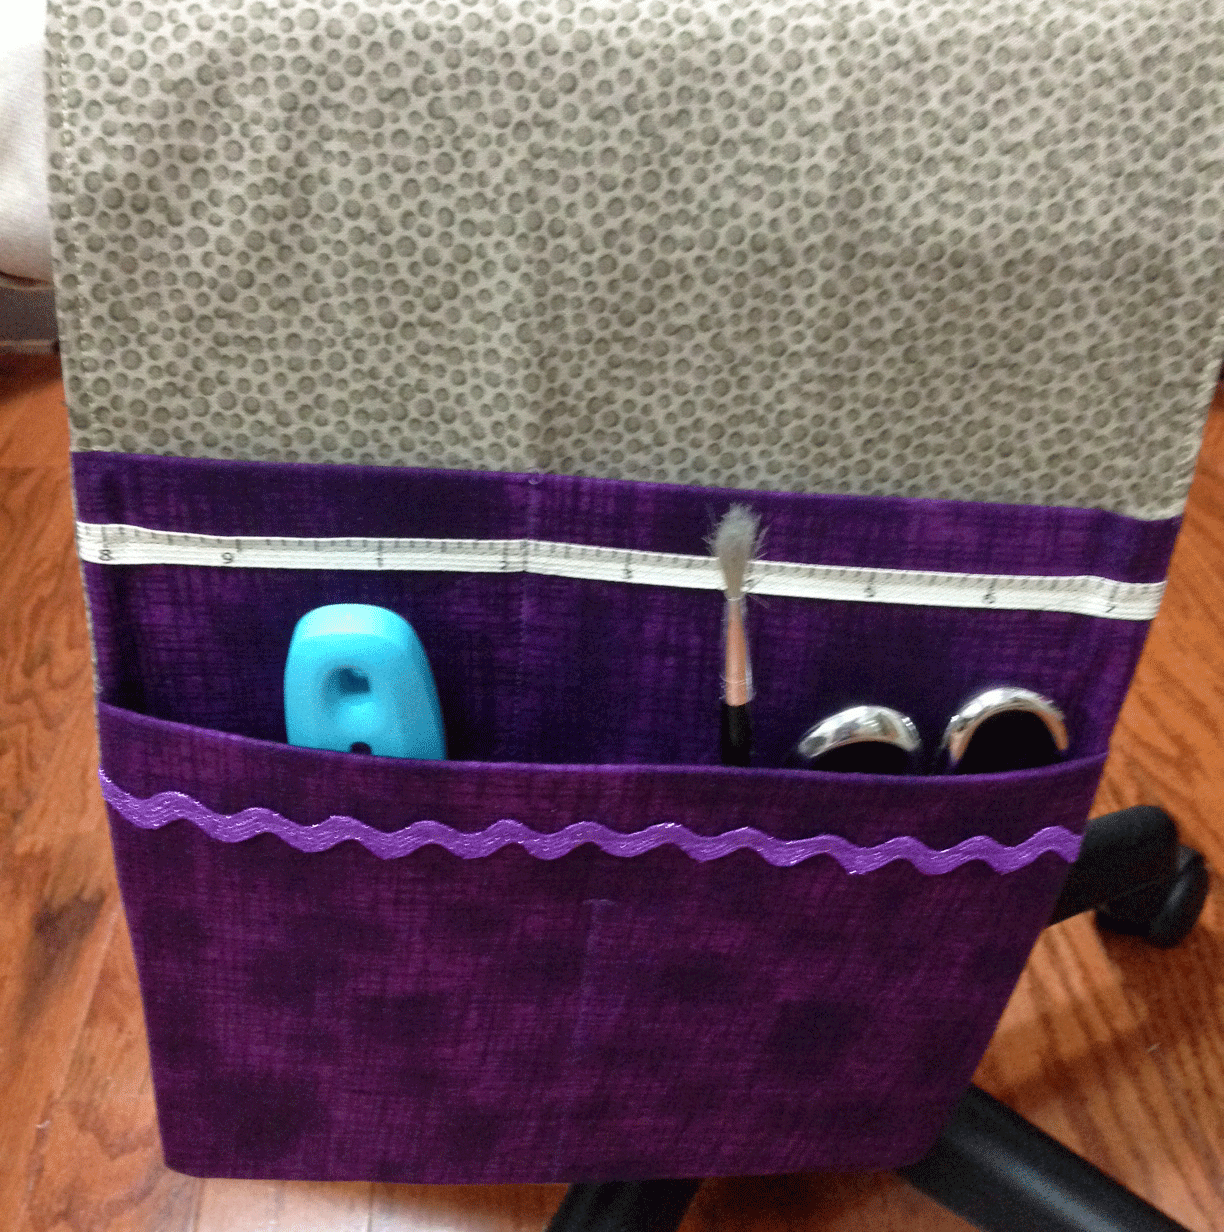
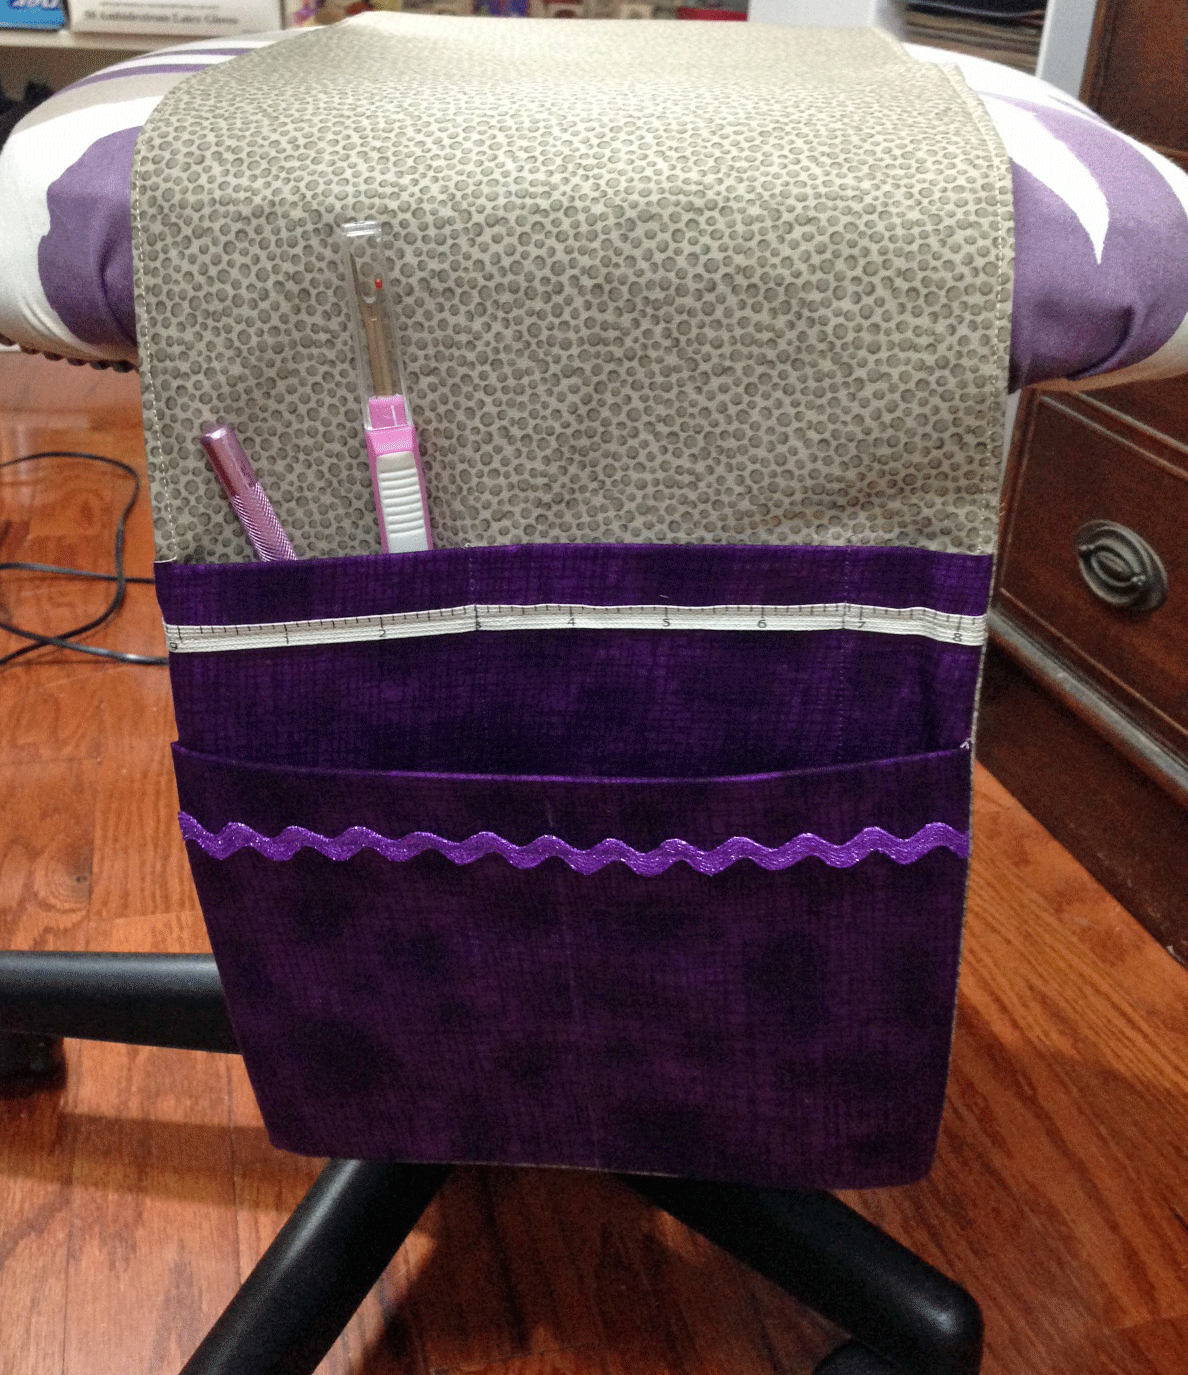
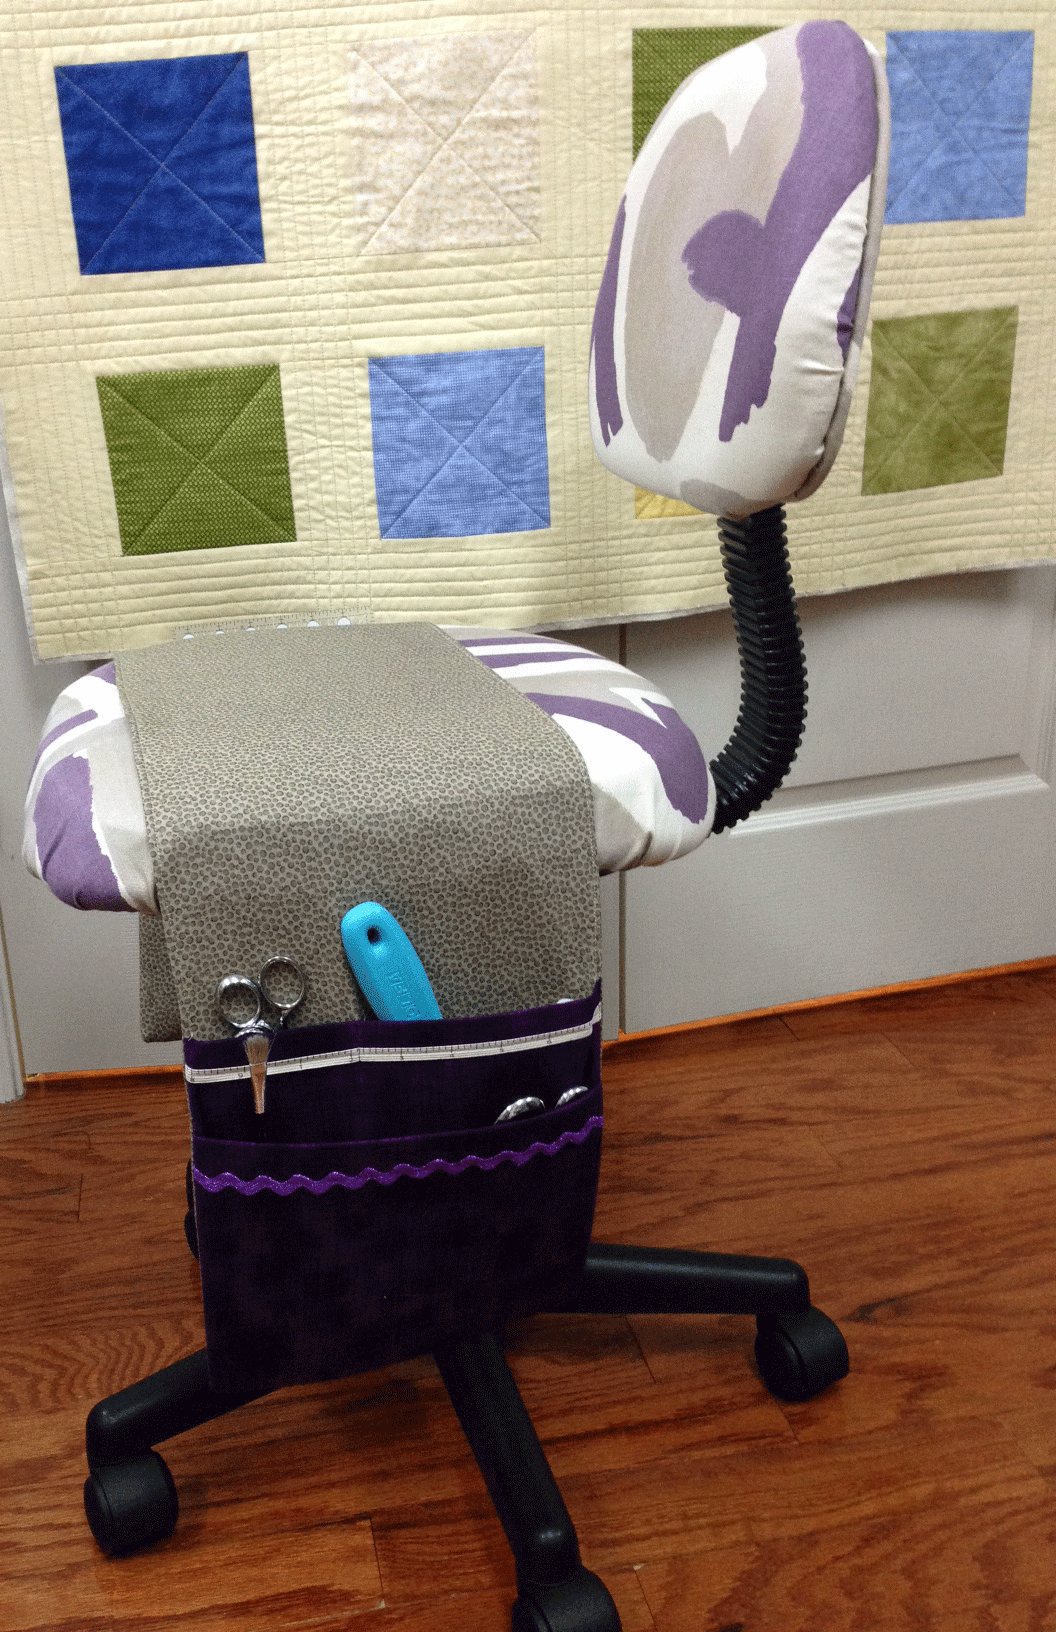
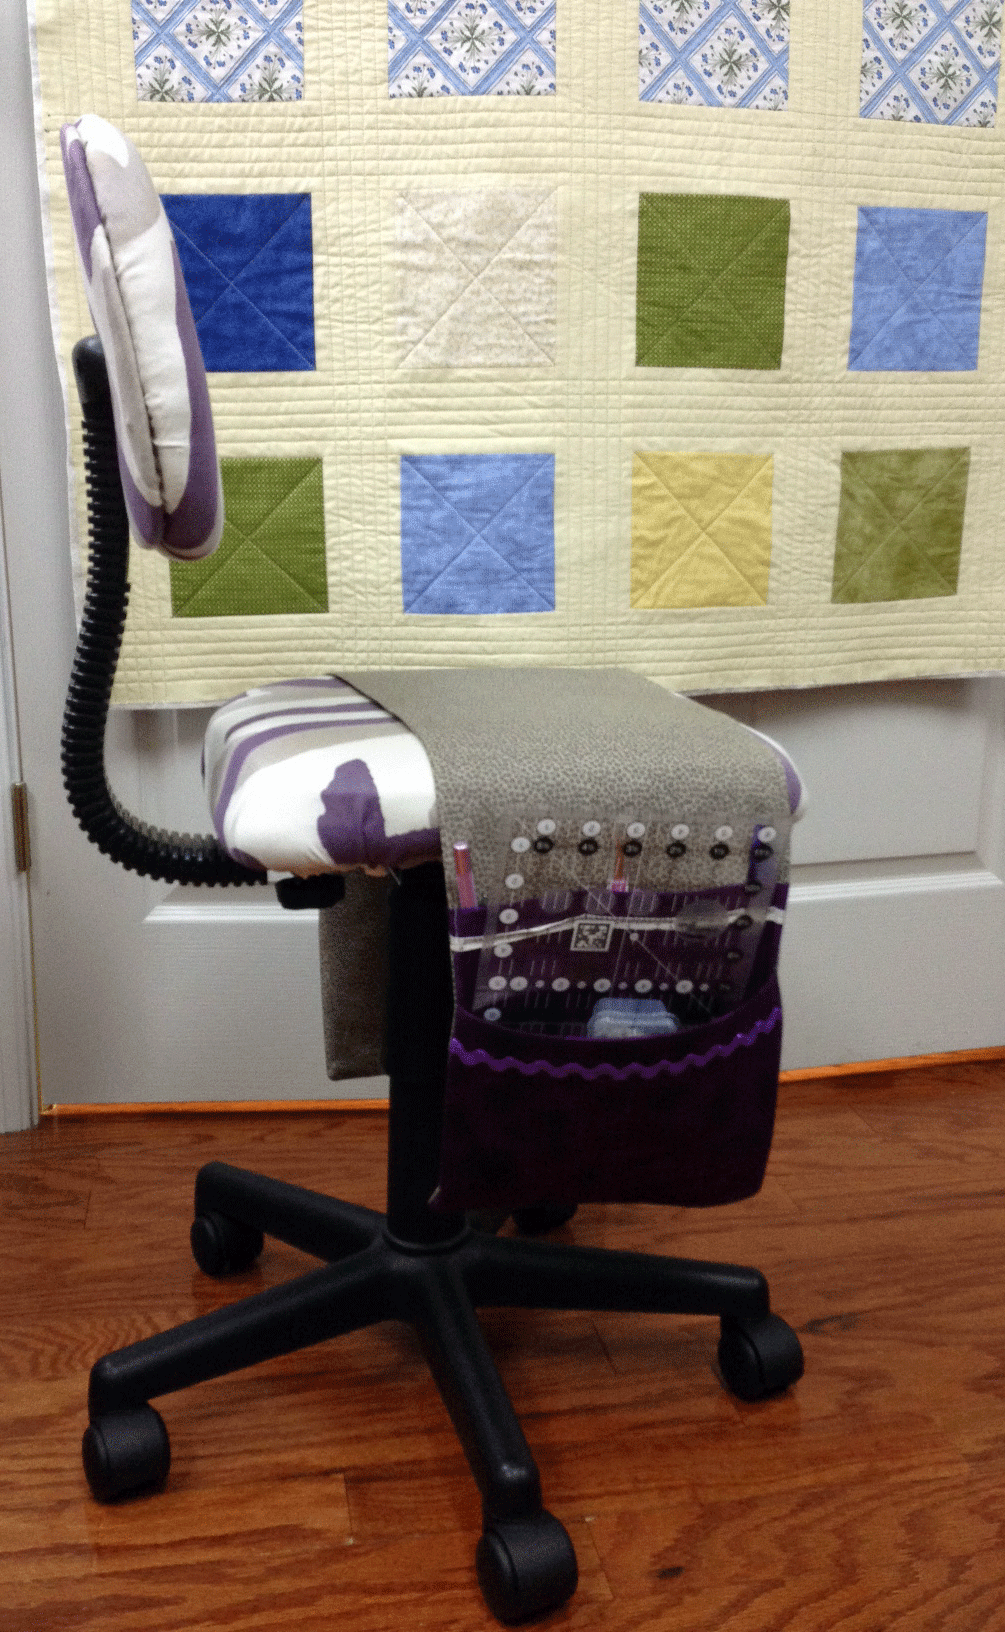
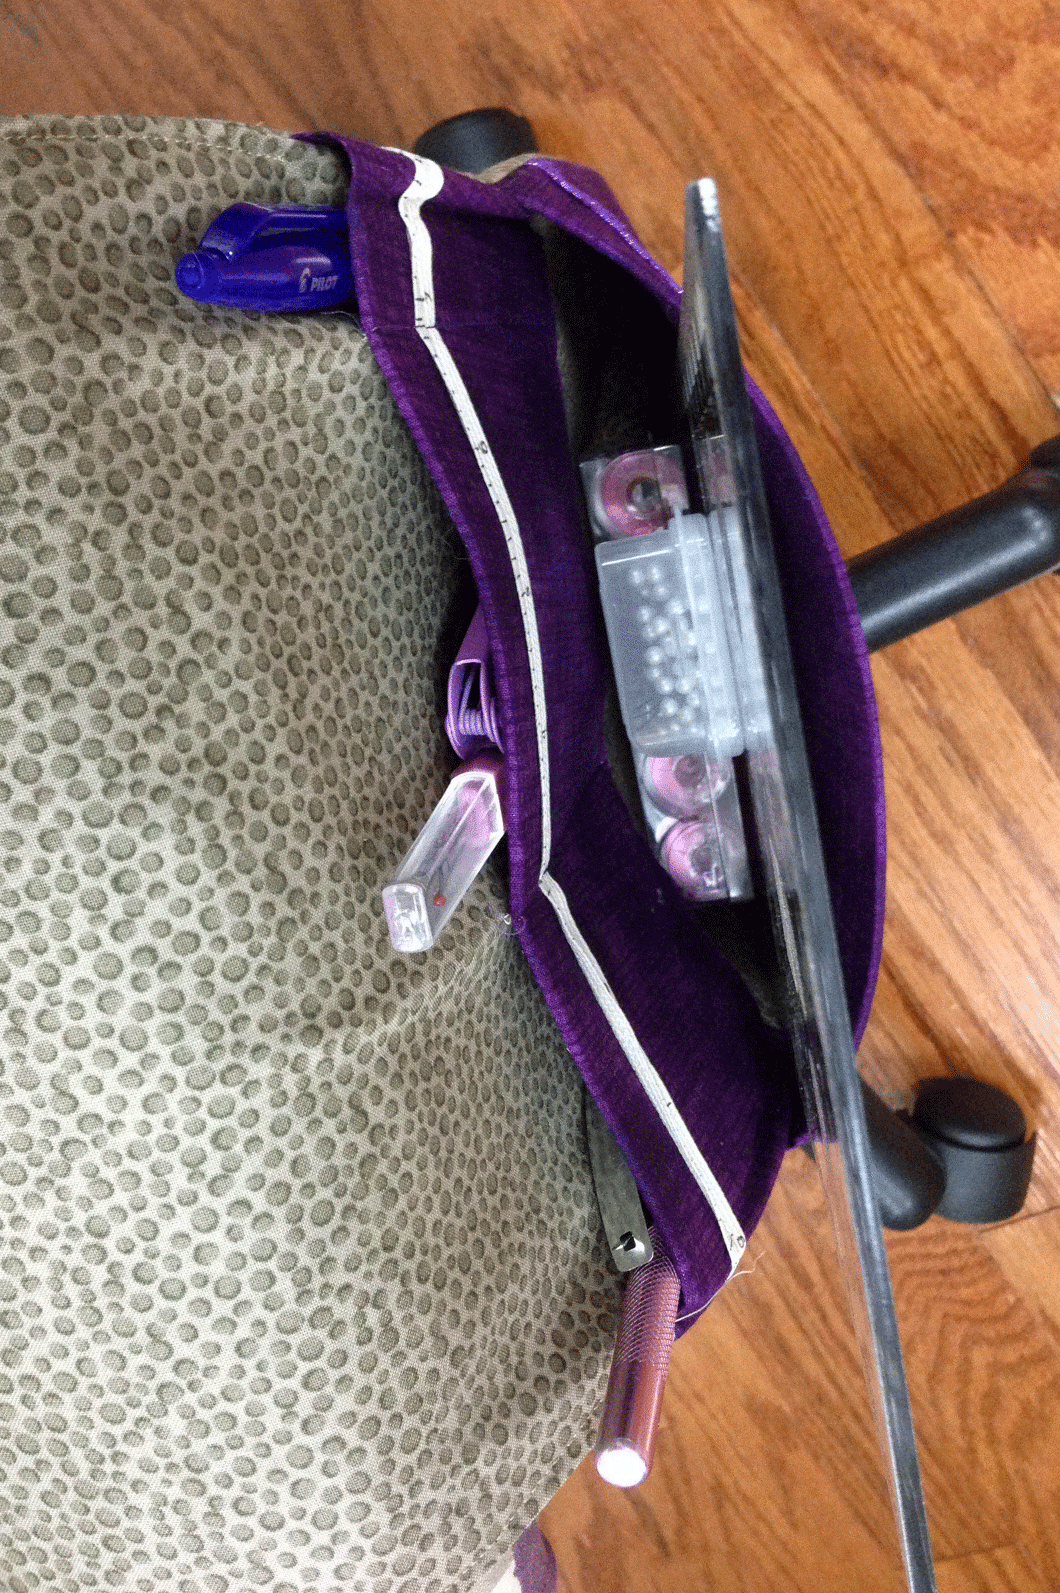
Those pockets are so sturdy that they hold four pairs of scissors, a seam ripper, a stiletto, my pen, bobbin case, pins, a 6 x 12″ ruler and the brush I use to dust my Elna. I LOVE it. Now if I could just get it to hold my glass of wine….
I hope this guide helps you make the organizer of your dreams! If you decide to tackle this project, please share. I would love to see what you come up with.