Or three…..or four! Ugh! Sometimes things just don’t go as planned. My friend Hazel saw my posting about the tote bag that I made for Katelyn (see my posting here) and she said she wanted one too. No problem! This will be the third time that I have made this bag so it should be a snap. Right? Turned out that it was anything but…..
First I cut out all of the pieces and then did all of the fusing of the interfacing. Next, I sewed the pockets together. Only I sewed one of the small pocket backwards!
Since I had already clipped the curves, there was no undoing this piece, so I just cut some more fabric and interfacing and tried again. Next I pressed the pockets flat and was ready to move to the next stage. Checking my work, I realized that some glue from the interfacing had transferred to the front of one of the small pockets.
Wow! Really? I can’t believe that I made another mistake with this. So frustrating….but again, I cut another pocket, lining and interfacing and forged ahead.
Once the pockets were all sewn, pressed and edge stitched I prepared to attach them to the bag body.
Again….yet another error!
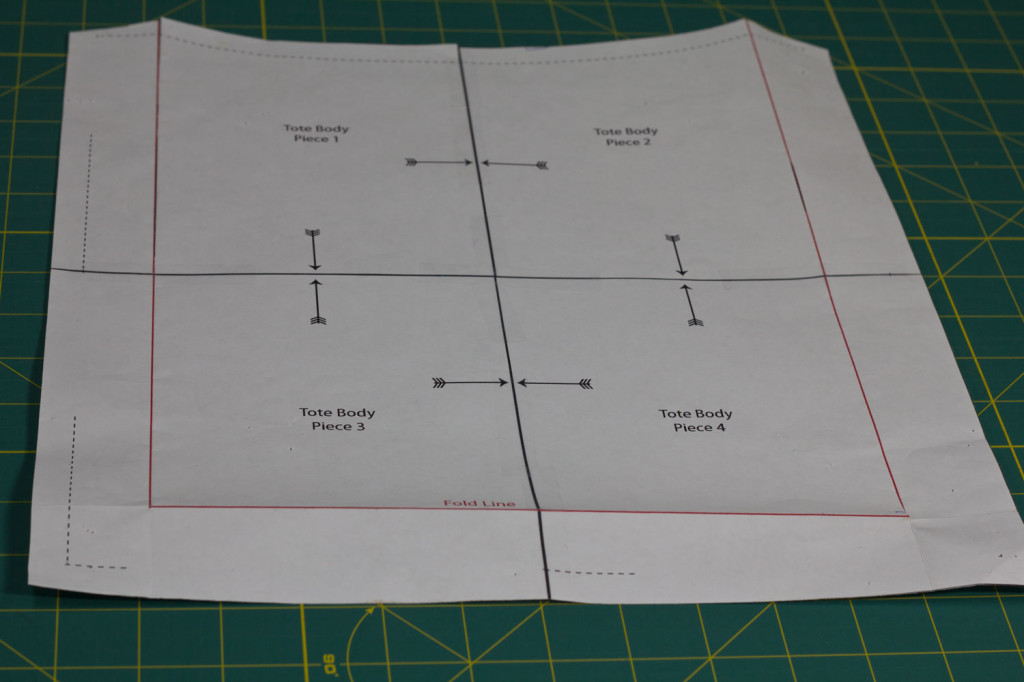
Here is the pattern for the bag body. Note the red line….that is a placement guide line for the pockets. The last time I used the pattern I folded it at the red line. Needless to say, I bet you see what is coming next. I cut the body pieces on the red line….so they were too small. *sigh*!
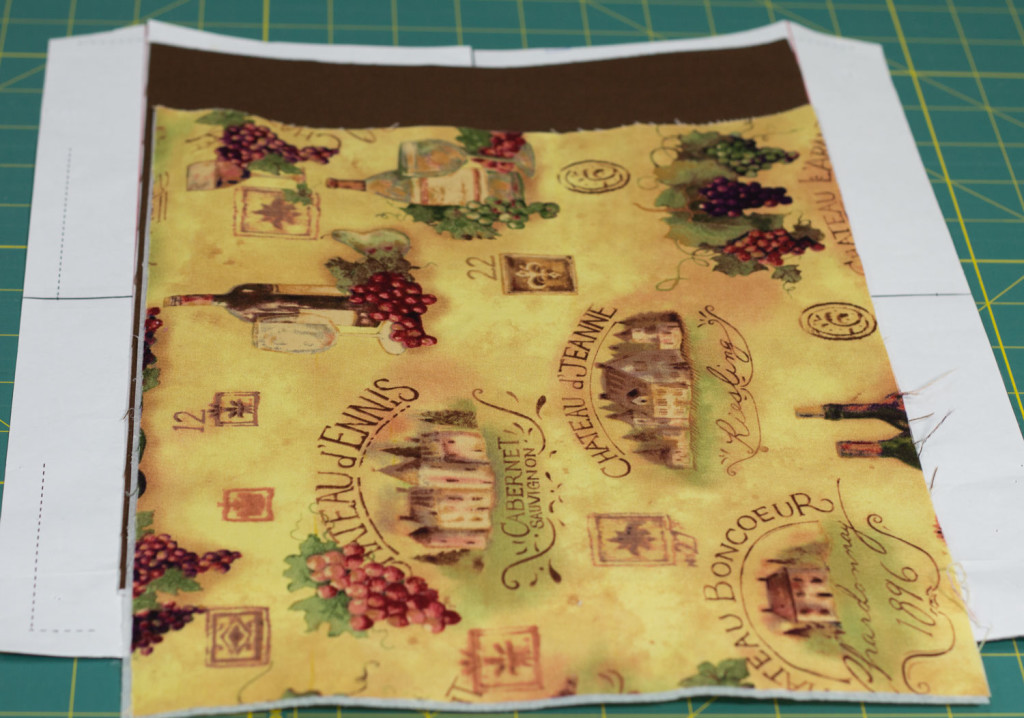
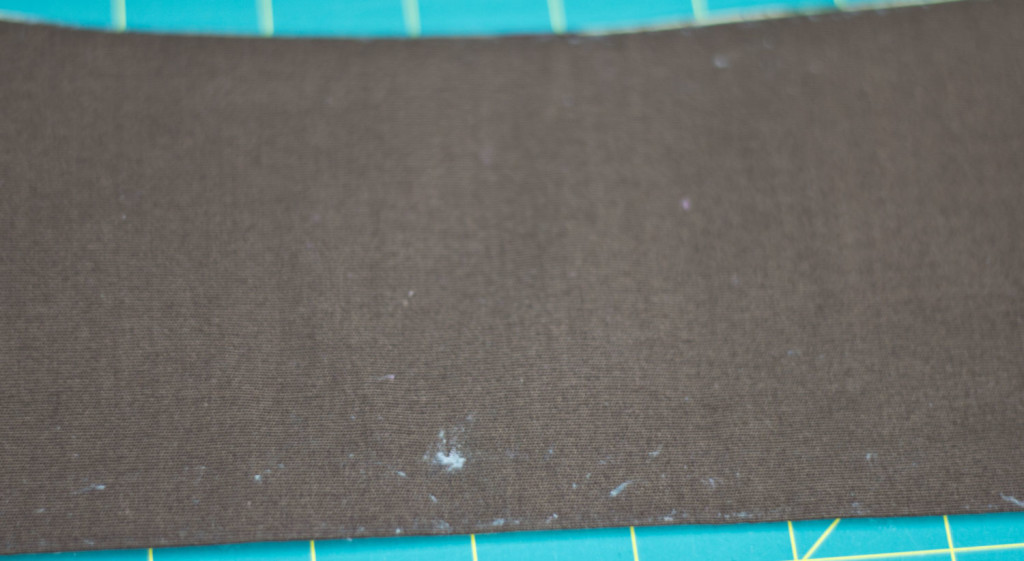
Yeah, you can see that wasn’t going to work. At this point, I have no more additional fabric or interfacing. The fabric store that this came from is 25 miles away so I made plans to make a trip across town the next day. Fortunately, they had plenty of replacement fabric. A bit of pressing and cutting and I am ready to assemble my bag.
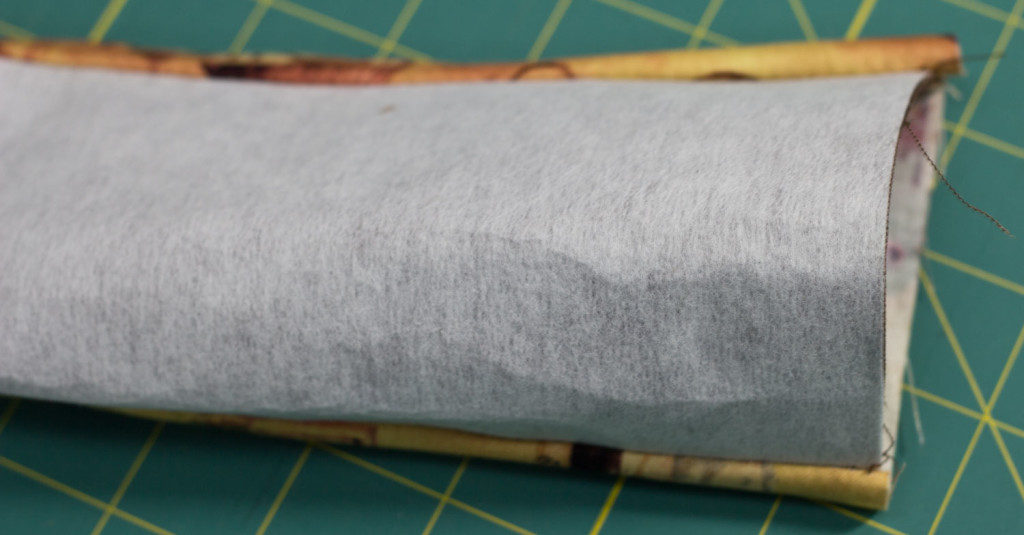
I would like to say that this is the last thing that went wrong, but that wouldn’t be true. As I sewed the pocket into the lining I kept thinking “Wow that seems really loud and crinkly”. Uh….yeah. I swear I was unconscious up until this point because I couldn’t get any of this right! It was crinkly because I bonded the lining and the pocket with fusible web, not fusible interfacing. Now I had a decision to make. The inside pocket was sewn in and there was no going back. I opted to remove the paper backing from the lining and move on.
This is certainly not my best work, but I did get it done. The inside pocket is crinkly sounding but it isn’t something that I am going to die over. I peeled the paper off of the back of the lining and unless Hazel decides to iron, cook or set her bag on fire, it shouldn’t matter too much!
![]()
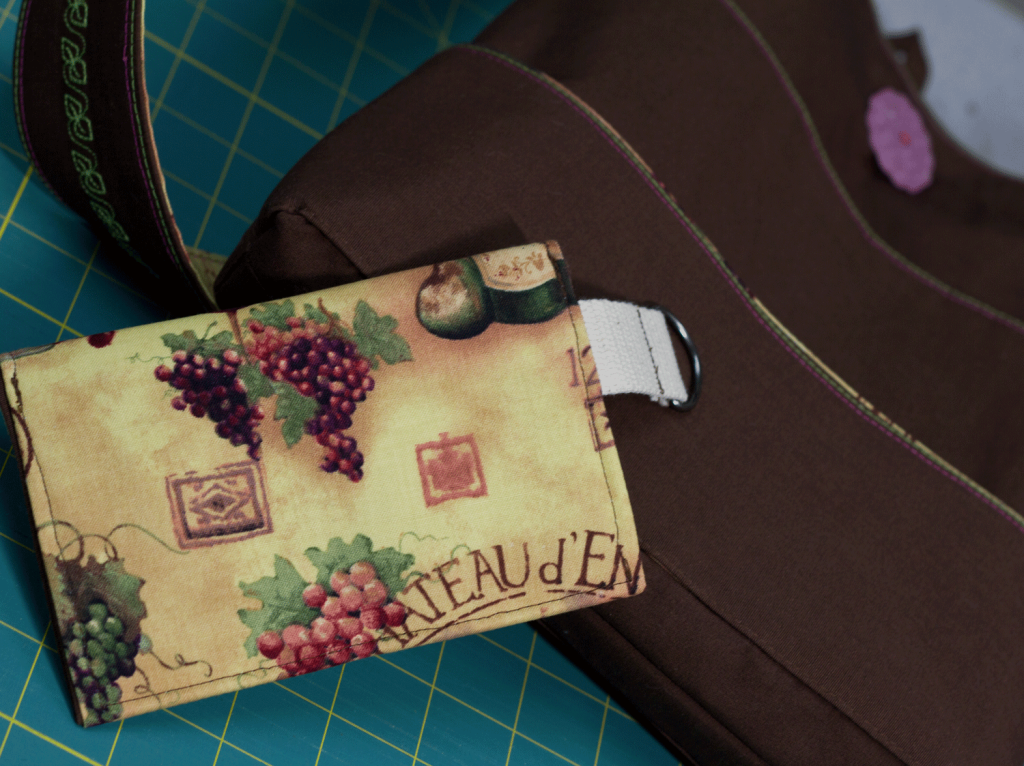
The nice brown exterior is set off by the wine themed lining.
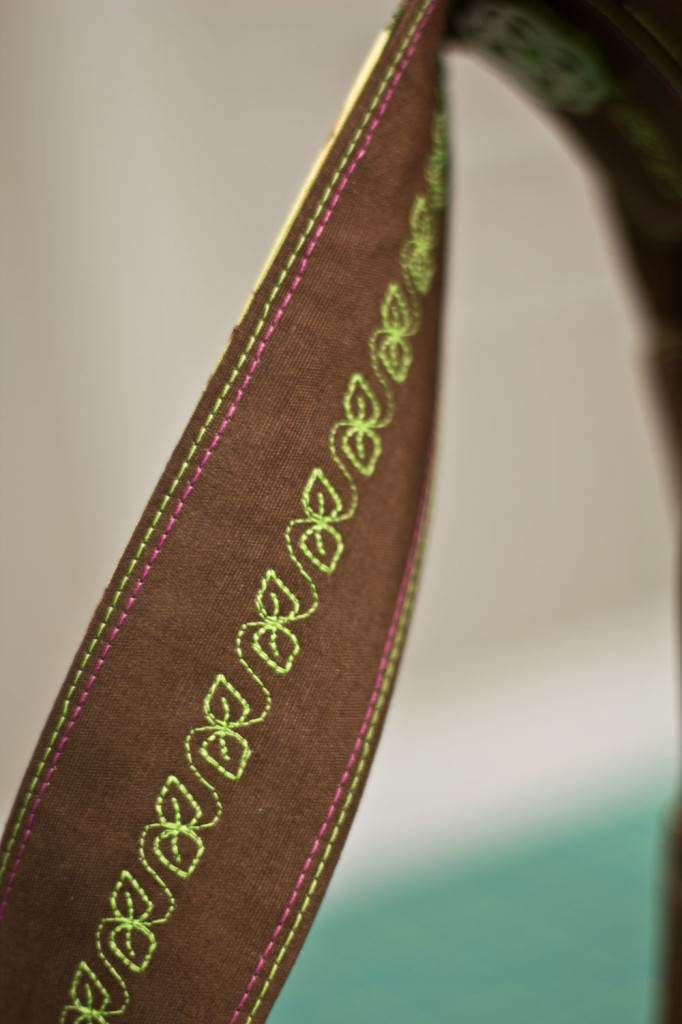
I did a leaf style stitch on the strap in green.
Just to prove that this project wasn’t going to be the death of me, I decided to make a small wallet to go with the bag. I used the Sew4Home pattern found here. I am fairly happy with the finished product but realized two things once it was done. First, I sewed the “ugly” side out of the webbing strap and D-ring. Second, I cut the fabric with design right side up not taking into consideration that once the wallet was folded the obvious pattern would now appear upside down.
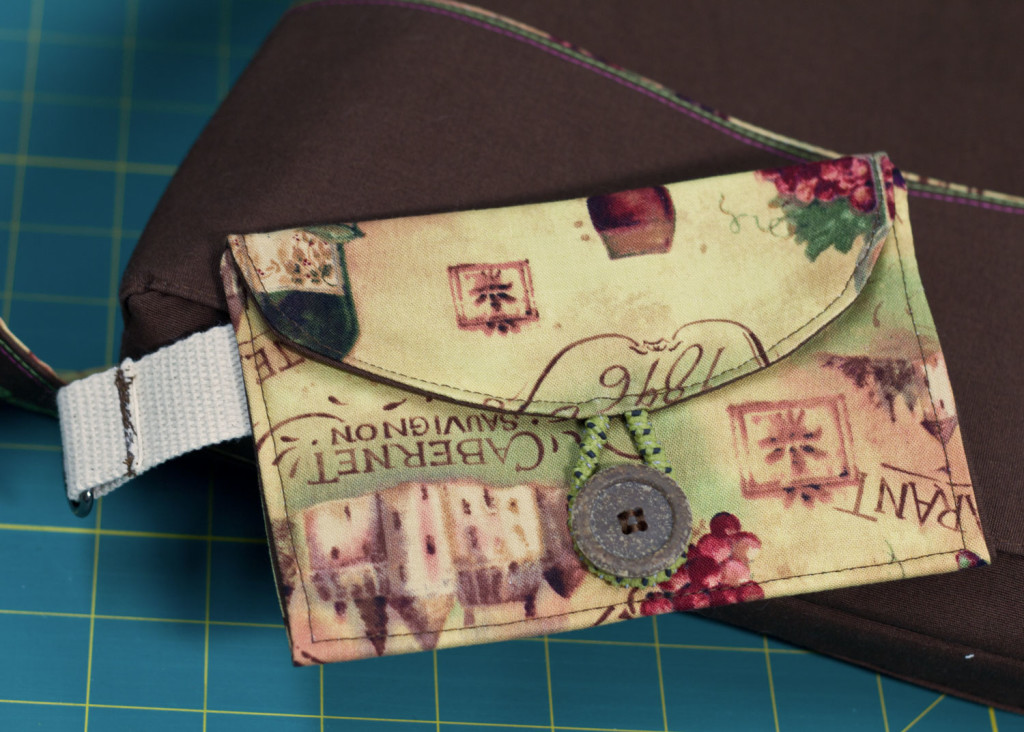
I like it and it is cute, but I would be much happier if I had made these minor adjustments. However, I will make this wallet again and I already have fabric picked out for them!