UFO’s—not those flying things in the sky but UnFinished Objects is what ails me right now! I haven’t been visited by anyone from outer space but I am quite surrounded by projects with no finish line in sight. Perhaps a couple of little green men could drop by and finish what I have started.


I don’t know about all that three-eyed business above but I am about to go cross-eyed with my pile of unfinished sewing. This is just not how my hyper anal brain works! But I am a spray baster and in order to get these projects done, I need some warmer and drier weather. Three weeks of endless cold, rain, ice and snow are not conducive to getting things done. Here is what I have in the creative queue right now:
Some months ago I purchased a layer cake of flannel fabrics and I am not sure why, but they did appeal at the time. I am not really a fan of flannel but this Henry Glass Flannel Essentials 8 line did hook me and I brought them home. Since flannel is already a bit on the bulky side, I knew that I would want to keep to a minimal amount of seams just so that I wouldn’t make my life totally miserable! I settled on stitching pinwheels and I cut and sewed up a block.
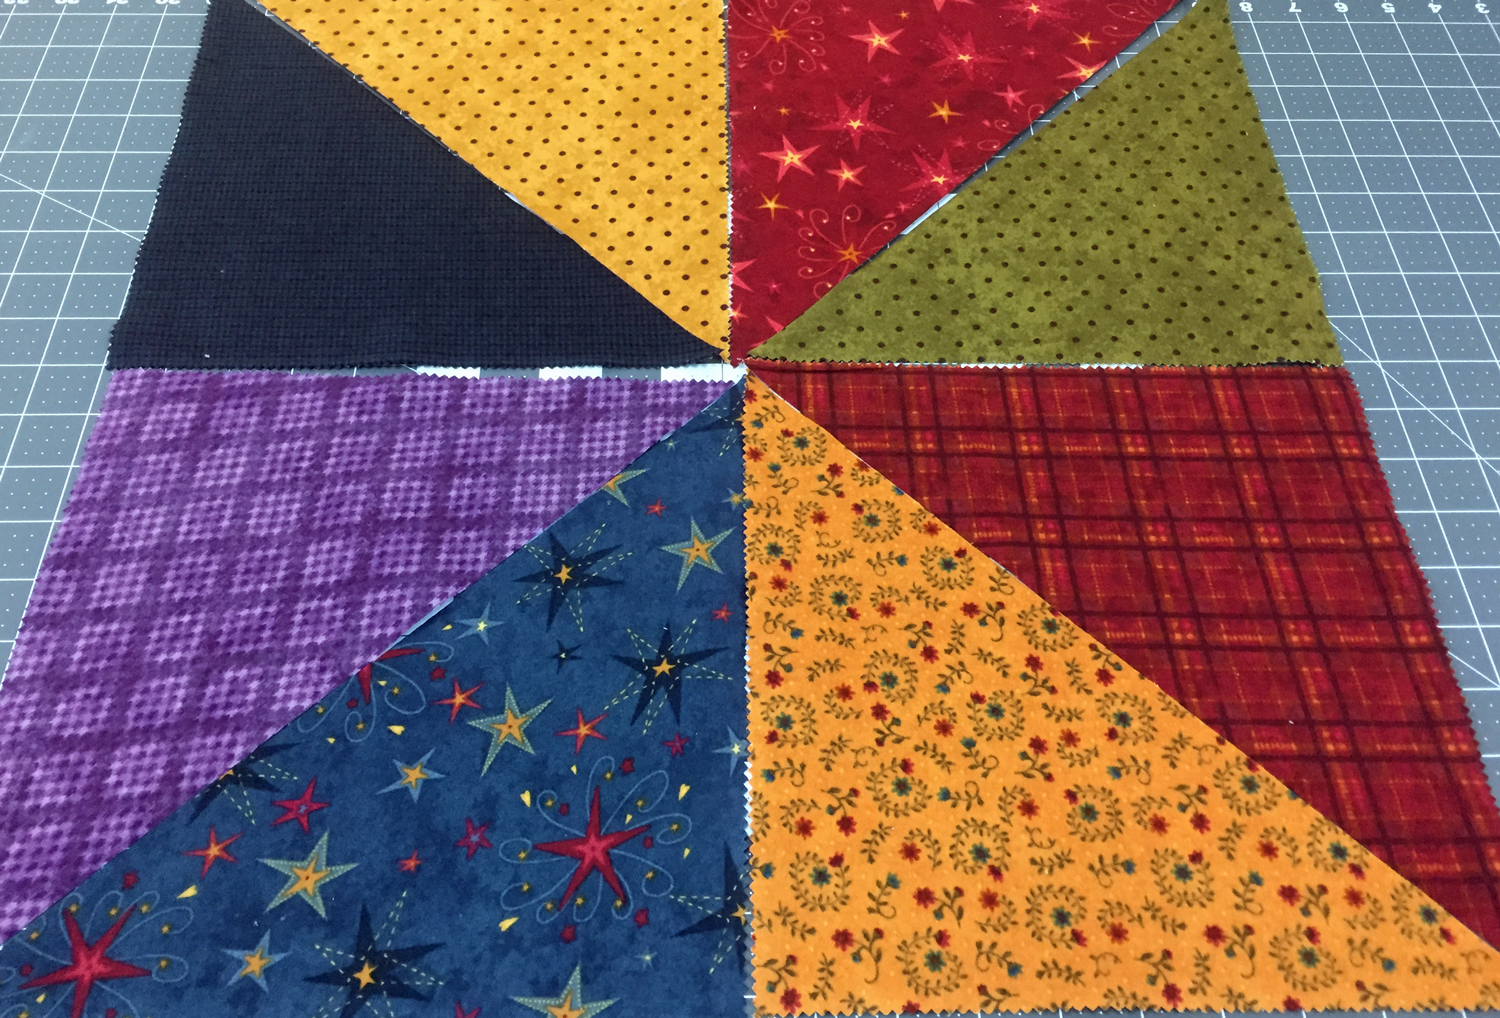
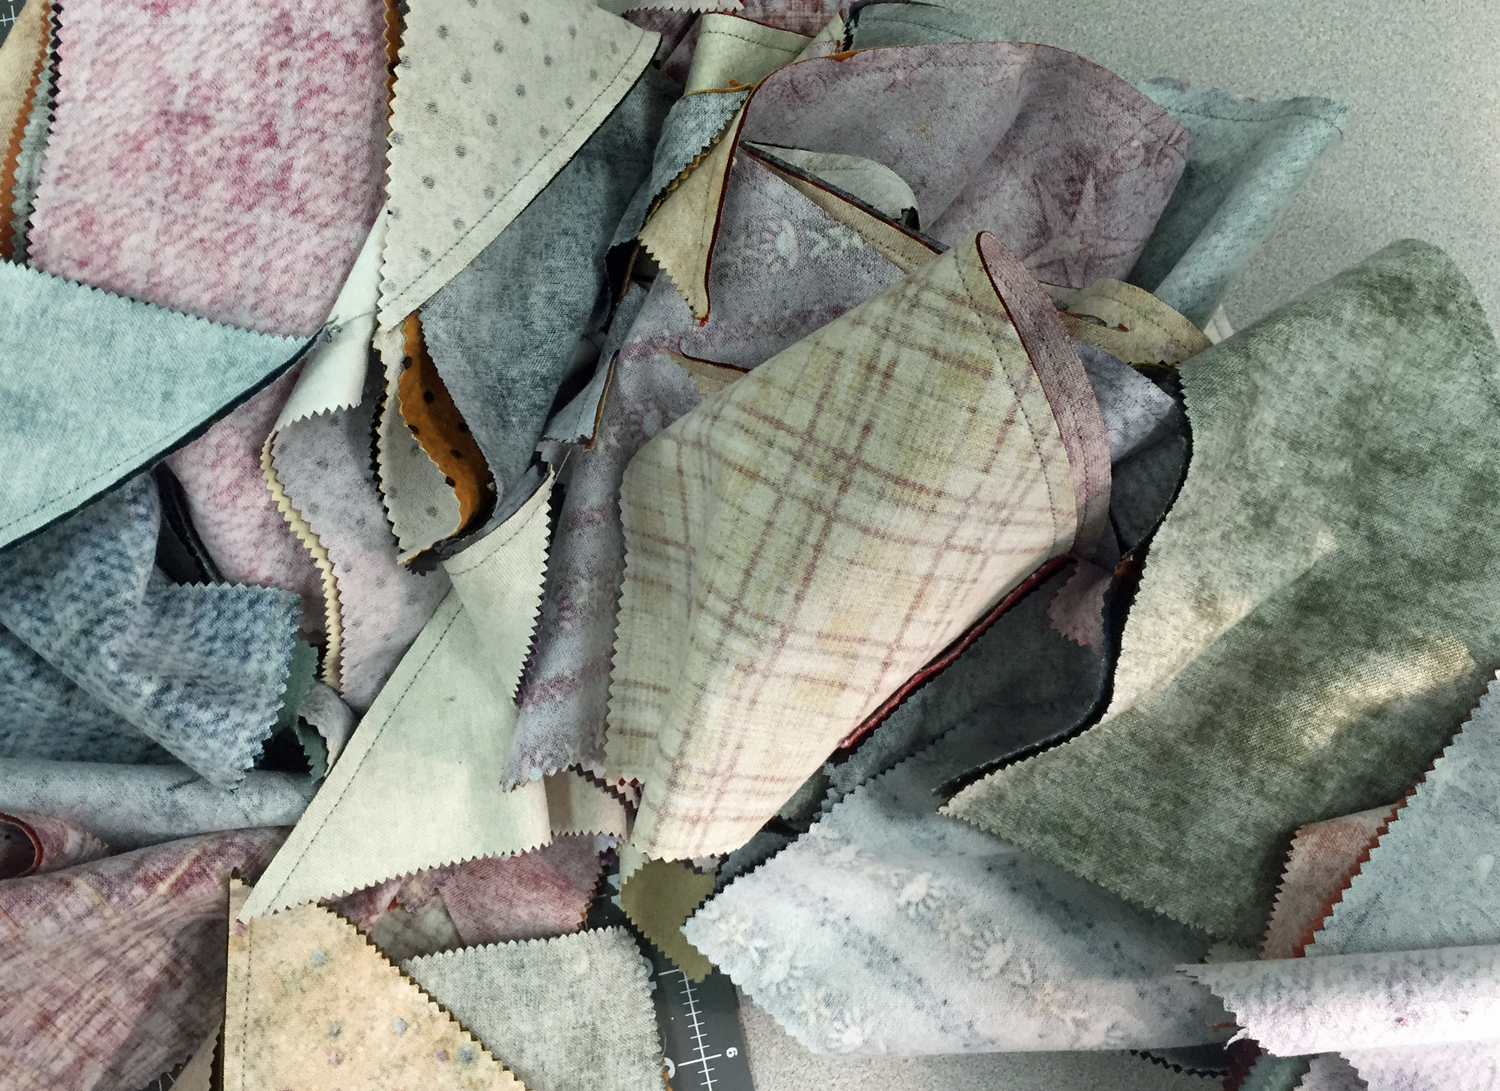
The mister loved it when he saw it and was excited about how this quilt would turn out. However, once he did the math on how many blocks this would work up and what the final size of the quilt would be, he urged me to order another layer cake. Ugh! I really hate working on larger projects….because they are large AND heavy. I was going to order another Henry Glass 10″ square pack when I found a Moda Primitive Muslin Flannels Primitive Gatherings layer cake. I thought that the solids would give the eye a bit of a rest in each block and it would offer more options for the contrast required for an effective pinwheel.
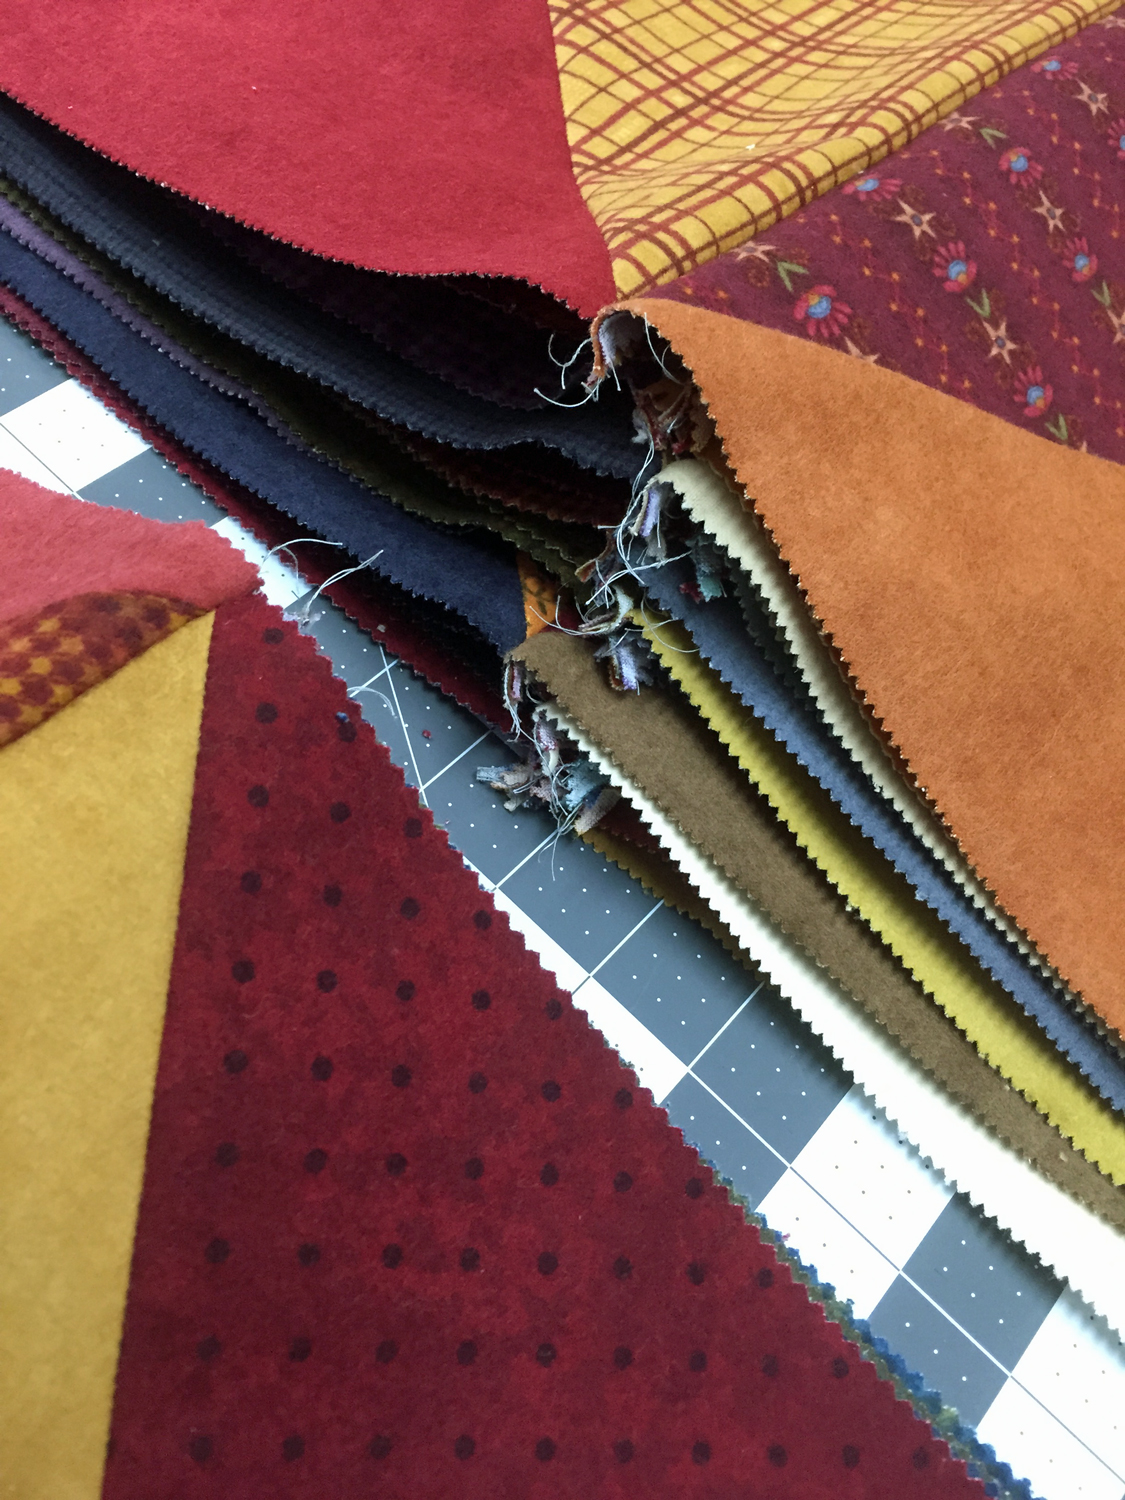
I love the possible combinations and contrasts of these two flannel fabric lines! I cut and cut and cut all of those layer cakes diagonally. Then I took the time to lay out each square to ensure that it would have the desired effect. While it may look random, in order to be effective it is anything but random. Next, I chain pieced all of those lovely triangles into half-square triangles….one right after the other.
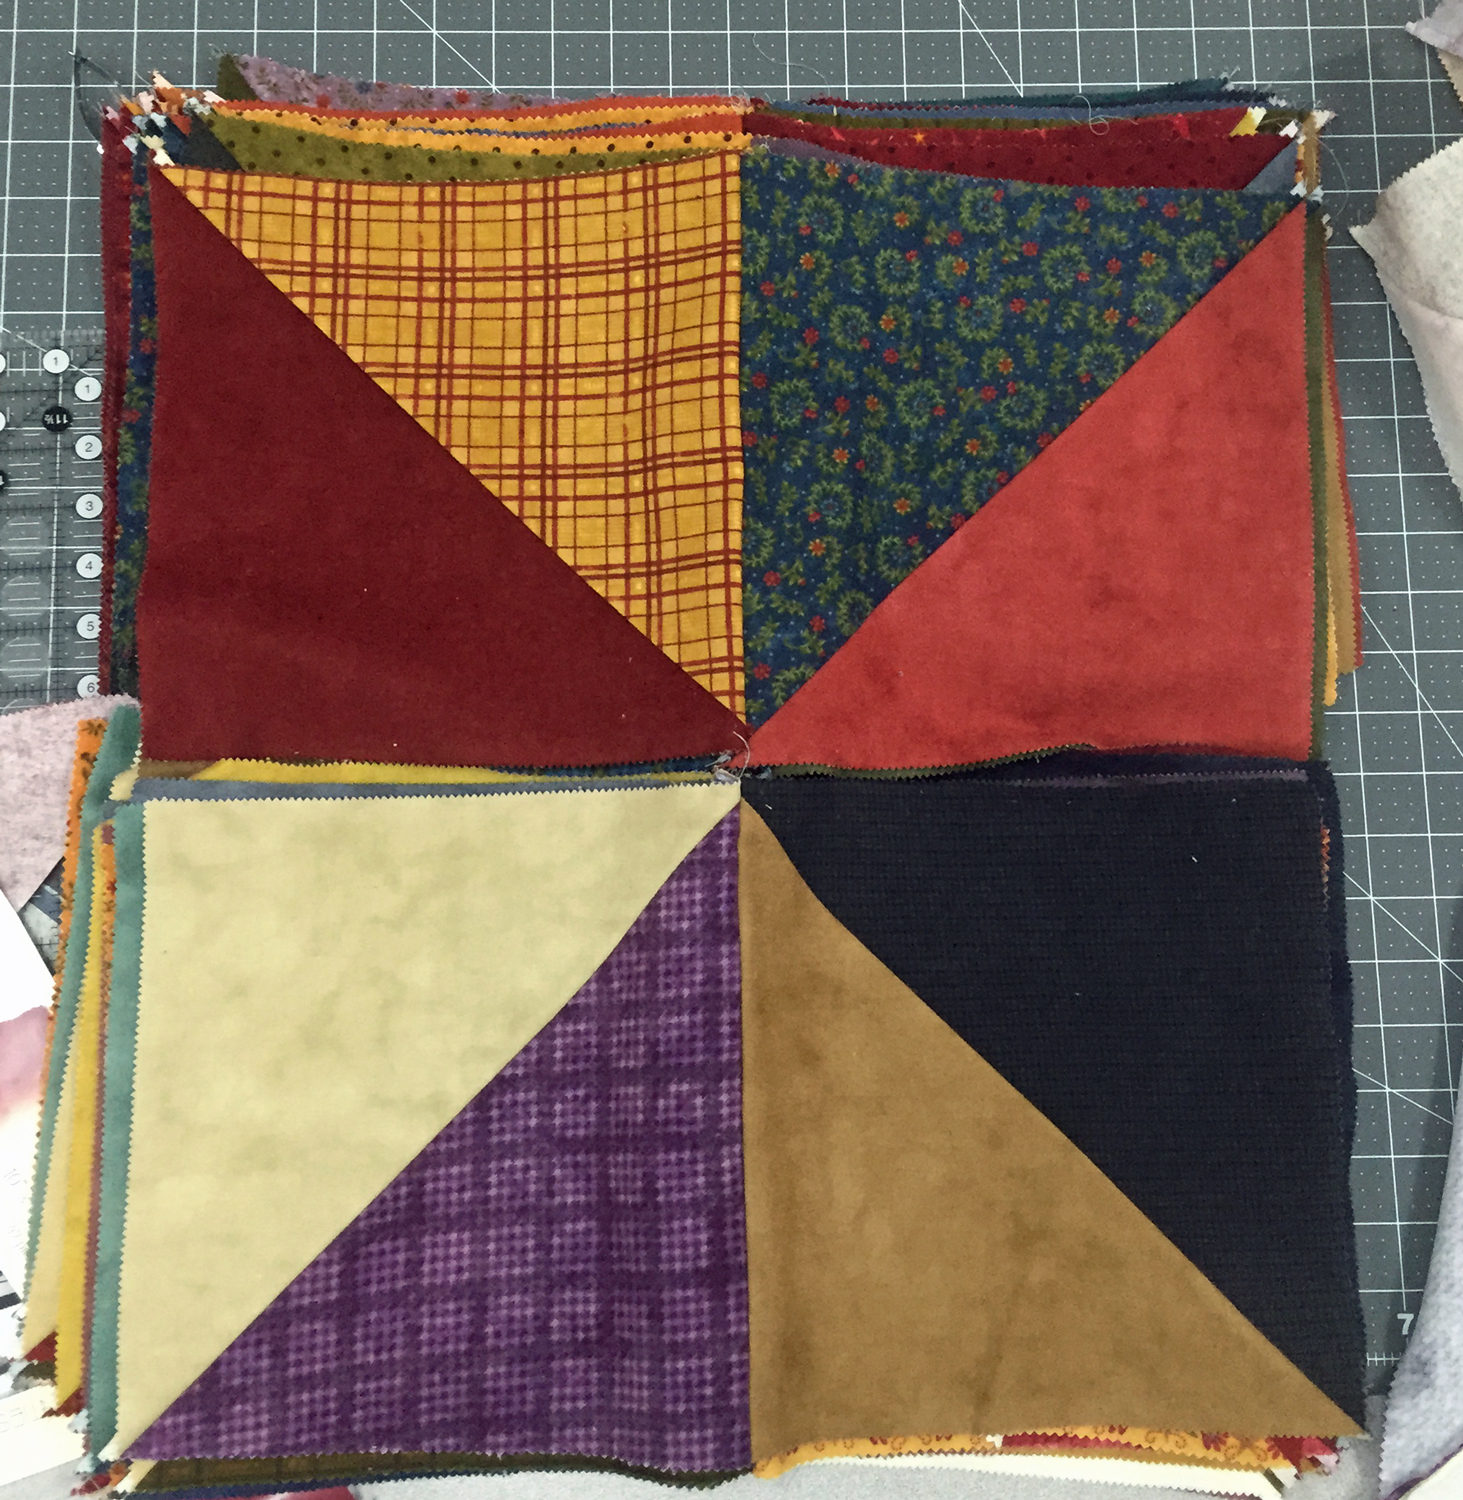
That is a lot of half-square triangles just waiting to be ironed open. Again I laid them out according to lights and darks and began sewing each half-square to another to make the top and bottom portion of each pinwheel block.
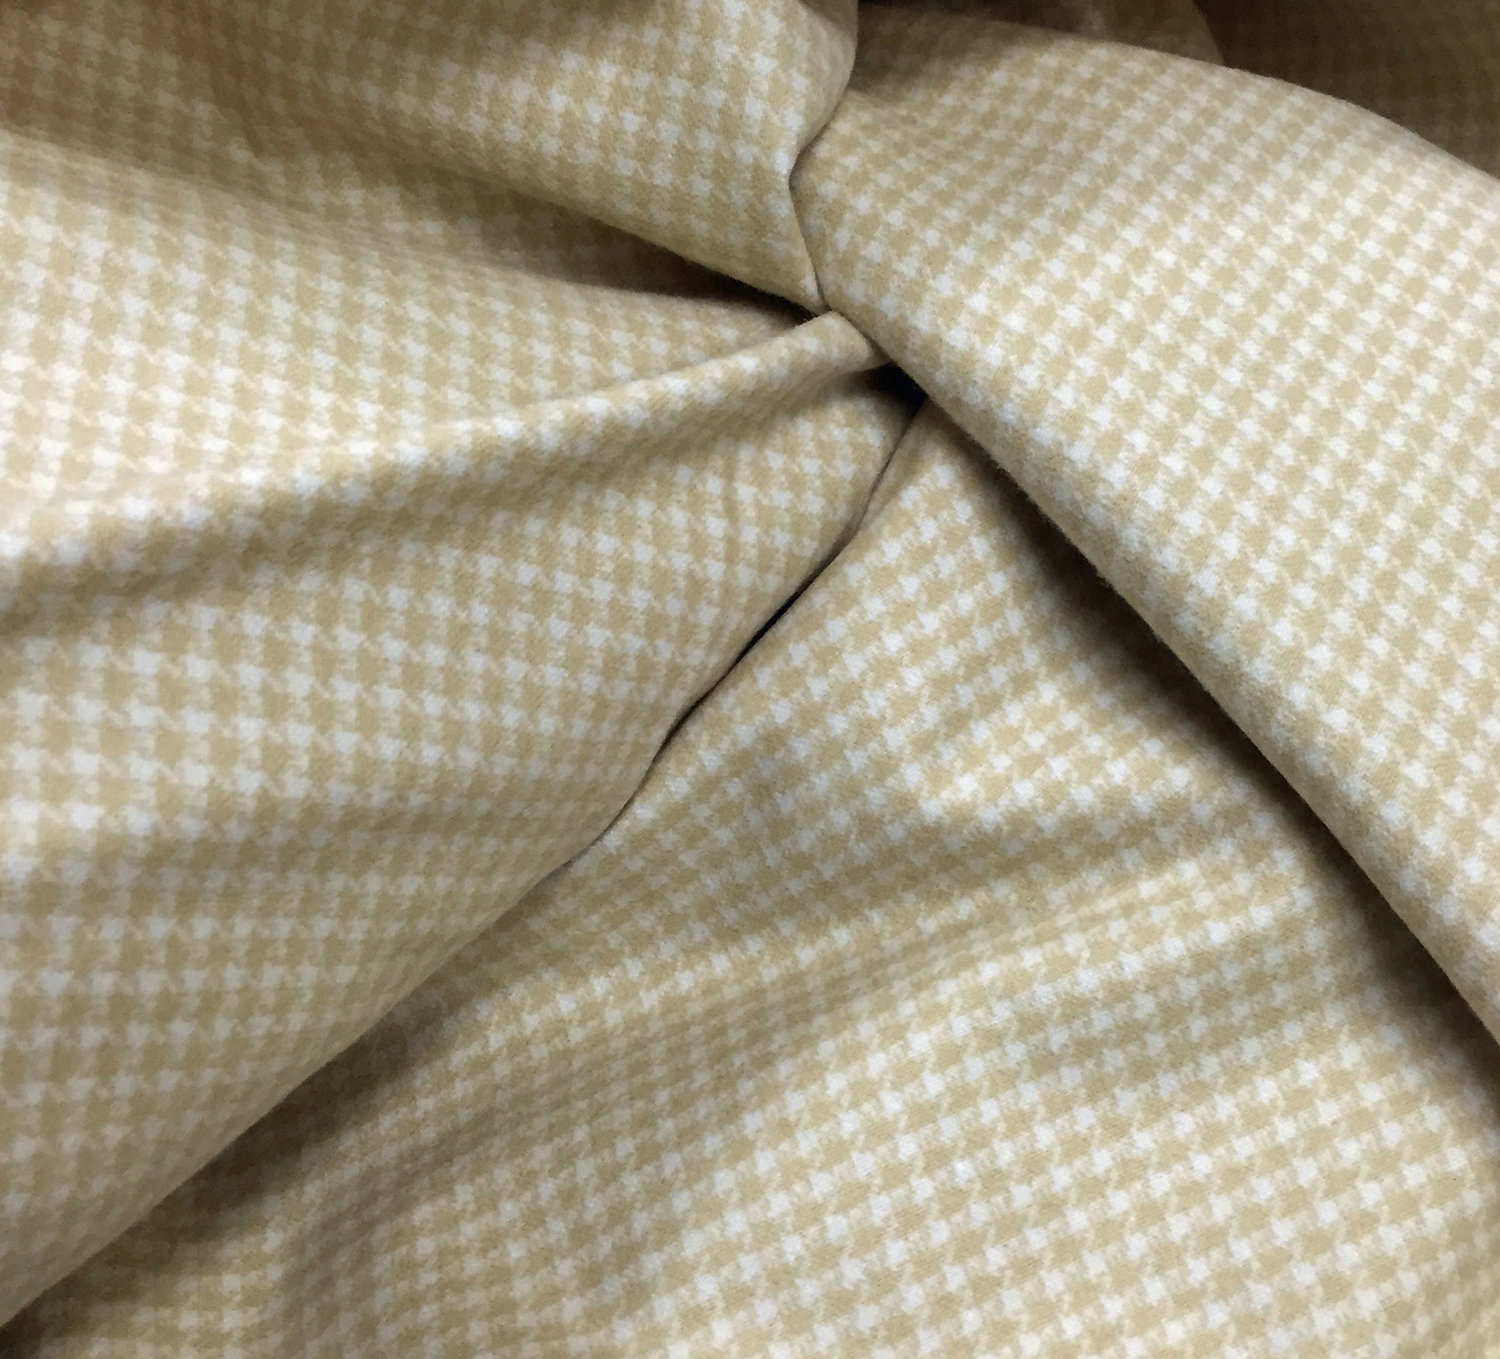
These stacks still need to be stitched to their neighbor in order to complete the blocks….only 21 seams and that will be done! I did determine that these are fairly busy blocks and so I think that I will be sashing them with some as-yet-to-be-determined flannel. I did manage to nab a nice piece of a neutral herringbone flannel for the back and it is waiting on me to get busy!
Now that it is warming up, I don’t feel so compelled to get this one to the finish line but it still needs to be done. One downside to sewing with flannel….it makes a mess of your machine, frequent and through cleaning is needed.
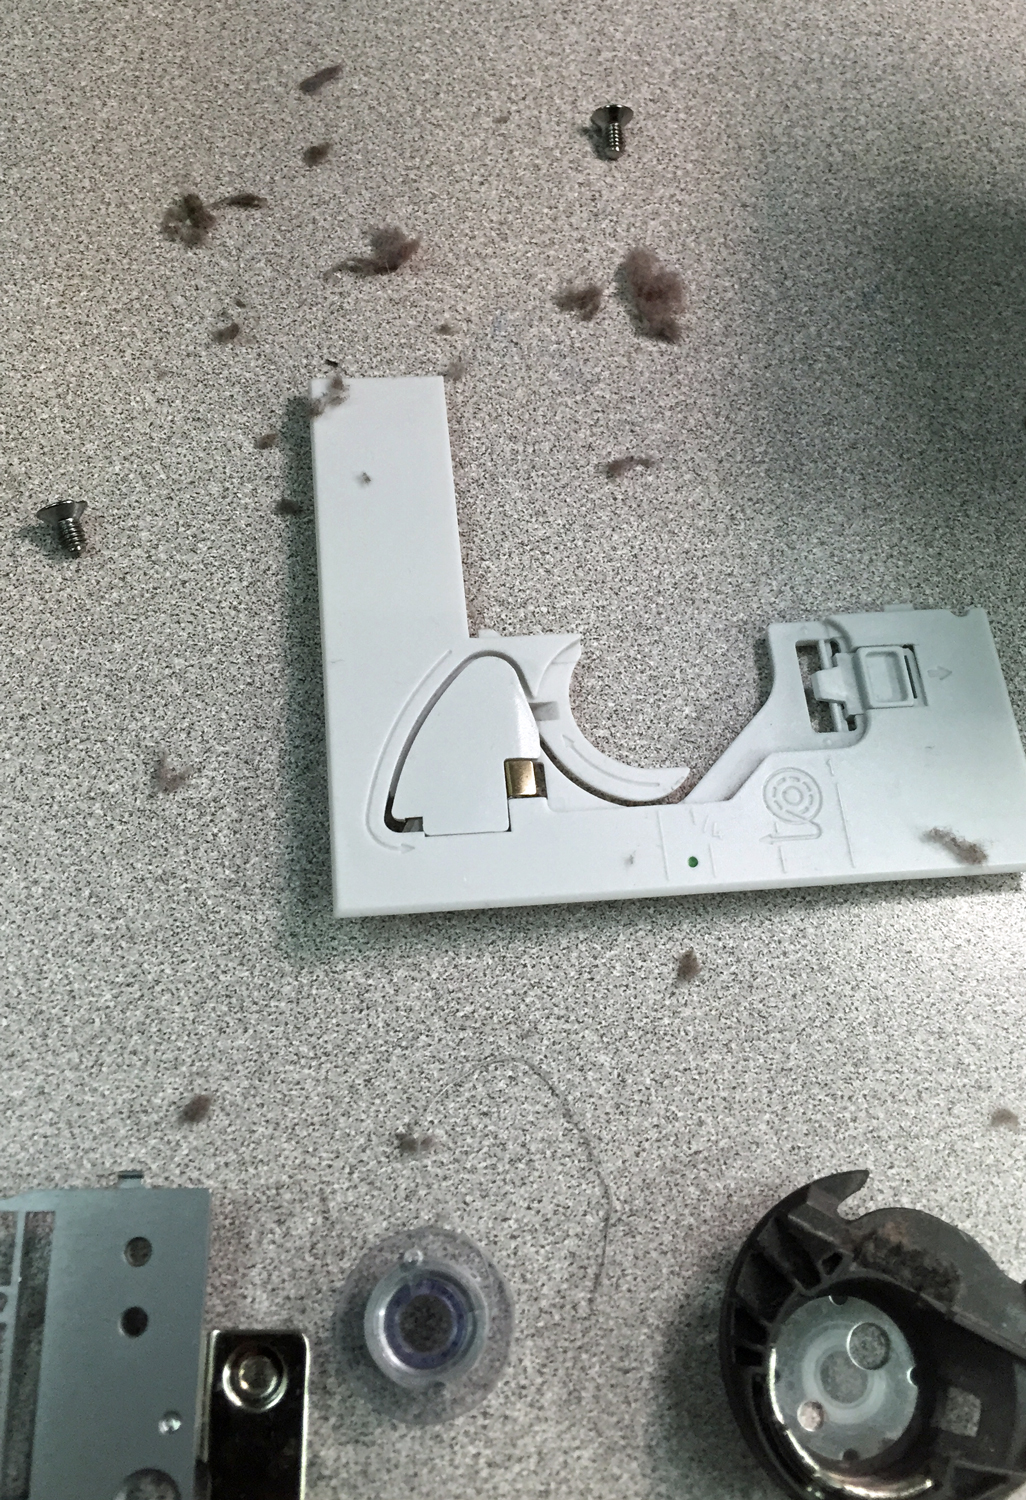
Yuck! Keep it clean and your machine will love you for years!
I needed a quick sewing fix last weekend and I grabbed a charm pack off the shelf that I have been keeping for some time. Phoenix by RJR is an Asian-inspired charm with infusions of gold. The green, purples and blacks blend well and imagined it would make a nice spring table runner while avoiding the expected pastels that frequent the tabletop this time of year.
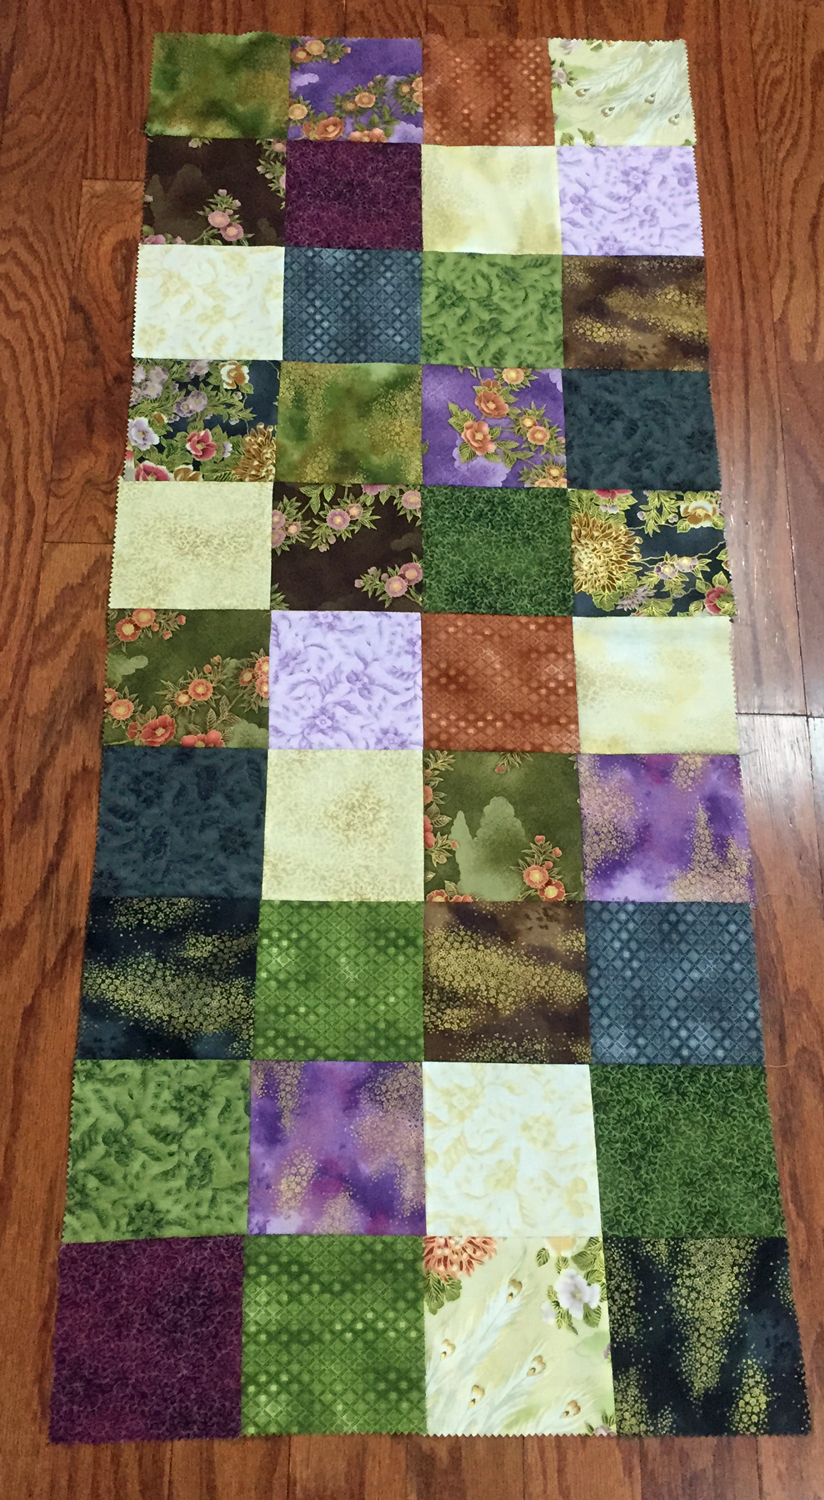
This will be quite lovely when completed, if I do say so myself. However, I am not too sure that I will get it finished for THIS springtime!
Now for one of my most favorite projects that I have done in a long time. This is a super easy jelly-roll quilt–you need one in white and one in the color of your choice. I used Robert Kaufman’s Fusion Texture Collection which is a nice rainbow assortment. It would be great done up in any gradient or trio of bold colors such as black and white and red.
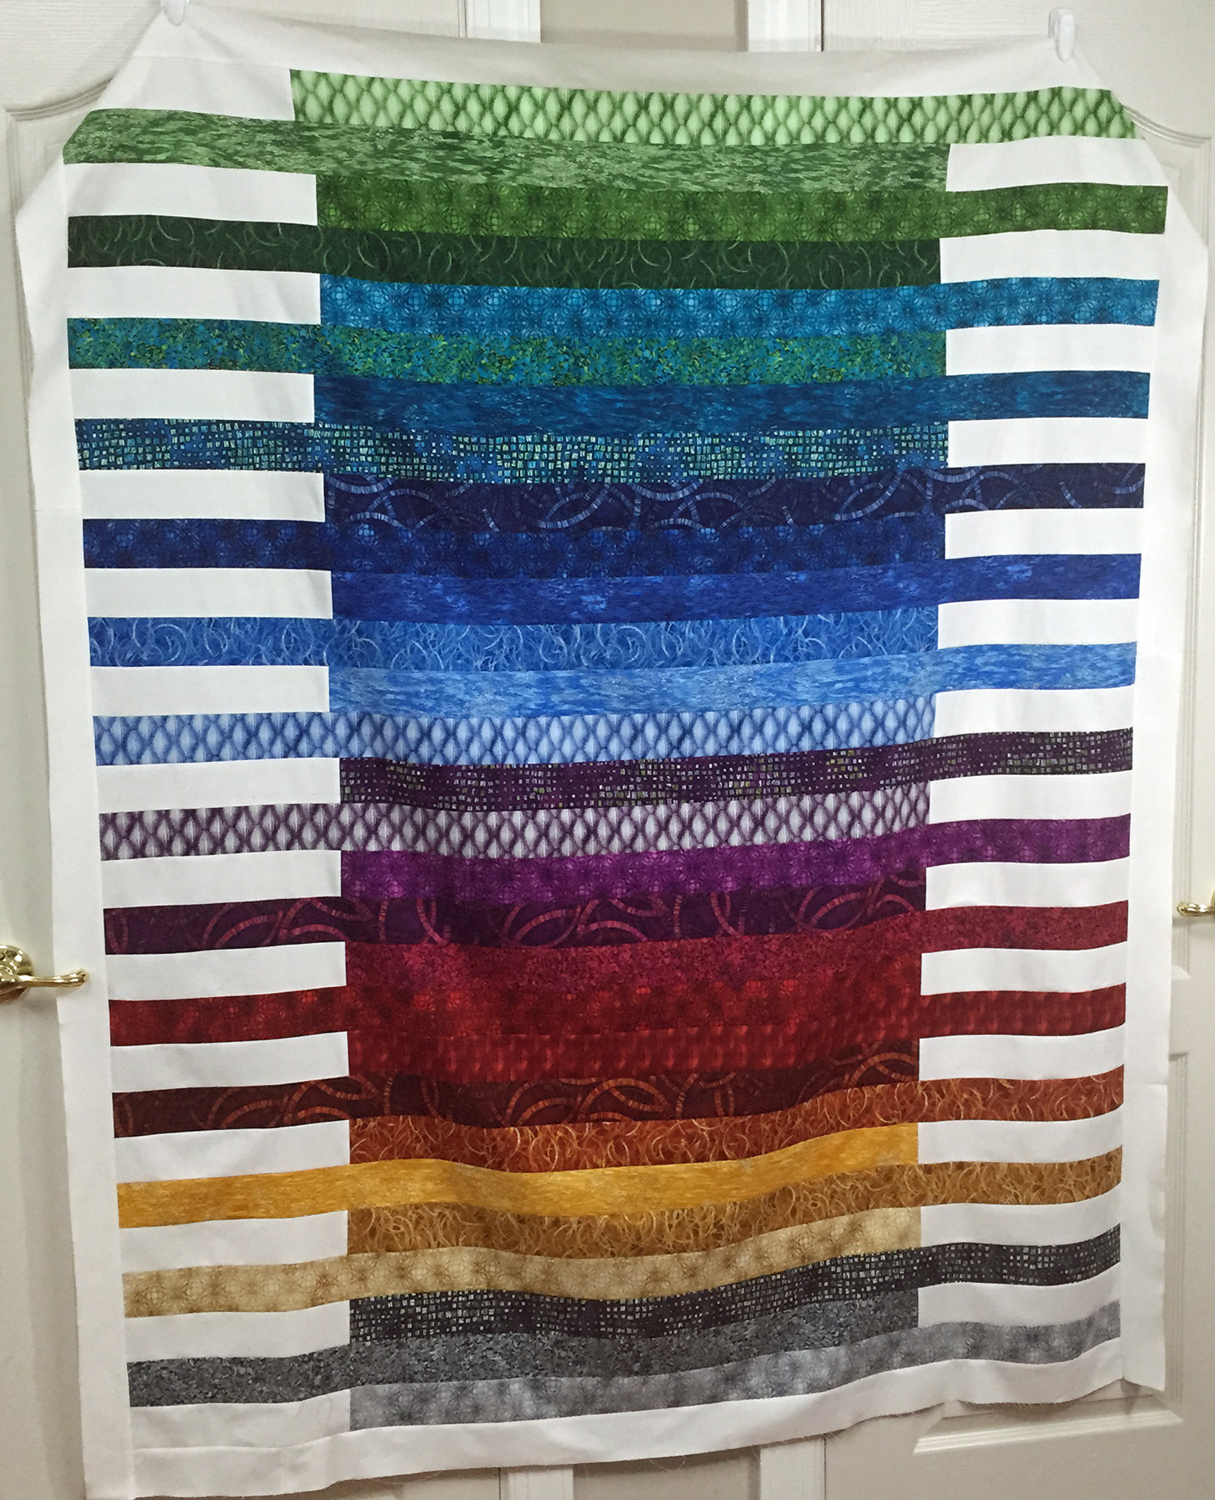
While I haven’t provided a step-by-step tutorial, here is how I made this quilt top. I decided that I wanted a rainbow-like effect and opted not to use several of strips in the jelly roll since they were of the brown color family. Therefore, I only have 29 colored strips in this sample. At ONE short end of each strip attach a 12″ long white strip cut from yardage or your white jelly roll. Do this to all of the colored strips. Now lay them out alternating the strips beginning with white, then a color, then white, etc. Unless you plan accordingly, directional fabrics aren’t a good choice for this design. Next sew your strips together, alternating the direction of your stitching so that the seams don’t bow. Nobody likes a U-shaped quilt! Although there are really no seams to match, you want to give the appearance of a stacked coin block, so do take the time to visually align the strips to accomplish this. I finished of the edges of my quilt top with a border of white jelly roll strips around all four sides. I don’t have a back chosen for this yet but I am sure something will present itself soon enough!
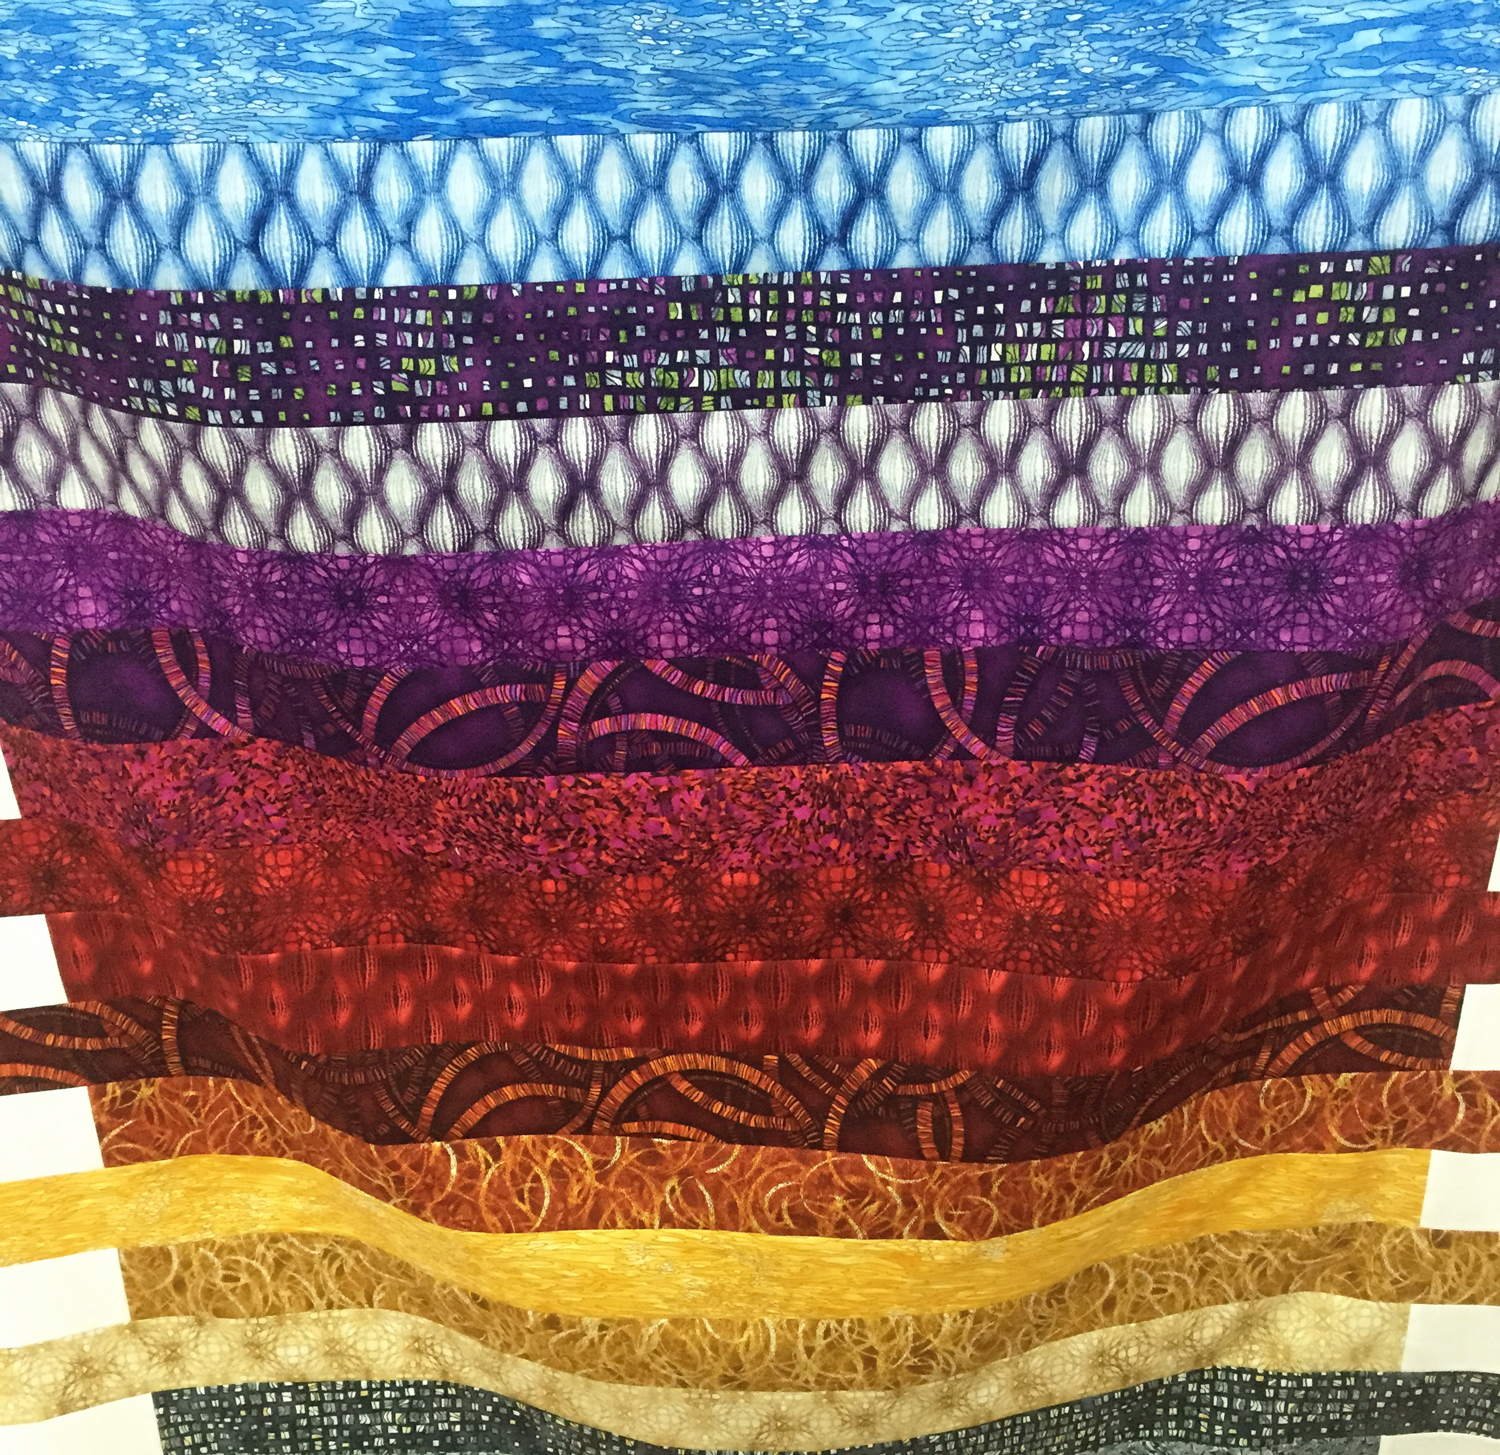
This is not my design as I originally found it on Pinterest and then located it on this blog: Quilt Story. While there is no tutorial there either, I appreciate the inspiration and beautiful work of the finished example. I hope that when I get this one done it will be half as lovely! 