I wandered into the fabric store the other day….my first mistake! The Christmas red and green had all been whisked away and replaced with pink hearts and pastel flowers. Despite the bitter cold outside, I felt a warmth in the cockles of my heart. I needed to make something sweet and cute for Valentine’s Day.
I felt inspired to make an apron and began scouring the web for a pattern. No surprise that I would start and end my search at Sew4Home. I used this pattern as a guide, but I made some simple changes to make this project “my own”.
You will need one yard of fabric for the main body of the apron and a half of a yard for the ties and embellishments. I also used 1 yard of trim for the top of the pocket and the top of the apron.
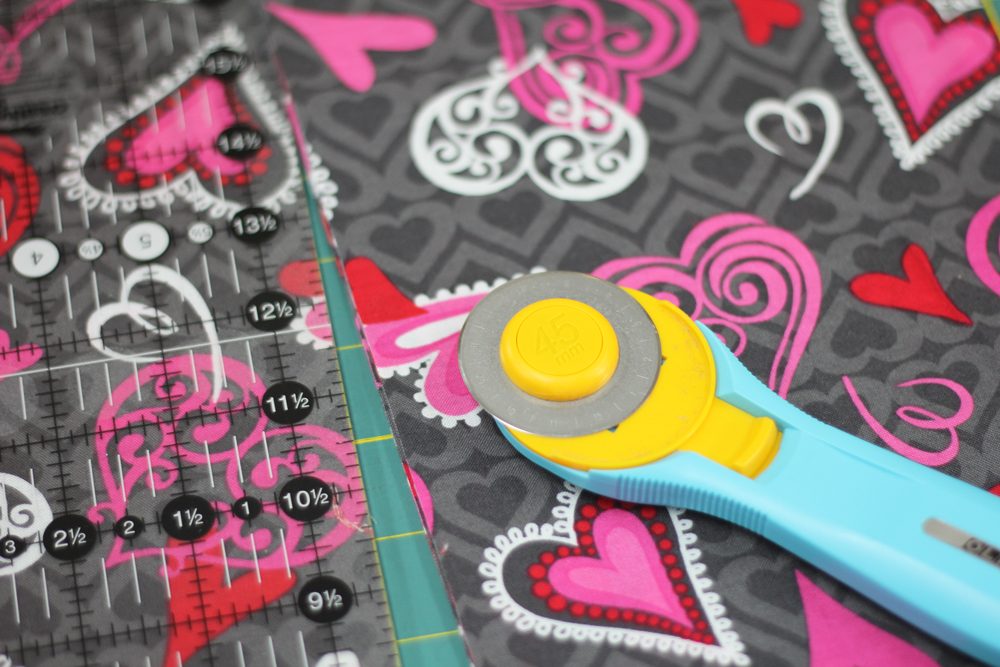
Fold the main fabric in half lengthwise and cut a rectangle 30″ long by 16″ wide. Do not cut the fold.
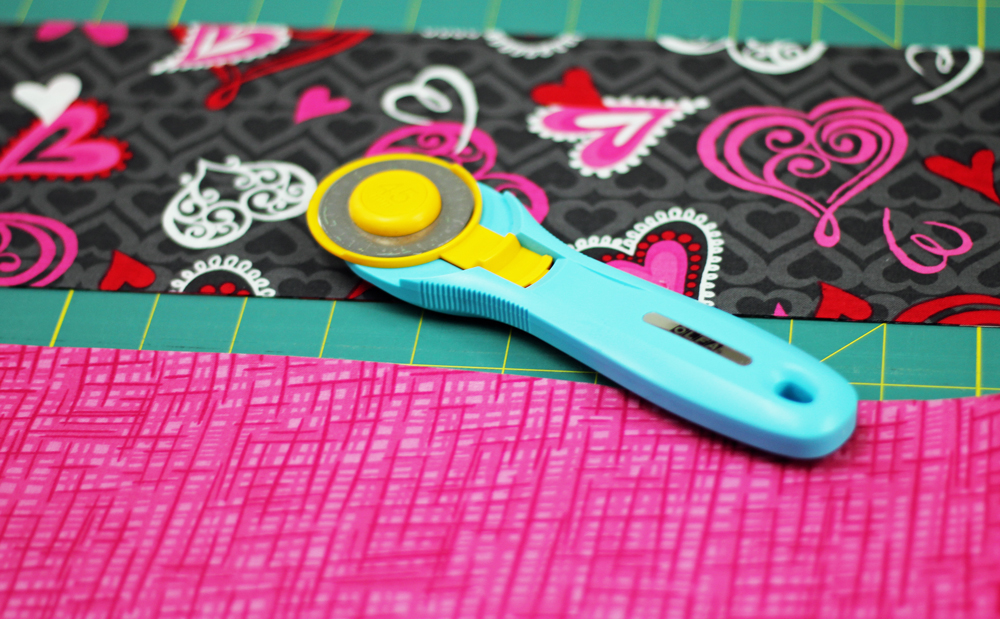
From the remaining folded body fabric cut a strip 5″ high and 16″ long. Fold contrasting fabric in half lengthwise. From this cut 1 strip 4″ wide by 14″ long, 2 strips 4″ wide by 18″ long and one strip 4″ wide by 16″ long. Set aside.
Now download the armhole pattern from the Sew4Home website at the link given above. Be sure to follow the directions for printing and piecing the pattern.
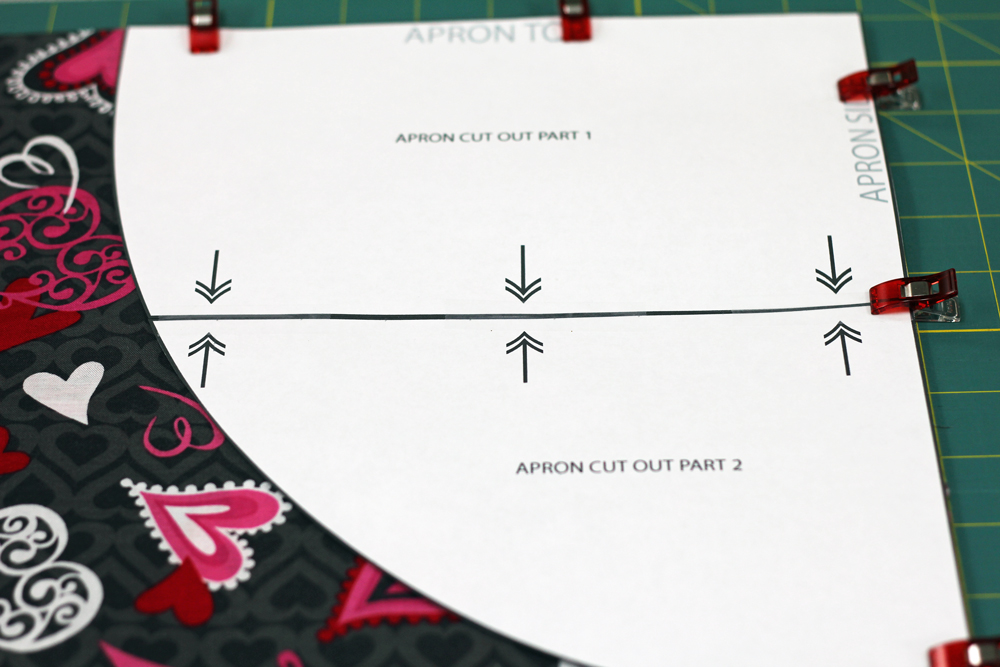
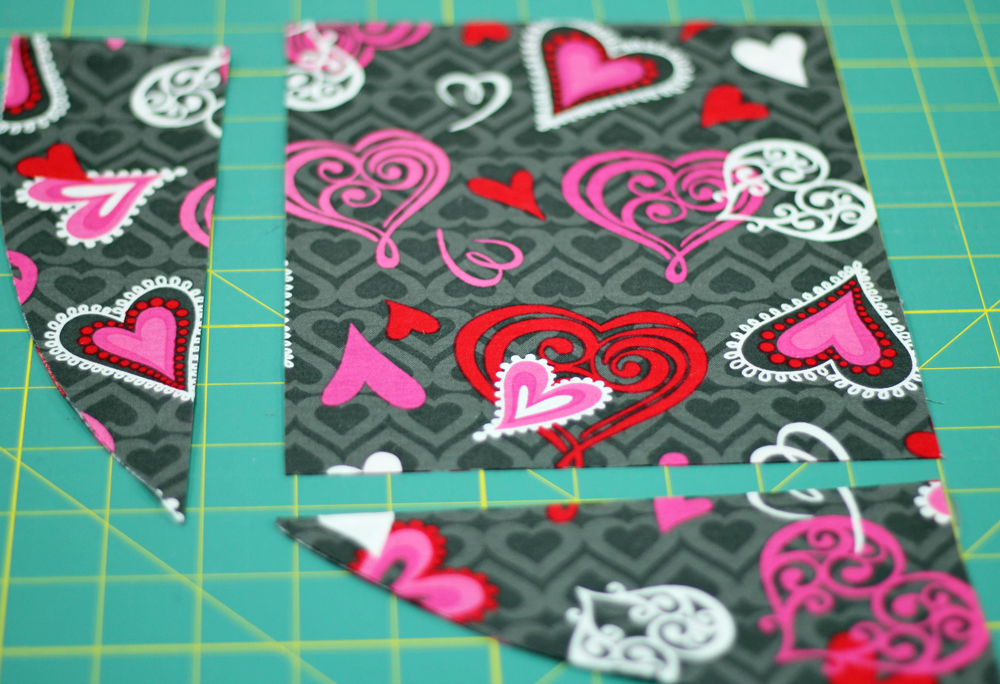
Cut the armhole from your main apron fabric opposite the folded side.
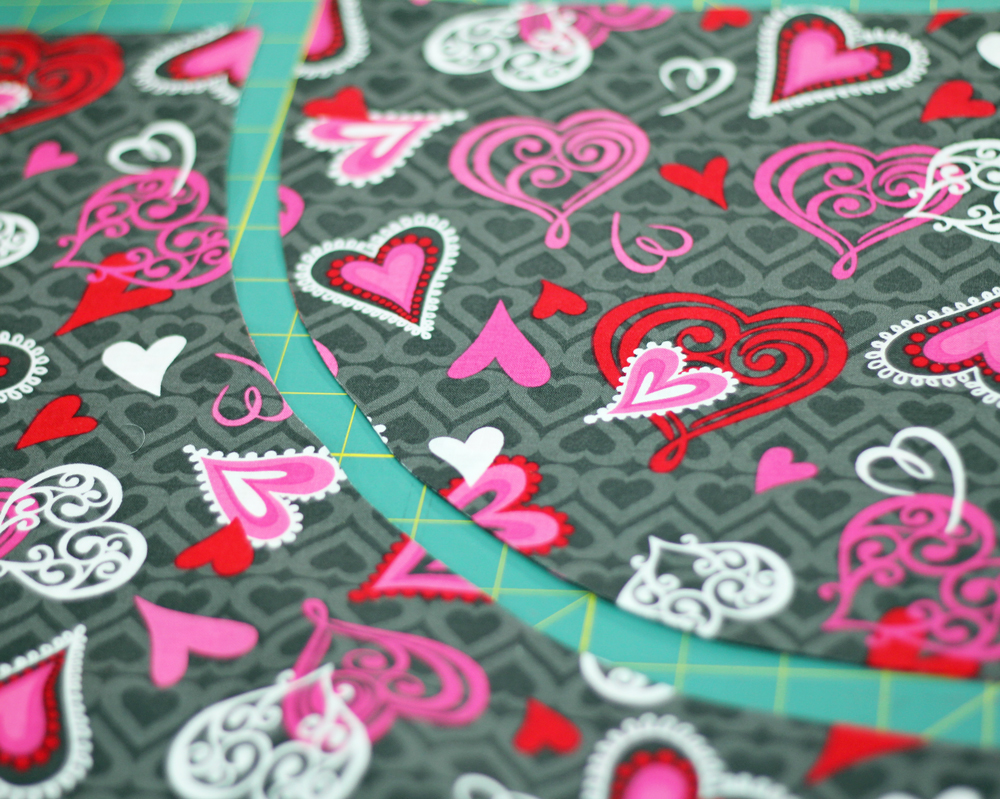
Don’t throw this piece away, I used it to make a small pocket.
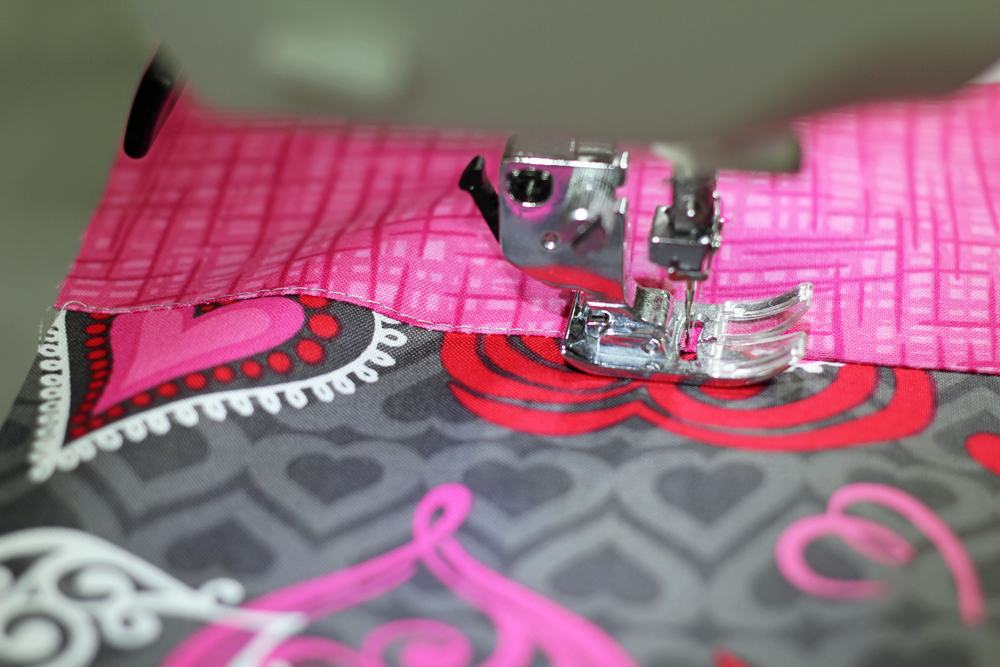
Now find your 4″ x 16″ strip of coordinating fabric. Unfold it and with right sides together, sew to bottom of apron body. Turn, iron and topstitch.
With right sides together, attach the 5″ strip of “body” fabric to the bottom of the coordinating fabric. Again, turn, iron and topstitch.

You will have a nice punch of color at the bottom of your apron body.

Now let’s hem the edges of the apron. Fold under and press the edge 1/4″ all the way around except for the top edge. 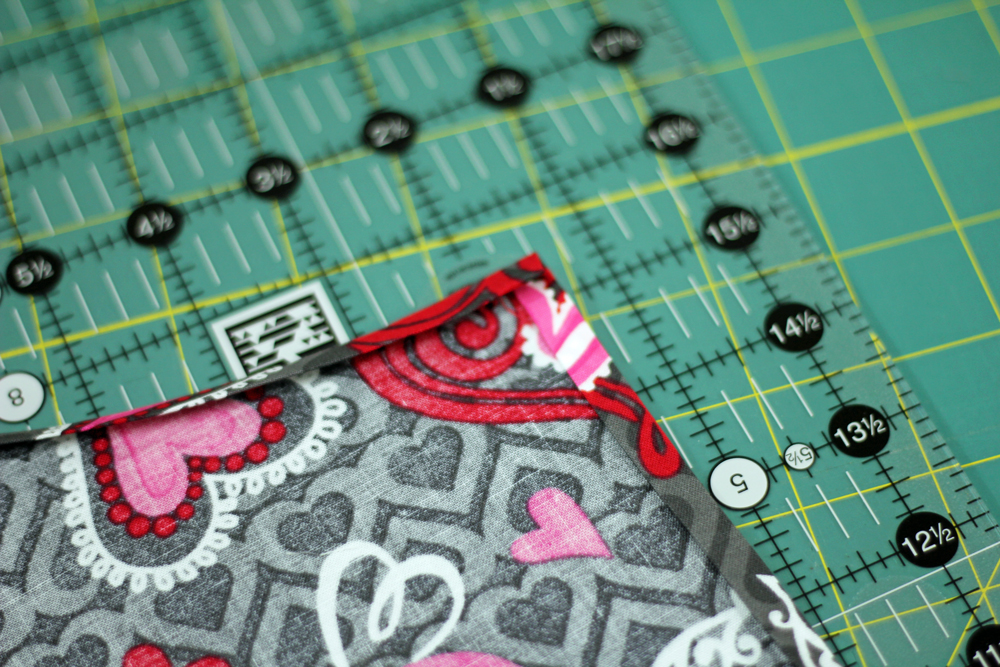
Just because you did such a great job with that the first time, do it again. This encloses the hem and makes it stronger.
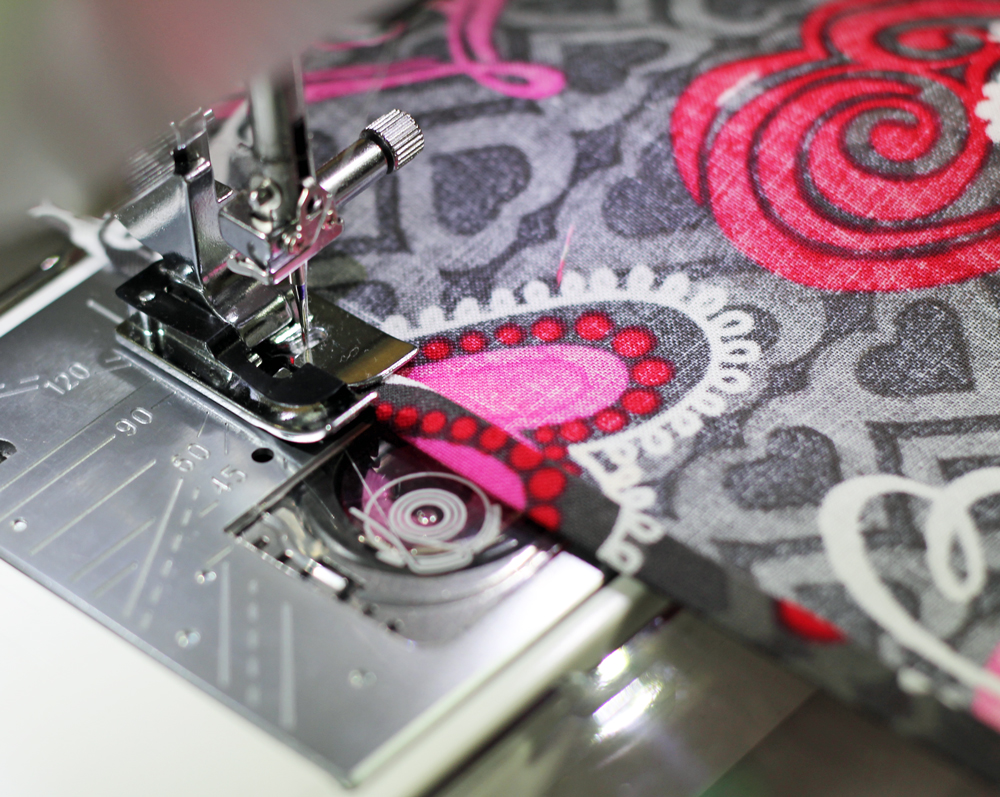
Topstitch the entire folded edge, taking your time around the armhole area. I opted to use my 1/4″ foot which helped me keep things aligned. We will take care of the top edge in just a second…have a bit of patience please.
For the top of the apron fold under 1/2″ and iron. Now fold under 1″ and iron again.

Topstitch in place. Doesn’t that look nice?
Now let’s make the pocket. Grab that scrap of fabric that you cut to make the armhole for the apron. Square up the piece to 7 1/4″ wide by 8 1/2″ long.
Now you can stick with the simple or you can dress up this pocket a bit. I personally wanted to have a bit of fun with this and used the scraps from the coordinating strip that I cut.
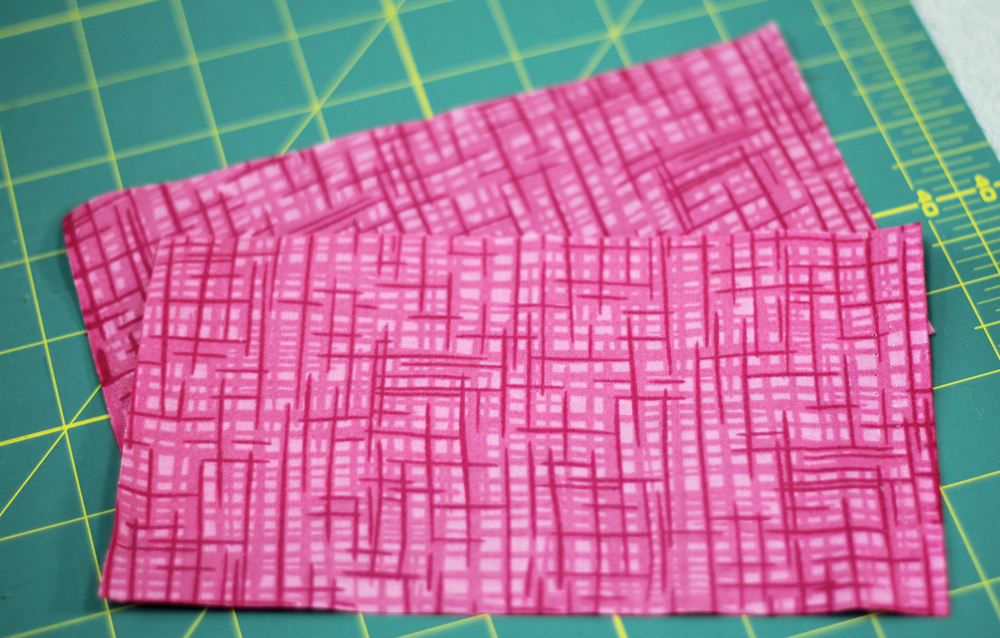
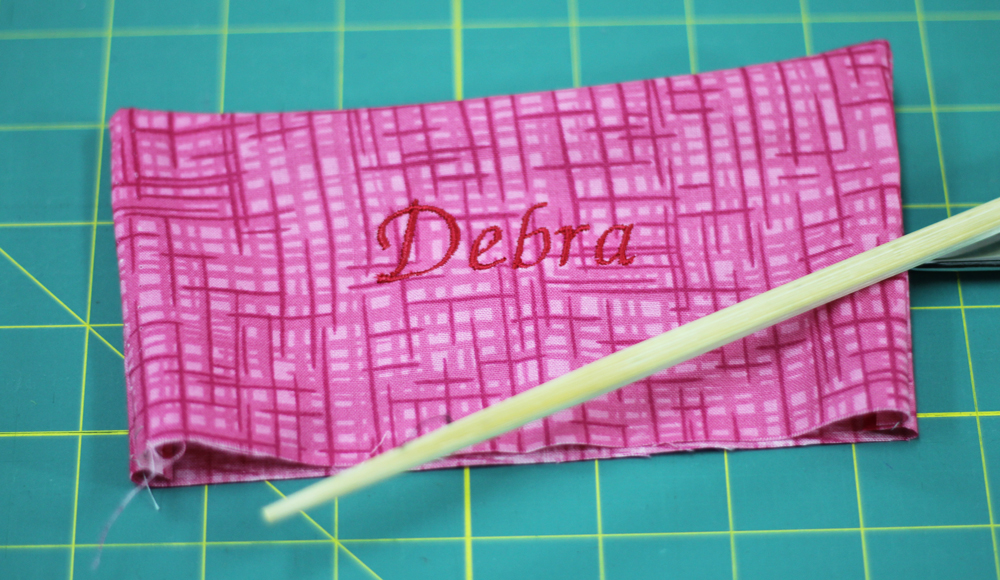
Next I embellished the pink fabric with my sister’s name, sewed right sides together and then turned them.
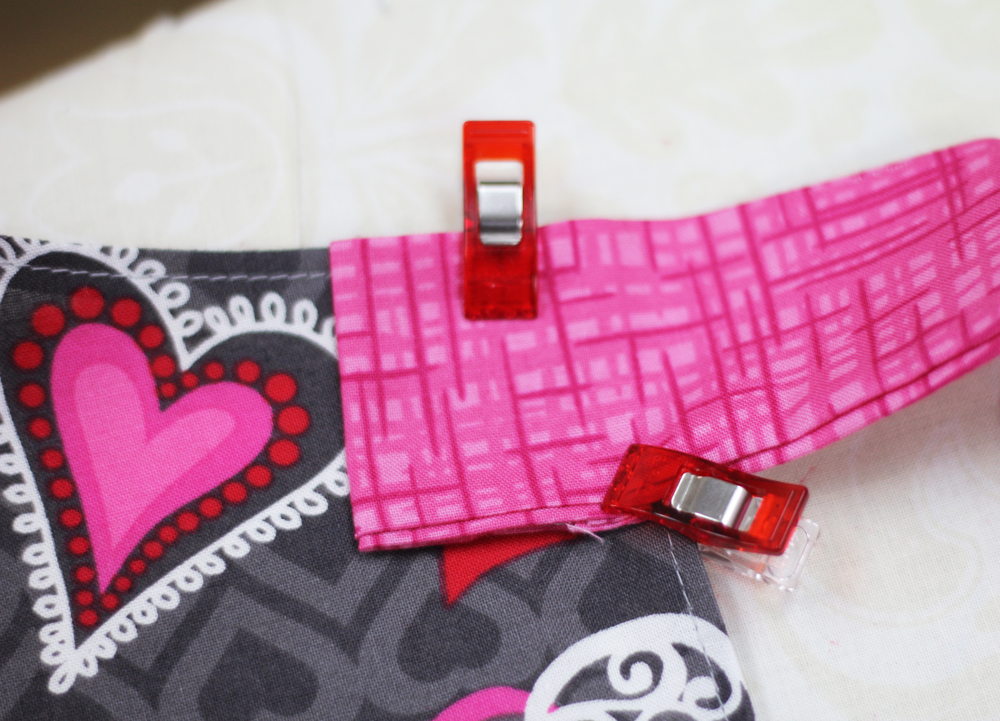
Now take the pocket pieces and place them right sides together. On one end position the embellished “mini” pocket with all of the raw edges aligned. Leave an opening on the other end to turn. Those four clips are where my opening is. If I don’t do that I just keep sewing and sewing and sewing and sewing……
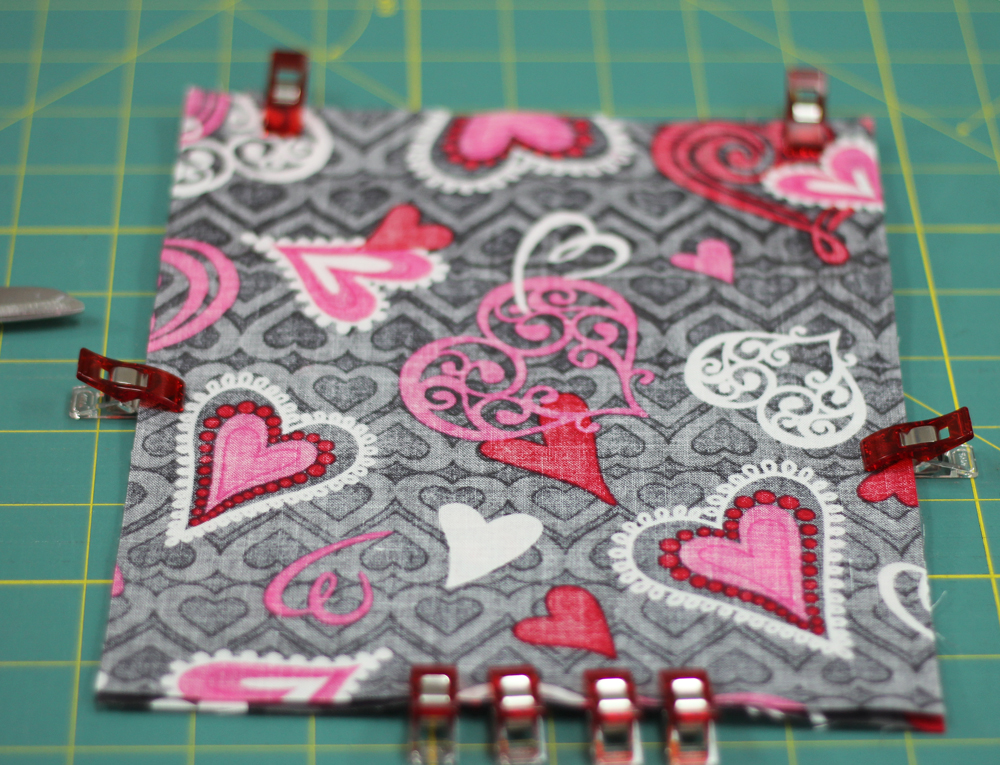
Stitch all the way around this pocket leaving an opening at the end opposite the “mini” pocket. Turn the pocket and using a chopstick or other tool, push out the corners and iron the main pocket and mini pocket flat. Tuck in the edges where the opening is and topstitch across the top of the pocket to enclose.
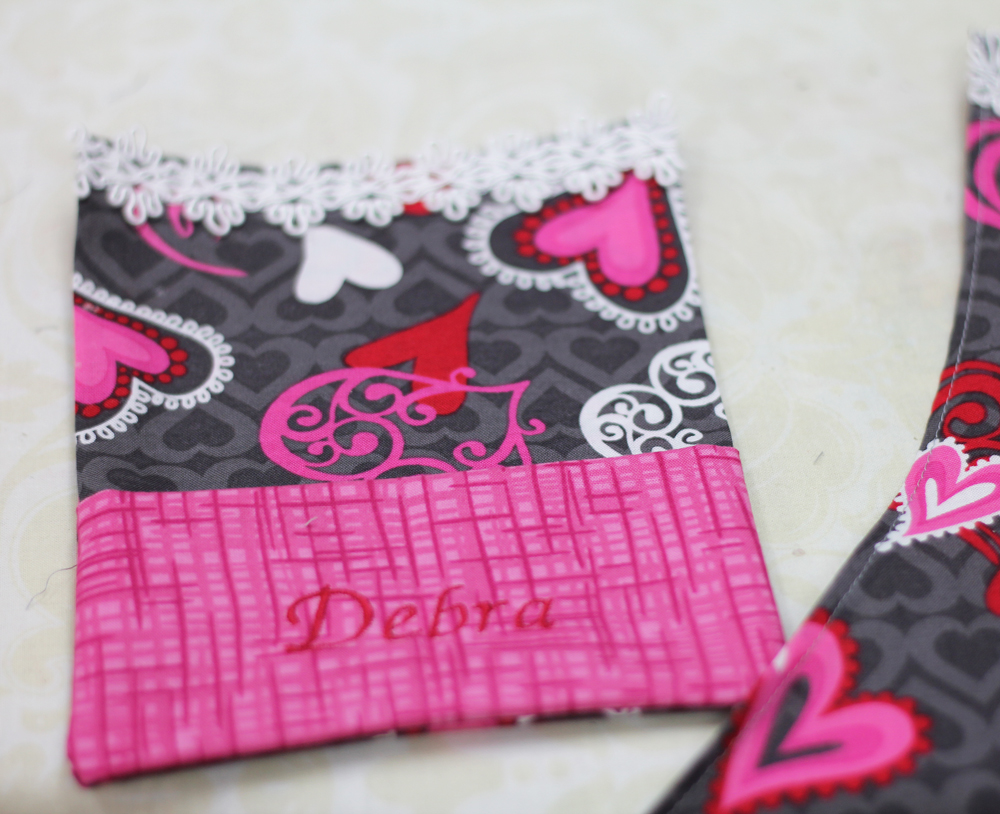
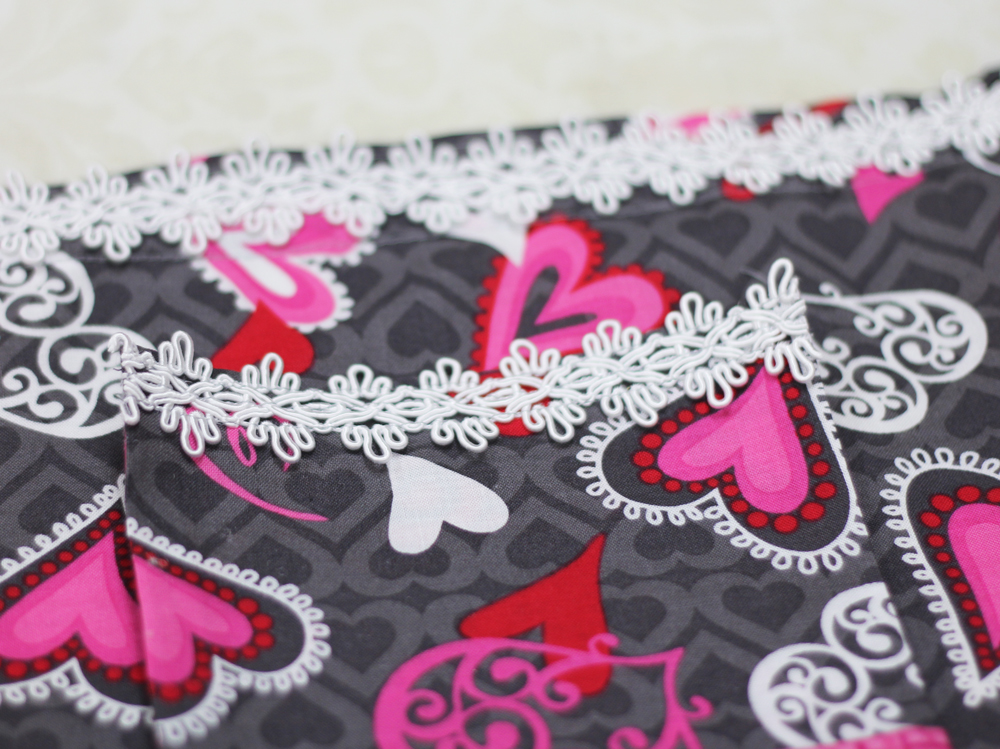
I added a bit of trim across the top of the pocket to add a little oomph! I used about 1 yard total of trim on this pocket and then I also added it across the top of the apron. I double stitched this intricate trim to be sure that it stays in place.
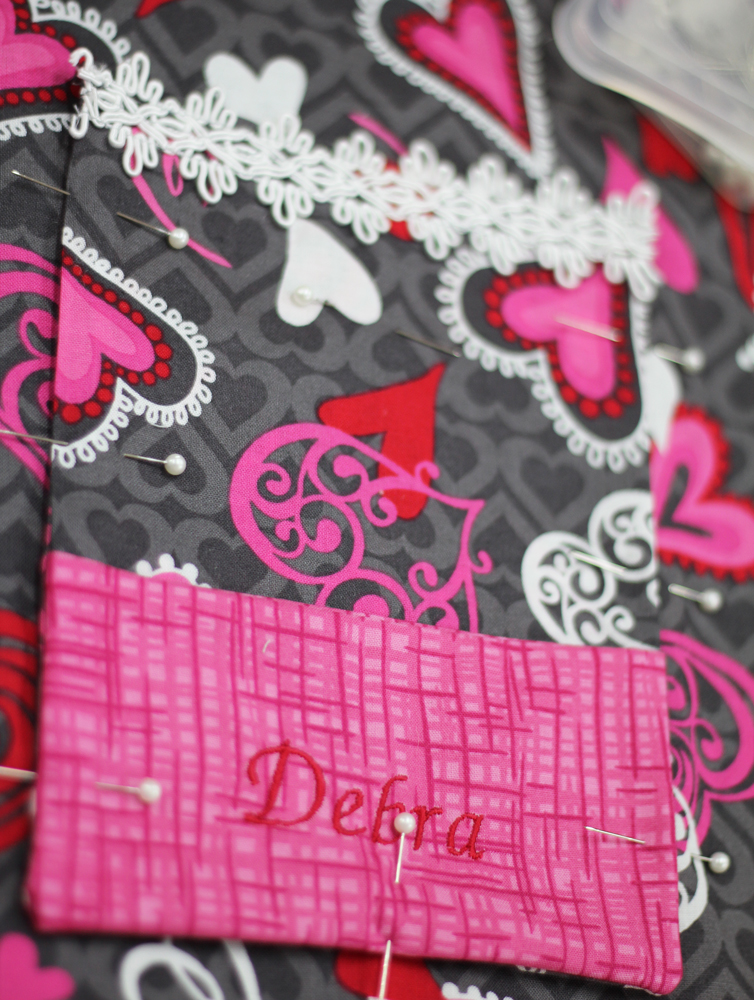
Now place the pocket on the apron. I simply used the “try it on” method. I put the apron on and opted for what would work best for my recipient. I pinned it in place and topstitched in place, back tacking the corners.
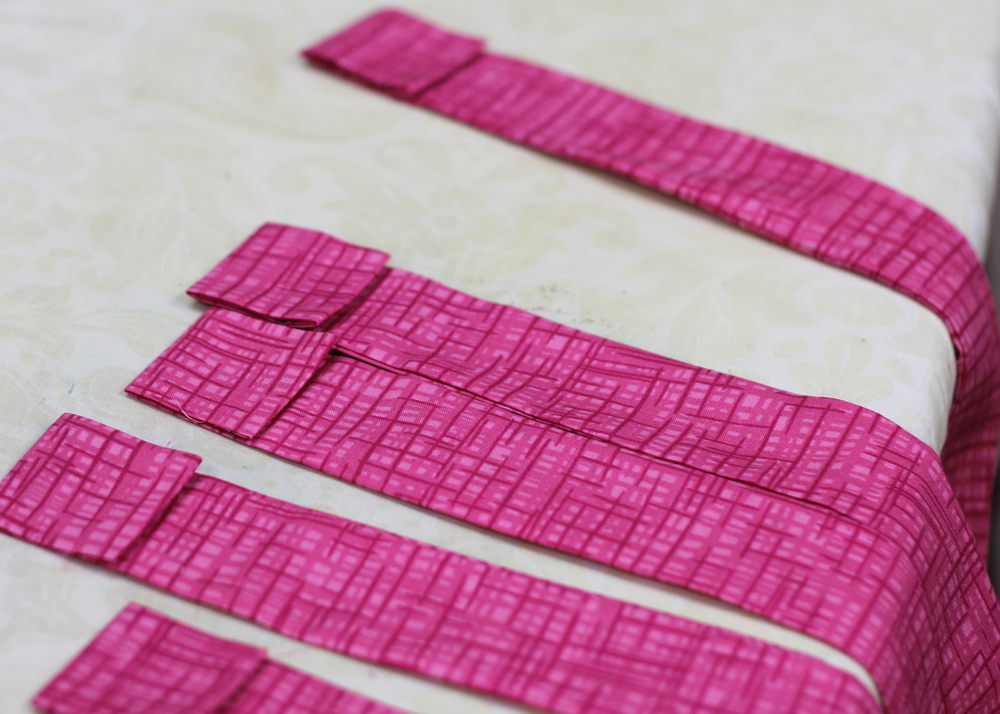
This project is really shaping up! Now let’s grab those strips of contrasting fabric and make the ties. Fold each strip in half lengthwise, right sides together. Leaving both ends open, stitch a 1/4″ seam the length of each strip. You should have one 28″ long and two 36″ long strips. Stitch and turn right side out. Press flat. The two longest strips will be your waist ties and the shorter one is for the neck. On each of the longer strips turn under the raw edge 3/8″ and iron. Turn under another 1 1/2″ and iron again. 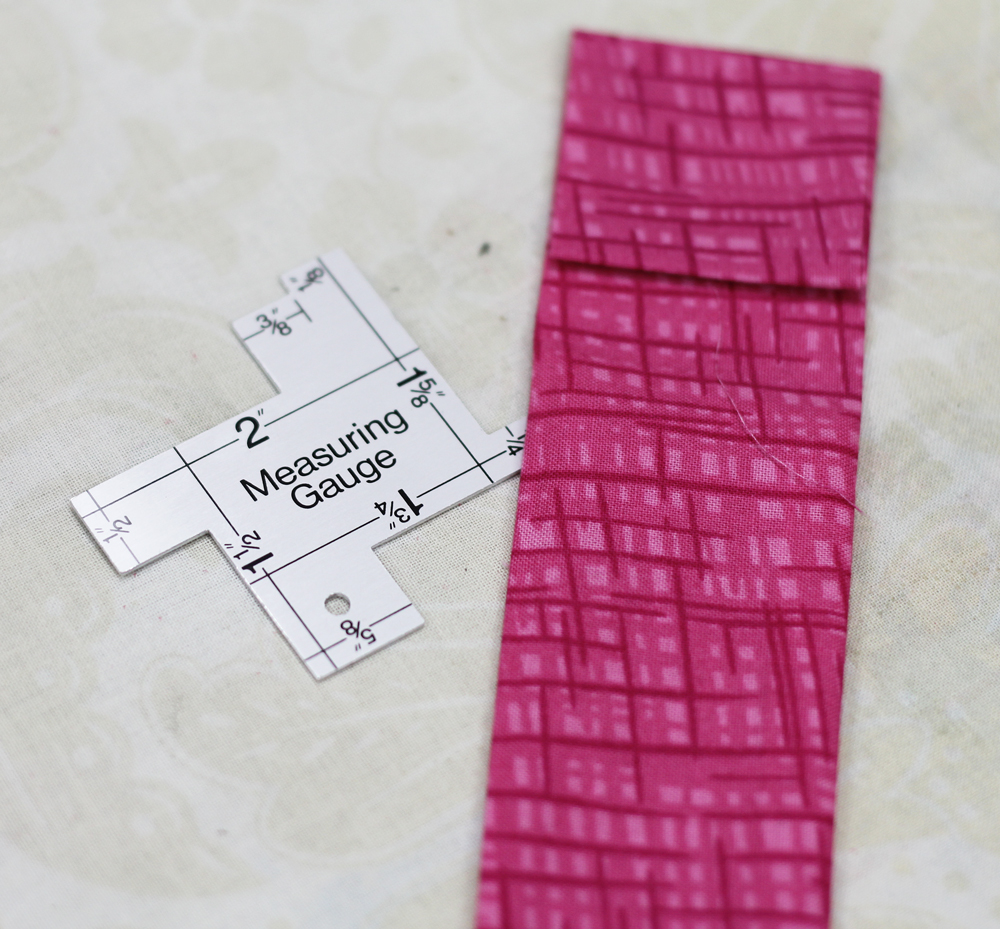
Repeat for the end of each of the remaining ties. Here’s what they should look like:
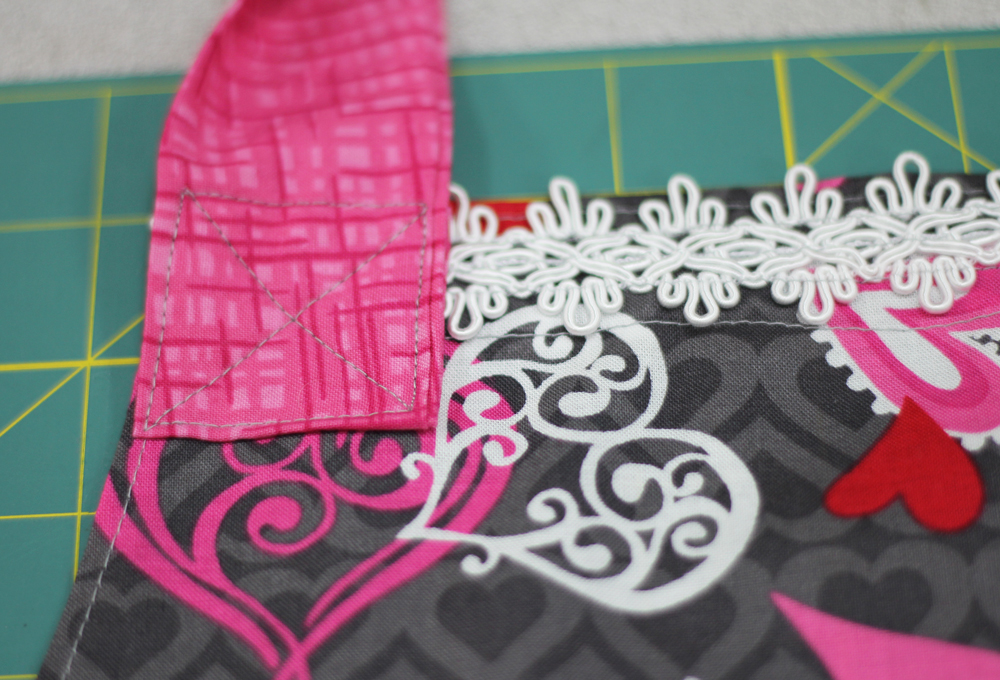
Now take the longest ties and attach one end to the base of the armhole area on each side of the apron.
To attach the ties, sew a square and then sew from corner to corner to create an X. This not only looks finished but it also reinforces the tie to take lots of tugging and pulling. Finish the other end of the ties using the same method.
Repeat the process at the top of the apron. Make sure that the strip isn’t twisted. It doesn’t tie, it is one continuous strip. Note that this also encases the raw edges of the trim across the top.
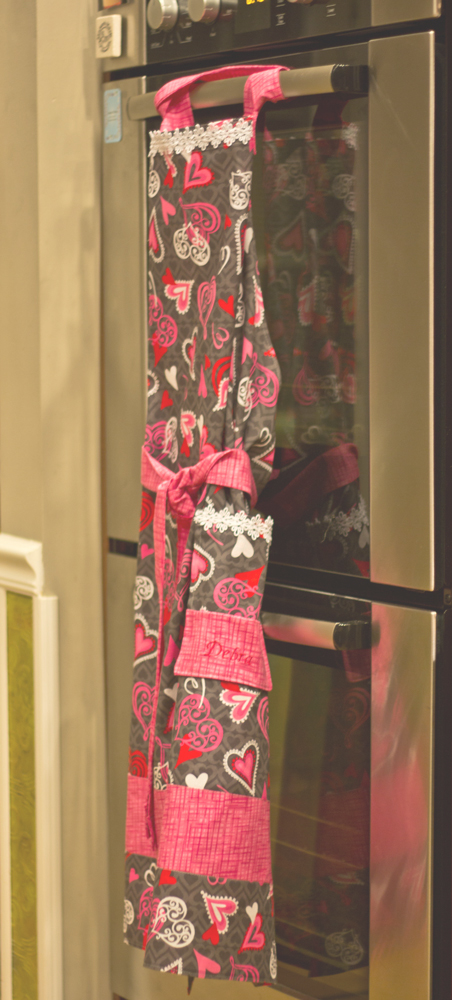
Give the whole apron a nice press job and then stand back and admire your awesome piece of work!
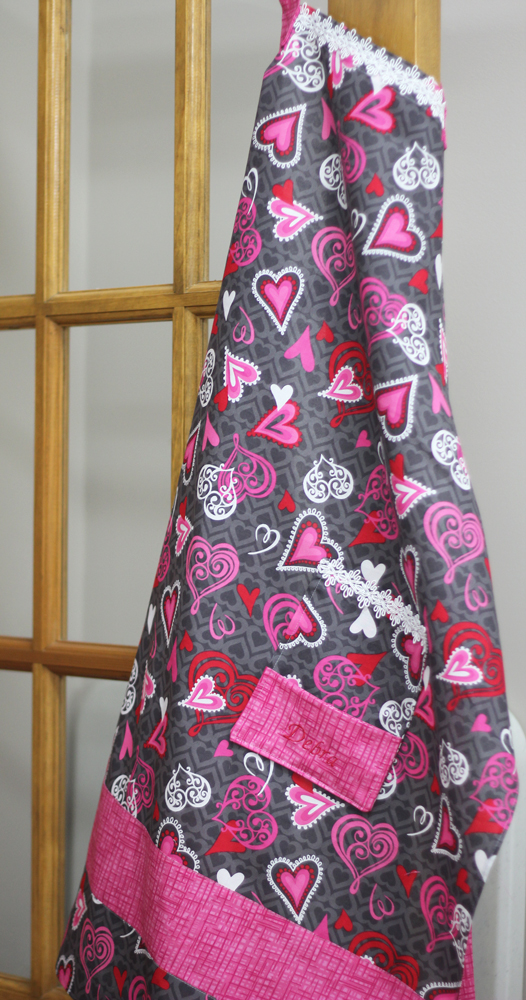
Cute, huh? How about a couple more views?

Top Detail
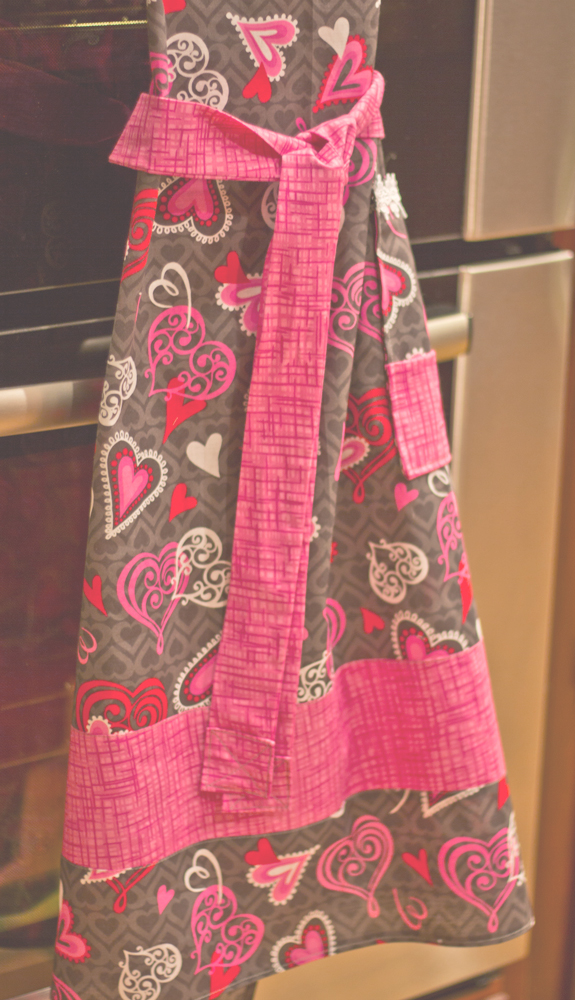
Bottom Detail
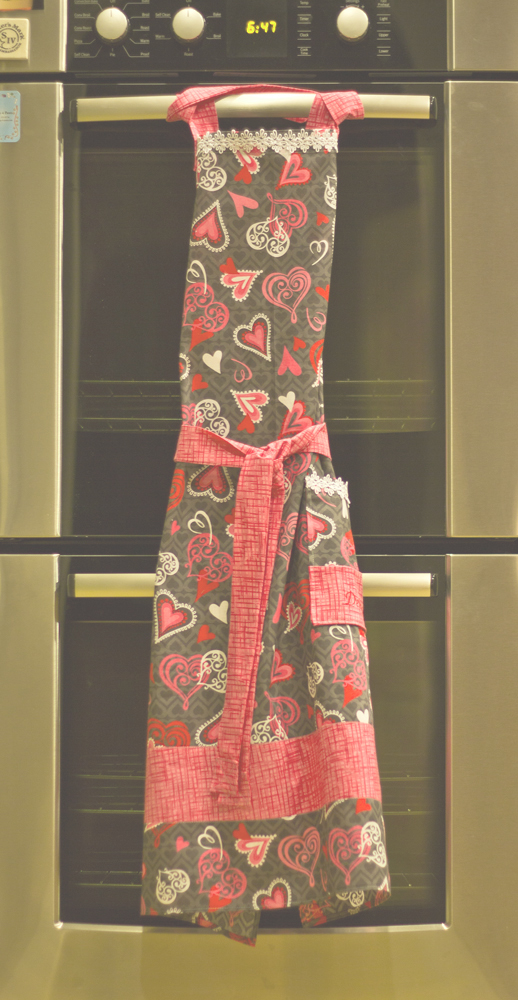
Full view
Now if only I were still that skinny….Must be all that cooking!
Lovely work!
I love the heart you sent me via Ronnie!