Hello again!
I apologize that I missed posting last week but a visit with a new grandbaby, a birthday and lots of fun simply got in the way. I hope all is forgiven and we can move on to this week’s project.
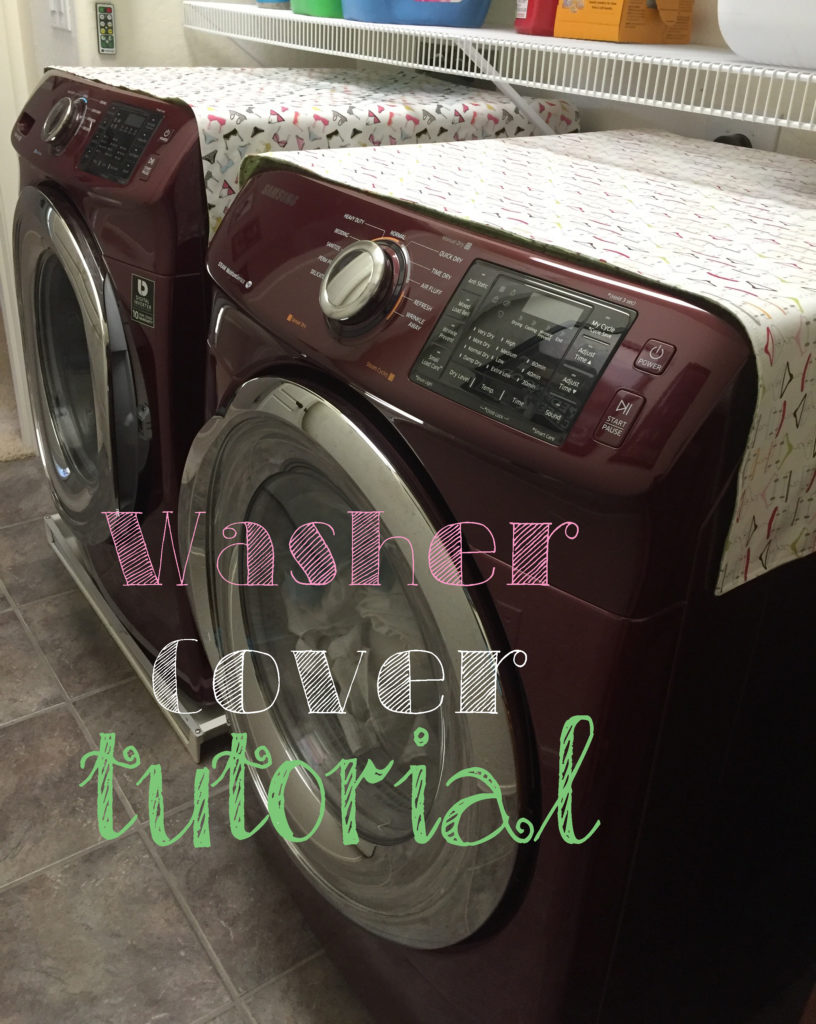
When the mister and I moved, we opted to leave our washer and dryer behind and therefore purchased a new set. This lovely red couple really brightens up my laundry room but I don’t want them to become the dinged and mis-treated hoopties of the washing world. SO—I decided to make some fabric covers to protect their beautiful paint jobs from dropped detergent, lingering softener and the general scritchy-scratchy business of laundry baskets.
This is a super simple, done in an afternoon project that will protect those fancy new machines. Here is what you will need:
Measurements for your machine–measure the depth (from front to back) and the width with a little extra to drop over the sides. My measurements were 28″ deep x WOF or about 42-44″.
Thread
Backing fabric
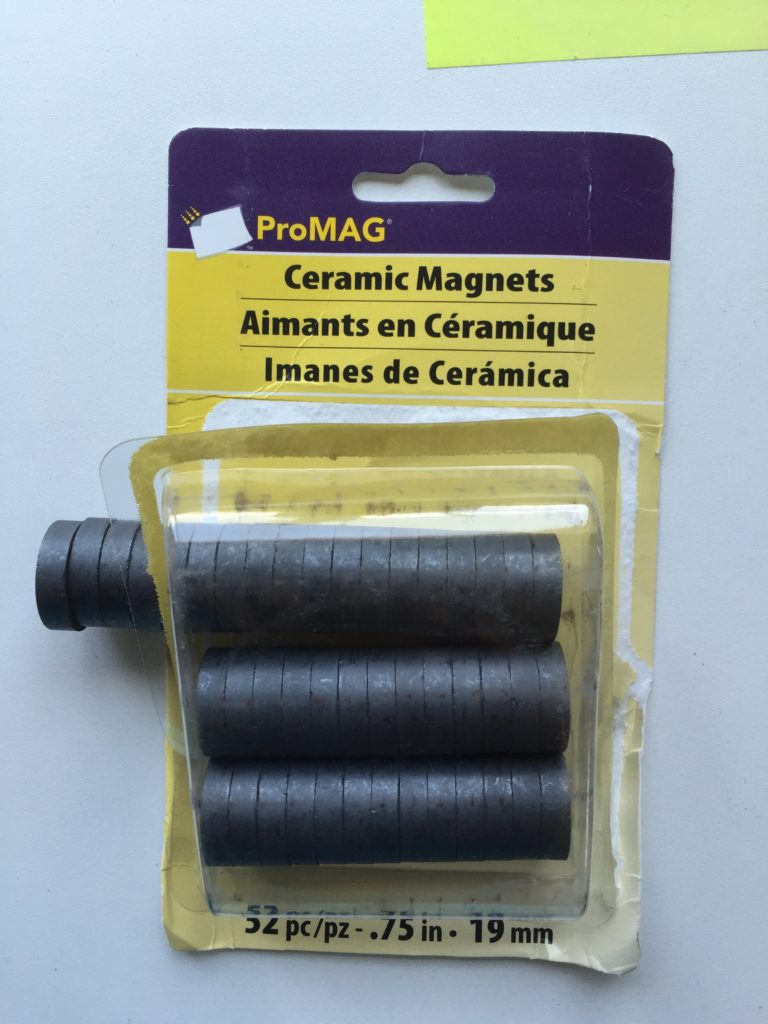
Strong magnets
Iron and other basic sewing supplies
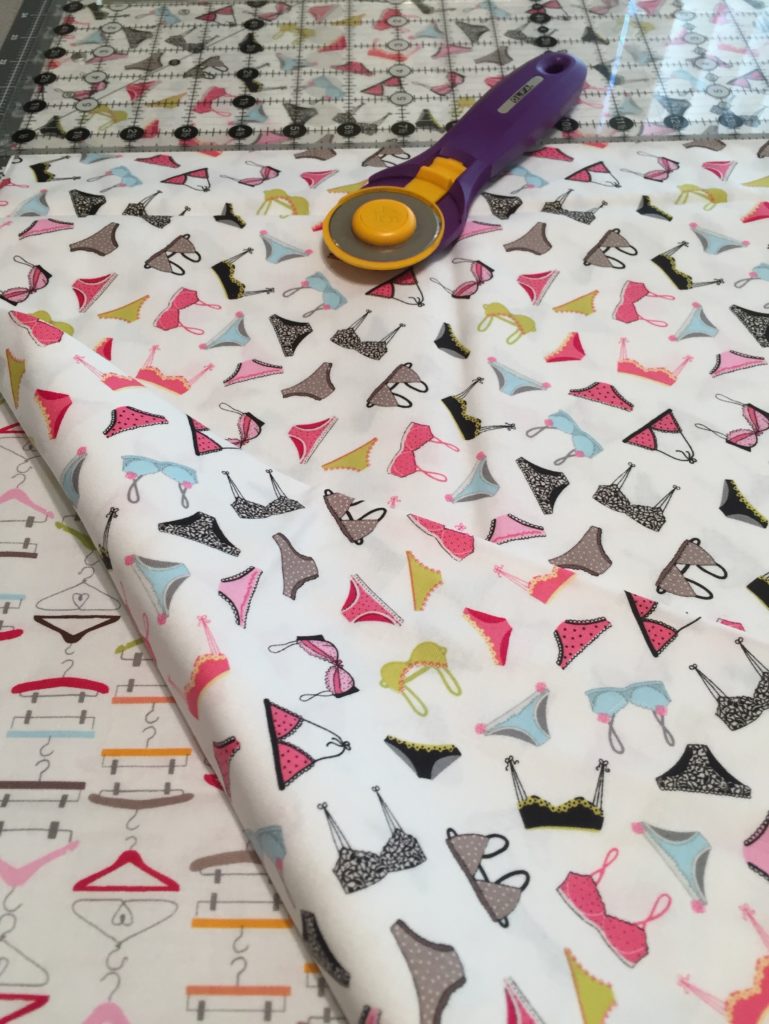
I chose a basic quilting cotton for the top of each cover and then a cute dotted flannel for the backing. My total yardage required for washer and dryer with backing and top was ~4 yds. I found a really cute flannel for around 2 bucks a yard and spent $$ on the top, since that is what will be seen.
Let’s get started!
Using your measurements, add 1″ to the depth measurement and then begin cutting. (For example: If the measurements of your machine are 26 deep x 26 wide, then cut your fabric 27″ x WOF. The width allows for your fabric to drape over each side of the machine)
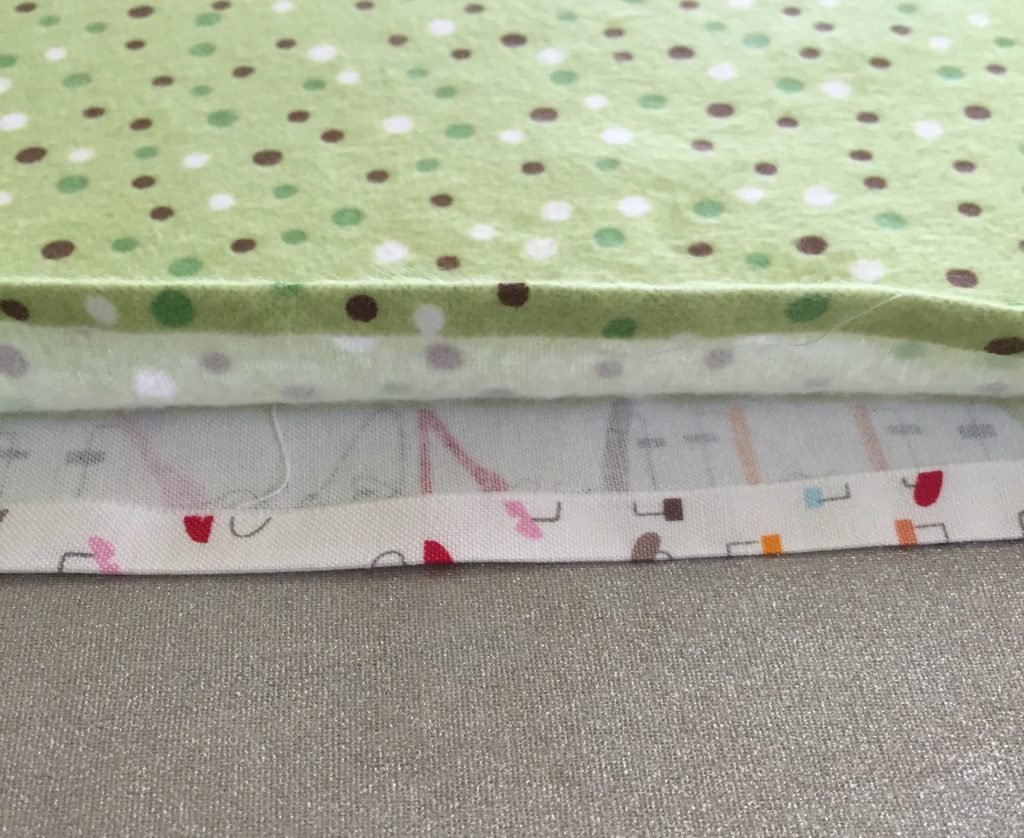
I cut both top pieces at the same time. Do the same for the backing pieces. I chose flannel for several reasons. It is inexpensive, it is absorbent and it is soft enough to protect the finish of the machine. I liked the look of the quilting cotton for the top but you could certainly use a flannel backed vinyl. So many options!
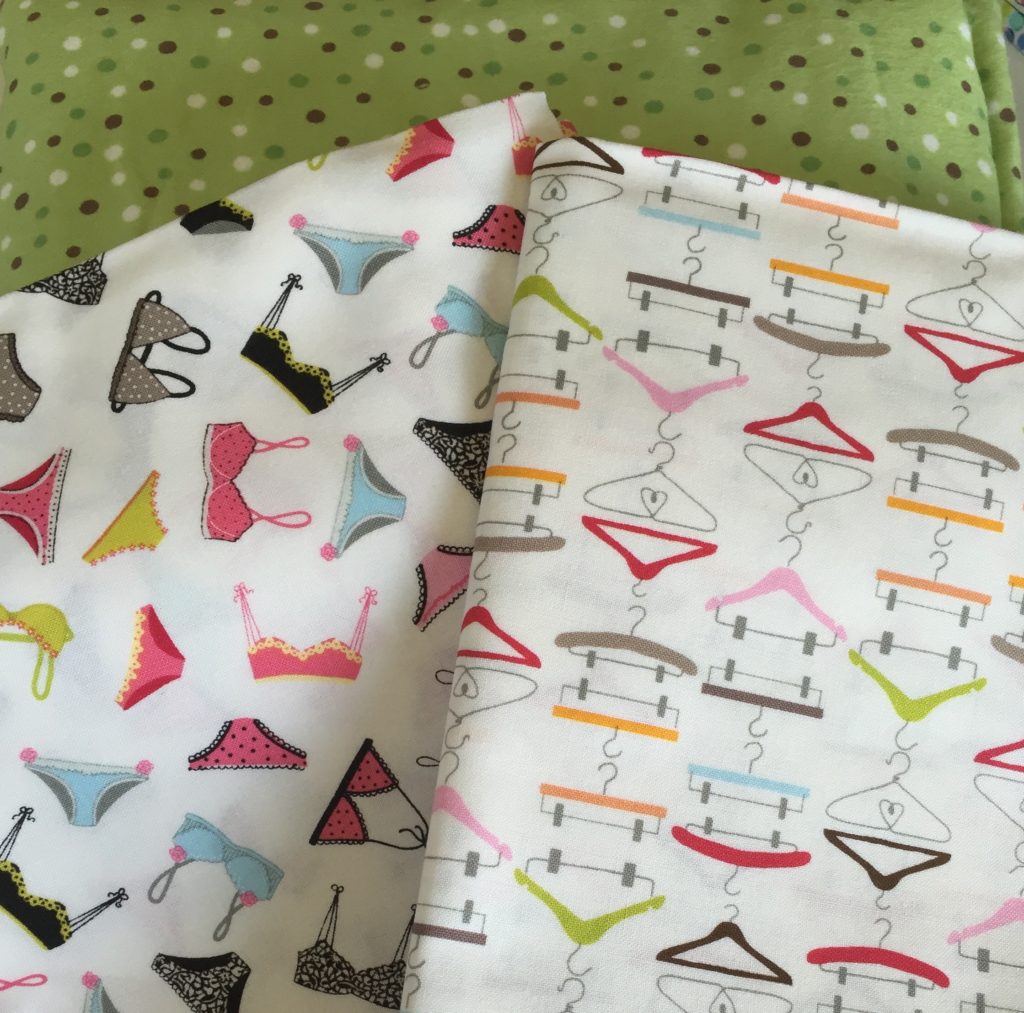
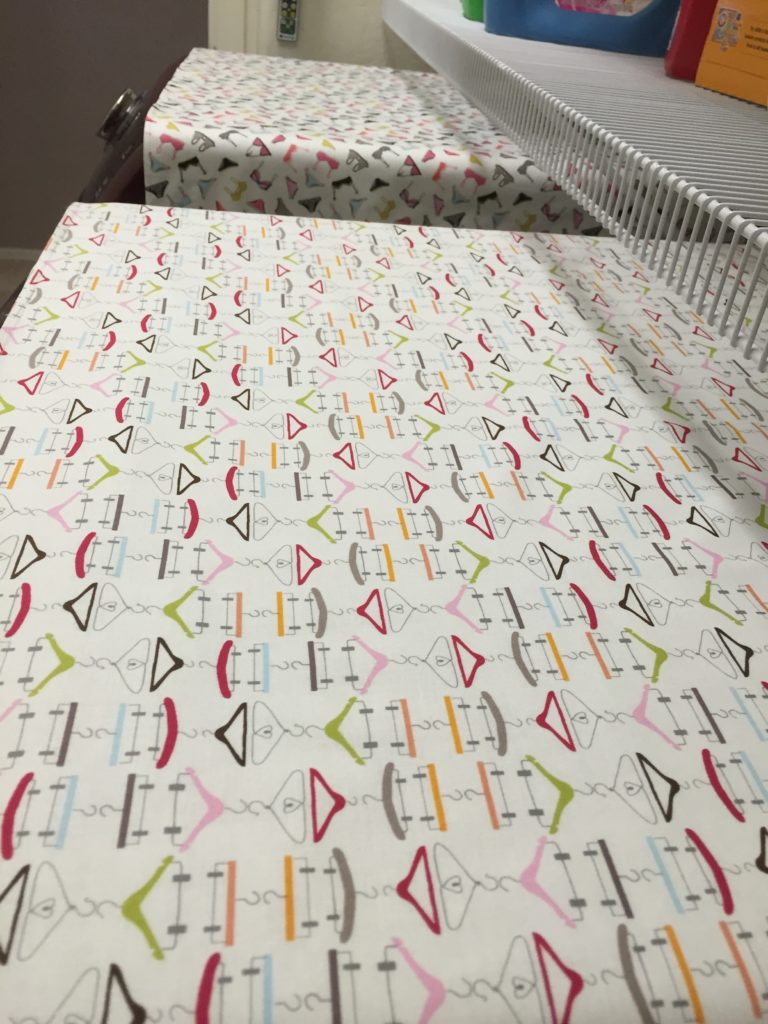
Love these laundry themed fabrics from Timeless Treasures. The boudoir items will go on the washer and the hangers on the dryer….of course!
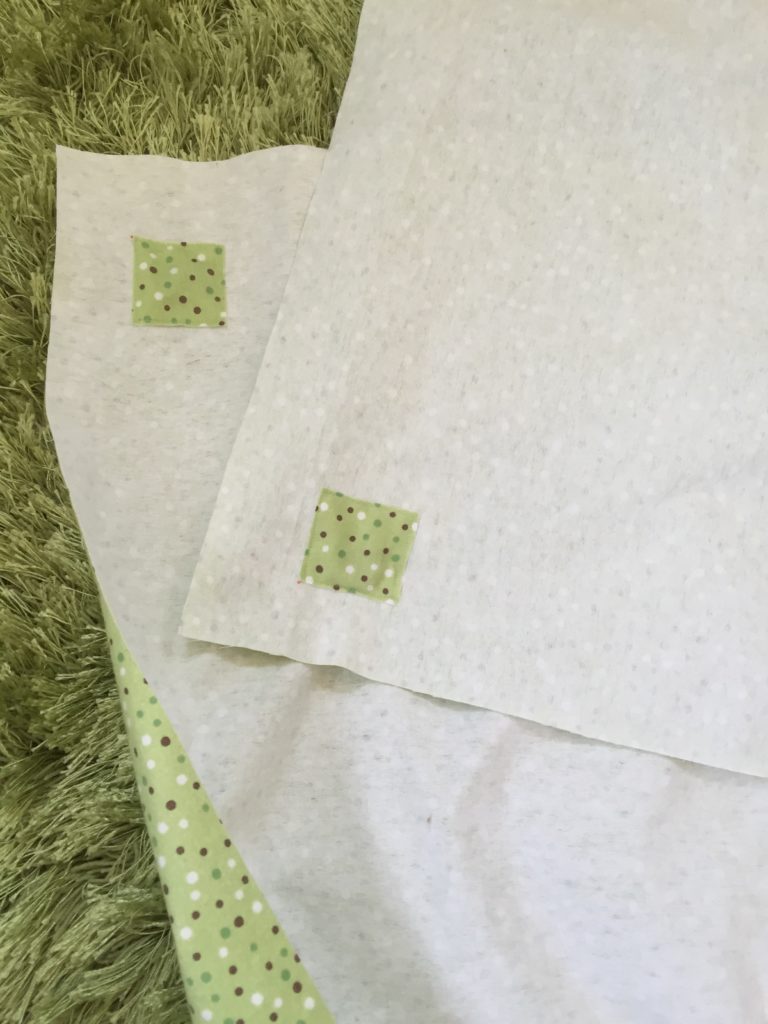
Next, cut a 2″ x 16″ strip and then subcut this into 2″ squares. You should have eight of these.
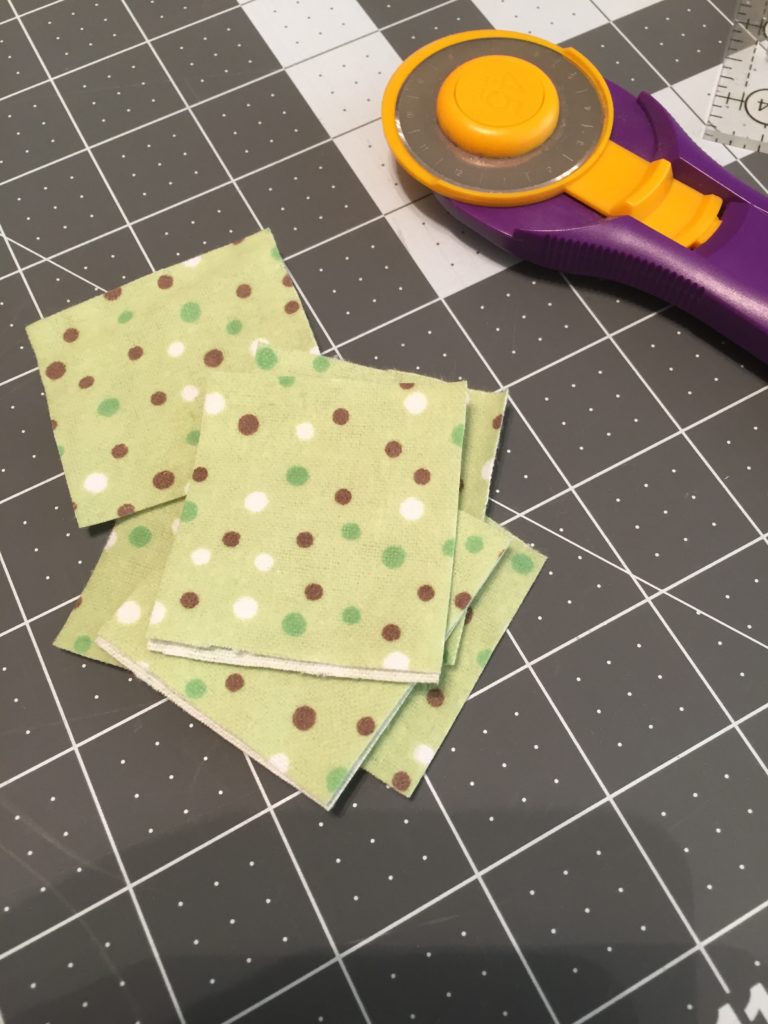
Now find your backing pieces and let’s measure for the placement of these little squares. You want to sew these squares 1.5″ from each edge on the wrong side of the backing fabric.
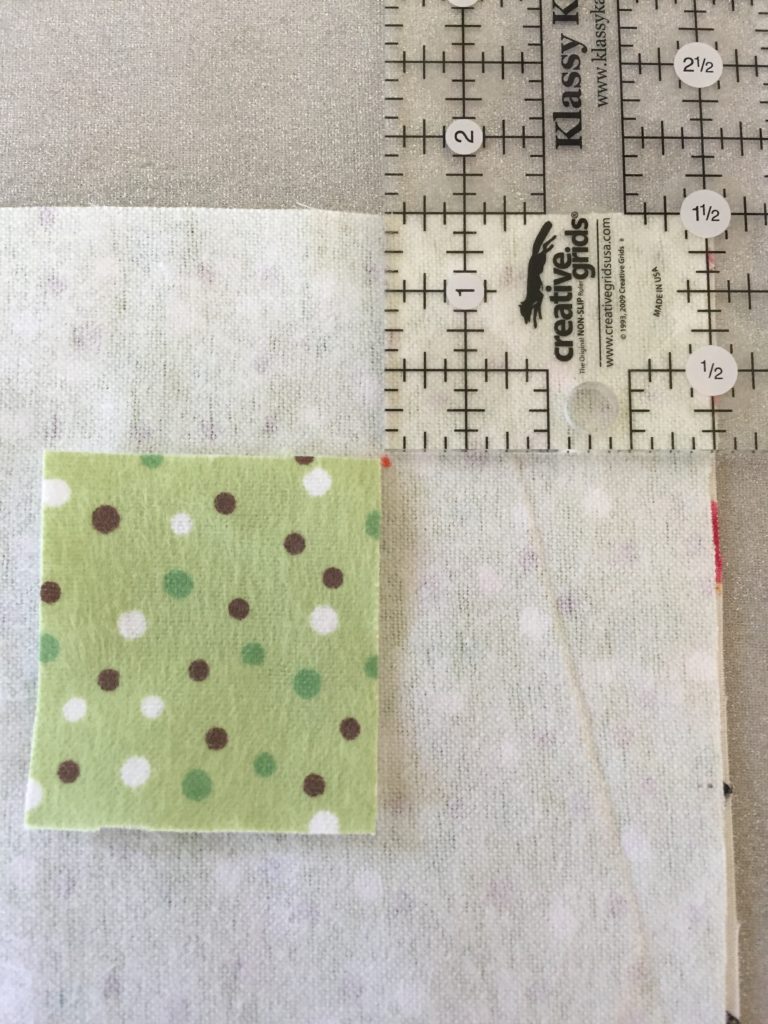
You will need one of these little squares for each corner since this is what will hold our magnets in place.
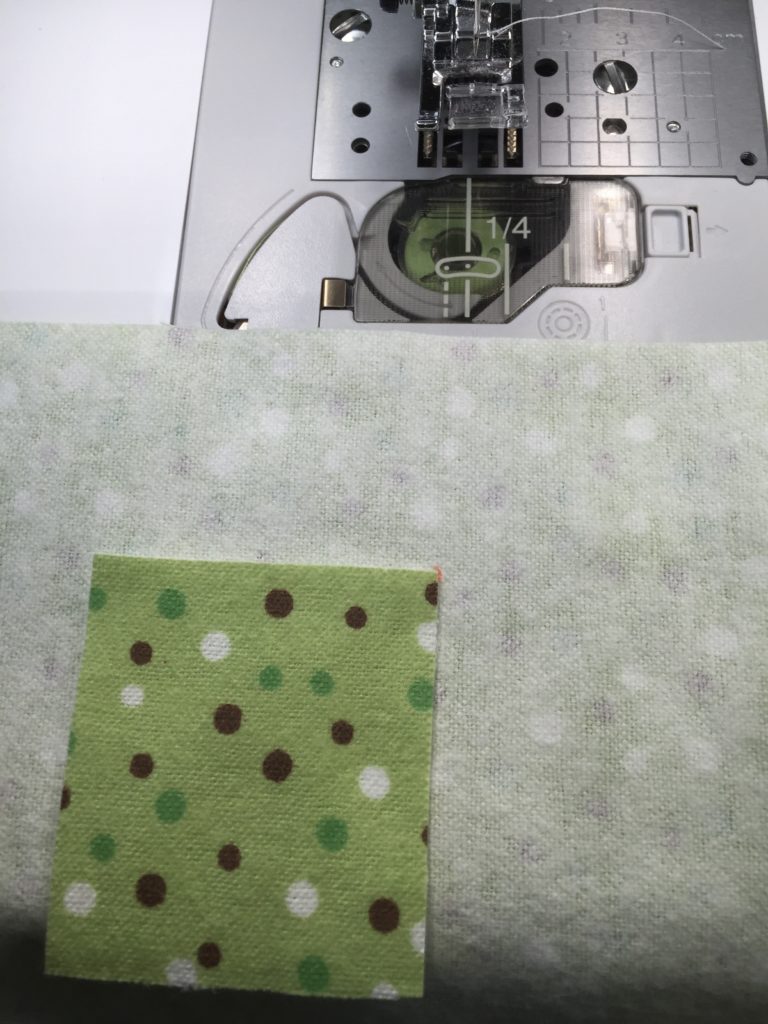
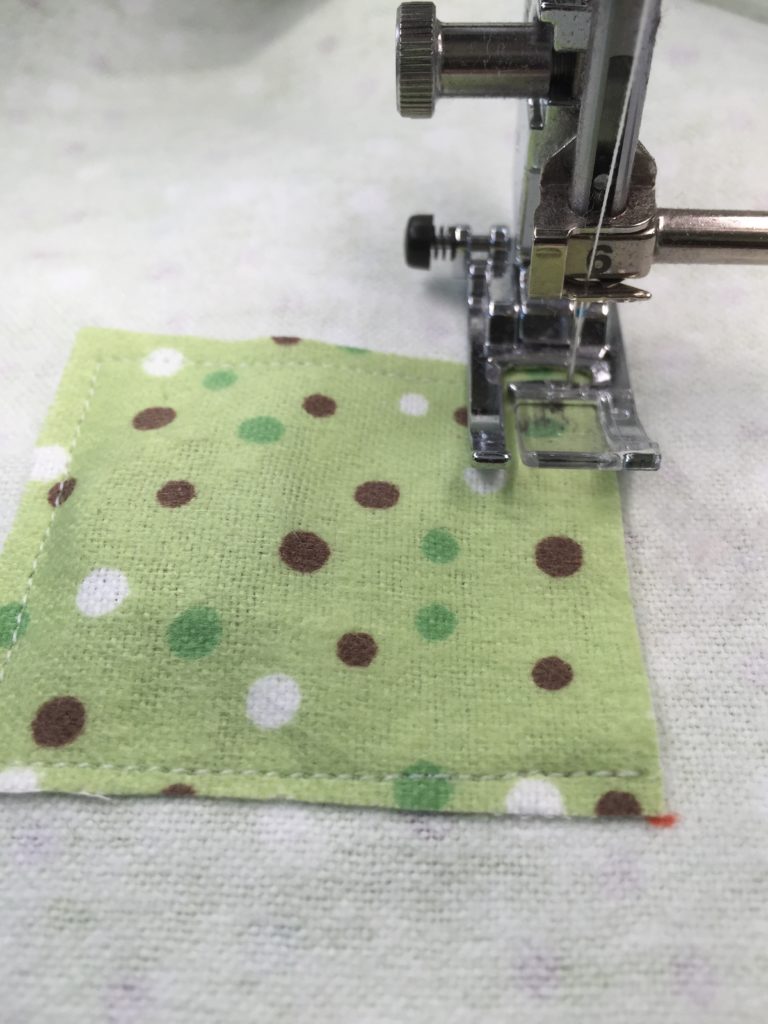
Using a 1/4″ seam AND moving the needle to the right (effectively giving me an 1/8″ seam), sew around three sides of this square. Placement isn’t critical, just as long as it is neat and beyond your 1 1/2″ mark.
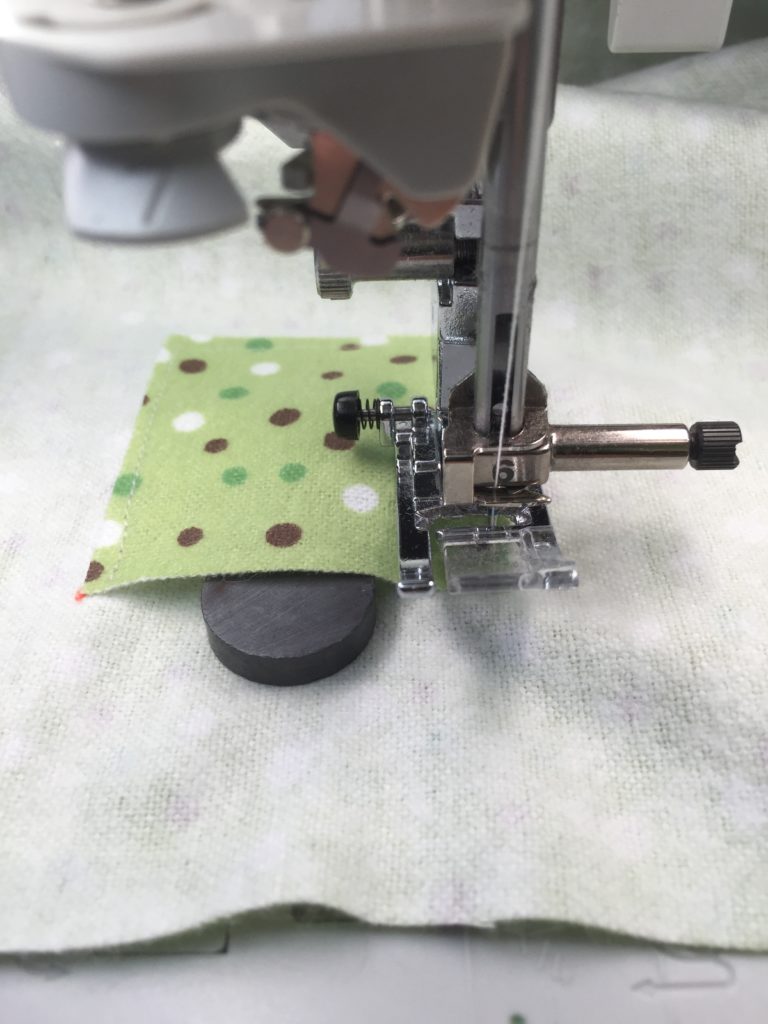
Once you come to the 4th side, stop and insert your magnet. Slide it in completely and to the far corner so that you don’t risk hitting it with the needle. That would be no bueno! Continue sewing the last side closed and backstitch at the end.
Note that the magnets are only 3/4″ diameter but to ensure your safety and no needle breakage, it is best to use at least a 2″ square to encase this magnet. I couldn’t find any magnets locally that I thought would be strong enough. I purchased mine online via Amazon and they work great. Shop around and see what works best for you.
Sew these magnets and magnet pockets on the wrong side of the backing fabric on all four corners.
With one backing fabric and one top fabric, place them right sides together. Leave at least a 6″ opening at one end for turning. Using a 1/4″ seam, sew around the perimeter.
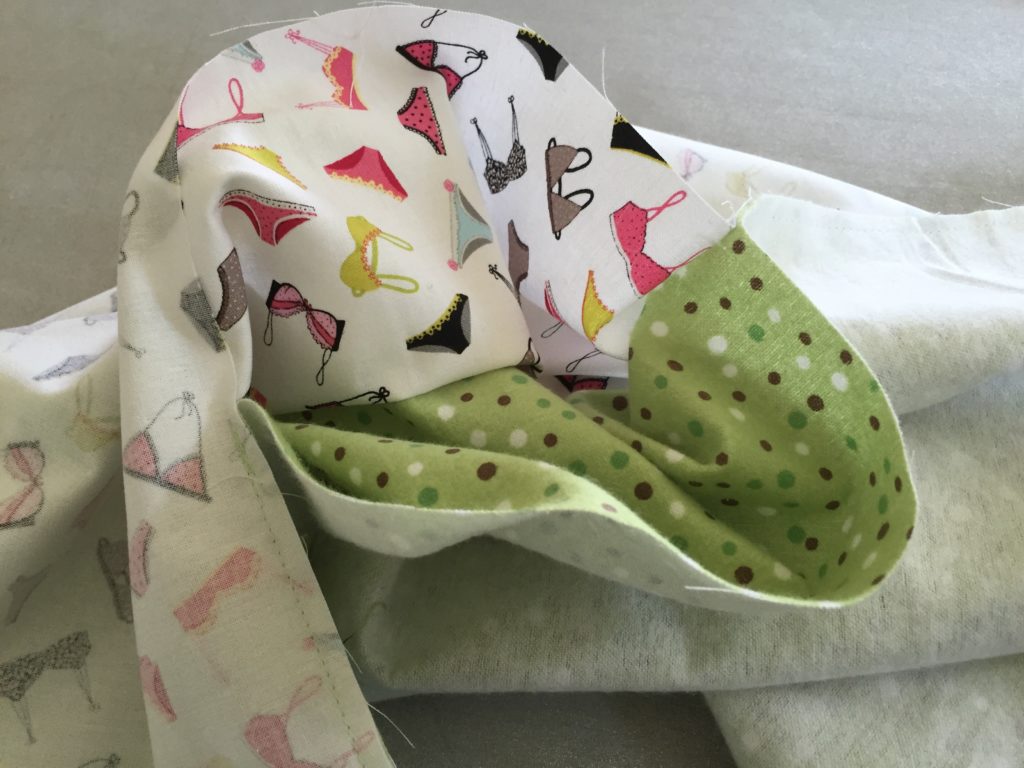
Turn the cover right side out, taking care to push out the corners and the side seams. Iron flat and fold in the fabric at the opening.
Top stitch the perimeter of the cover with a 1/4″ seam, catching this fold and sewing it shut. Now the magnets are encased in the cover and you are nearly done.
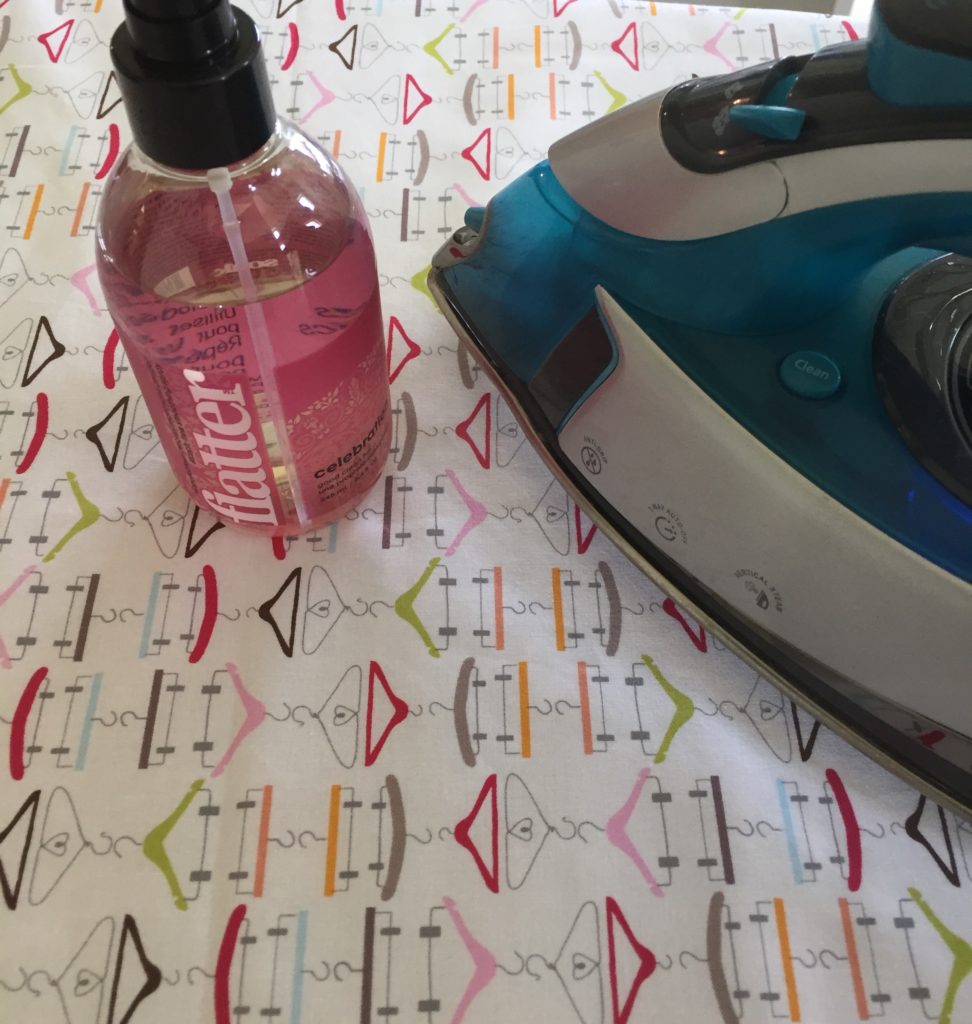
Take the time to starch the fabric and iron it smooth, this is the laundry room after all!
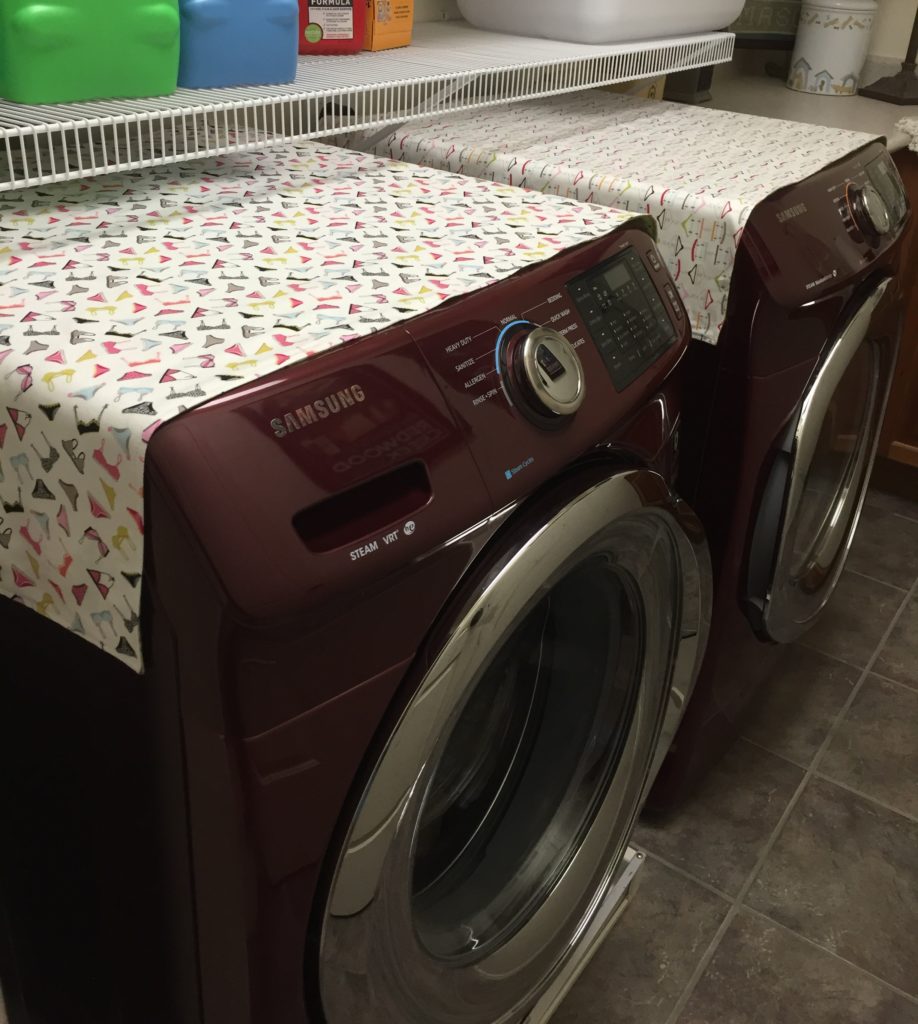
Miss Ruby Red and Dryer Dan are looking quite spiffy, even if I do say so myself.
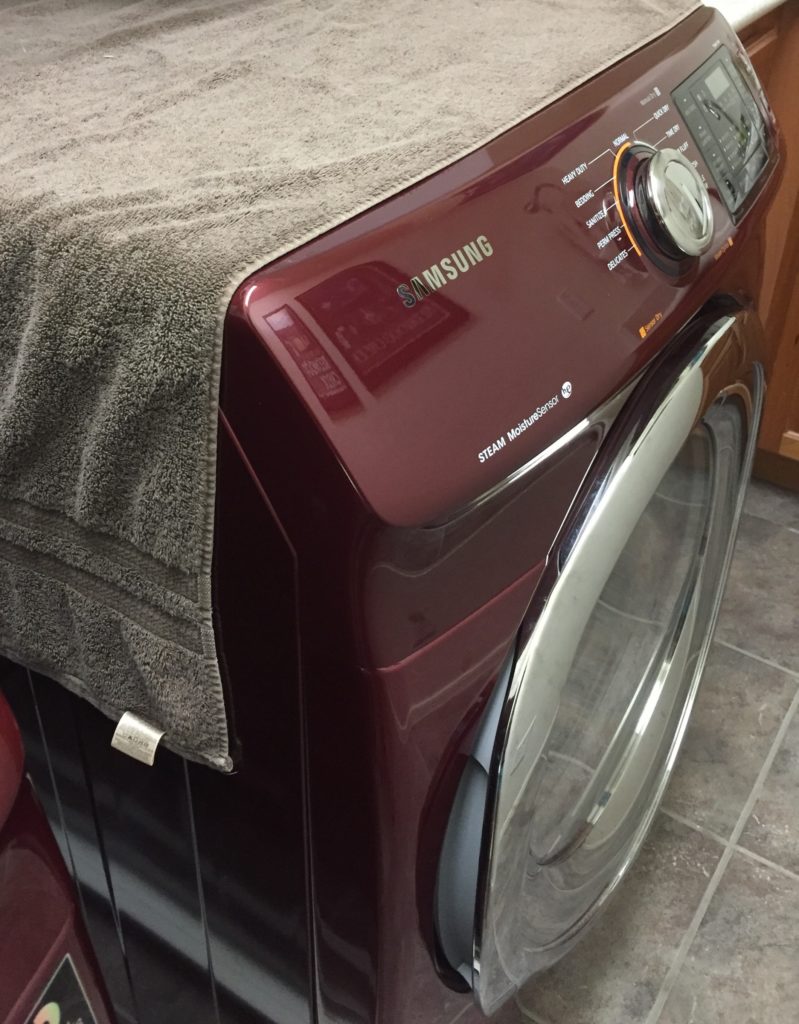
MUCH better than the ugly bath towel I was using before
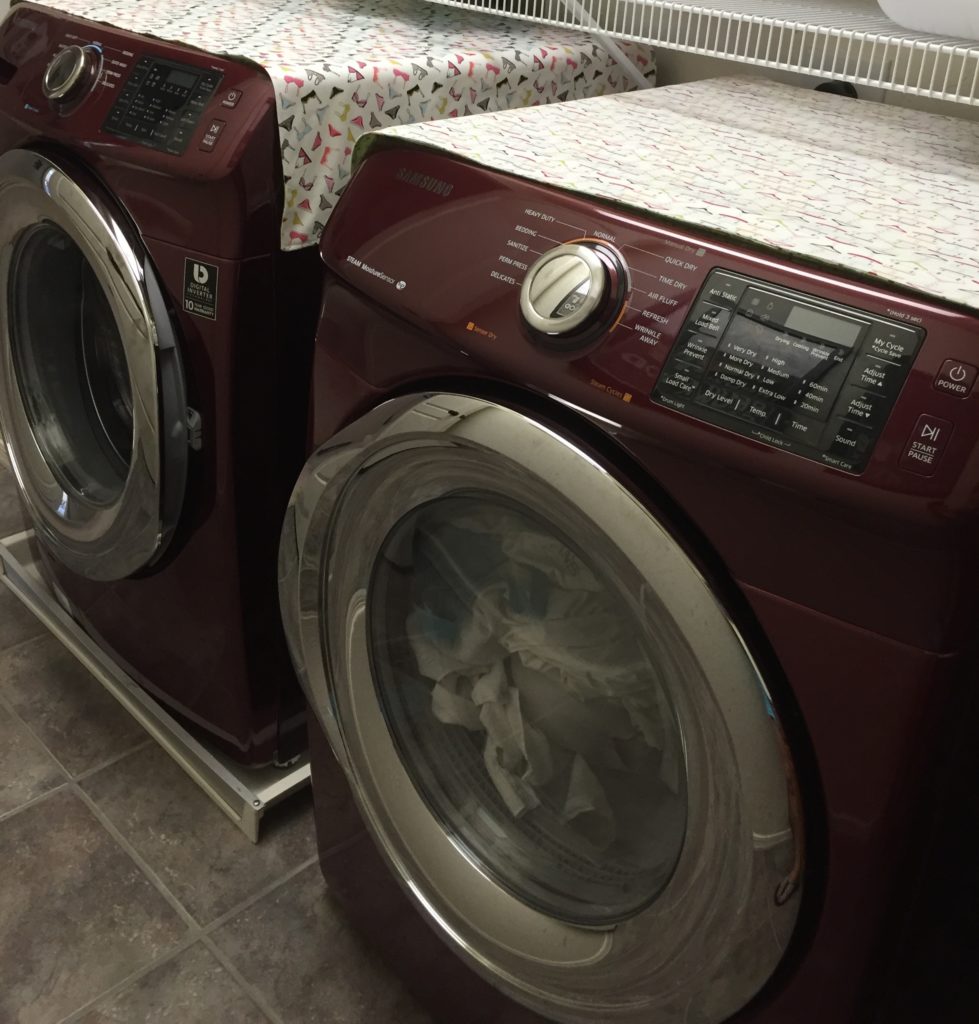
Hmmm….looks like Dryer Dan has been busy and I need to fold clothes
So happy with my afternoon project. If you are inspired to make a set of these, please let me know! I would love to see where your creativity takes you.
